はじめに
ニューラルネットワークが流行ってるので、自分でも試してみたいなと思い、iMac(Late2013 GeForce GT750M)にcaffeとDIGITSをインストールしたので、その手順を記録する。
作業環境
この記事は以下の環境下で、作業をした。(2015年12月6日)
iMac(Late2013 21.5inch)
CPU:Core i5 2.9GHz
Mem:8GB
GPU:GeForce GT 750M 1024MB
OS:OSX 10.11.1
caffeインストール
caffeはgithubにあがっているので、git cloneしてコンパイルするが、その前に色々依存関係があるので、それをインストールする。また、DIGITSを使う場合はnVidia版のcaffeを使う必要があるので、cloneする際は注意すること。
今回はhome-brewを使ってインストールした。基本的にはbrew installで突っ込むだけだが、boostについてはバージョンを指定しないと、pycaffeをimportできなかった。
依存関係があるパッケージ
- BLAS
- OpenCV
- Boost
- glog
- gflags
- protobuf
- LevelDB
- snappy
- LMDB
- HDF5
インストールについては、以下のサイトを参考に適当に brew installをする。
boost以外は。。。
Deep learning with Cuda 7, CuDNN 2 and Caffe for Digits 2 and Python on iMac with NVIDIA GeForce GT 755M/640M GPU (Mac OS X)
[ http://christopher5106.github.io/big/data/2015/07/16/deep-learning-install-caffe-cudnn-cuda-for-digits-python-on-mac-osx.html ]
boostインストール
boostについては、brewでインストールすると1.59がインストールされるが、それだとpythonからcaffeをインストールした際にセグメンテーションフォルトで落ちる。原因はboostらしく、今回は1.57をインストールした。
1.57をインストールするために、以下のファイルを/usr/local/Library/Formula以下にコピーをする。
https://raw.githubusercontent.com/Homebrew/homebrew/6fd6a9b6b2f56139a44dd689d30b7168ac13effb/Library/Formula/boost.rb
https://raw.githubusercontent.com/Homebrew/homebrew/3141234b3473717e87f3958d4916fe0ada0baba9/Library/Formula/boost-python.rb
上記ファイルをコピー後にインストール
brew install boost boost-python
検索していると、brew edit boostでファイルを修正する手順もあったが、
sha1の値があっていないなど色々問題があったので、この手順で解決した。
あとは、caffeをgit cloneしてきて、Makefile.configを適宜書き換えて、
git clone https://github.com/NVIDIA/caffe
cd caffe
vi Makefile.config
make all -j4
make test -j4
make runtest
make pycaffe
を実行すればcaffeのインストールは完了。caffeについては本家ではなく、nvidigが公開している方を利用しないと、DIGITSがきちんと動いてくれなかった。
DIGITSインストール
caffeのインストールが終われば、DIGITSインストールはあっという間に終わる。
git clone https://github.com/NVIDIA/DIGITS
cd DIGITS
pip install -r requirements.txt
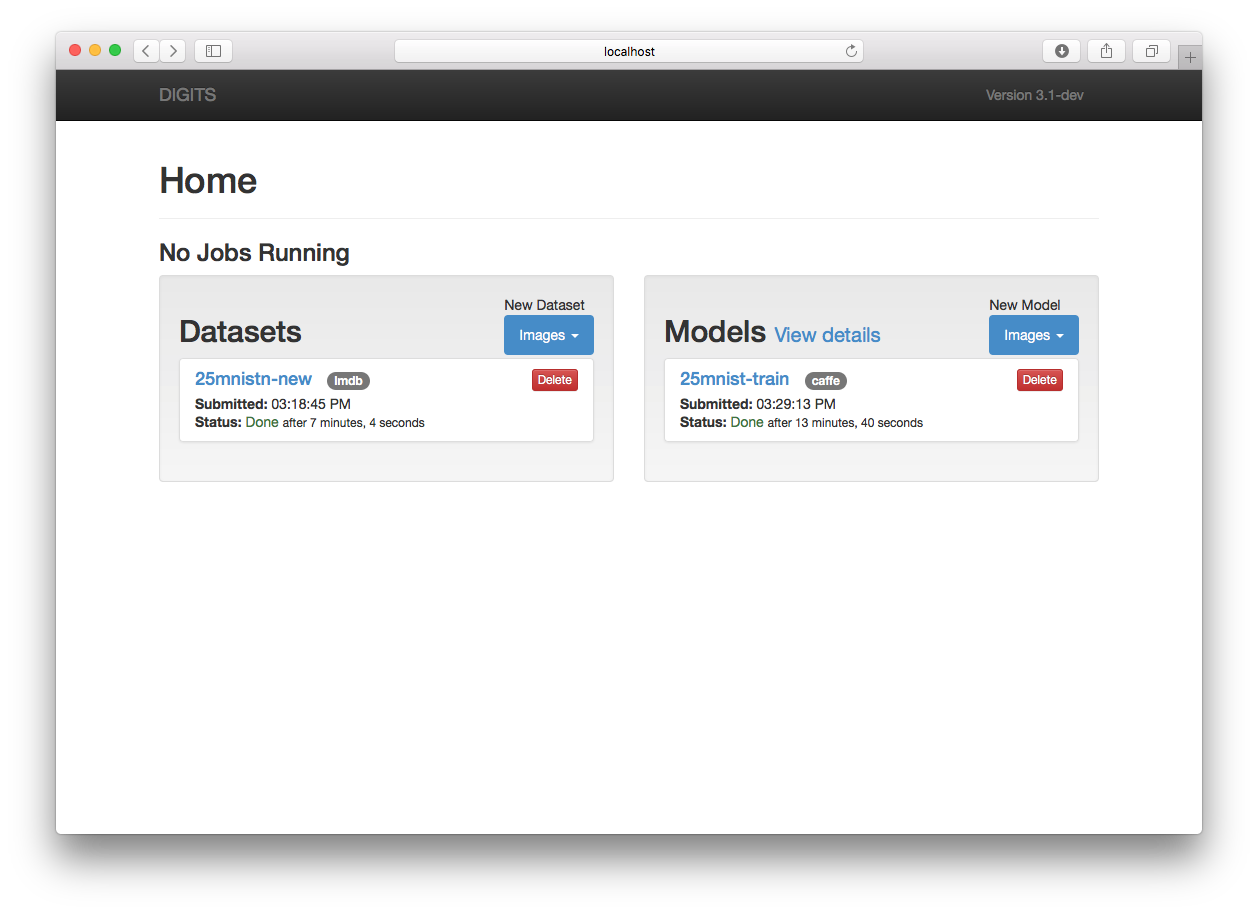
あとは、サーバを起動して、ローカルホストの5000ポートにWebブラウザでアクセスをすればGUIが表示される。
./digits-devserver
終わりに
細かい手順はいろんなところに書かれてあるので、ここでは省略している。
(試行錯誤しながらインストールしたので、ちゃんとした手順が残ってない。。。)
Makefile.configについては、何度も書き換えてはmake clean && make all -j4をやったので、Makefile.configの変更点を貼っておく。
4,5d3
< LDFLAGS := -L/usr/local/opt/openblas/lib
< CPPFLAGS := -I/usr/local/opt/openblas/include
7c5
< # USE_CUDNN := 1
---
> USE_CUDNN := 1
16,17c14
< # CUSTOM_CXX := /usr/bin/clang++
<  CUSTOM_CXX := g++
---
> # CUSTOM_CXX := g++
38,39c35
< #BLAS := atlas
< BLAS := open
---
> BLAS := atlas
45,46d40
< BLAS_INCLUDE := /usr/local/opt/openblas/include
< BLAS_LIB := /usr/local/opt/openblas/lib
55,56c49
< PYTHON_INCLUDE := /usr/local/Cellar/python/2.7.10_2/Frameworks/Python.framework/Versions/2.7/include/python2.7 \
<                 /usr/include/python2.7 \
---
> PYTHON_INCLUDE := /usr/include/python2.7 \
58,59c51
<       /usr/local/Cellar/numpy/1.10.1/lib/python2.7/site-packages/numpy/core/include
<
---
>       /usr/local/lib/python2.7/dist-packages/numpy/core/include
68,69c60
< PYTHON_LIB := /usr/local/Cellar/python/2.7.10_2/Frameworks/Python.framework/Versions/2.7/lib \
<               /usr/lib
---
> PYTHON_LIB := /usr/lib
101d91
<