Vagrant share とは?
- HTTP 経由で Vagrant にアクセスする機能
- ブラウザから Vagrant の 80 ポートにアクセスできるようになる
- Vagrant 1.5 から使用可能
使用条件
- Vagrant は version 1.5 以上であること
- login と share の plugin があること
- Vagrant が 1.5 以上ならデフォルトで入っているよう
- Vagrant cloud のアカウントを作成しておくこと
version と plugin の確認
$ vagrant -v
Vagrant 1.6.3
# plugin リストも確認
# login と share があること
$ vagrant plugin list
vagrant-login (1.0.1, system)
vagrant-omnibus (1.4.1)
vagrant-share (1.1.0, system)
Vagrant cloud
Vagrant cloud とは
- vagrant の Box 共有サイト
アカウント作成
-
以下からアカウントを作成しておく
-
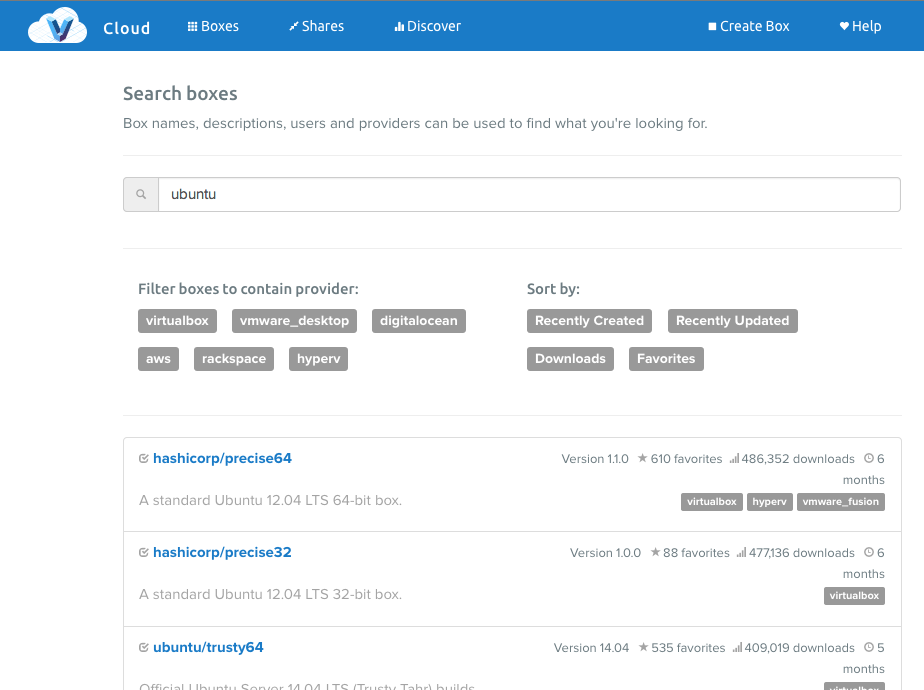
Box を探す
- ディストリビューションなどをキーワードに検索
Vagrant box の取得と起動
Vagrant box の取得
- コマンドのコピー
- 下記図参照
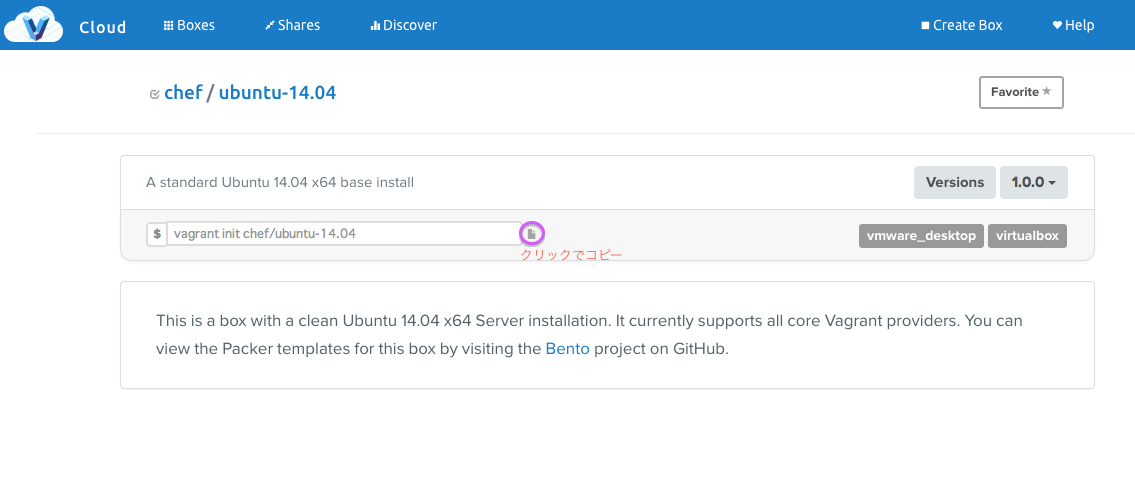
- ターミナルに貼り付け
$ vagrant init chef/ubuntu-14.04
A `Vagrantfile` has been placed in this directory. You are now
ready to `vagrant up` your first virtual environment! Please read
the comments in the Vagrantfile as well as documentation on
`vagrantup.com` for more information on using Vagrant.
Vagrantfile の修正
Vagrantfile
# -*- mode: ruby -*-
# vi: set ft=ruby :

# Vagrantfile API/syntax version. Don't touch unless you know what you're doing!
VAGRANTFILE_API_VERSION = "2"

Vagrant.configure(VAGRANTFILE_API_VERSION) do |config|
  # All Vagrant configuration is done here. The most common configuration
  # options are documented and commented below. For a complete reference,
  # please see the online documentation at vagrantup.com.

  # Every Vagrant virtual environment requires a box to build off of.
  config.vm.box = "chef/ubuntu-14.04"

  config.vm.provision "shell", inline: <<-EOT
    apt-get update
    apt-get install -y nginx
    /etc/init.d/nginx start
  EOT

  # Create a forwarded port mapping which allows access to a specific port
  # within the machine from a port on the host machine. In the example below,
  # accessing "localhost:8080" will access port 80 on the guest machine.
  config.vm.network "forwarded_port", guest: 80, host: 8080

  # Create a private network, which allows host-only access to the machine
  # using a specific IP.
  config.vm.network "private_network", ip: "192.168.33.10"
end
- provision を追加
- 起動時に Nginx をインストールするようにする
- Vagrantfile を修正したら Vagrant を起動
$ vagrant up
Vagrant share
- Vagrant cloud のアカウントでログイン
$ vagrant login
In a moment we'll ask for your username and password to Vagrant Cloud.
After authenticating, we will store an access token locally. Your
login details will be transmitted over a secure connection, and are
never stored on disk locally.

If you don't have a Vagrant Cloud account, sign up at vagrantcloud.com

Username or Email: <username>
Password (will be hidden):
You're now logged in!
- share コマンド実行
$ vagrant share
==> default: Detecting network information for machine...
default: Local machine address: 192.168.33.10
default: Local HTTP port: 80
default: Local HTTPS port: disabled
==> default: Checking authentication and authorization...
==> default: Creating Vagrant Share session...
default: Share will be at: dreadful-crow-4826
==> default: Your Vagrant Share is running! Name: dreadful-crow-4826
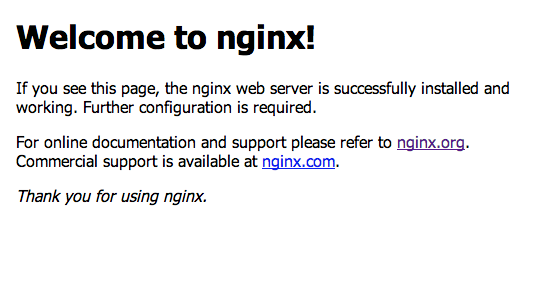
==> default: URL: http://dreadful-crow-4826.vagrantshare.com
- 一番下の URL にブラウザからアクセスすると "Welcome to nginx!" のページが見れる
- Ctrl + c で vagrant share を終了