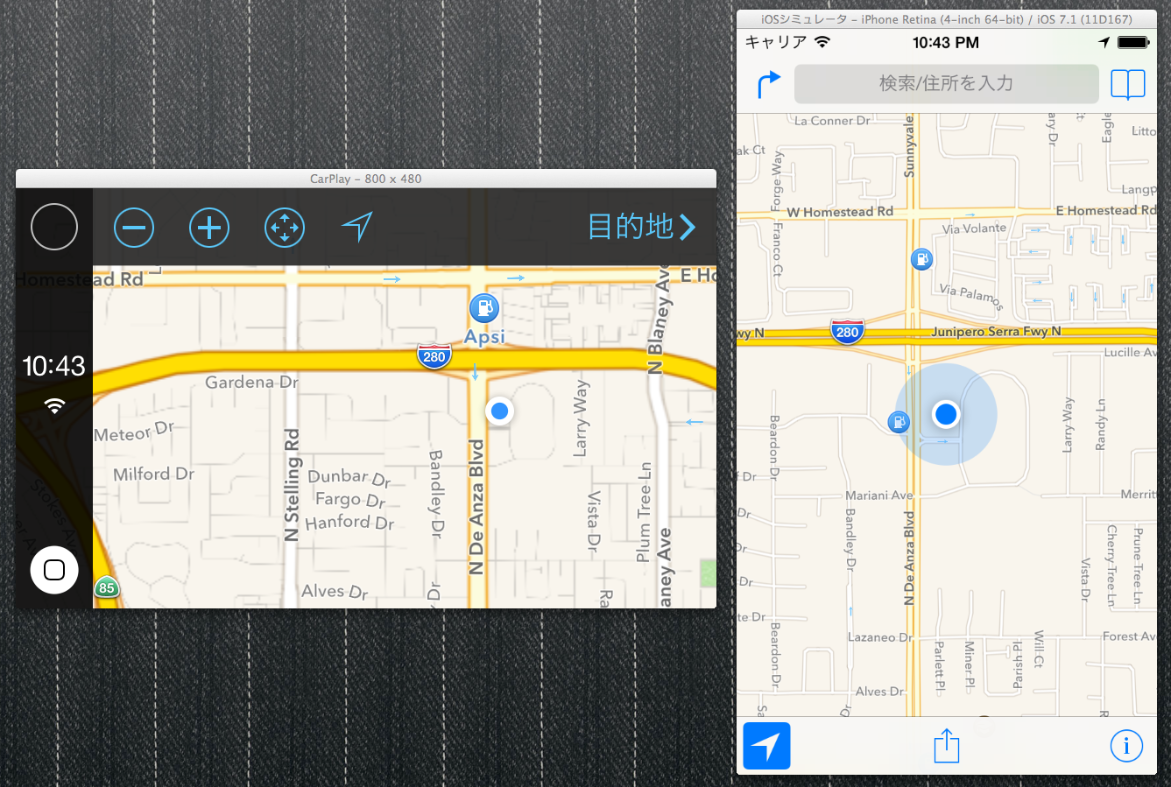
@stroughtonsmith さんが手順を公開してらっしゃったので試してみました。
外部ディスプレイに CarPlay を表示させる
OS X のルートディレクトリに空の Appleinternal という空フォルダを作成してください。
$ sudo mkdir /Appleinternal
Finder で Macintosh HD に同名のフォルダを作成してもかまいません。
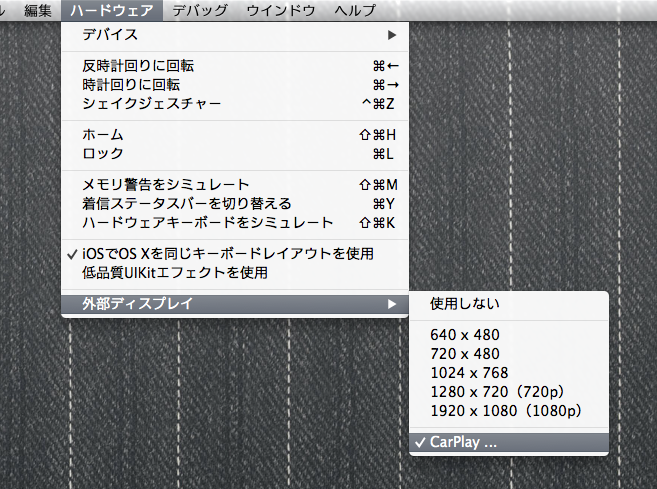
そして iOS シミュレータを再起動するとメニューのハードウェア > 外部ディスプレイに CarPlay ... という項目が表示されます。
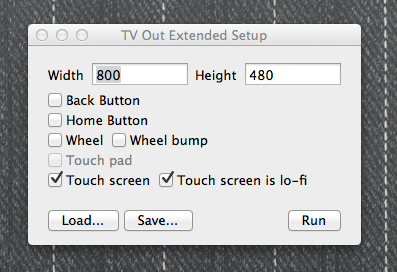
これを選択すると以下の様なウィンドウが表示されます。
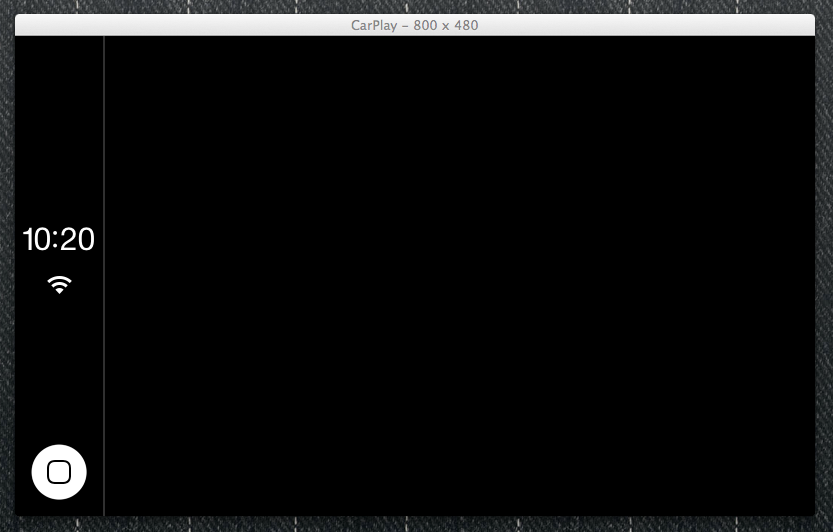
Run を押すと CarPlay のディスプレイが表示されます。
ちなみに Back Button 等を有効にすると非常に脱力系のコントロールが表示されます...是非お試しください。
Maps アプリを CarPlay に表示させる
/Applications/Xcode.app/Contents/Developer/Platforms/iPhoneSimulator.platform/Developer/SDKs/iPhoneSimulator7.1.sdk/usr/lib/libMobileGestalt.dylibをバイナリエディタで編集します。
作業前にバックアップをとっておくことをおすすめします。
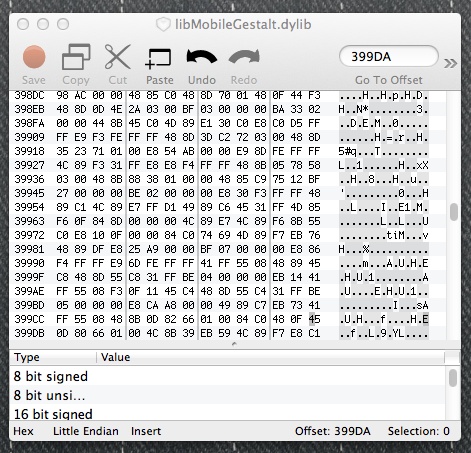
今回は 0xED を利用しました。ちなみに OS X で定番のバイナリエディタはなんなのでしょう。
libMobileGestalt.dylib を 0xED.app で開き、Go to Offset で 399DA にジャンプし 45 となっているところを 43 にし Save します。ちなみにこのアドレスの変更によって有効になるのは 64bit の iOS シミュレータのみです。
そして iOS シミュレータを再起動して Maps を起動してみましょう。
表示されました。楽しいですね。
