前回:
【mBaas】Backendeless①:Conoha VPSにBackendlessの環境を構築する
参考:
http://dev.classmethod.jp/smartphone/iphone/parse-facebook-twitter/
前回、conohaVPSにBackendlessの環境を構築したので、Twitterログインをやってみたいと思います。
アカウントの作成から、アプリのよるログインまでの流れです。
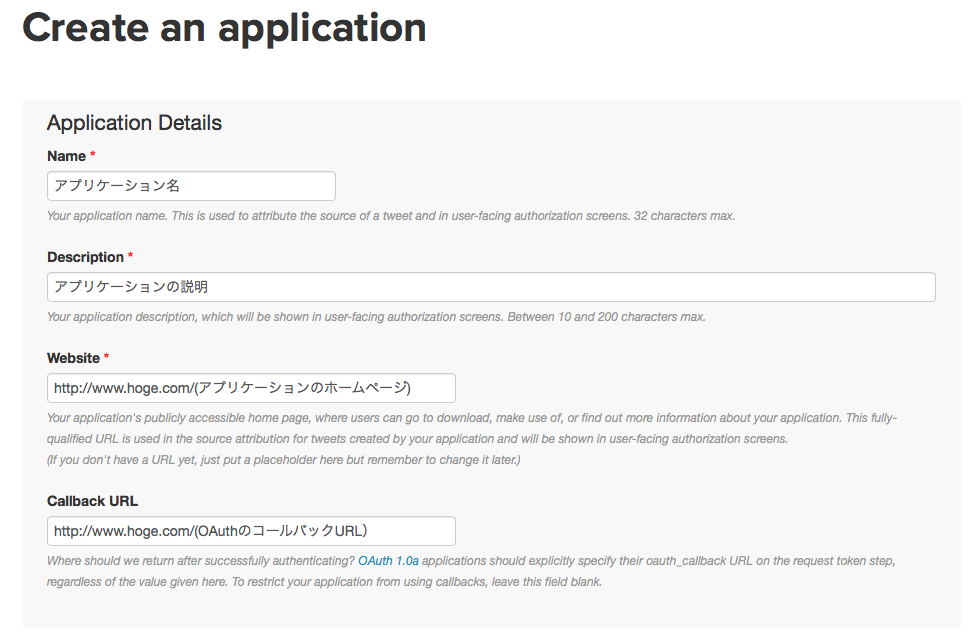
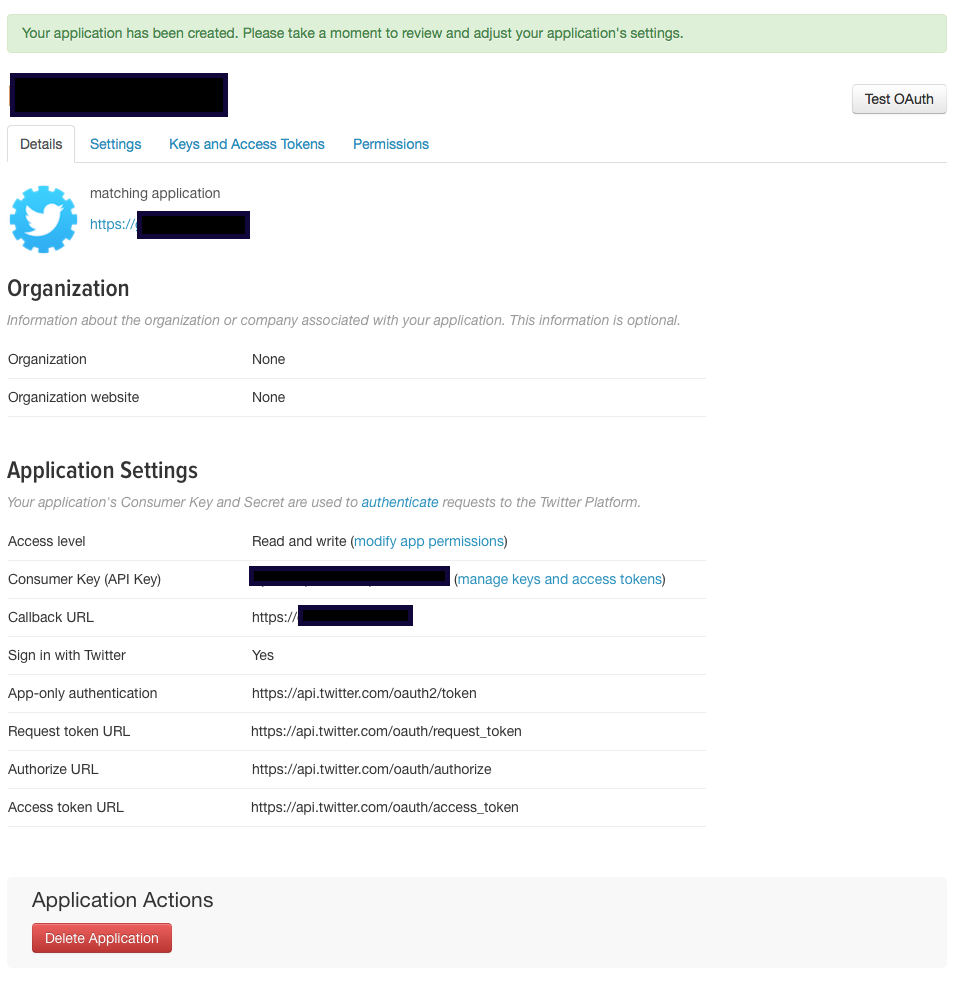
1 Twitterアプリを作成する
Twitterにログインした状態で、https://apps.twitter.com を表示する。
以下のエラーが出たので、プロフィールから携帯電話を登録して再度実行する。

※ 電話の認証ができなくて困ったときは、以下を参照(電話番号の頭「0」を省くだけ)
http://qiita.com/tk1024/items/644ead20793a6e869b83
既に登録されているアプリケーション名だとエラー時なりました。

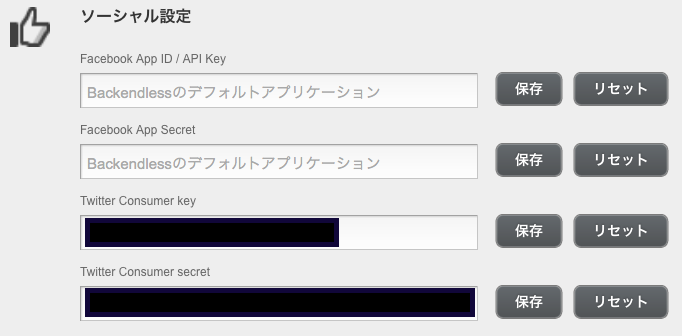
2 Backendlessのコンソール画面で、キーを登録する
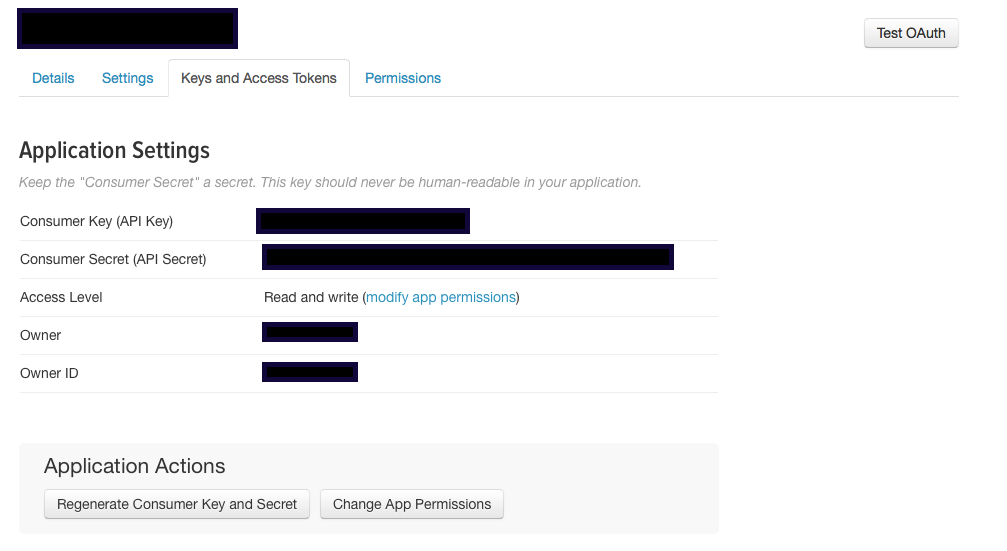
Twitterのアプリ画面から「Keys and Access Token」タグを選択する。
・「Consumer Key (API Key)」「Consumer Secret (API Secret)」をコピーする。
Backendlessのコーソール画面から、キーを設定する。
3 コンソールから実行
以下のコマンドを実行する
・「YOUR_APP_ID」と「REST_SECRET_KEY」は、アプリケーションのキーに書き換える。
(Twitterではなく、Backendlessに登録しているアプリのキー)
管理画面から確認できます。
curl -H application-id:YOUR_APP_ID -H secret-key: REST_SECRET_KEY -H application-type:REST -H Content-Type:application/json -X POST -d'{"fieldsMapping":{"userId":"twitterUserIdInBackendless", "screenName":"twitterScreenNameInBackendless"}, "redirect":true}' -v http://xxx.xxx.xxx.xxx:8080/api/v1/users/social/oauth/twitter/request_url
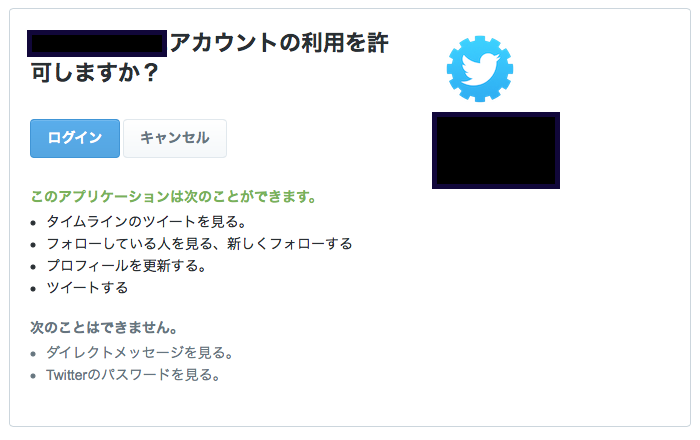
結果の中に「Location:」以降URLがあるので、コピーしてブラウザで表示する。
・ログインをするとユーザが登録される。
4 Objective-cでTwitterログインを実装する
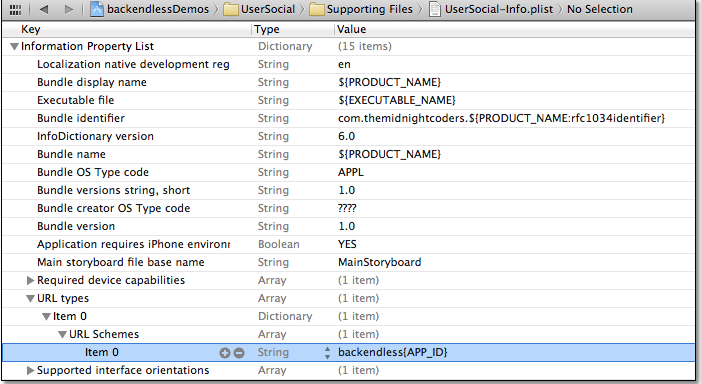
「info.plist」にURLスキマーを登録する。Twitter認証をブラウザで行ってからアプリに戻ってくるときに使用されます。
アプリの受け取り側は、
-(BOOL)application:(UIApplication *)application openURL:(NSURL *)url sourceApplication:(NSString *)sourceApplication annotation:(id)annotation
{
  BackendlessUser *user = [backendless.userService handleOpenURL:url];
  if (user) {
       // apply your logic for the successful login. For example, switch the view
  }
  return YES;
}
で、実装する。
BackendlessUser *user = [backendless.userService handleOpenURL:url];
Twitterによるログインの呼び出しは、
    // レスポンダー
    Responder *responder = [Responder responder:self
                             selResponseHandler:@selector(responseHandler:)
                                selErrorHandler:@selector(errorHandler:)];

    // フィールドマッピング
    NSDictionary *fieldsMapping = @{@"userId":@"twitterUserIdInBackendless",
                                    @"screenName":@"twitterScreenNameInBackendless"};

    // Twitter認証
    [backendless.userService easyLoginWithTwitterFieldsMapping:fieldsMapping responder:responder];
次回は、Facebookか、基本的な使い方を・・

