Raspberry PiにUSB WiFiアダプタをつけた。
少しハマったのでメモ。
Raspberry Piの起動時にWiFiにつながって欲しかった。
WiFiの設定は、
/etc/wpa_supplicant/wpa_supplicant.confと
/etc/network/interfaces
で行うみたいだが、3時間くらい試行錯誤したのだけどうまく接続することができなかった。
面倒になったので、GUIからWiFiの設定を行うことにした。
マウスがないのでvnc入れてmacからリモートデスクトップでアクセスする。
$ sudo apt-get update
$ sudo apt-get install tightvncserver
$ tightvncserver

You will require a password to access your desktops.

Password:
Warning: password truncated to the length of 8.
Verify:
Would you like to enter a view-only password (y/n)? y
Password:
Warning: password truncated to the length of 8.
Verify:
xauth:  file /home/pi/.Xauthority does not exist

New 'X' desktop is raspberrypi:1

Creating default startup script /home/pi/.vnc/xstartup
Starting applications specified in /home/pi/.vnc/xstartup
Log file is /home/pi/.vnc/raspberrypi:1.log
vnc接続用のパスワードを聞かれるので設定する。
macからはfinderでリモートデスクトップ接続できる。
finderを開いてcmd+K
vnc://xx.xx.xx.xx:5901
xxはRaspberry PiのIPアドレス。

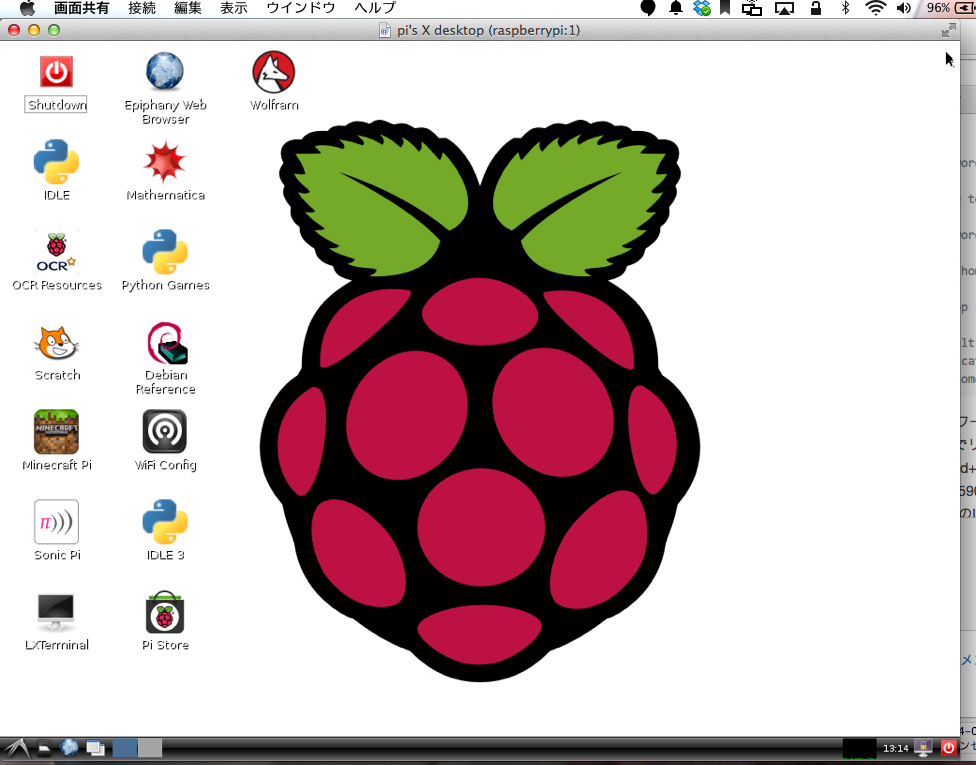
こんな感じで接続される。
デスクトップにあるWiFi Configというアイコンをダブルクリックすると、設定ツールが開く。
Adapterにwlan0が表示されていればUSB WiFiアダプタが認識されている。
Scanをクリックしてアクセスポイントをスキャンし、接続する。
これでWiFiの設定が完了する。
/etc/wpa_supplicant/wpa_supplicant.confと
/etc/network/interfaces
はこんな感じになっていた。
auto lo

iface lo inet loopback
iface eth0 inet dhcp

allow-hotplug wlan0
iface wlan0 inet manual
wpa-roam /etc/wpa_supplicant/wpa_supplicant.conf
iface default inet dhcp
ctrl_interface=DIR=/var/run/wpa_supplicant GROUP=netdev
update_config=1

network={
        ssid="SSID"
        psk="password"
        proto=RSN
        key_mgmt=WPA-PSK
        pairwise=CCMP
        auth_alg=OPEN
}
これでRaspberry Piには電源をつないでおくだけでリモートから開発することができる。
マウス、キーボードがいらないから便利。