URLベースのiCalendarをServerless Frameworkを使って定期的にGoogleカレンダーに同期する
手元のサーバが壊れてcronが実行できず困っていたので作りました。
まず利用するために必要なものは以下の4つです
- 公開されているiCalendarのURL
- サービスアカウントID(メールアドレス)
- サービスアカウントキー(JSON)
- 同期先のGoogleカレンダーID(メールアドレス)
本当は公開されているiCalendarのURLがあればGoogle Calendarの機能だけで連携できるはずなんですが、自分のiCalendar URLではダメだったのでこれを使っています。
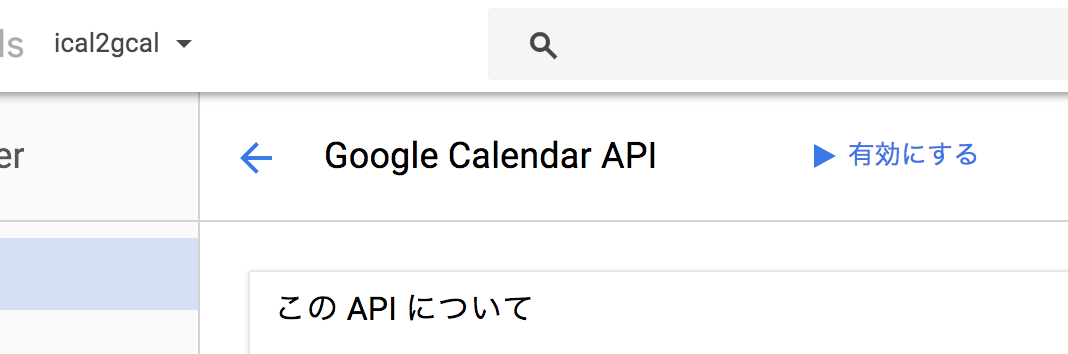
Google Developer ConsoleのAPI Managerで新しいプロジェクトを作成する

Google Calendar APIを有効にする
新しいサービスアカウントとサービスアカウントキーを作成する


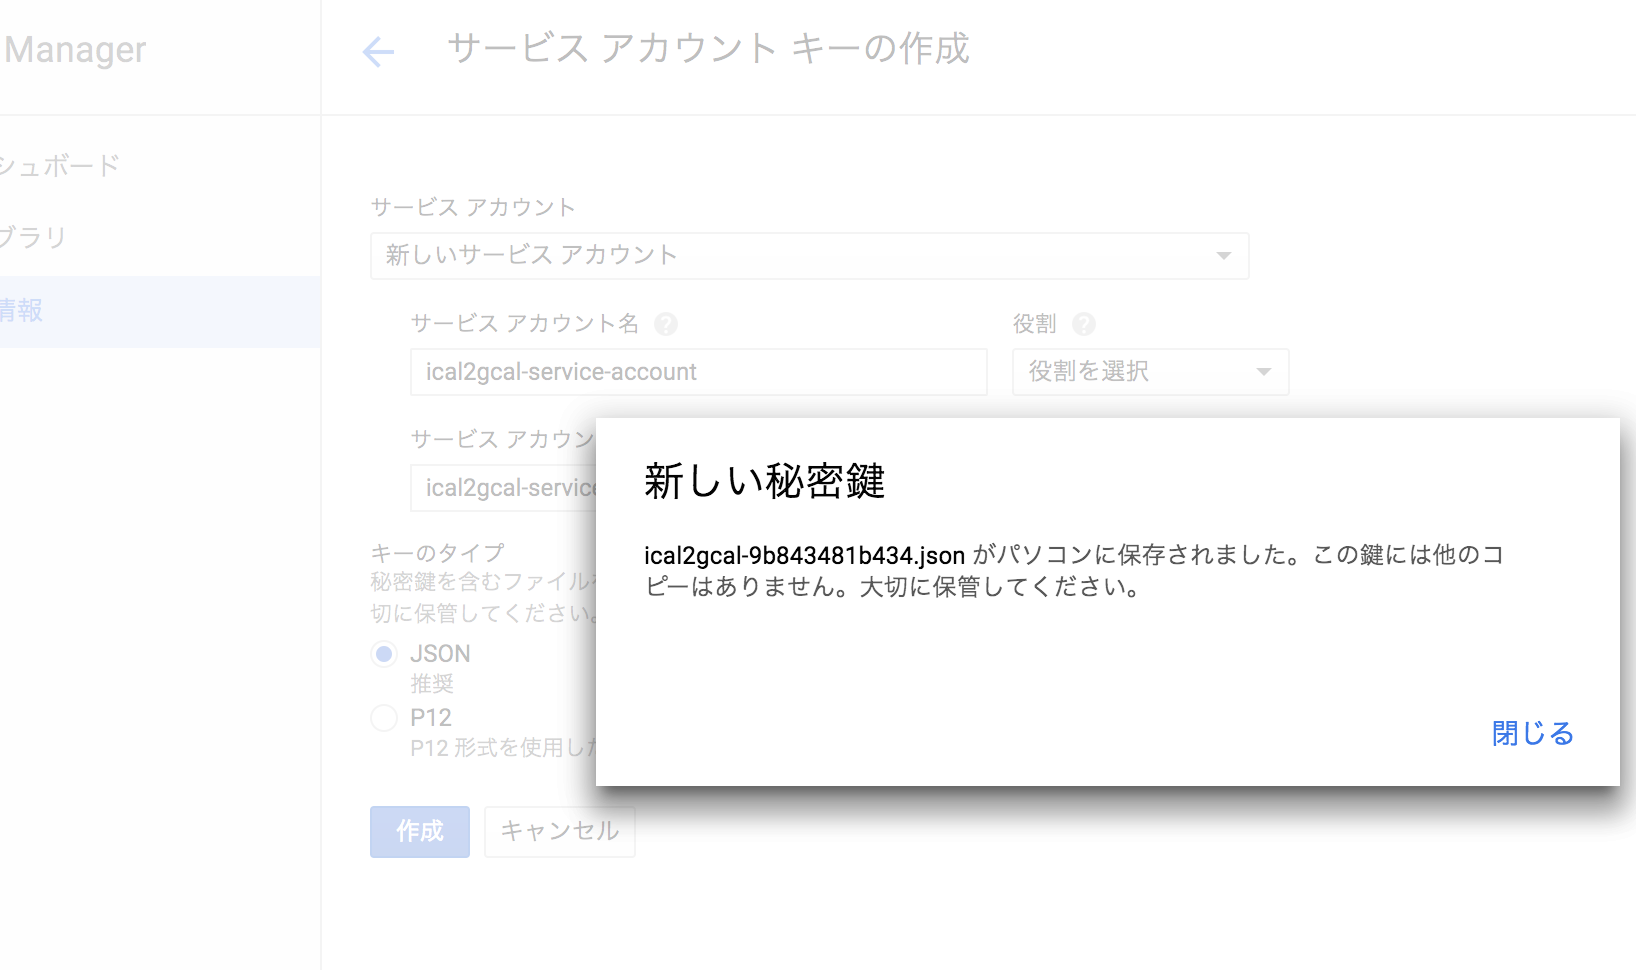
ここで ** サービスアカウントキー(JSON)** を取得できます。また、JSONの中を見れば client_email に サービスアカウントID(メールアドレス) を確認できます。
Googleカレンダーで新しいカレンダーを作成する
作成時に「特定ユーザーと共有」に サービスアカウントID(メールアドレス) を「予定の変更権限」つきで登録します。

作成後に 同期先のGoogleカレンダーID(メールアドレス) を確認できます。
serverless-ical2gcal のデプロイ
$ git clone
https://github.com/k1LoW/serverless-ical2gcal
$ cd serverless-ical2gcal/
$ npm install
$ cp config.example.js config.js
$ cp [サービスアカウントキー(JSON)] key.json
$ [config.jsを編集]
config.jsは以下のような感じで編集してください。
'use strict';
module.exports.config = () => {
    return {
        keyPath: '[サービスアカウントキー(JSON)のパス 例: ./key.json]',
        calendarId: '[同期先のGoogleカレンダーID(メールアドレス)]',
        icalUrl: '[公開されているiCalendarのURL]',
        timeZone: 'Asia/Tokyo'
    };
};
ここまでで、試しに同期してみます。
$ AWS_PROFILE=xxxxxxxx $(npm bin)/sls invoke local -t sync
うまく同期されればOK
あとは、デプロイして終わりです。
$ AWS_PROFILE=xxxxxxxx $(npm bin)/sls deploy
定期同期も15分間隔でやってくれますのでcronいらずです。
サーバーレス(管理レス)って良いですね。