【注意!】この記事はRails 5.0.0.beta1を対象にしています。最新のRails 5では仕様が変わっている可能性もあるので注意してください。
はじめに
先日、Rails 5のAction Cableを使ったシンプルなチャットアプリの作り方をDHH氏がYouTubeで公開していました。
Rails 5: Action Cable demo - YouTube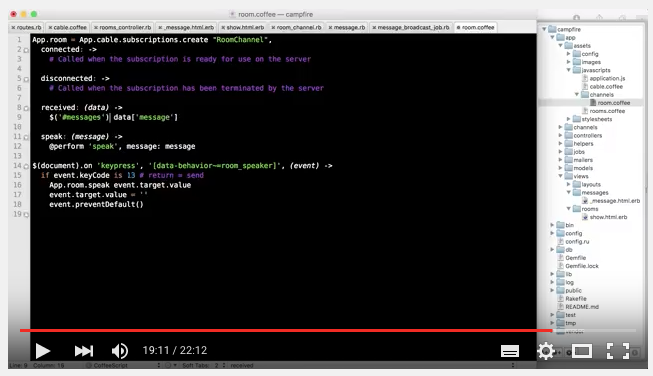
動画を見ながら僕もコードを写経してみたので、その内容をこちらで紹介してみます。
なお、ここで紹介するのはコードだけで、DHH氏の発言は完全に再現していません。
発言内容を確認したい人はオリジナルの動画をチェックしてみてください。
チャットアプリの完成形
今回は下のような非常にシンプルなチャットアプリを作成します。
ソースコード
今回作ったコードはGitHubにアップしています。
コードを打ち込む時間がない人は、ダウンロードして動作確認することも可能です。
実行環境
実行環境は以下の通りです。
- Ruby 2.2.3
- Rails 5.0.0.beta1
- Redis 3.0.6
Redisが必要な点に注意してください。
Macユーザーの方はbrew install redisでインストールできるはずです。
それでは以下が本編です!
アプリケーションの作成
Railsのバージョンを指定して campfire という名前のアプリケーションを作成します。
--skip-springを指定しているのはベータ版に問題があるためらしく、最終リリースでは不要になるそうです。
$ rails _5.0.0.beta1_ new campfire --skip-spring
$ cd campfire
Roomsコントローラの作成
showというアクションを持つ、Roomsコントローラを作成します。
$ rails g controller rooms show
rootを'rooms#show'に変更します。
Rails.application.routes.draw do
  root to: 'rooms#show'

  # For details on the DSL available within this file, see http://guides.rubyonrails.org/routing.html

  # Serve websocket cable requests in-process
  # mount ActionCable.server => '/cable'
end
試しにサーバーを起動します。
$ rails server
=> Booting Puma
=> Rails 5.0.0.beta1 application starting in development on http://localhost:3000
=> Run `rails server -h` for more startup options
=> Ctrl-C to shutdown server
I, [2015-12-22T03:40:45.694590 #13123]  INFO -- : Celluloid 0.17.2 is running in BACKPORTED mode. [ http://git.io/vJf3J ]
Puma 2.15.3 starting...
* Min threads: 0, max threads: 16
* Environment: development
* Listening on tcp://localhost:3000
"Puma 2.15.3 starting"と表示されている点に注目してください。
Action Cableの開発時は同一プロセスでマルチスレッド処理を実行できるサーバーが必要なので、開発サーバーがWebrickからPumaに変更されています。
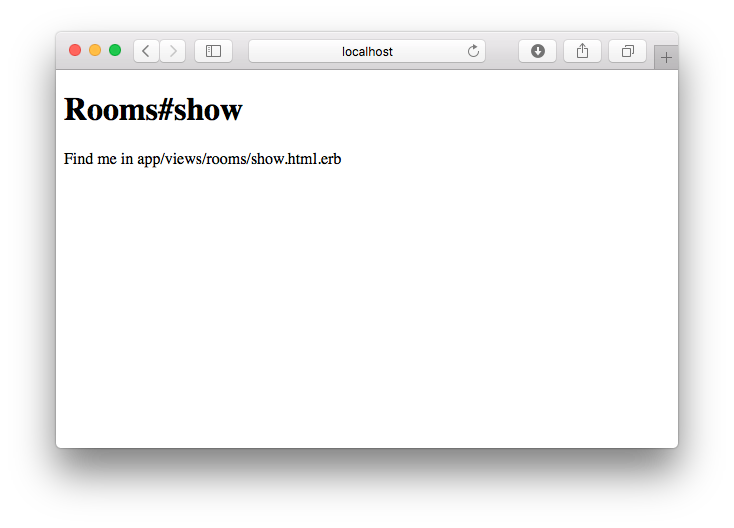
http://localhost:3000 を開くと次のようになります。(何の変哲もない画面です)
Messageモデルの作成
contentという属性を持つ、Messageクラスを作成します。
Rails 5からmigrateのコマンドが rake ではなく、 rails に変わっている点に注意してください。
$ rails g model message content:text
$ rails db:migrate
Viewの作成
Roomsコントローラを編集し、Messageの配列をインスタンス変数に設定します。
class RoomsController < ApplicationController
  def show
    @messages = Message.all
  end
end
app/views/messages/_message.html.erbを作成します。
ここでは単純に1件のMessageを出力するだけです。
<div class="message">
  <p><%= message.content %></p>
</div>
app/views/rooms/show.html.erbを編集して、Messageの一覧を表示できるようにします。
<h1>Chat room</h1>

<div id="messages">
  <%= render @messages %>
</div>
rails consoleからテストデータを登録します。
$ rails console
> Message.create! content: 'Hello world!'
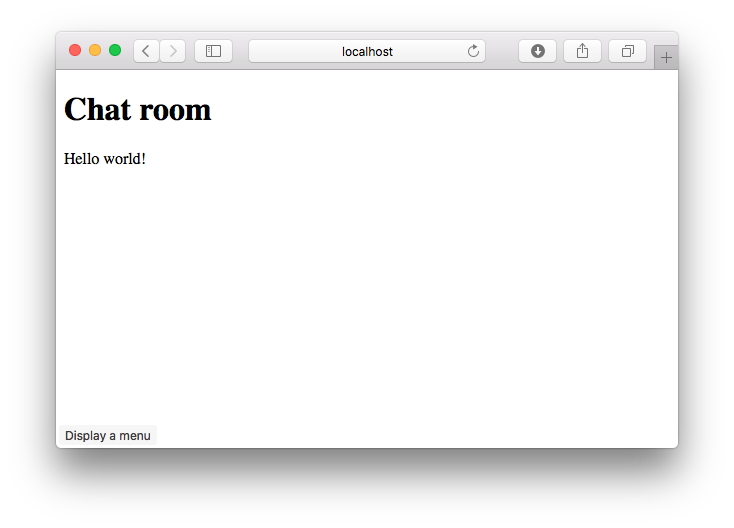
ブラウザをリロードすると、Messageが表示されます。(今のところ普通のRailsアプリケーションです)
Roomチャンネルの作成
speakというアクションを持つ、Roomチャンネルを作成します。
rails g channel room speakというコマンドを実行すると、以下の通り2つのファイルが作成されます。
$ rails g channel room speak
    create  app/channels/room_channel.rb
    create  app/assets/javascripts/channels/room.coffee
app/channels/room_channel.rb はサーバーサイドの処理を受け持つチャンネルです。
# Be sure to restart your server when you modify this file. Action Cable runs in an EventMachine loop that does not support auto reloading.
class RoomChannel < ApplicationCable::Channel
  def subscribed
    # stream_from "some_channel"
  end

  def unsubscribed
    # Any cleanup needed when channel is unsubscribed
  end

  def speak
  end
end
app/assets/javascripts/channels/room.coffee はクライアントサイドの処理を受け持つチャンネルです。
App.room = App.cable.subscriptions.create "RoomChannel",
  connected: ->
    # Called when the subscription is ready for use on the server

  disconnected: ->
    # Called when the subscription has been terminated by the server

  received: (data) ->
    # Called when there's incoming data on the websocket for this channel

  speak: ->
    @perform 'speak'
Action Cableを有効にするため、mount ActionCable.server => '/cable' のコメントを外します。
Rails.application.routes.draw do
  # (省略)

  # Serve websocket cable requests in-process
  mount ActionCable.server => '/cable'
end
さらに、app/assets/javascripts/cable.coffeeにある最後の2行のコメントを外します。
# Action Cable provides the framework to deal with WebSockets in Rails.
# You can generate new channels where WebSocket features live using the rails generate channel command.
#
# Turn on the cable connection by removing the comments after the require statements (and ensure it's also on in config/routes.rb).
#
# = require action_cable
# = require_self
# = require_tree ./channels
#
@App ||= {}
App.cable = ActionCable.createConsumer()
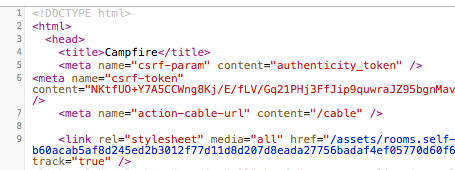
ブラウザをリロードしてHTMLソースを表示すると、以下のように表示されます。
<meta name="action-cable-url" content="/cable">というmetaタグに注目してください。
ローカルでは同じサーバーにアクセスするので、"/cable" となっていますが、本番環境で処理をスケールさせたいときは独立したサーバーのURLを指定できます。
Roomチャンネルの動作確認
ブラウザのJavaScriptコンソールから App.room.speak() を呼びだします。
ブラウザ上では何も変化がありませんが、サーバーのログには "RoomChannel#speak" が表示されています。
このことから、クライアントからサーバーに通信できていることがわかります。
speakアクションの設定
app/assets/javascripts/channels/room.coffeeで、クライアントサイドのspeakアクションを定義します。
ここではサーバーサイドのspeakアクションを呼びだし、messageをパラメータとして渡しています。
App.room = App.cable.subscriptions.create "RoomChannel",
  # (省略)

  speak: (message) ->
    @perform 'speak', message: message
次に、app/channels/room_channel.rbを編集して、サーバーサイドのspeakアクションを定義します。
ここではクライアントから送信されたmessageデータを受け取り、全クライアントへブロードキャストしています。
また、subscribed メソッドの中で、stream_from "room_channel"を呼んでいる点にも注目してください。
"room_channel"というチャンネル名はspeakメソッド内でも使われています。
class RoomChannel < ApplicationCable::Channel
  def subscribed
    stream_from "room_channel"
  end

  # (省略)

  def speak(data)
    ActionCable.server.broadcast 'room_channel', message: data['message']
  end
end
さらに、app/assets/javascripts/channels/room.coffeeを編集し、サーバーからデータを受け取ったときの動きを定義します。
ここでは単純に受け取ったデータをアラートで表示します。
App.room = App.cable.subscriptions.create "RoomChannel",
  # (省略)

  received: (data) ->
    alert data['message']

  # (省略)
では動作確認してみましょう。
まず、Redisサーバーを起動します。
$ redis-server
次に、Railsサーバーを再起動します。
$ rails server
=> Booting Puma
=> Rails 5.0.0.beta1 application starting in development on http://localhost:3000
=> Run `rails server -h` for more startup options
=> Ctrl-C to shutdown server
Puma 2.15.3 starting...
* Min threads: 0, max threads: 16
* Environment: development
* Listening on tcp://localhost:3000


Started GET "/cable" for ::1 at 2015-12-22 04:16:44 +0900
  ActiveRecord::SchemaMigration Load (0.1ms)  SELECT "schema_migrations".* FROM "schema_migrations"
Started GET "/cable/" [WebSocket] for ::1 at 2015-12-22 04:16:44 +0900
RoomChannel is transmitting the subscription confirmation
RoomChannel is streaming from room_channel
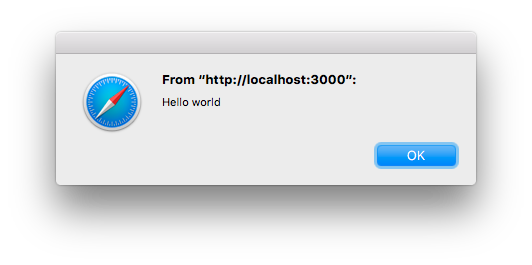
ブラウザをリロードし、ブラウザのJavaScriptコンソールから App.room.speak('Hello world') と入力します。
下図のようにアラートが表示されれば、クライアントとサーバーがAction Cableで通信できています。
フォームを使ったデータの送信
では次に、ブラウザ内のフォームからデータを送信できるようにしましょう。
まず、app/views/rooms/show.html.erbにフォーム(<form>~</form>)を追加します。
<h1>Chat room</h1>

<div id="messages">
  <%= render @messages %>
</div>

<form>
  <label>Say something:</label><br>
  <input type="text" data-behavior="room_speaker">
</form>
次に、テキストボックスのkeypressイベントを定義します。
ここではリターンキーが押されたときに、Roomチャンネルのspeakアクションを実行しています。
App.room = App.cable.subscriptions.create "RoomChannel",
  # (省略)

$(document).on 'keypress', '[data-behavior~=room_speaker]', (event) ->
  if event.keyCode is 13 # return = send
    App.room.speak event.target.value
    event.target.value = ''
    event.preventDefault()
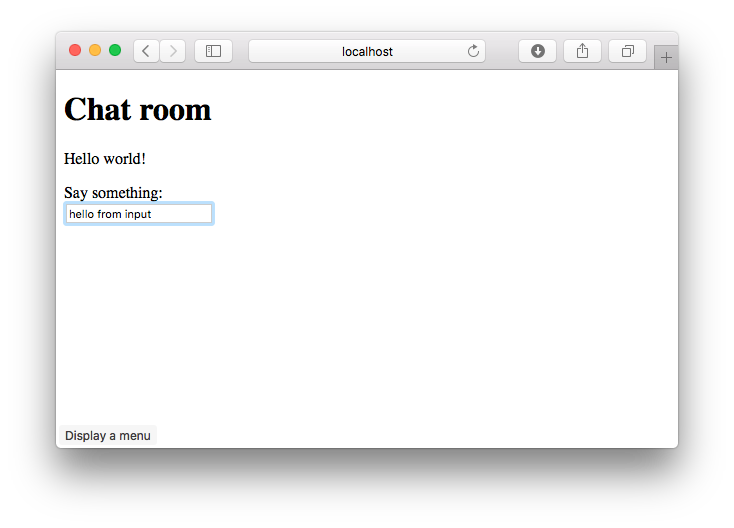
この状態でブラウザをリロードします。
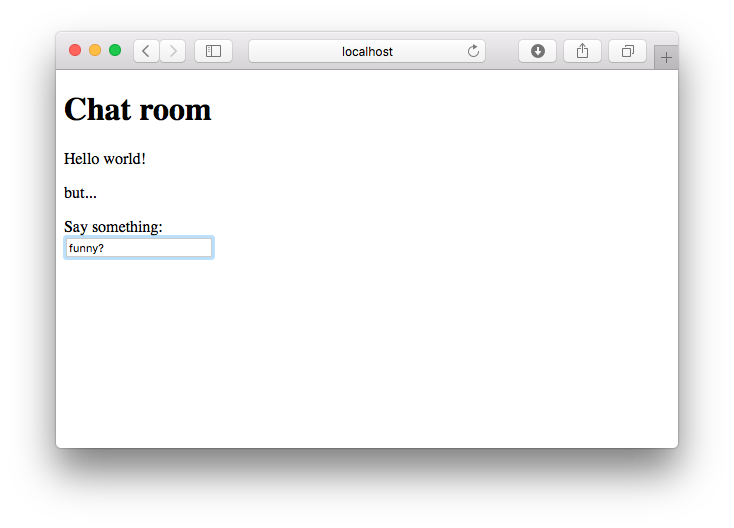
テキストボックスに文字を入力します。
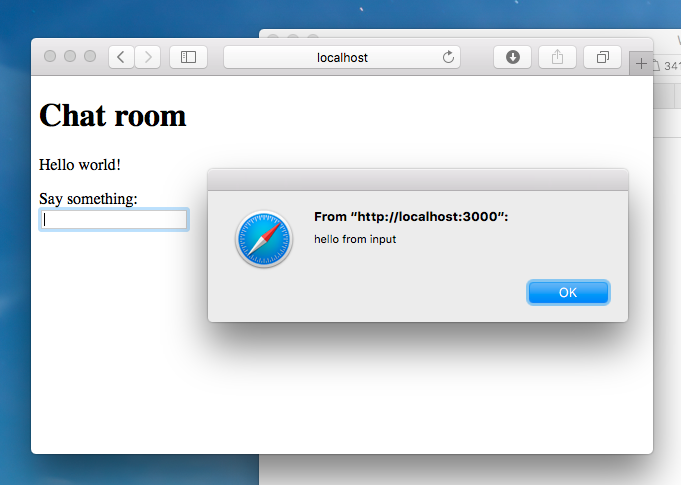
リターンキーを押すと、入力値がアラートで表示されます。
データの保存とブロードキャスト処理の改善
このままではmessageが保存されないので、データベースに保存するようにしましょう。
まず、app/channels/room_channel.rbを編集し、speakアクションが呼ばれたら、messageをデータベースに保存するようにします。
class RoomChannel < ApplicationCable::Channel
  # (省略)

  def speak(data)
    Message.create! content: data['message']
  end
end
次に、Messageモデルのコールバックを定義し、データが作成されたら非同期でブロードキャスト処理を実行するようにします。
after_createではなく、after_create_commitを使っている点に注意してください。
トランザクションをコミットしたあとでブロードキャストしないと、他のクライアントからデータが見えない恐れがあります。
class Message < ApplicationRecord
  after_create_commit { MessageBroadcastJob.perform_later self }
end
続いて、非同期でブロードキャストするためのMessageBroadcastジョブを作成します。
$ rails g job MessageBroadcast
app/jobs/message_broadcast_job.rbのperformメソッドでブロードキャストを実行します。
このとき、messageに単純な文字列ではなく、messages/messageパーシャルビューのHTMLを返している点に注目してください。(render_messageメソッドを参照)
ApplicationController.renderer.renderメソッドを使うと、コントローラ以外の場所でビューをレンダリングできます。
class MessageBroadcastJob < ApplicationJob
  queue_as :default

  def perform(message)
    ActionCable.server.broadcast 'room_channel', message: render_message(message)
  end

  private
    def render_message(message)
      ApplicationController.renderer.render(partial: 'messages/message', locals: { message: message })
    end
end
では、動作確認してみましょう。
Railsサーバーを再起動し、ブラウザをリロードします。
テキストボックスに文字列を入力し、リターンキーを押します。
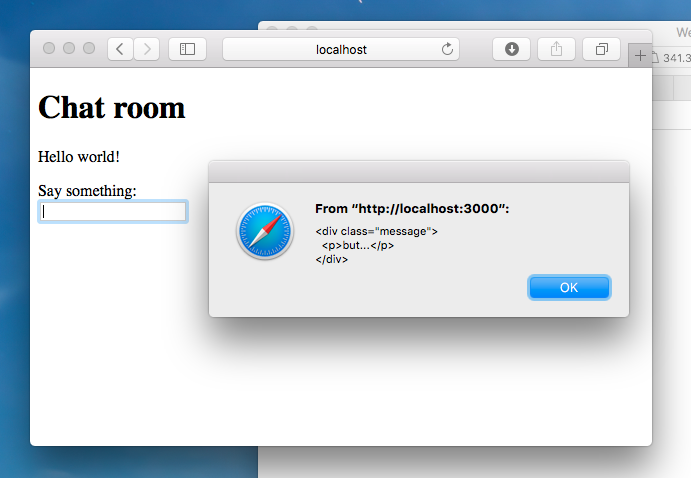
messages/messageパーシャルビューのHTMLがアラートで表示されました。
サーバーからデータを受け取ったらブラウザ内の表示を書き換える
最後に、サーバーからデータを受け取ったら、アラートではなく、ブラウザ内の表示を更新するようにしましょう。
app/assets/javascripts/channels/room.coffeeのreceivedの部分を以下のように変更します。
ここではjQueryを使って、サーバーから受け取ったHTMLを <div id="messages"> 内の最後に追記しています。
App.room = App.cable.subscriptions.create "RoomChannel",
  # (省略)

  received: (data) ->
    $('#messages').append data['message']

  # (省略)
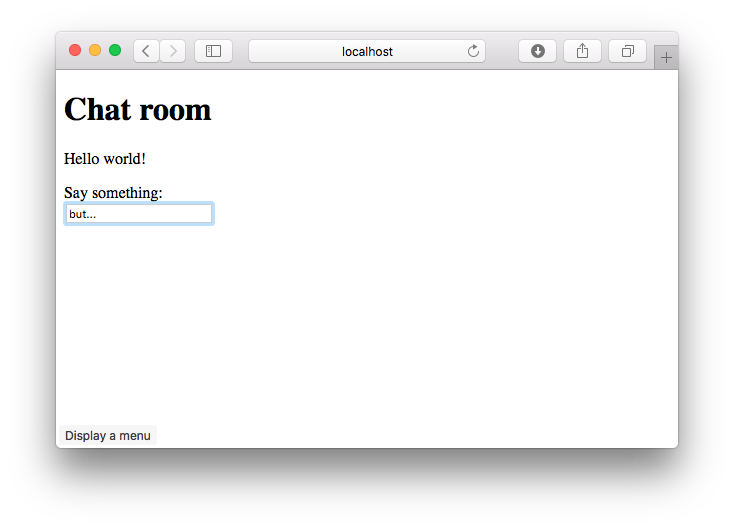
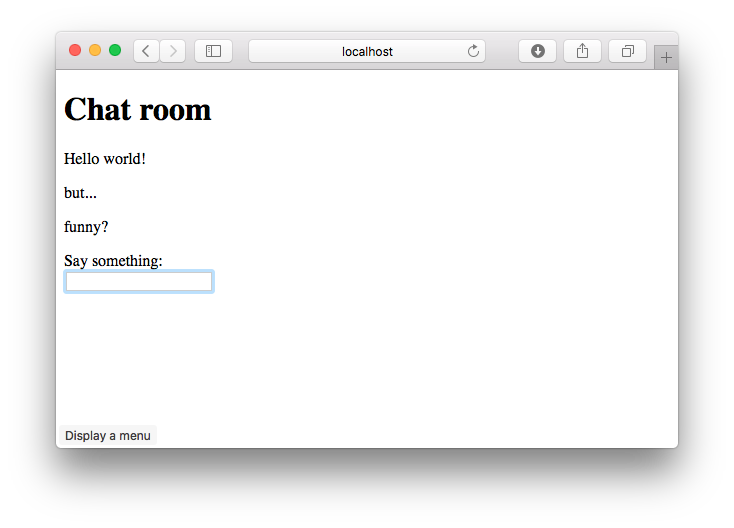
ブラウザをリロードし、文字列を入力します。
リターンキーを押すと、ブラウザの表示が更新されます。
これでチャットアプリの完成です!
ログの内容
文字列を入力し、リターンキーを押したときのログです。
サーバーサイドの処理が詳しく表示されています。
RoomChannel is transmitting the subscription confirmation
RoomChannel is streaming from room_channel
RoomChannel#speak({"message"=>"funny?"})
   (0.2ms)  begin transaction
  SQL (0.3ms)  INSERT INTO "messages" ("content", "created_at", "updated_at") VALUES (?, ?, ?)  [["content", "funny?"], ["created_at", 2015-12-21 19:42:13 UTC], ["updated_at", 2015-12-21 19:42:13 UTC]]
   (2.1ms)  commit transaction
[ActiveJob]   Message Load (0.1ms)  SELECT  "messages".* FROM "messages" WHERE "messages"."id" = ? LIMIT ?  [["id", 3], ["LIMIT", 1]]
[ActiveJob] [MessageBroadcastJob] [9e07cdd6-09fb-4b57-b629-b64fd2a2127e] Performing MessageBroadcastJob from Inline(default) with arguments: #<GlobalID:0x007fb06321ef60 @uri=#<URI::GID gid://campfire/Message/3>>
[ActiveJob] [MessageBroadcastJob] [9e07cdd6-09fb-4b57-b629-b64fd2a2127e]   Rendered messages/_message.html.erb (0.1ms)
[ActiveJob] [MessageBroadcastJob] [9e07cdd6-09fb-4b57-b629-b64fd2a2127e] [ActionCable] Broadcasting to room_channel: {:message=>"<div class=\"message\">\n  <p>funny?</p>\n</div>\n"}
RoomChannel transmitting {"message"=>"<div class=\"message\">\n  <p>funny?</p>\n</div>\n"} (via streamed from room_channel)
[ActiveJob] [MessageBroadcastJob] [9e07cdd6-09fb-4b57-b629-b64fd2a2127e] Performed MessageBroadcastJob from Inline(default) in 7.6ms
[ActiveJob] Enqueued MessageBroadcastJob (Job ID: 9e07cdd6-09fb-4b57-b629-b64fd2a2127e) to Inline(default) with arguments: #<GlobalID:0x007fb06323f738 @uri=#<URI::GID gid://campfire/Message/3>>
2つのブラウザを使ってチャットしてみる
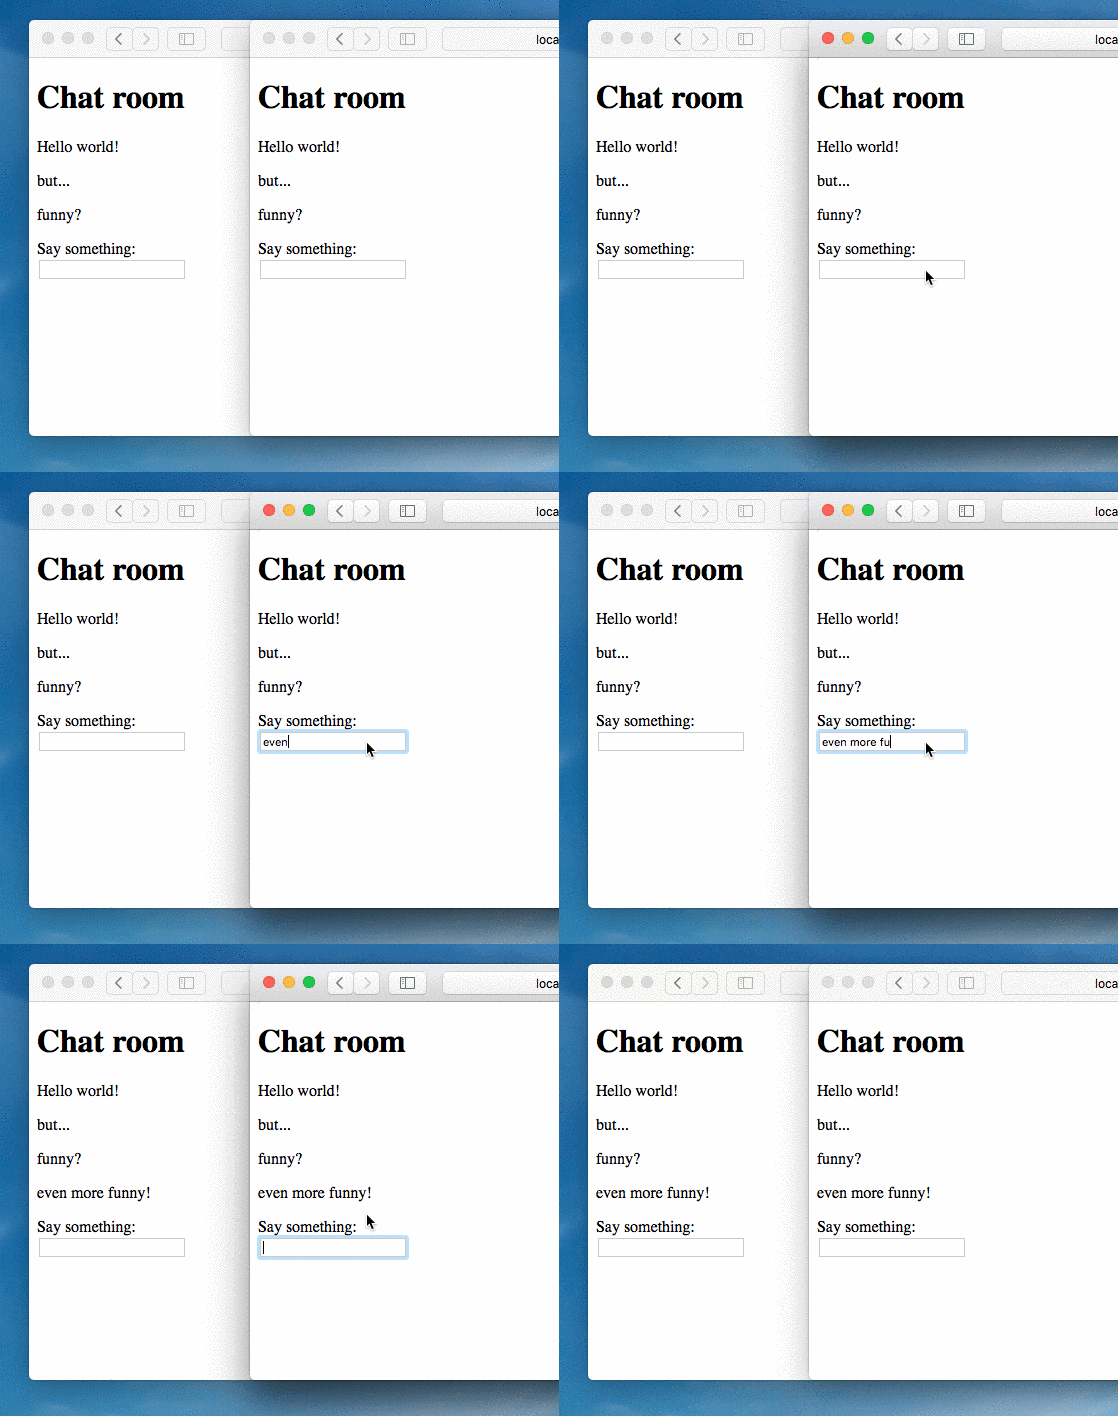
次のように2つのブラウザを使ってチャットしてみましょう。
片方のブラウザで入力した内容が、もう片方のブラウザにリアルタイムに反映されます!
まとめ
以上のようにAction Cableを使えば、簡単にチャットアプリを開発することができました。
Action Cableを使ってサーバーとクライアントがやりとりする際に、Modelやパーシャルビューをそのまま利用できている点にも注目してください。
以下のようにパーシャルビューでキャッシュを使うことも可能です。(と、DHH氏は動画の最後に語っていました)
<% cache message do %>
  <div class="message">
    <p><%= message.content %></p>
  </div>
<% end %>
みなさんもAction Cableを使って面白いRailsアプリケーションを開発してみましょう!
おまけ:3分ちょっとでチャットアプリを作る!
DHH氏のデモ動画は丁寧に解説を入れながら進めているので、22分ほどの長さがあります。
解説を入れずに、最短コースで開発したらどれくらいの時間で実装できるんだろう?と思い、試しに自分でタイムアタックしてみました。
その結果、3分15秒で完成しました!
そのときの様子をYouTubeにアップしています。(BGMが鳴るので音量に注意)
Chat room in 4 minutes with Rails 5 and Action Cable - YouTube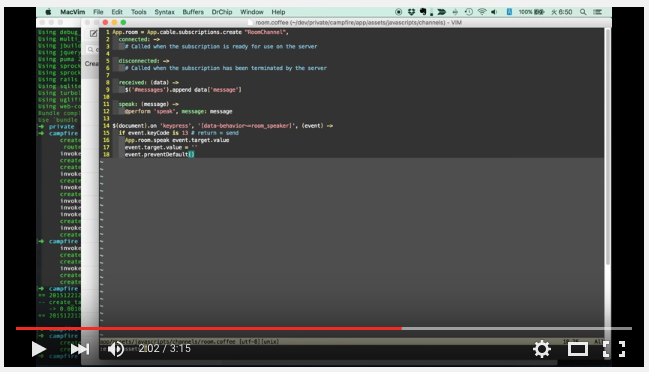
3分を切りたかったけど、無理だった・・・。
あ、でもコードは手打ちじゃなくてコピペしています。
ズルしてごめんなさいw
HerokuでAction Cableを動かす(検証用)
@zunda さんがHerokuで動かすためのPull requestを送ってくれました。
どうもありがとうございます!
主な変更点は以下の通りです。
# WebSocketの接続元の制限を緩める
config.action_cable.allowed_request_origins = [ /https?:\/\/.*/ ]
url: <%= ENV['REDIS_URL'] || 'redis://localhost:6379/1' %>
また、HerokuにRedis add-on(Hobby Devなら無料)を追加する必要があります。
$ heroku addons:create heroku-redis
【注意:上記の設定はあくまで検証用です】
@zunda さんがPull requestのコメントに書いてくれたとおり、上記の設定では本番環境で使うには接続制限が緩すぎる可能性があります。
あくまで検証用(動作確認用)の設定と考えてください。
あわせて読みたい
Rails 5の新機能を紹介していたRails公式ブログの内容を翻訳してみました。
こちらもあわせてどうぞ!
Rails 5.0で追加される主な新機能(Ruby on Rails公式ブログより) - Qiita
こちらはRails 4からRails 5へのアップグレード手順をまとめた記事です。
これでもう怖くない!?Rails 4.1からRails 5.0にアップグレードする手順を動画付きで解説します - Qiita
