Siv3Dでカメラアプリを作る
みなさんは自撮りしますか?僕はしません。
最近、自撮りをするときに顔を熊にしてくれるアプリがあるそうです。(SN〇W
今回はそれをSiv3Dで作りたいと思います。
1.カメラを起動
まず、カメラを起動します。
Siv3Dでカメラを使うには、Webcamクラスを使います
カメラ起動
#include<Siv3D.hpp>
void Main()
{
    Webcam webc;
    if (!webc.open(0, Size(640, 480)))
    {
        return;
    }
    if (!webc.start())
    {
        return;
    }

    Image image;
    DynamicTexture cameraTexture;

    while (System::Update())
    {
        if (webc.hasNewFrame())
        {
            webc.getFrame(image);
            cameraTexture.fill(image);
        }
        cameraTexture.draw();
    }
}
これでWebカメラから画像を取得できます。
2.顔を取得
続いて、カメラからとった画像から顔の個数、大きさ、座標を取得します。
顔を取得する関数
Imaging::DetectFaces(image);
Imageing::DetectFacesにWebカメラでとった画像をいれると顔の座標、顔の大きさのArray<Rect>を返します。
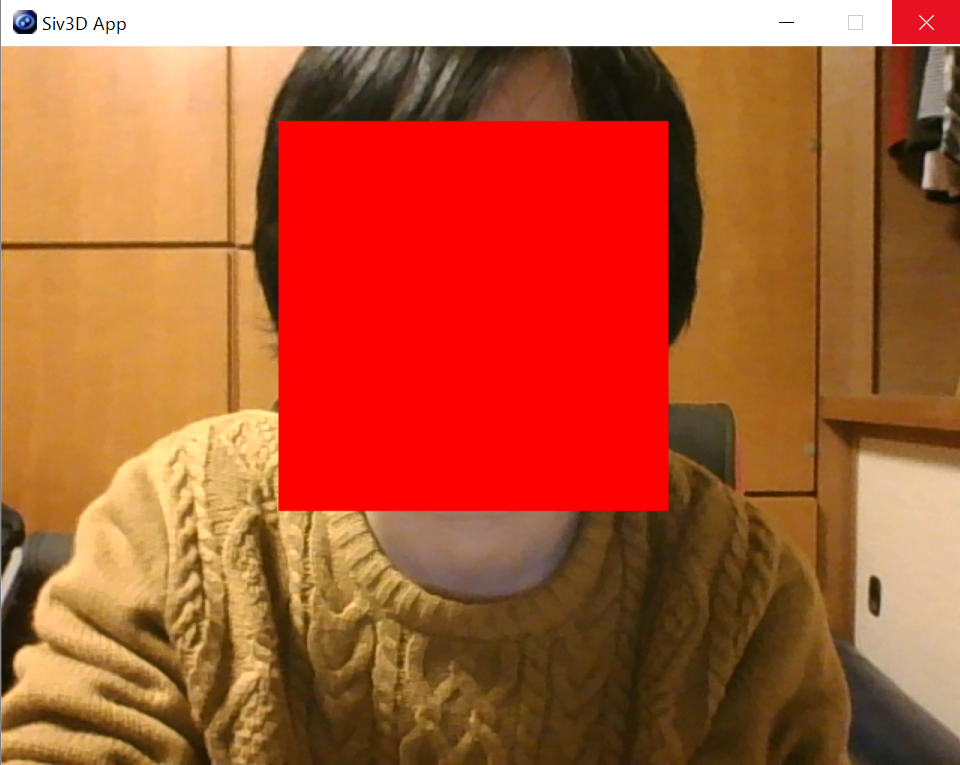
これを使って、まず、顔の部分を塗りつぶしてみましょう。
とはいっても、Array<Rect>を全部drawするだけです。
顔を塗りつぶす
# include <Siv3D.hpp>

void Main()
{
    Webcam webc;
    if (!webc.open(0, Size(640, 480)))
    {
        return;
    }
    if (!webc.start())
    {
        return;
    }
    Image image;
    DynamicTexture cameraTexture;
    Array<Rect> faces = {};

    while (System::Update())
    {
        if (webc.hasNewFrame())
        {
            webc.getFrame(image);
            faces = Imaging::DetectFaces(image);
            cameraTexture.fill(image);
        }
        cameraTexture.draw();
        for (auto face : faces)
        {
            face.draw(Palette::Red);
        }
    }
}
これでこんな感じになります。
3.画像を表示する
あとは、さっきのArray<Rect>の座標と大きさに画像を表示するだけです。
顔の位置に画像を表示
for (auto face : faces)
{
    if (face.area() > 15000)
    {
        faceTexture.resize(face.w, face.h).draw(face.x, face.y);
    }
}
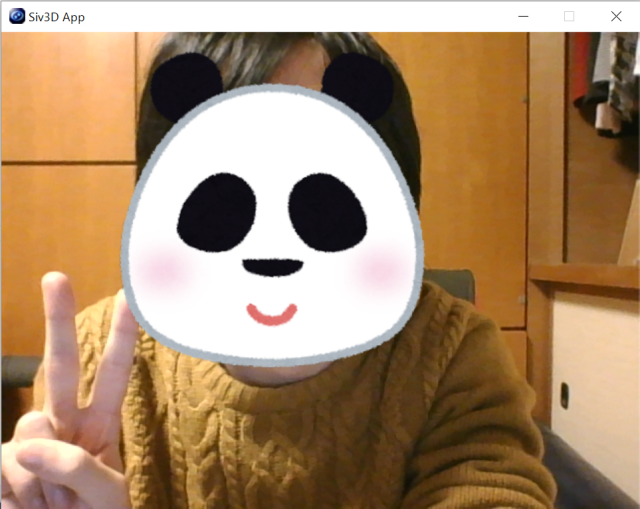
こんな感じの奴を2.でやったソースコードのdrawするところと入れ換えれば
完成!
# include <Siv3D.hpp>

void Main()
{
    Webcam webc;
    if (!webc.open(0, Size(640, 480)))
    {
        return;
    }

    if (!webc.start())
    {
        return;
    }

    Image image;
    DynamicTexture cameraTexture;
    Texture faceTexture = Texture(L"sample.png");
    Array<Rect> faces = {};

    while (System::Update())
    {


        if (webc.hasNewFrame())
        {
            webc.getFrame(image);
            faces = Imaging::DetectFaces(image);
            cameraTexture.fill(image);
        }

        cameraTexture.draw();

        for (auto face : faces)
        {
            if (face.area() > 15000)
            {
                faceTexture.resize(face.w, face.h).draw(face.x, face.y);
            }
        }
    }
}
画像に合わせて大きさなどに調整を加えればこんな感じです!
いかがだったでしょうか
実は自分はSiv3Dを触って半年しか経っていない(C++すら触ったことがなかった)ので、簡単な記事になってしまいました。
しかし、Siv3Dを使えば、わずか半年でもこのくらいのものを自分で作れるようになるというのはとても簡単だと感じました。
いつか、Siv3Dがスマホで使えるようになって、いろんな人が自分で作ったカメラアプリで自撮りしてたらおもしろいですよね。