Elixirを全く触った事ないオレがPhoenix入門したログ
Phoenix入門のパート2です。
今回はCRUDを作ります。
前準備
モデル周りは ecto というライブラリが使われている。
ectoコマンドを利用するとDBの作成などができる。
今回利用するDB、MySQLをインストールしておく。
$ apt-get install mysql-server
設定
{app_name}/config 以下に各環境毎の設定がある。
今回はdev.exsとtest.exsのパスワードだけ変更した。
# Configure your database
config :phoenix_blog, PhoenixBlog.Repo,
  adapter: Ecto.Adapters.MySQL,
  username: "root",
  password: "password", # <-- ここ!!!
  database: "phoenix_blog_dev",
  size: 10 # The amount of database connections in the pool
次にectoコマンドにてDBの作成をする。
もしコマンドが無いようなエラーが出た場合は、生成したphoenix-appのディレクトリ直下に移動すると良い。
$ pwd
/vagrant/phoenix_blog
$ mix ecto.create
The database for PhoenixBlog.Repo has been created.
Scaffoldっぽいやつ
phoenixには幾つかgeneratorが用意されている。
mix phoenix.gen.channel # Generates a Phoenix channel
mix phoenix.gen.html    # Generates controller, model and views for an HTML-based resource
mix phoenix.gen.json    # Generates a controller and model for an JSON-based resource
mix phoenix.gen.model   # Generates an Ecto model
phoenix.gen.htmlがRailsでいうところのscaffoldのようだ。
引数には、 モデル名 テーブル名 カラム を指定するみたい。
$ mix phoenix.gen.html Post posts title:string body:text

* creating priv/repo/migrations/20150607191442_create_post.exs
* creating web/models/post.ex
* creating test/models/post_test.exs
...

Add the resource to the proper scope in web/router.ex:

    resources "/posts", PostController

and then update your repository by running migrations:

    $ mix ecto.migrate
web/router.exにルーティングを設定。
  scope "/", PhoenixBlog do
    pipe_through :browser # Use the default browser stack

    get "/", PageController, :index
    resources '/posts', PostController
  end
ectoでmigrateする。
$ mix ecto.migrate
Compiled web/models/post.ex
Generated phoenix_blog app
[info] == Running PhoenixBlog.Repo.Migrations.CreatePost.change/0 forward
[info] create table posts
[info] == Migrated in 0.0s
一つだけ注意しときたいなと思ったのが、タイムスタンプ。
Railsでは生成されるフィールドがcreated_at, updated_atだったが、
Phoenixではinserted_at, updated_atだった。
mysql> desc posts;
+-------------+---------------------+------+-----+---------+----------------+
| Field       | Type                | Null | Key | Default | Extra          |
+-------------+---------------------+------+-----+---------+----------------+
| id          | bigint(20) unsigned | NO   | PRI | NULL    | auto_increment |
| title       | varchar(255)        | YES  |     | NULL    |                |
| body        | text                | YES  |     | NULL    |                |
| inserted_at | datetime            | NO   |     | NULL    |                |
| updated_at  | datetime            | NO   |     | NULL    |                |
+-------------+---------------------+------+-----+---------+----------------+
5 rows in set (0.00 sec)
Railsでいうところのviewsはweb/templatesで、ここのファイルを参照させるにはweb/viewsも編集しなければならないっぽい(あとでドキュメント読みます…)
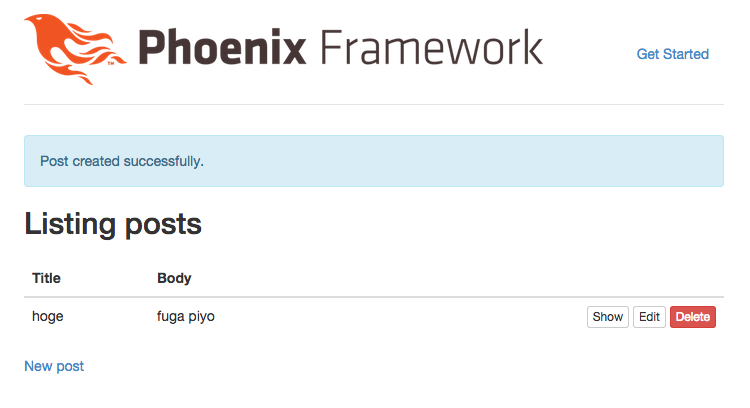
ここまでで、基本的なCRUDが実装できた。
Phoenixの特徴っぽいところは全く触れてないし、コードも全然書いてないので今後もう少し勉強してみようと思います。
