免責
本稿はitohiro73の個人的な技術メモであり、雇用主または所属する団体とは一切関係ありません。
This article is itohiro73's personal technical note and does not express the views or opinions of my employer.
目的
IntelliJ Pluginを作成する場合、こちらの手順等で紹介されているように、「New Project」から「IntelliJ Platform Plugin」を選んで作成するのが通常かと思います。
ただ、いったんこの方法でつくると、あれ、MavenとかGradleで依存性管理したいんだけどどうしたらいいの?とちょっと戸惑ったりします。また、とくにサンプルコード等が作成されるわけではないので、まず最初に何をすれば良いのか途方にくれたりたりします。
本稿では、ビルドツールとしてGradleを使ってIntelliJ Plugin開発環境を構築するための手順と、簡単なtool window pluginのサンプルを紹介します。Gradleに関してはgradle-intellij-pluginというツールがすであるので、そのまま使っちゃいます。
手っ取り早く立ち上げたい方は、本稿の手順でできた雛形プロジェクトをGitHubにあげてあるので、こちらからgit cloneするとそのまま試すことができます。
Gradleプラグインの導入
IntelliJにGradleプラグインが入っていない場合は、[IntelliJ IDEA] -> [Preferences] -> [Plugins] -> [Browse repositories...] -> [Gradleを検索] -> [Install plugin]の手順でインストールしてください。
##Gradleプロジェクトの作成。
Gradleプロジェクトの作成方法をステップバイステップで説明します。この手順に慣れている方は飛ばして「build.gradleの編集」をご覧ください。
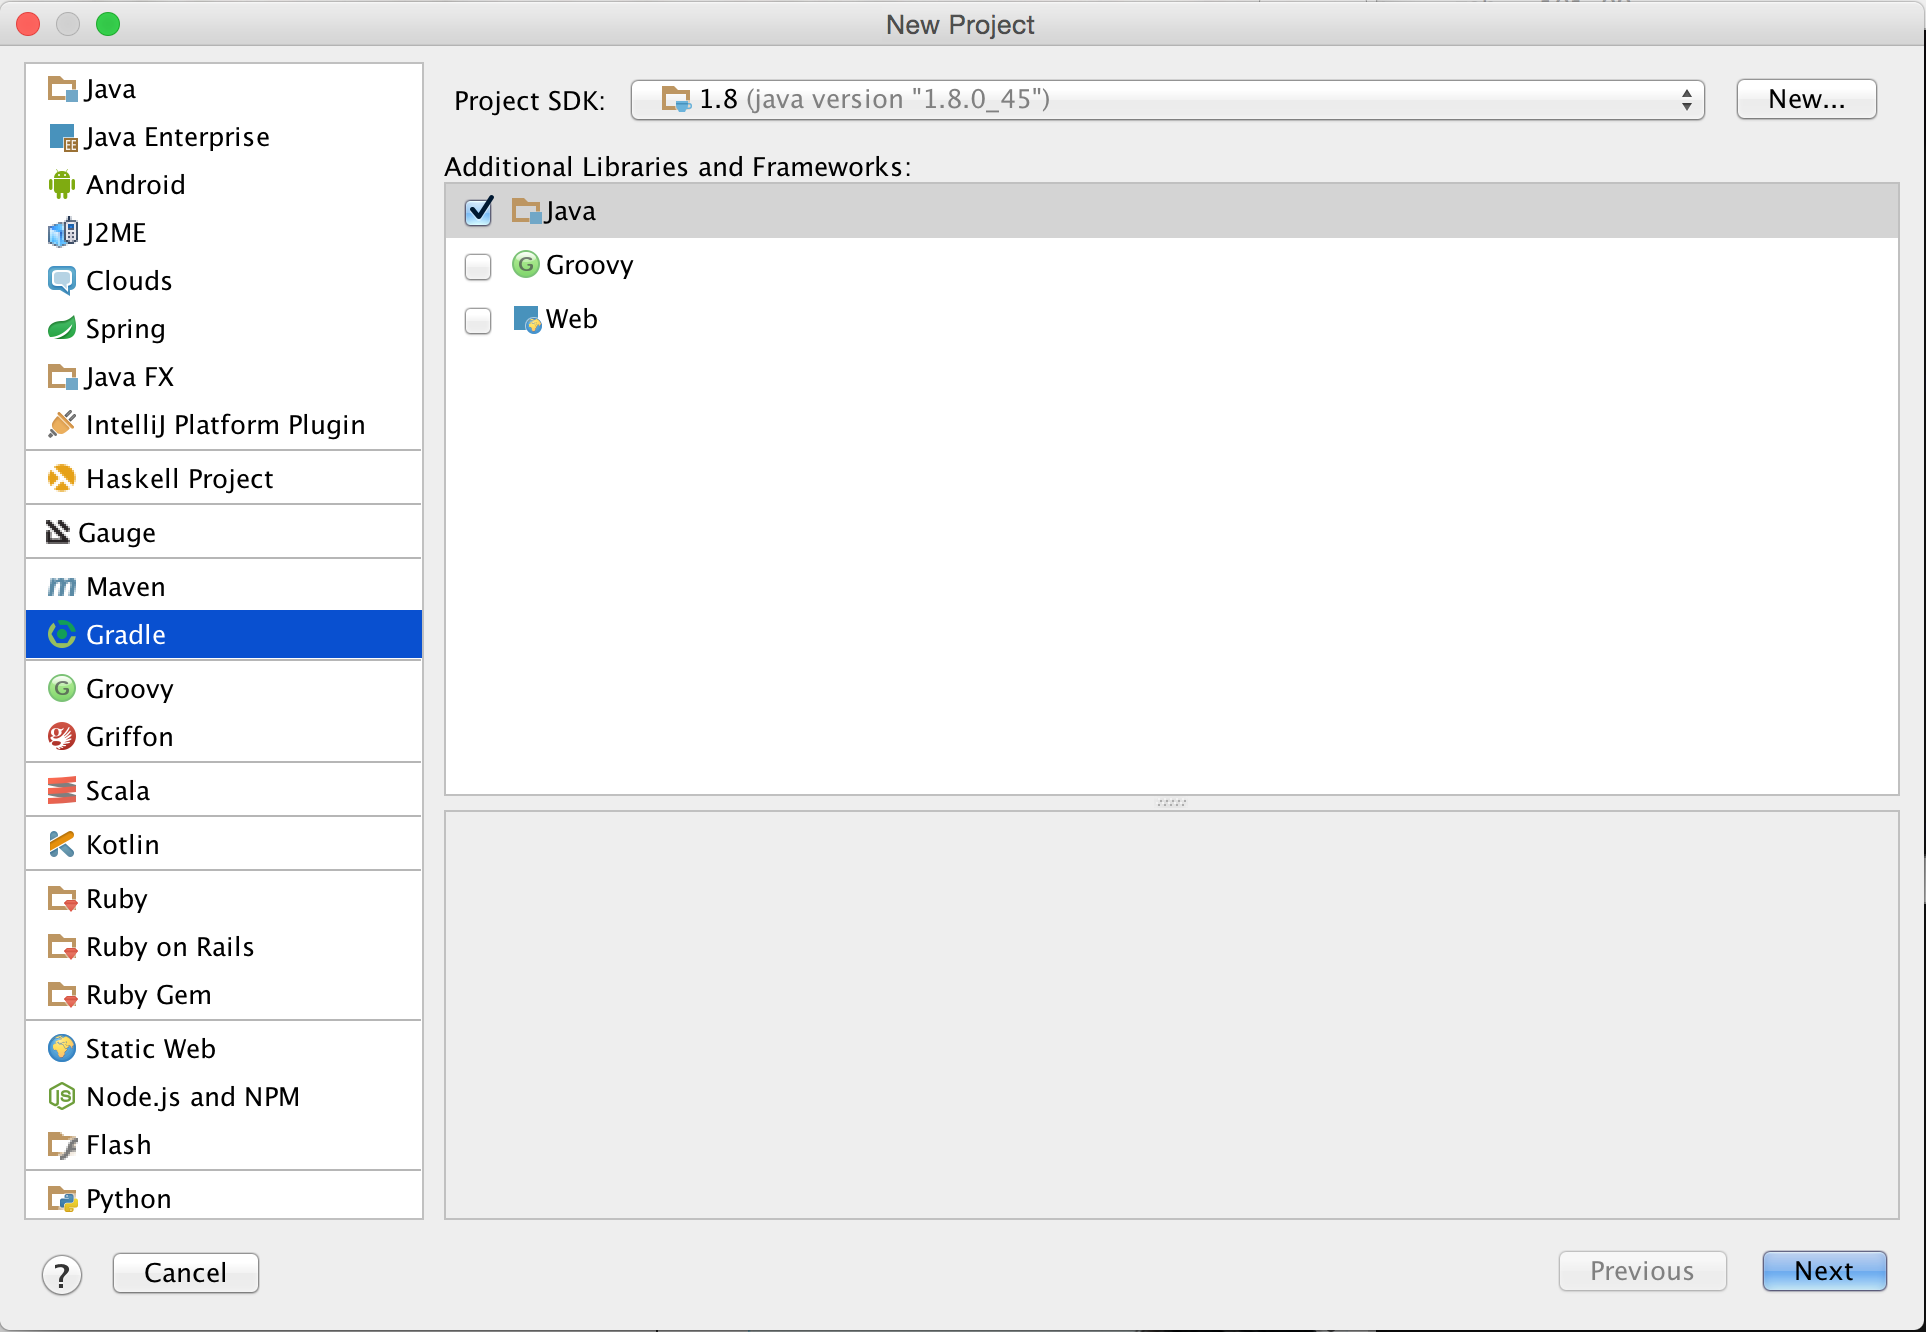
まずは「New Project」から「IntelliJ Platform Plugin」ではなく「Gradle」を選び、「Java」のチェックボックスを選んだ状態で「Next」ボタンをクリックします。
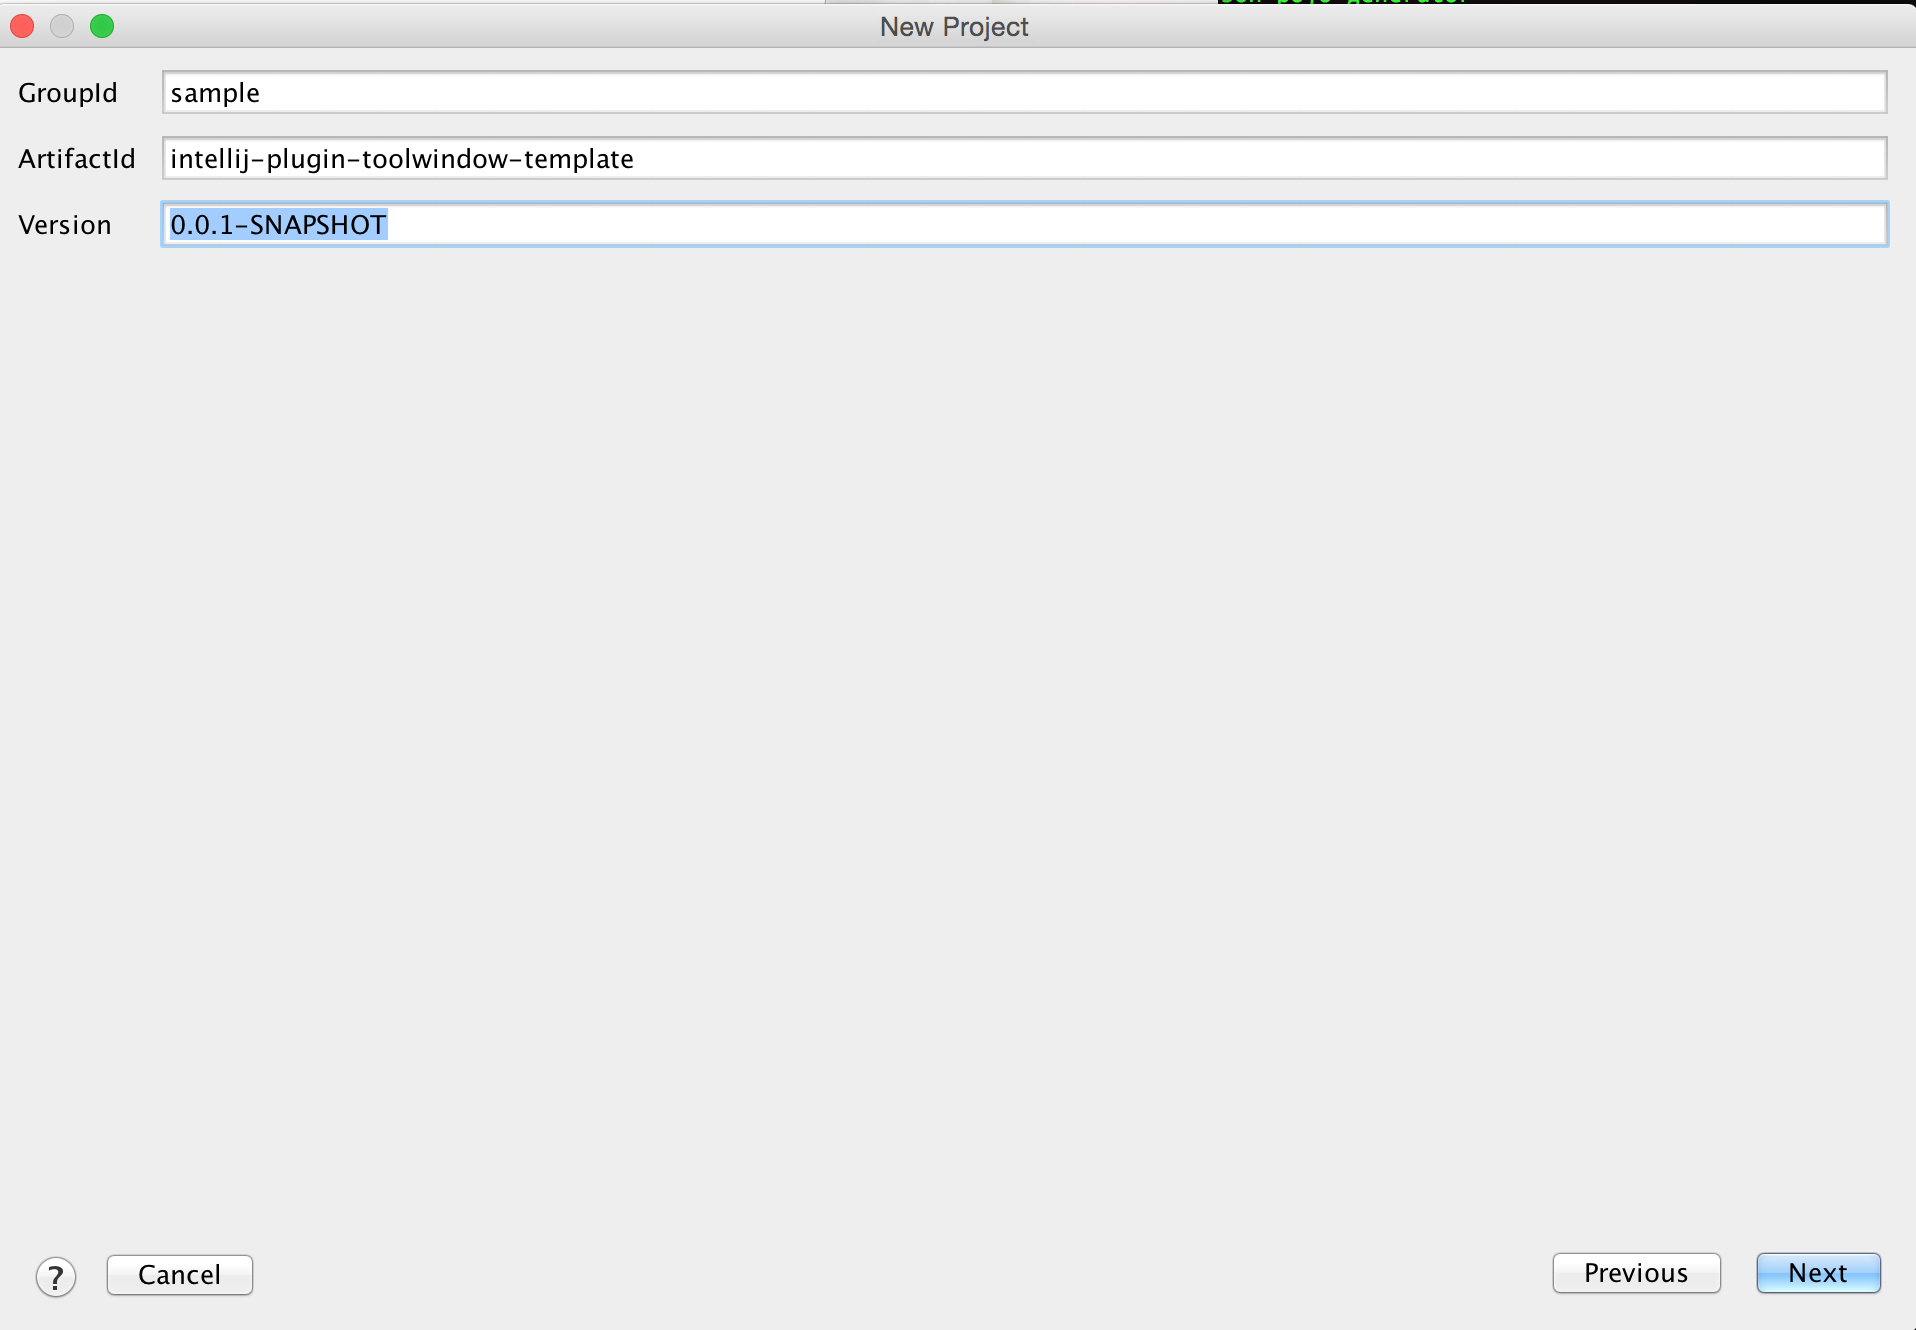
GroupId、ArtifactId、Versionを適当にいれ、「Next」ボタンをクリックします。
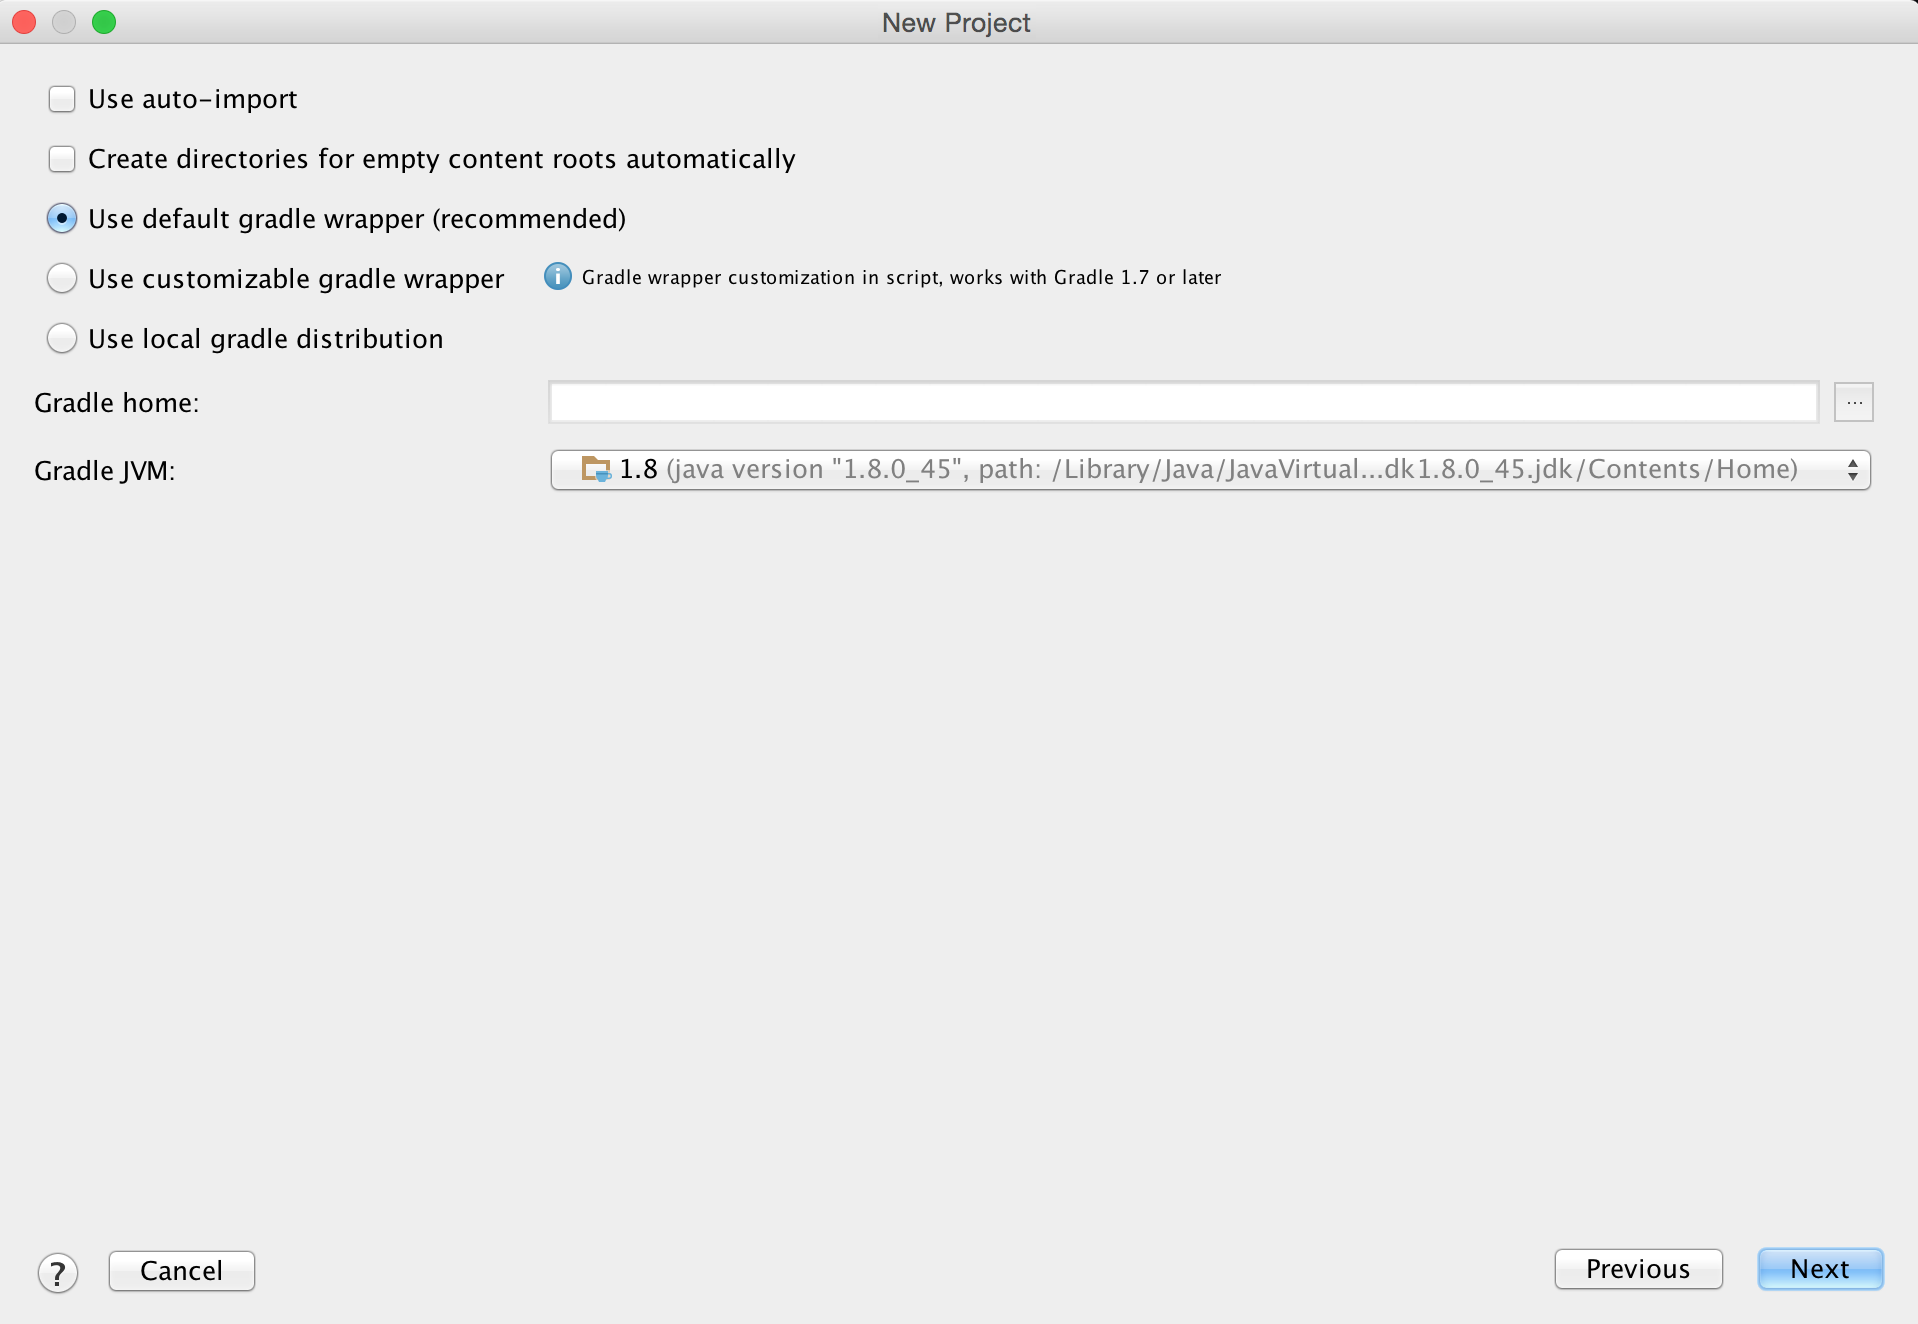
Gradleの設定はとりあえず"Use default gradle wrapper (recommended)"を選択しておけば良いと思います。設定は後から変更できるのでお好きなようにどうぞ。
あとは「Project name」と「Project location」を適宜入れて「Finish」ボタンを押します。
ここまでの手順で下記のようなプロジェクト構成が作成されるはずです。
.
├── build.gradle
├── gradle
│   └── wrapper
│       ├── gradle-wrapper.jar
│       └── gradle-wrapper.properties
├── gradlew
├── gradlew.bat
├── your-project-name.iml
└── settings.gradle
build.gradleの編集
プロジェクトが作成されたら、build.gradleにgradle-intellij-pluginの設定を加えます。Gradleのバージョンは2.1以上を想定しています。2.1未満のバージョンはリンク先の設定をご覧ください。JavaのsourceCompatibilityは1.8にしています。ラムダ式やDateTime APIを使用したコードで実験してみましたがとくに問題なさそうです(問題あったら教えてください)。
plugins {
    id "org.jetbrains.intellij" version "0.0.20"
}

apply plugin: 'org.jetbrains.intellij'
apply plugin: 'java'

sourceCompatibility = 1.8

intellij {
    version '14.1.4'
    plugins 'coverage'
    pluginName 'sample'
}

group 'sample'
version '0.0.1-SNAPSHOT'

repositories {
    mavenCentral()
}

dependencies {
    testCompile 'junit:junit:4.12'
}
簡易tool window pluginの作成
下記のようなファイル構成を作成し、HellowWorldWindow.javaとplugin.xmlを下記のように編集します。
.
└── src
    └── main
        ├── java
        │   └── HelloWorldWindow.java
        └── resources
            └── META-INF
                └── plugin.xml
import com.intellij.openapi.project.Project;
import com.intellij.openapi.wm.ToolWindow;
import com.intellij.openapi.wm.ToolWindowFactory;

import javax.swing.*;

public class HelloWorldWindow implements ToolWindowFactory {
    @Override
    public void createToolWindowContent(Project project, ToolWindow toolWindow) {

        JComponent parent = toolWindow.getComponent();
        JPanel panel = new JPanel();
        JLabel label = new JLabel("Hello World!!");
        panel.add(label);
        parent.add(panel);
    }
}
<idea-plugin version="2">
  <id>com.yourcompany.unique.plugin.id</id>
  <name>Sample plugin</name>
  <version>0.0.1</version>
  <vendor email="dummy" url="dummy">dummy</vendor>

  <description><![CDATA[
      Sample plugin.<br>
    ]]></description>

  <change-notes><![CDATA[
      Release 0.0.1: Initial release.<br>
    ]]>
  </change-notes>

  <!-- please see https://confluence.jetbrains.com/display/IDEADEV/Build+Number+Ranges for description -->
  <idea-version since-build="131"/>

  <!-- please see https://confluence.jetbrains.com/display/IDEADEV/Plugin+Compatibility+with+IntelliJ+Platform+Products
       on how to target different products -->
  <!-- uncomment to enable plugin in all products
  <depends>com.intellij.modules.lang</depends>
  -->

  <extensions defaultExtensionNs="com.intellij">
    <toolWindow id="sample" anchor="bottom" factoryClass="HelloWorldWindow"/>
  </extensions>

  <application-components>
  </application-components>

  <project-components>
  </project-components>

  <actions>
  </actions>

</idea-plugin>
ここでは<extensions>に<toolWindow>のfactoryClass属性としてHellowWorldWindowを渡してあげています。これだけで、HellowWorldWindow内のcreateToolWindowContent()メソッドで作成されたSwingのコンポーネントがtool windowとして立ち上がるpluginの完成です。
動作を見るためにGradleからビルドしてIntelliJを立ち上げてみましょう。このためにgradle-intellij-pluginにはrunIdeaというタスクが定義されています。Gradle本体がインストールされていなくてもwrapperスクリプトから下記のように立ち上げることができます(Windowsの場合はgradlew.batを使用)。
# ./gradlew runIdea
コンソールに下記のようなエラーが出るかもしれませんが、こちらの情報によると無視して良いようです。でもちょっと気になっちゃいますね。。
[     68]   WARN - .intellij.util.EnvironmentUtil - can't get shell environment
java.lang.Exception: bin:/Users/hiroshi/.gradle/caches/modules-2/files-2.1/com.jetbrains.intellij.idea/ideaIC/14.1.4/e1a65bb05a50274b0aea828df954df82296eecce/ideaIC-14.1.4/bin
        at com.intellij.util.EnvironmentUtil.getShellEnv(EnvironmentUtil.java:150)
        at com.intellij.util.EnvironmentUtil.access$000(EnvironmentUtil.java:41)
        at com.intellij.util.EnvironmentUtil$1.call(EnvironmentUtil.java:54)
        at com.intellij.util.EnvironmentUtil$1.call(EnvironmentUtil.java:50)
        at java.util.concurrent.FutureTask.run(FutureTask.java:266)
        at java.util.concurrent.ThreadPoolExecutor.runWorker(ThreadPoolExecutor.java:1142)
        at java.util.concurrent.ThreadPoolExecutor$Worker.run(ThreadPoolExecutor.java:617)
        at java.lang.Thread.run(Thread.java:745)
一番最初に立ち上げる際は、いろいろ設定項目を聞かれるので、よしなに設定して適当なプロジェクトを開いてみましょう。
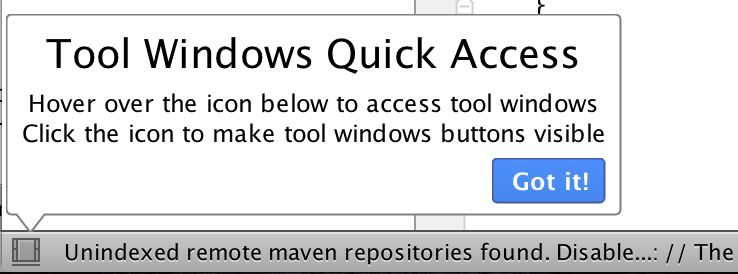
左下に現れるこちらのTool Window Quick Accessをクリックしてやると。。。
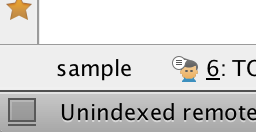
「sample」という名のtool windowがあらわれます。
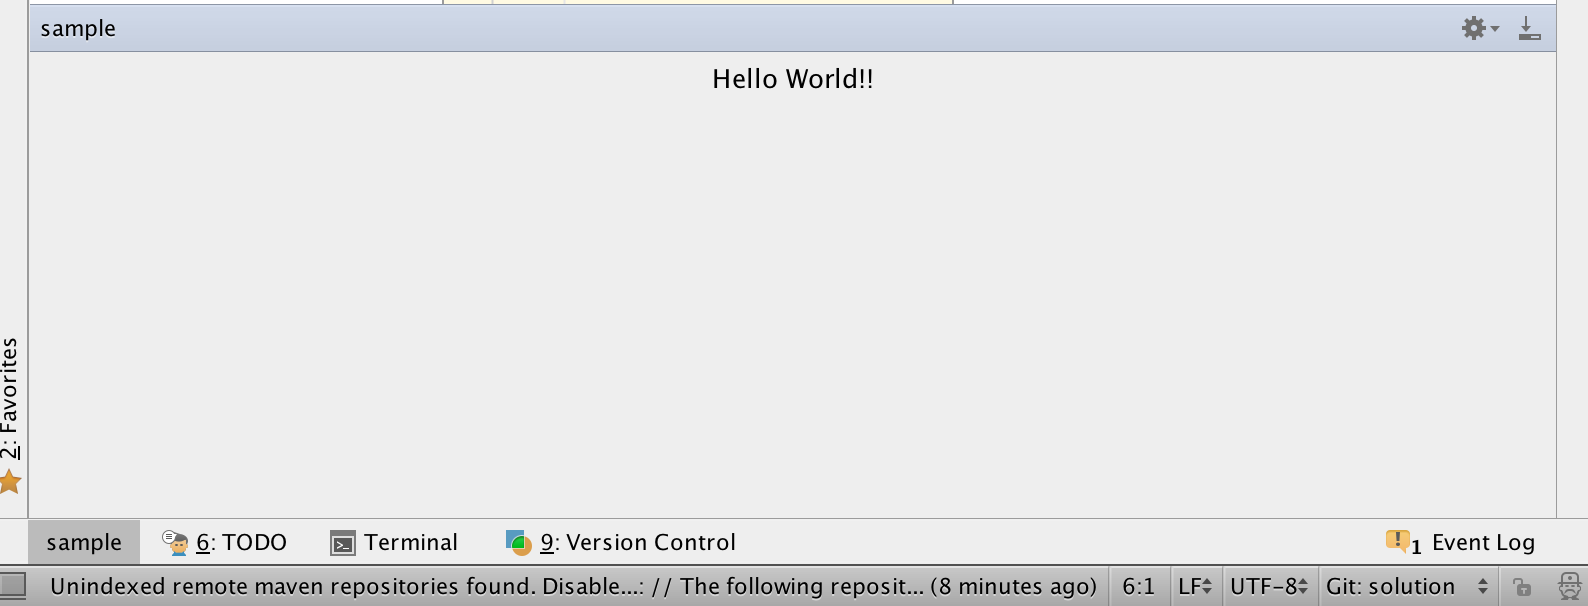
クリックして、Hellow Worldと表示されれば動作確認成功です。
ここから先は、build.gradleにライブラリを足したり、HelloWorldWindowを編集したり、plugin.xmlを編集したりとIntelliJ Plugin開発の第一歩を進めていくと良いと思います。
作成したpluginのリリース・共有
gradle-intellij-pluginでは、配布用zip作成のためのタスク"buildPlugin"も用意されています。
非常に簡単で、下記のタスクを走らせるだけです。
# ./gradlew buildPlugin
すると、下記のようにzipファイルが作成されるので、これをそのままリポジトリにリリースしたり、[Preferences] -> [Plugins] -> [Install plugin from disk...]からインストールしたりすることができます。
.
├─
├── README.md
├── build
│   ├── distributions
│   │   └── sample-0.0.1-SNAPSHOT.zip
intellij-plugin-toolwindow-template
ここまでの手順でできたプロジェクトをGitHubにあげてあるので、こちらからgit cloneするとそのまま試すことができます。
本当ならmavenのarchetypeみたいなやつをGradle Templates Plugin用のテンプレート的な感じでつくれたらいいなと思っていたけれど、Intellij Plugin勉強会#2までにそこまでやる余裕がなかったのでこれくらいで。。
合わせて読みたい
IntelliJ Plugin開発準備(Mac編):IntelliJ IDEA Community EditionのSDKとソースコードをセットアップ
