Support Library v26 から xml のレイアウトファイルでフォントを変更することができるようになりました。
API Level 14 ( Android 4.0 ) 以降で利用できます。
準備
Support Library を導入します。
Android Studio 3.0 Canary 4 を使用しています。
build.gradle(app)
apply plugin: 'com.android.application'

android {
    compileSdkVersion 26
    buildToolsVersion "26.0.0"
    defaultConfig {
        applicationId "jp.hoge.example"
        minSdkVersion 19
        targetSdkVersion 26
        versionCode 1
        versionName "1.0"
        testInstrumentationRunner "android.support.test.runner.AndroidJUnitRunner"
    }
    buildTypes {
        release {
            minifyEnabled false
            proguardFiles getDefaultProguardFile('proguard-android.txt'), 'proguard-rules.pro'
        }
    }
}

dependencies {
    implementation fileTree(include: ['*.jar'], dir: 'libs')
    androidTestImplementation('com.android.support.test.espresso:espresso-core:2.2.2', {
        exclude group: 'com.android.support', module: 'support-annotations'
    })
    testImplementation 'junit:junit:4.12'
    implementation 'com.android.support:appcompat-v7:26.0.0-beta2'
}
( Gradle の記述が Compile → implementation とか色々変わってる…)
実装
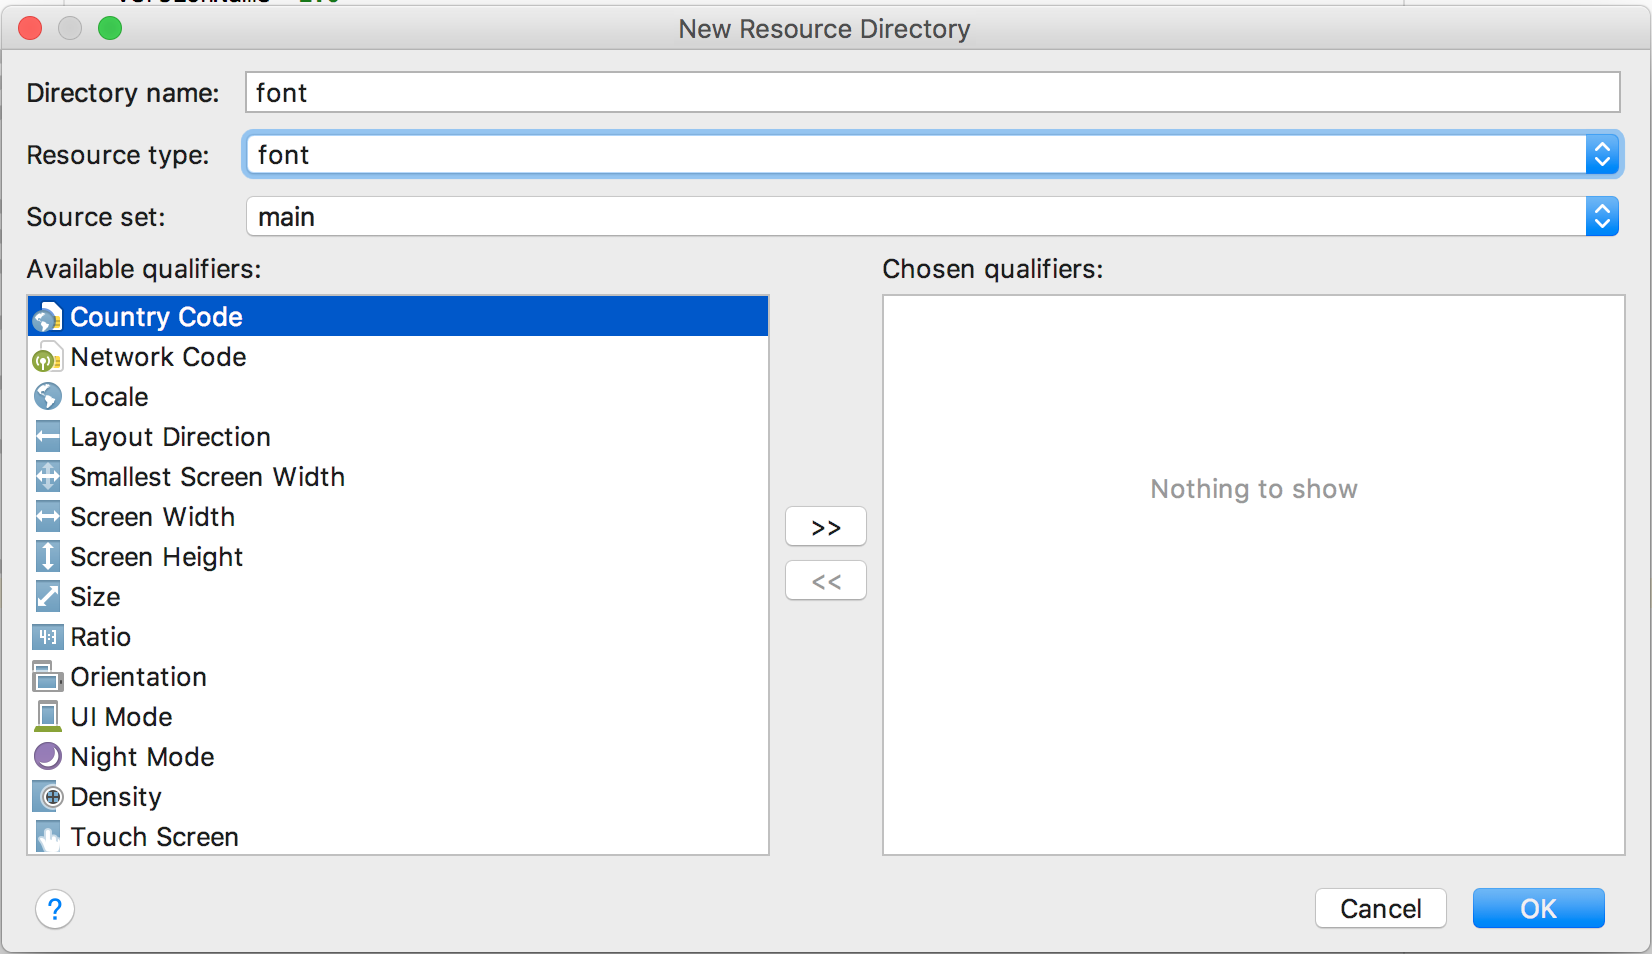
res フォルダを右クリックで New > Android resource directory を選択し、font を入れるフォルダを作成します。
Resource type の中に font があるのでそちらを選択すればOK。
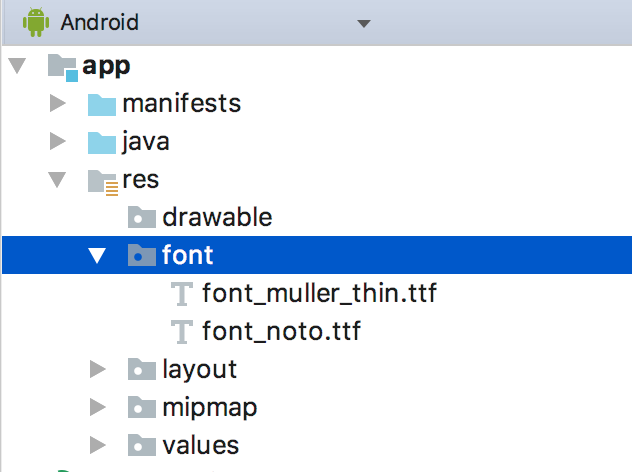
作成した Font フォルダに使用したいフォントのファイルを追加します。
最後にフォントを表示したい View に追加したフォントを指定します。
<TextView
        android:layout_width="wrap_content"
        android:layout_height="wrap_content"
        android:fontFamily="@font/font_muller_thin"
        android:text="@string/dummy_text" />
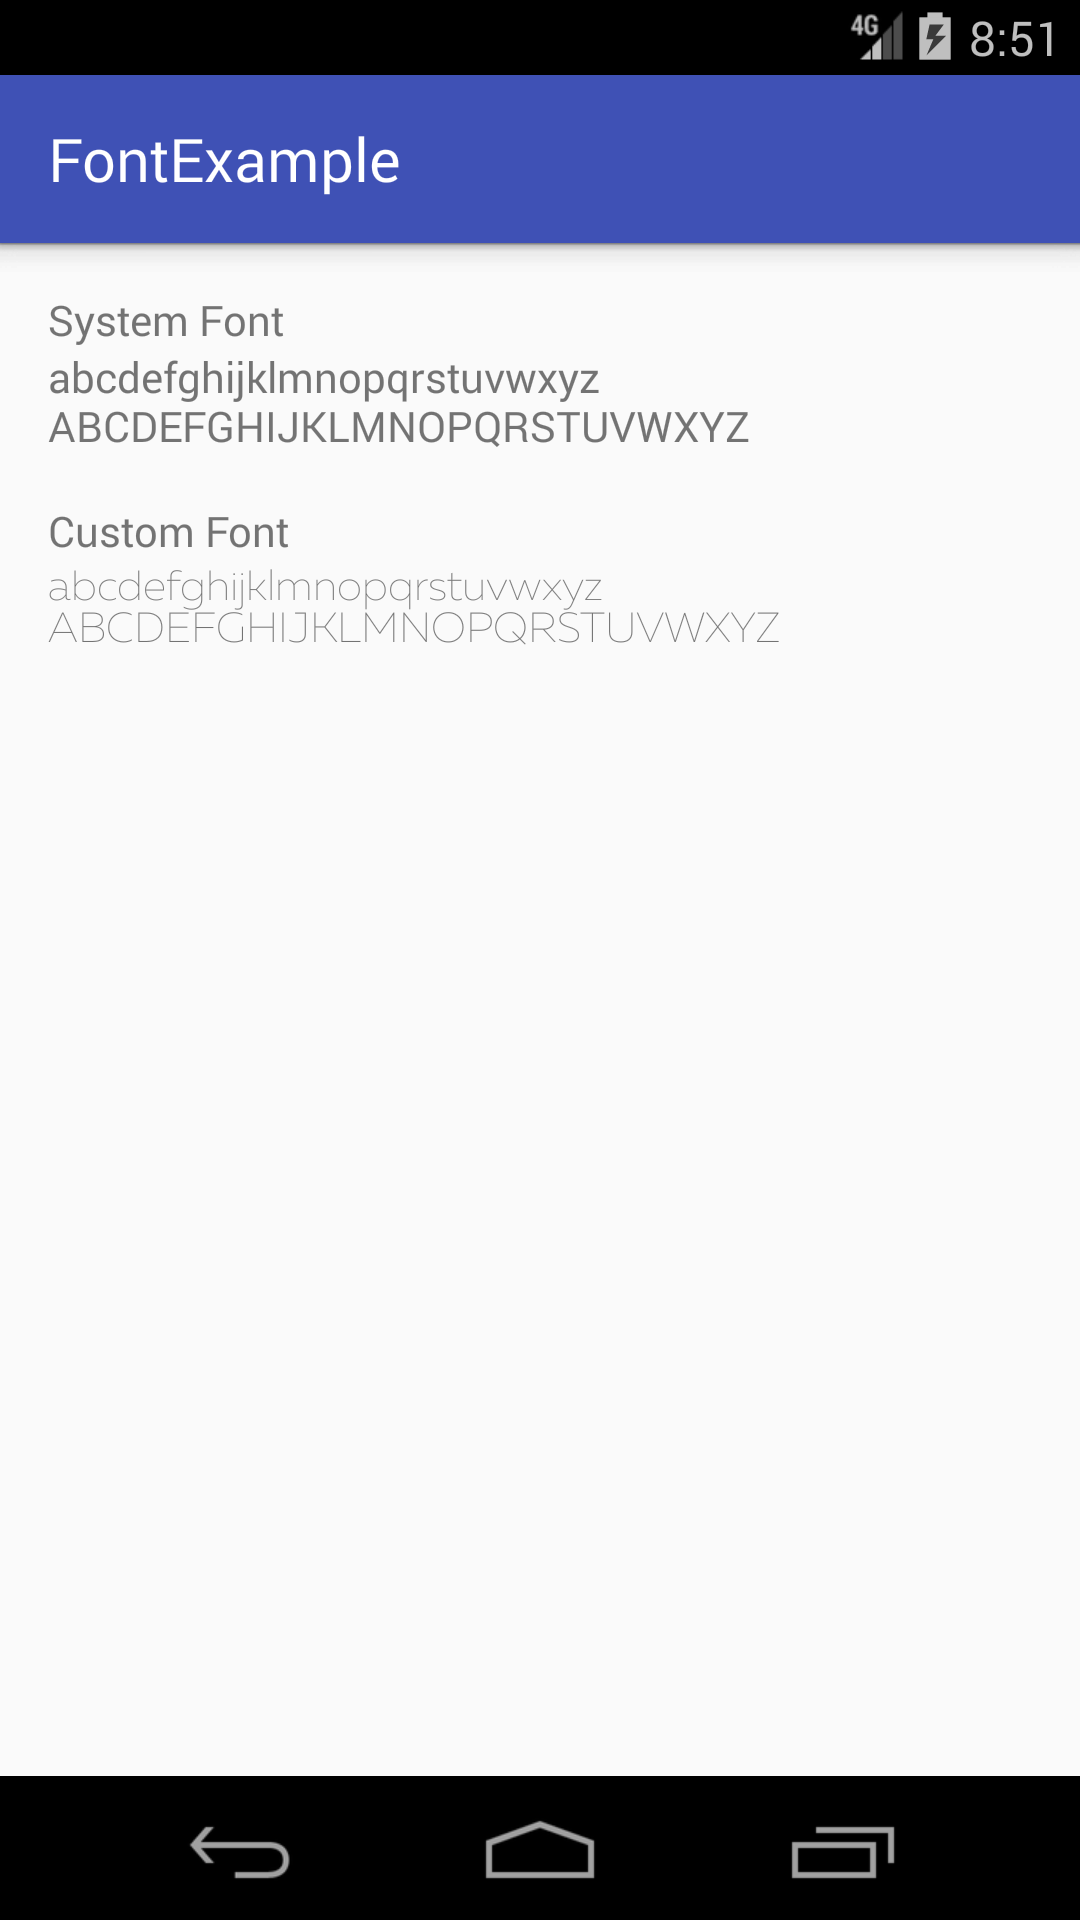
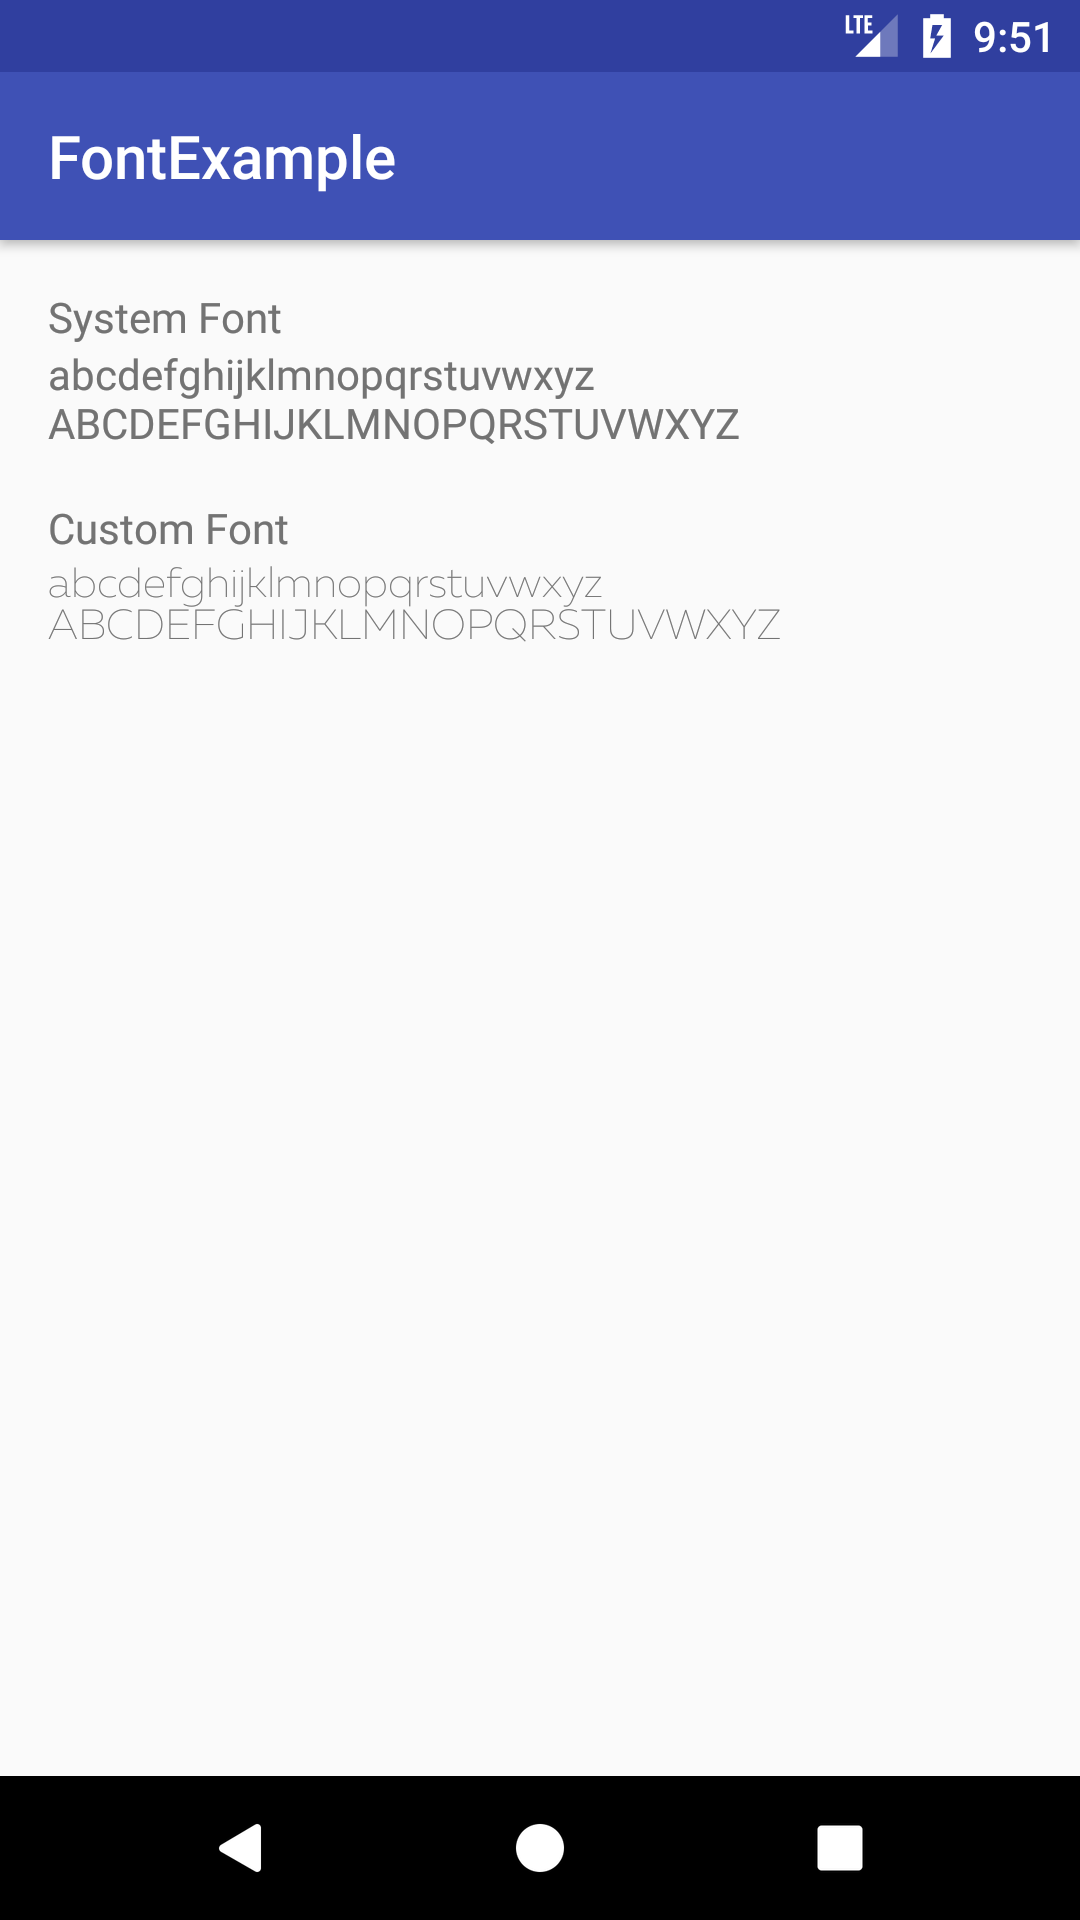
するとこのようにフォントが変更されます。
API Level 19 ( Android 4.2 )
API Level 26 ( Android O )
参考
https://developer.android.com/preview/features/fonts-in-xml.html