ようやく Google Maps SDK for iOS の API Keyが発行されたので、いろいろ試してみました。そんときのメモです。
なお、導入手順については @shu223 さんの記事がとても丁寧でわかりやすいので、そちらもご覧下さいませ。
2018.4.5 追記:
CocoaPods で簡単に導入できる時代になりました。
Podfile:
source 'https://github.com/CocoaPods/Specs.git'
target 'YOUR_APPLICATION_TARGET_NAME_HERE' do
  pod 'GoogleMaps'
  pod 'GooglePlaces'
end
地図を表示してみる
以下のインポート文を追加します。
Swift
import GoogleMaps
Objective-C
@import GoogleMaps;
以下を application:didFinishLaunchingWithOptions: メソッドに追加し、YOUR_API_KEY を実際の API キーに置き換えます。
GMSServices.provideAPIKey("YOUR_API_KEY")
[GMSServices provideAPIKey:@"YOUR_API_KEY"];
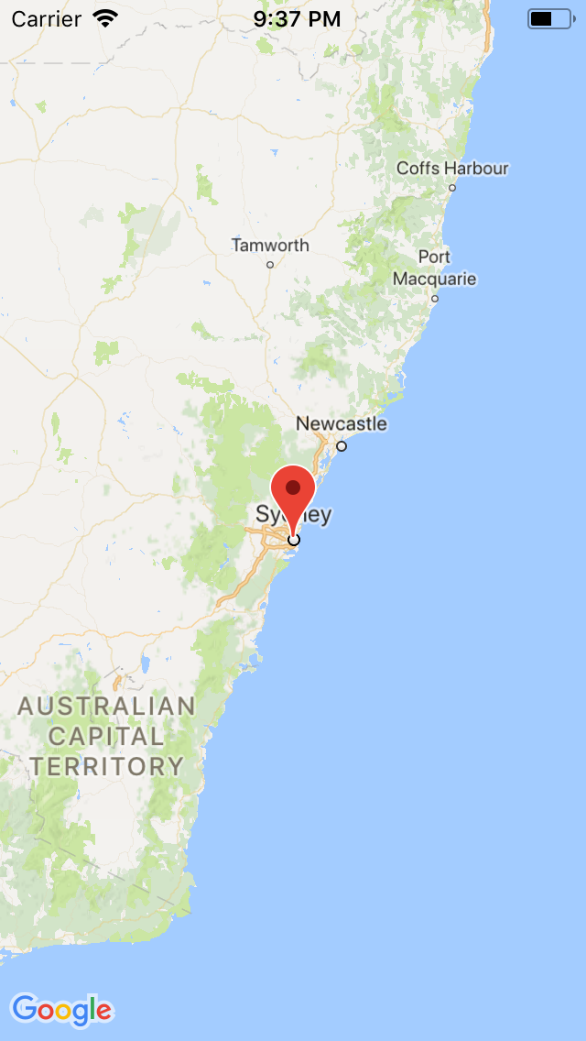
GMSCameraPosition で緯度経度を指定し、GMSMapView インスタンスを生成します。
Swift
let camera = GMSCameraPosition.camera(withLatitude: -33.86, longitude: 151.20, zoom: 6.0)
let mapView = GMSMapView.map(withFrame: CGRect.zero, camera: camera)
view = mapView
Objective-C
GMSCameraPosition *camera = [GMSCameraPosition cameraWithLatitude:-33.86
                                                          longitude:151.20
                                                               zoom:6];
GMSMapView *mapView = [GMSMapView mapWithFrame:CGRectZero camera:camera];
self.view = mapView;
ユーザーが地図上の Google ロゴをクリックすると、Google Maps SDK for iOS によってブラウザ版の Google Maps が開かれる。
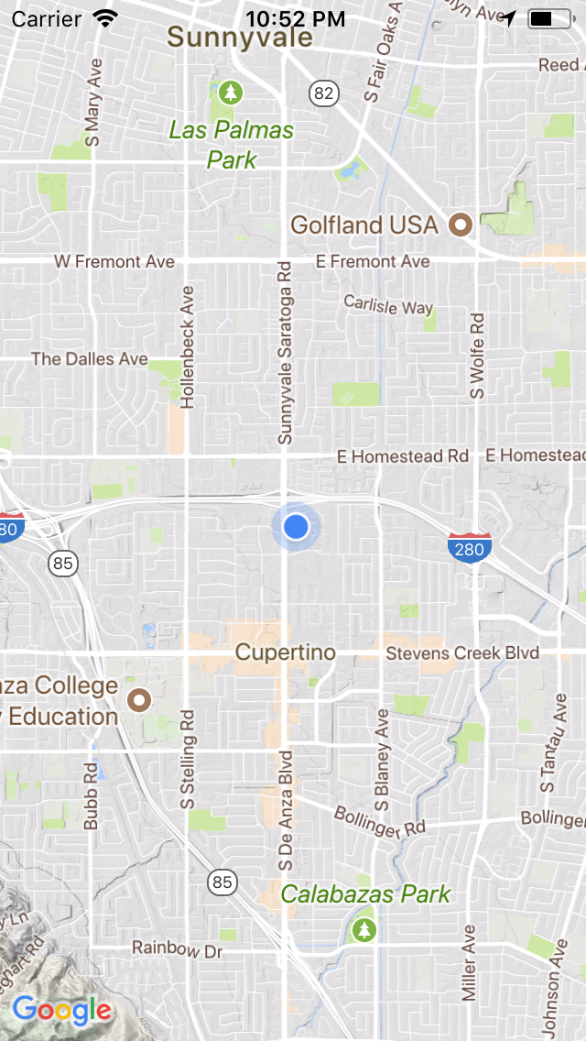
ユーザーの現在値を表示してみる
あらかじめ Info.plist の NSLocationWhenInUseUsageDescription に位置情報を使用する目的を追記しておきます。
Swift
mapView.isMyLocationEnabled = true
Objective-C
mapView.myLocationEnabled = YES;
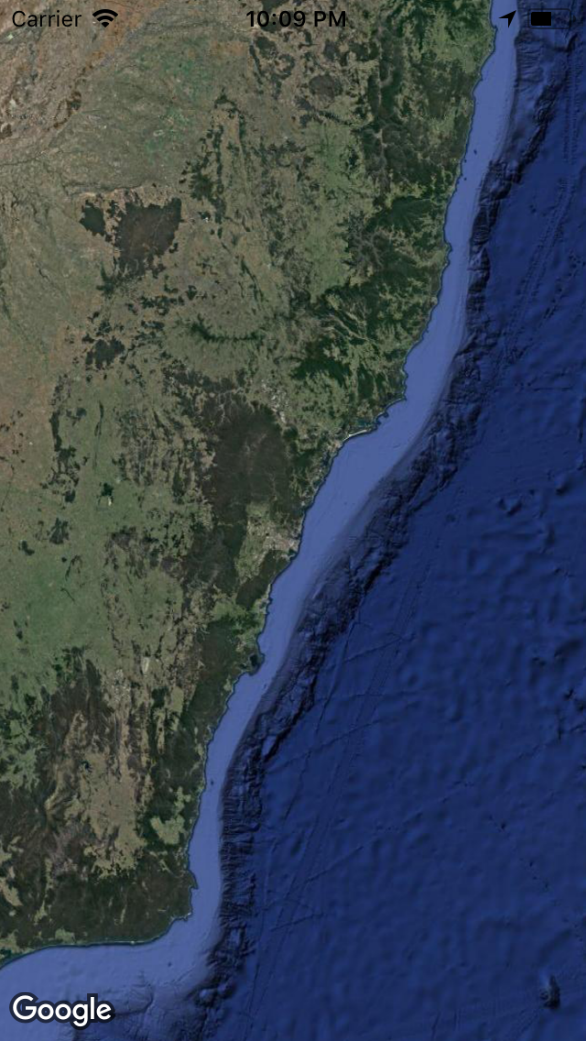
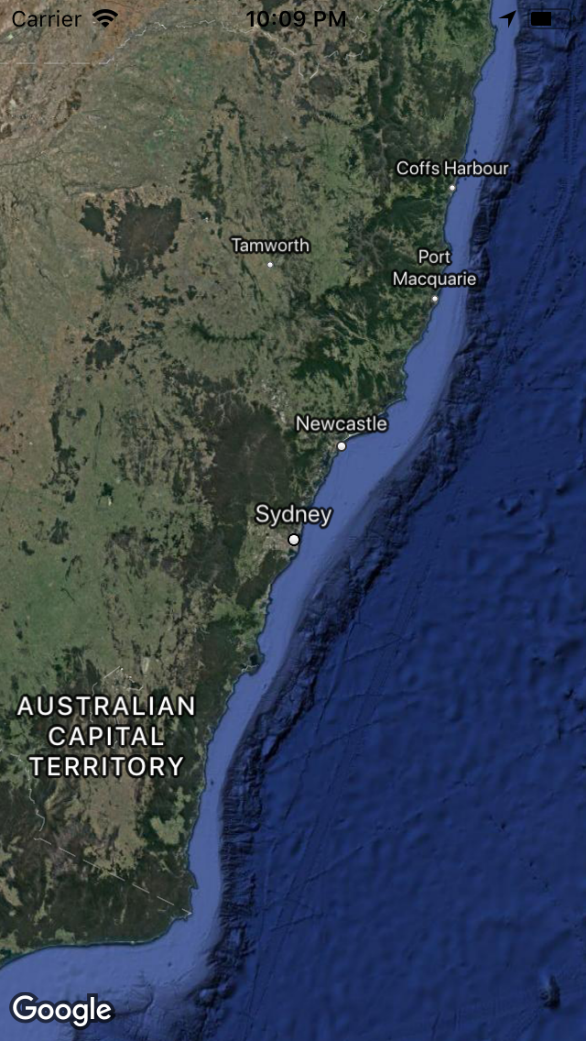
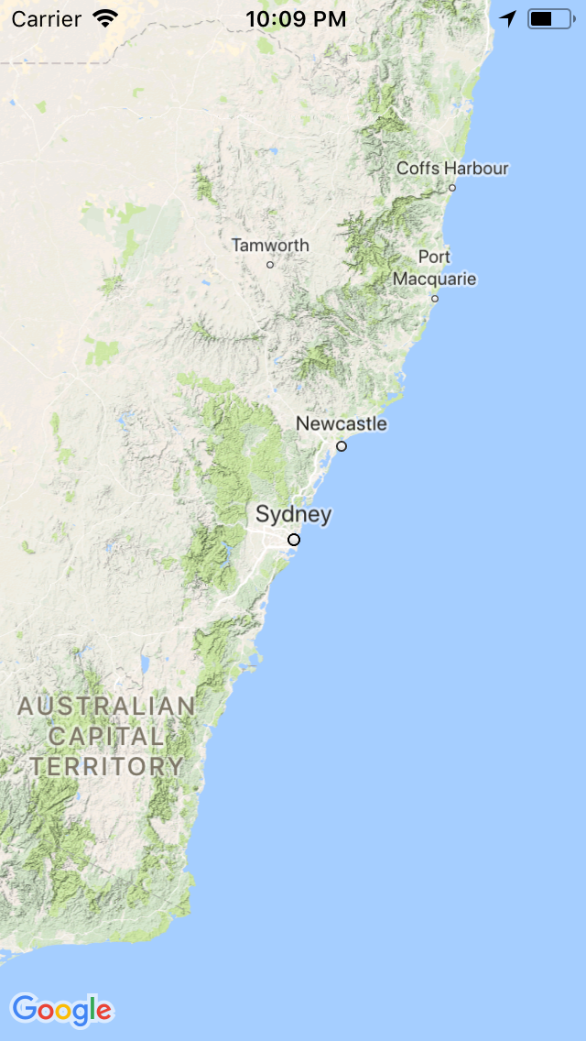
地図の種類を変えてみる
GMSMapView の mapType プロパティを変更することで地図の種類を変更できます。
Swift
mapView.mapType = .satellite
Objective-C
mapView_.mapType = kGMSTypeSatellite;
mapType には次の値を設定できます。
| Swift | Objective-C | 地図のタイプ |
|---|---|---|
| satellite | kGMSTypeNormal | 通常の地図 |
| normal | kGMSTypeSatellite | 航空写真 |
| hybrid | kGMSTypeHybrid | 通常の地図+航空写真のハイブリッド |
| terrain | kGMSTypeTerrain | 地形や樹木などの地形的特徴を持つ地図 |
normal

satellite
hybrid
terrain
マーカーを追加してみる
-
GMSMarkerOptionsインスタンスを生成 - マーカーを立てる位置(position)や場所のタイトル(title)などをセットする
-
mapメソッドでGMSMapViewのインスタンスをセット
Swift
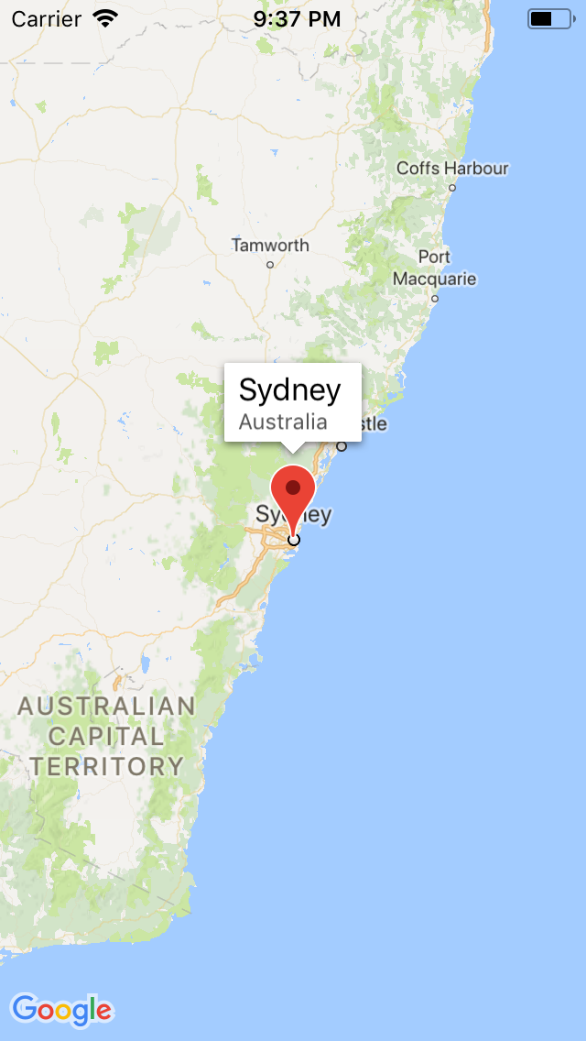
let marker = GMSMarker()
marker.position = CLLocationCoordinate2D(latitude: -33.86, longitude: 151.20)
marker.title = "Sydney"
marker.snippet = "Australia"
marker.map = mapView
Objective-C
GMSMarkerOptions *markerOptions = [[GMSMarkerOptions alloc] init];
markerOptions.position = CLLocationCoordinate2DMake(-33.86, 151.20);
markerOptions.title = @"Sydney";
markerOptions.snippet = @"Australia";
markerOptions.map = mapView;
マーカーをタップすると次のような吹き出し(info window)が表示されます。この時、マーカーが画面中央になるように自動で位置が調整されます。吹き出しの中には title, snippet で設定した文字列が表示されます。
マーカーの画像は icon プロパティで変更が可能。
GMSMapViewDelegate
マーカーのタップ検知は
Swift
func mapView(_ mapView: GMSMapView, didTap marker: GMSMarker) -> Bool {
Objective-C
- (BOOL)mapView:(GMSMapView *)mapView didTapMarker:(id<GMSMarker>)marker;
で可能です。true を返すと吹き出しが出なくなります。
また、吹き出しのタップ検知は
Swift
func mapView(_ mapView: GMSMapView, didTapInfoWindowOf marker: GMSMarker) {
Objective-C
- (void)mapView:(GMSMapView *)mapView
    didTapInfoWindowOfMarker:(id<GMSMarker>)marker;
で可能です。
線を引いてみる
-
GMSMutablePathインスタンスを生成 -
GMSMutablePathのaddCoordinateメソッドで頂点座標(緯度経度)を指定していく -
GMSPolylineインスタンスを生成 -
GMSPolylineのmapプロパティにGMSMapViewをセット
Swift
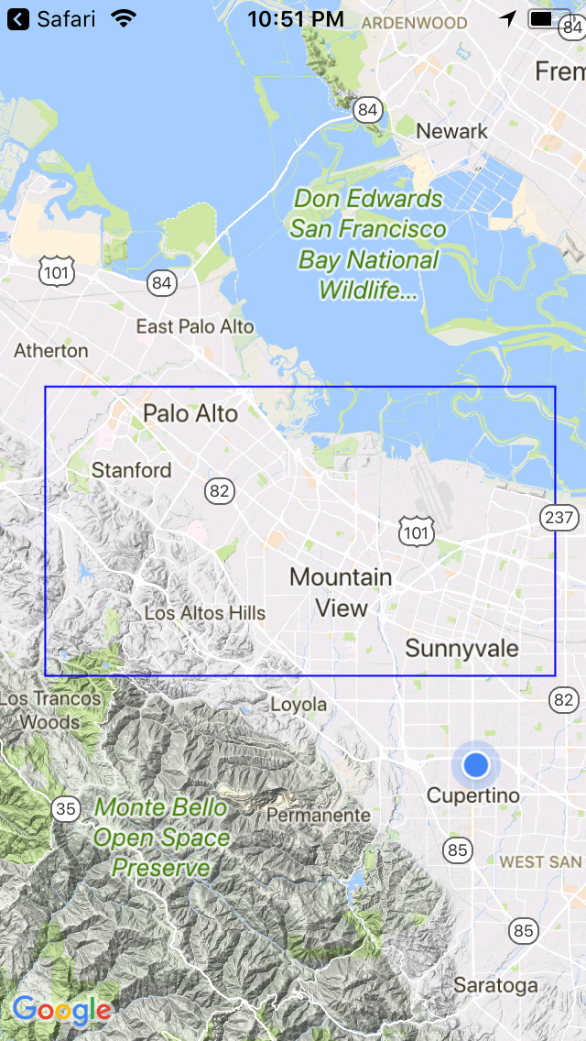
let path = GMSMutablePath()
path.add(CLLocationCoordinate2D(latitude:37.36, longitude: -122.0))
path.add(CLLocationCoordinate2D(latitude:37.45, longitude: -122.0))
path.add(CLLocationCoordinate2D(latitude:37.45, longitude: -122.2))
path.add(CLLocationCoordinate2D(latitude:37.36, longitude: -122.2))
path.add(CLLocationCoordinate2D(latitude:37.36, longitude: -122.0))

let rectangle = GMSPolyline(path: path)
rectangle.map = mapView
Objective-C
GMSMutablePath *path = [GMSMutablePath path];
[path addCoordinate:CLLocationCoordinate2DMake(37.36, -122.0)];
[path addCoordinate:CLLocationCoordinate2DMake(37.45, -122.0)];
[path addCoordinate:CLLocationCoordinate2DMake(37.45, -122.2)];
[path addCoordinate:CLLocationCoordinate2DMake(37.36, -122.2)];
[path addCoordinate:CLLocationCoordinate2DMake(37.36, -122.0)];

GMSPolyline *rectangle = [GMSPolyline polylineWithPath:path];
rectangle.map = mapView;
とりあえずここまで!