iOSアプリ開発 AutoLayout徹底攻略 (Mynavi Advanced Library)の問題をSnakpKitを使って解いた解答になります。
以前、swift2.3で適当にまとめていたものをswift3.1バージョンで書き直してみました。
内容はかなり簡単なものになりますので、SnapKitってどんな感じで書けるんだろうという方が対象になると思います。
swift3.0になって以下が変更になったみたいです。
make.center.equalTo(0) now positions a view at 0,0 in it's superview rather than the center, use make.center.equalToSuperview instead.

updateConstraints will throw a fatal error if it generates a new constraint that did not exist before. Instead use makeConstraints to add additional constraints.
ソースコードはこちら
https://github.com/komu1111/SnapKitNote
環境
Swift 3.1, Xcode 8.3.1, SnapKit 3.2.0
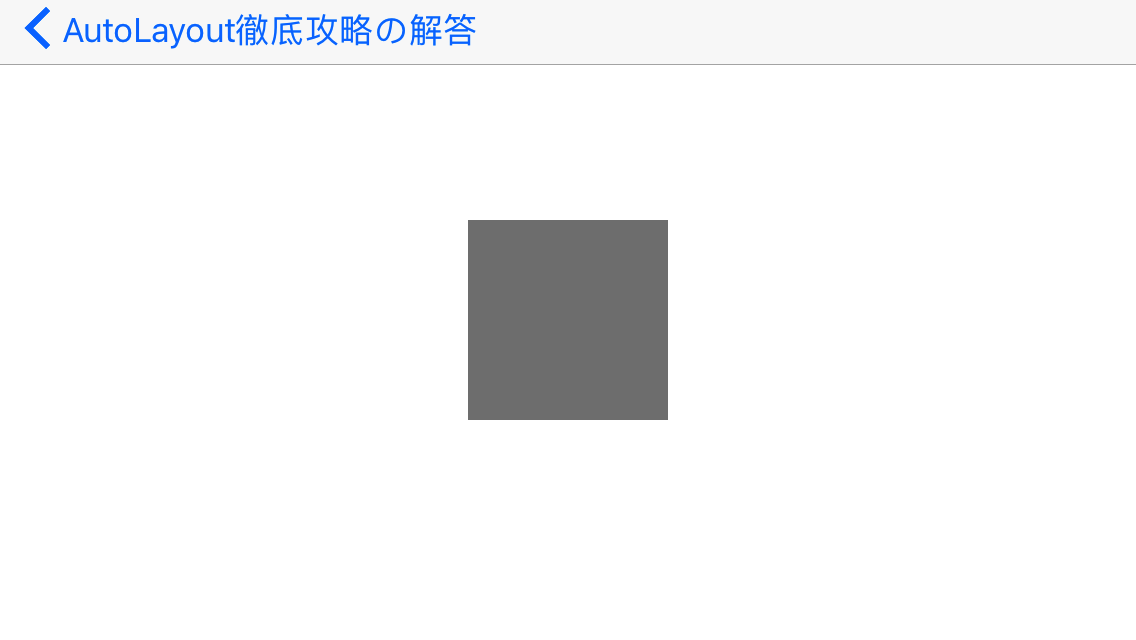
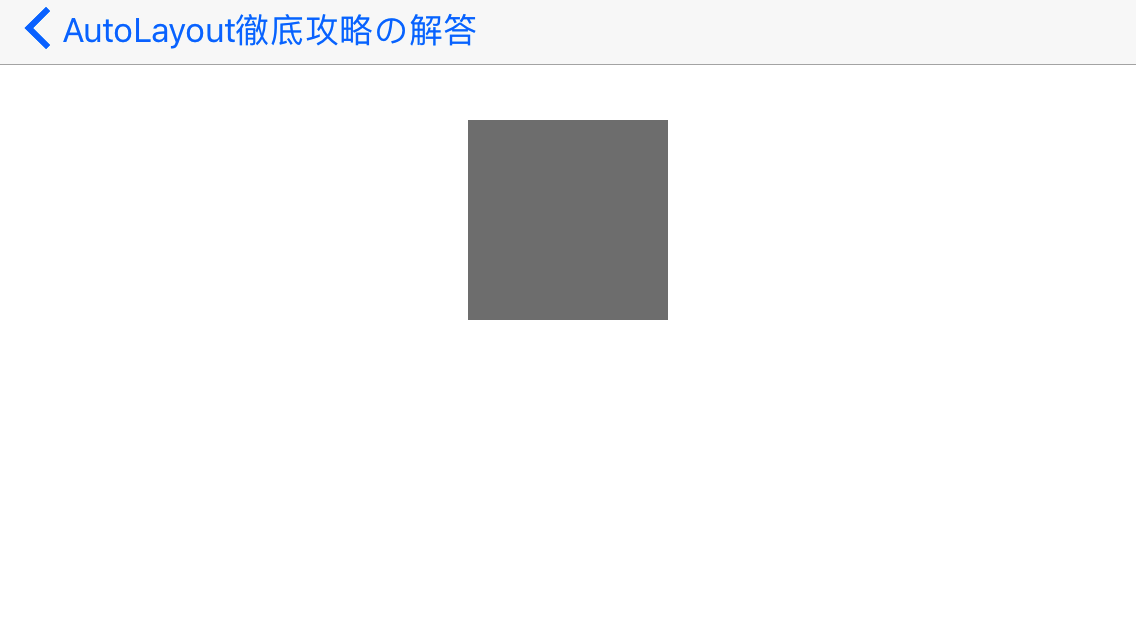
Q1, Q3. viewを画面の中央に配置
| Portrait | Landscape |
|---|---|
 |
 |
Q2. 画面の中央から少しずれた位置にviewを配置
| Portrait | Landscape |
|---|---|
 |
 |
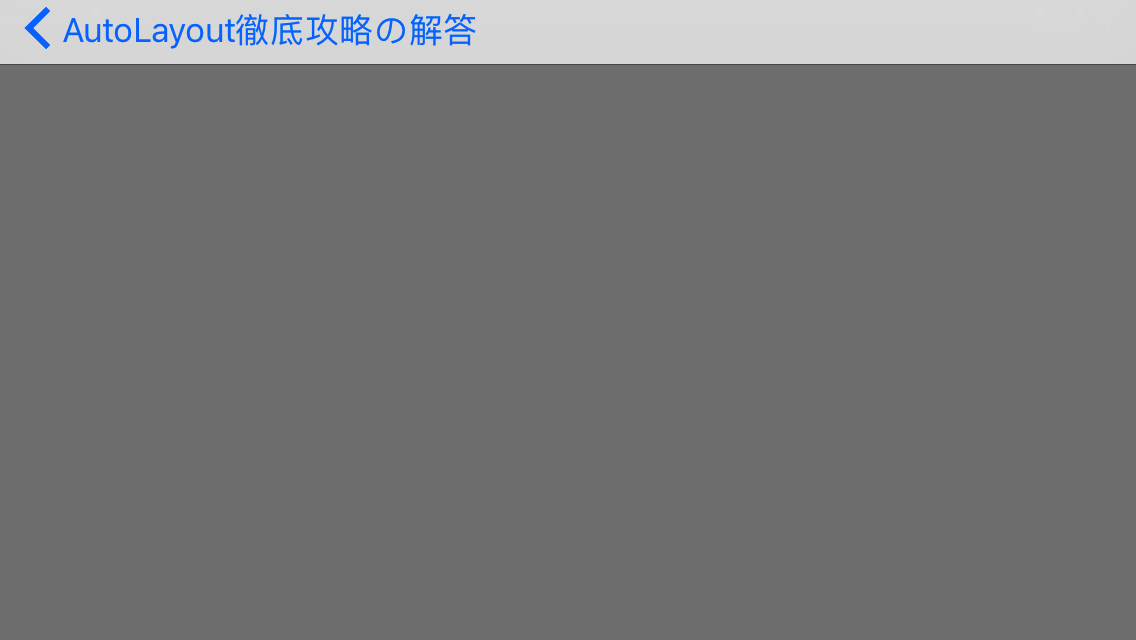
Q4. 画面サイズのviewを配置
| Portrait | Landscape |
|---|---|
 |
 |
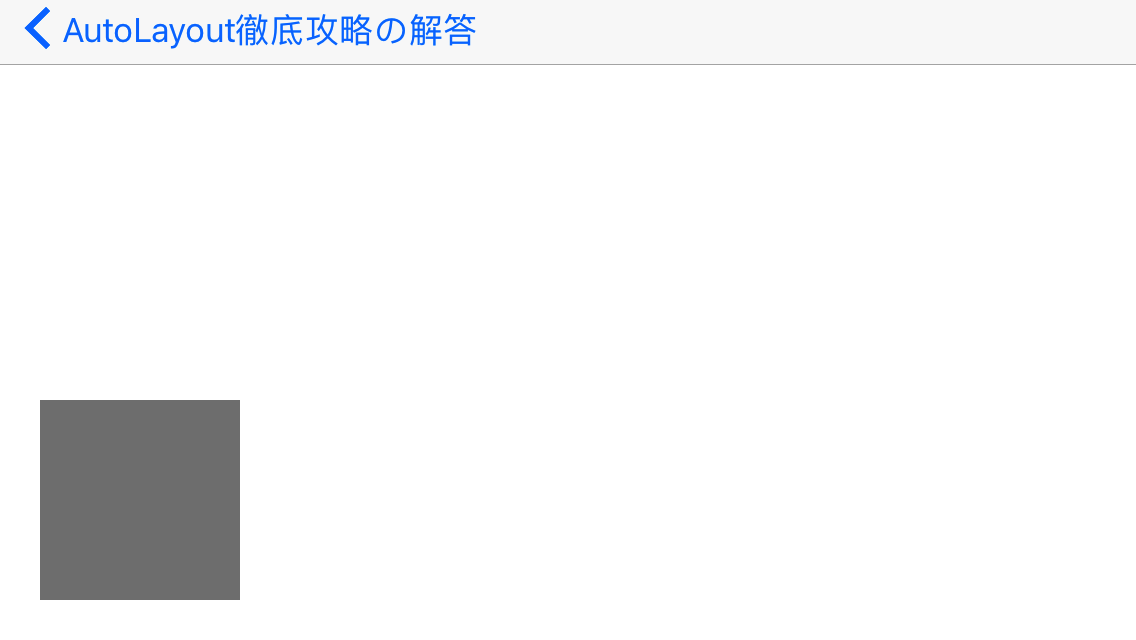
Q5. 画面の左下に固定サイズのviewを配置
| Portrait | Landscape |
|---|---|
 |
 |
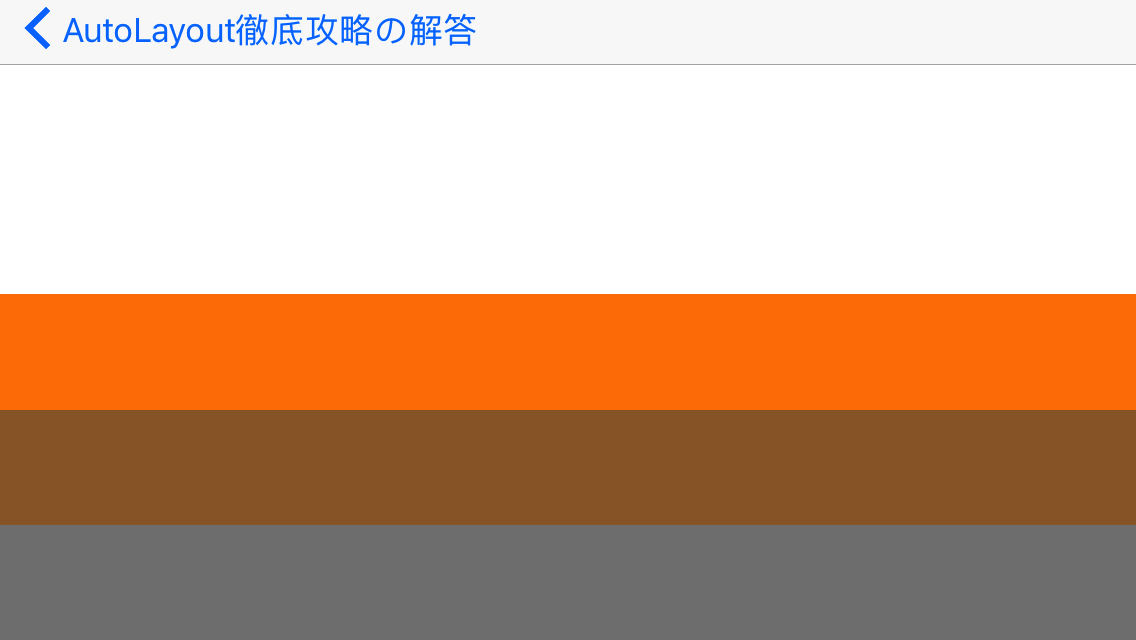
Q6. 画面下に複数のviewを高さ固定で配置
| Portrait | Landscape |
|---|---|
 |
 |
Q7. 画面下に複数のviewを縦横比率を固定で配置
| Portrait | Landscape |
|---|---|
 |
 |
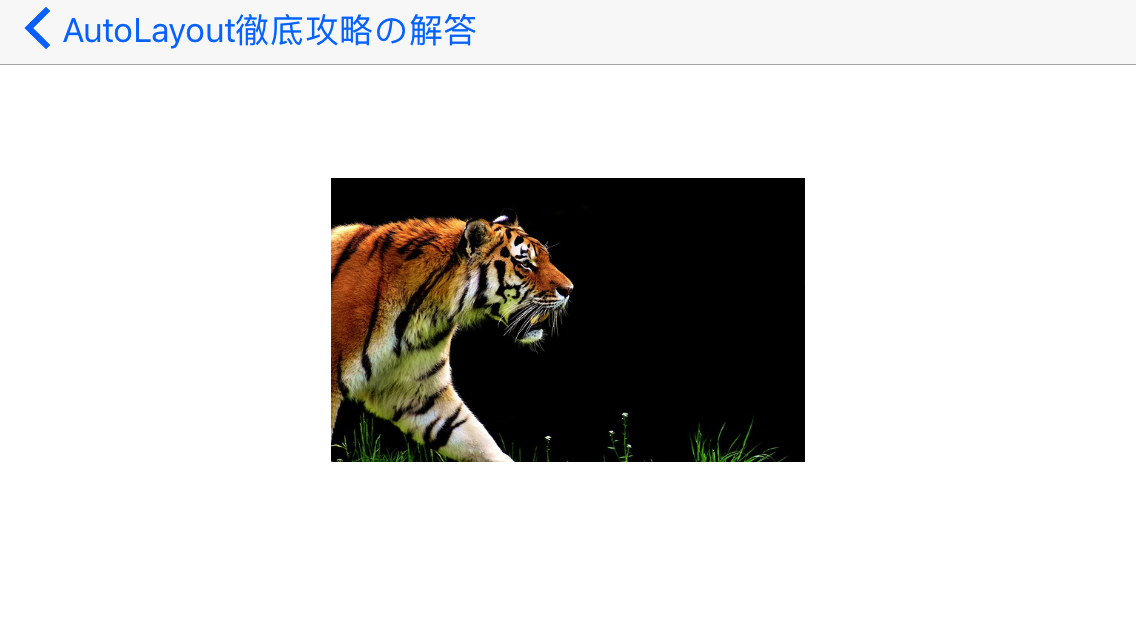
Q8. 画面中央に画面サイズの60%の幅の画像を配置
| Portrait | Landscape |
|---|---|
 |
 |
Q9. 画面の上から画面の縦40%の高さのviewを配置
| Portrait | Landscape |
|---|---|
 |
 |
Q10. 画面分割して上の領域の中央にviewを配置
| Portrait | Landscape |
|---|---|
 |
 |
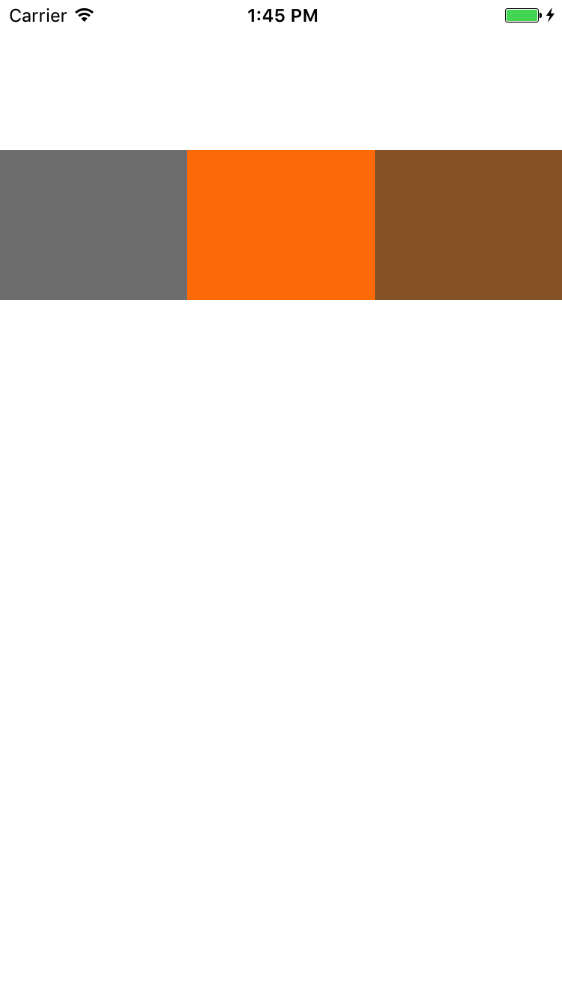
Q11. 複数のviewを同じ幅で並べて配置
| Portrait | Landscape |
|---|---|
 |
 |
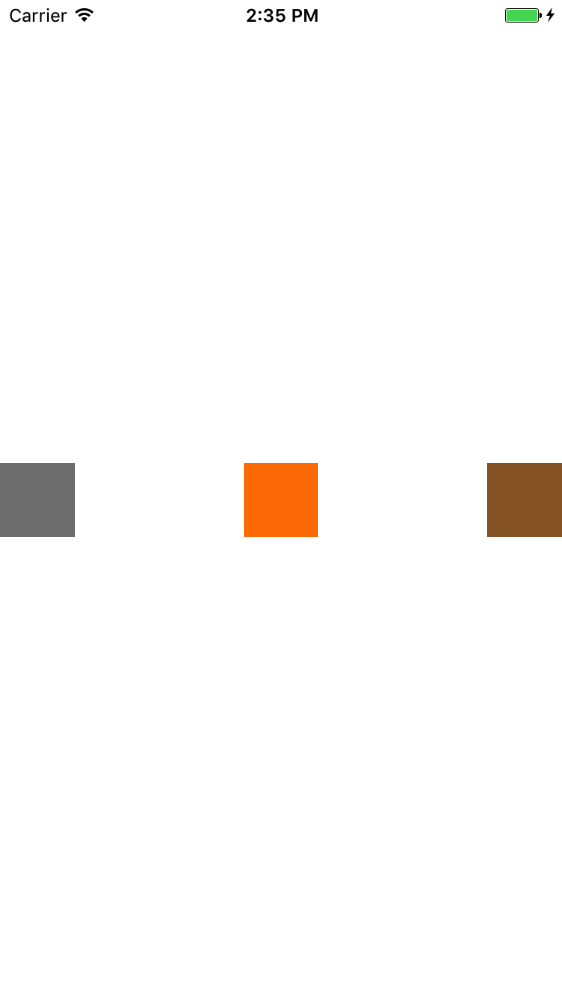
Q12. 複数のviewを等間隔で並べて配置
| Portrait | Landscape |
|---|---|
 |
 |