CentOSのGitサーバーにRedmine(オールインワンのbitnami)を入れようということになりました。
WindowsやUbuntuの情報はあったけどCentOSのはあまり見当たらなかったのでまとめてみました。
環境
- CentOS release 6.3 (Final) (on Windows Azure)
- Gitリポジトリ作成(利用)済み (/home/git/XXXX.git)
- 各ユーザーはgitグループに所属
$ ls -l /home/git/
total 12
drwxrwsr-x. 7 git git 4096 Jan 15 17:49 medical_iPad.git
drwxrwsr-x. 7 git git 4096 Jan 16 10:16 medical_PC.git

$ cat /etc/group | grep git
git:x :506:git,ootao,arata,jenkins
BitNami Redmine インストール
-
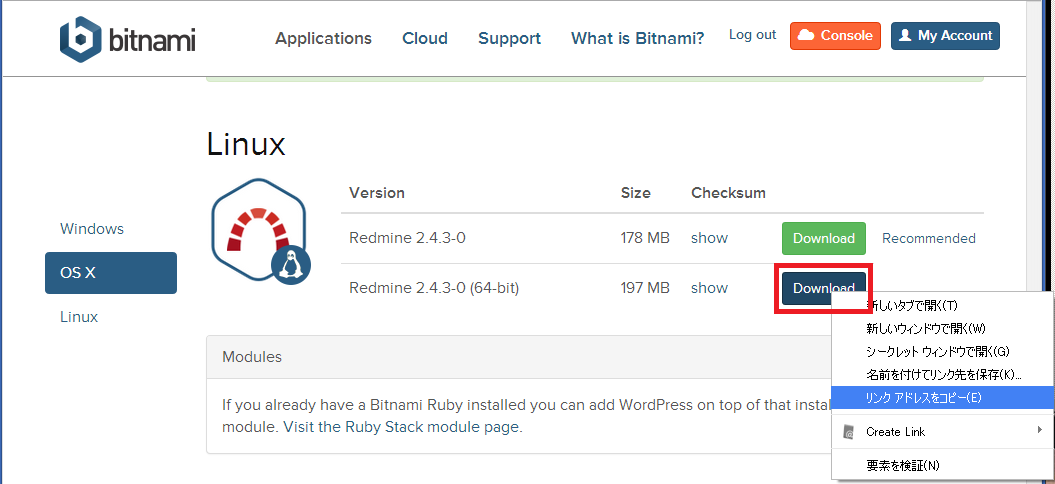
https://bitnami.com/stack/redmine/installer のページにてインストーラーのURLをコピー

- wgetでDLして、インストーラー実行
$ wget --no-check-certificate https://bitnami.com/redirect/to/30869/bitnami-redmine-2.4.3-0-linux-x64-installer.run
 :
2014-02-27 19:46:57 (4.70 MB/s) - “bitnami-redmine-2.4.3-0-linux-x64-installer.run” saved [206131024/206131024]

$ chmod +x bitnami-redmine-2.4.3-0-linux-x64-installer.run

$ sudo ./bitnami-redmine-2.4.3-0-linux-x64-installer.run
 :
セットアップウィザードによる  のインストールが完了しました。
Redmine アプリケーション起動 [Y/n]:
情報:  については、ブラウザで
http://localhost:80 にアクセスしてください。
続けるには [Enter] キーを押してください :
$
※ wgetするときに --no-check-certificate 付けないと以下のエラー
ERROR: certificate common name “assets.bitnami.com” doesn’t match requested host name “bitnami.com”.
To connect to bitnami.com insecurely, use ‘--no-check-certificate’.
3. ブラウザで80番ポートにアクセス
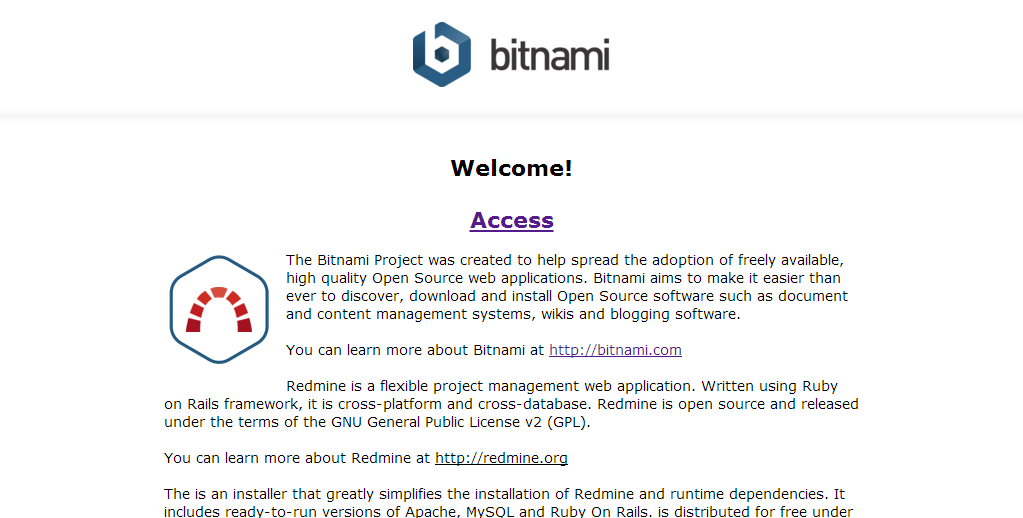
この画面が表示されればOK。「ACCESS」リンクをクリックするとredmineのトップに遷移する。

Git連携の設定
Redmineでユーザーやプロジェクト作って(そのへんは省略)、gitと連携する部分。
1. gitグループに、Redmineが動いているdaemonユーザーを追加する
これをやらないと、gitリポジトリが読めずエラーになる。
$ ps -aef | grep httpd
daemon    2670 64349  0 16:08 ?        00:00:00 /opt/redmine-2.4.3-0/apache2/bin/httpd -f /opt/redmine-2.4.3-0/apache2/conf/httpd.conf
daemon    2671 64349  0 16:08 ?        00:00:00 /opt/redmine-2.4.3-0/apache2/bin/httpd -f /opt/redmine-2.4.3-0/apache2/conf/httpd.conf
 :
→daemonユーザーとして動いている。

$ sudo usermod -G git daemon
$
$ cat /etc/group | grep git
git:x :506:git,ootao,arata,jenkins,daemon
2. Redmineのconfiguration.ymlにgitコマンドのパスを追記
ハマりポイントでした。これをやってないと上記と同様のエラー。
編集したら、bitnamiのスクリプト(ctlscript.sh)でApacheを再起動。
$ sudo find / -name configuration.yml -print
/opt/redmine-2.4.3-0/apps/redmine/htdocs/config/configuration.yml
$
$ which git
/usr/local/bin/git

$ vi /opt/redmine-2.4.3-0/apps/redmine/htdocs/config/configuration.yml
(修正前)
  # scm_git_command:        /usr/local/bin/git               # (default: git)
  scm_git_command:
(修正後)
  # scm_git_command:        /usr/local/bin/git               # (default: git)
  scm_git_command: /usr/local/bin/git

$ cd /opt/redmine-2.4.3-0/
$ sudo ./ctlscript.sh restart apache  ←第2引数でapacheを指定(無しだとDBとかも全再開)
Syntax OK
/opt/redmine-2.4.3-0/apache2/scripts/ctl.sh : httpd stopped
Syntax OK
/opt/redmine-2.4.3-0/apache2/scripts/ctl.sh : httpd started at port 80
$
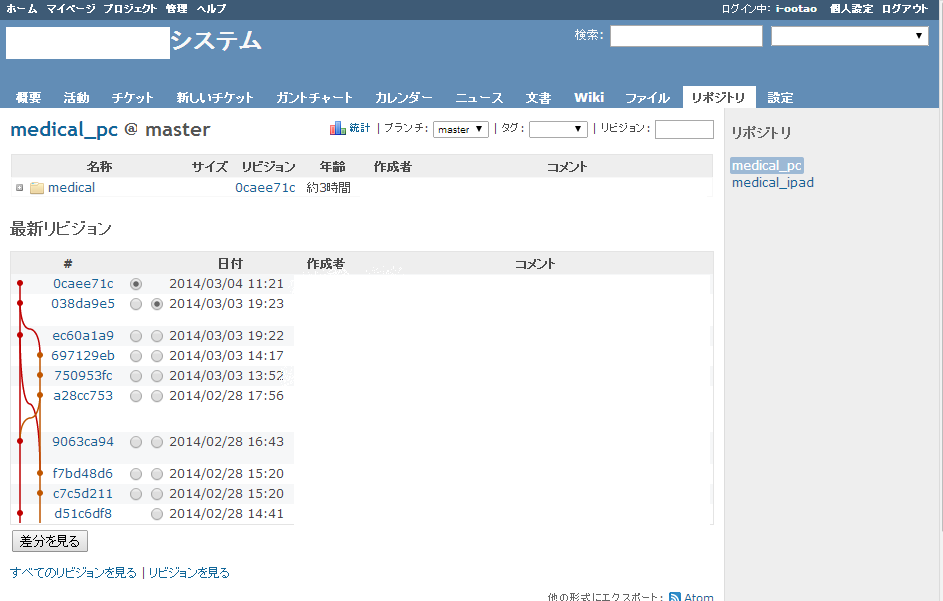
3. RedmineのWeb画面からリポジトリを登録
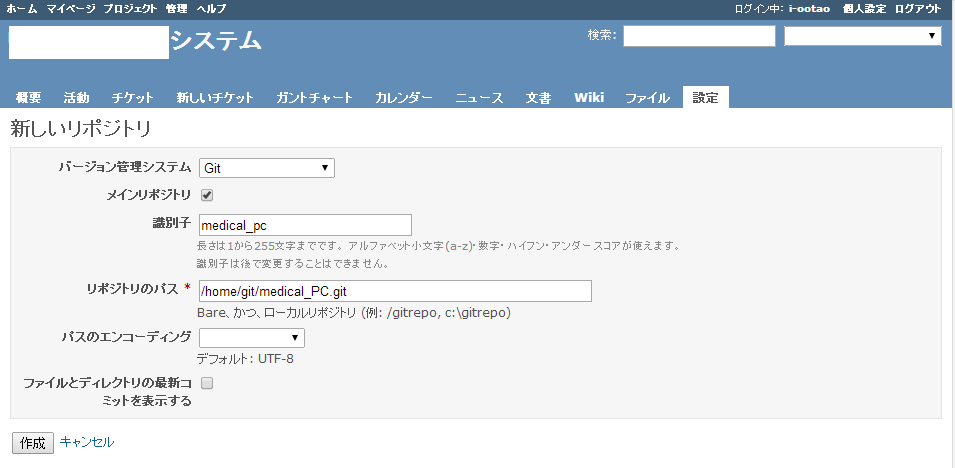
- 作成したプロジェクト>設定>リポジトリ にて「新しいリポジトリ」
- 識別子とgitリポジトリのフルパスを入れて「作成」
※識別子は、Redmine上のリポジトリ表記になるので、gitリポジトリ名とほぼ同じが良いと思う。

apacheのログにエラー出力あり。
/opt/redmine-2.4.3-0/apache2/logs/error_log
App 33253 stderr: fatal: Not a git repository: '/home/git/medical_PC.git'
App 33253 stderr: fatal: Not a git repository: '/home/git/medical_PC.git'

