はじめに
本稿では、VoIPプッシュ通知を送って実機で受け取るまでの手順を紹介します。
VoIPプッシュ通知とはなんぞや?という方は、mgkdevさんの以下の投稿がとても参考になりましたので、ご覧になられると良いかと思います。
VoIPプッシュ通知(PushKit)と標準プッシュ通知の違いについて
事前準備
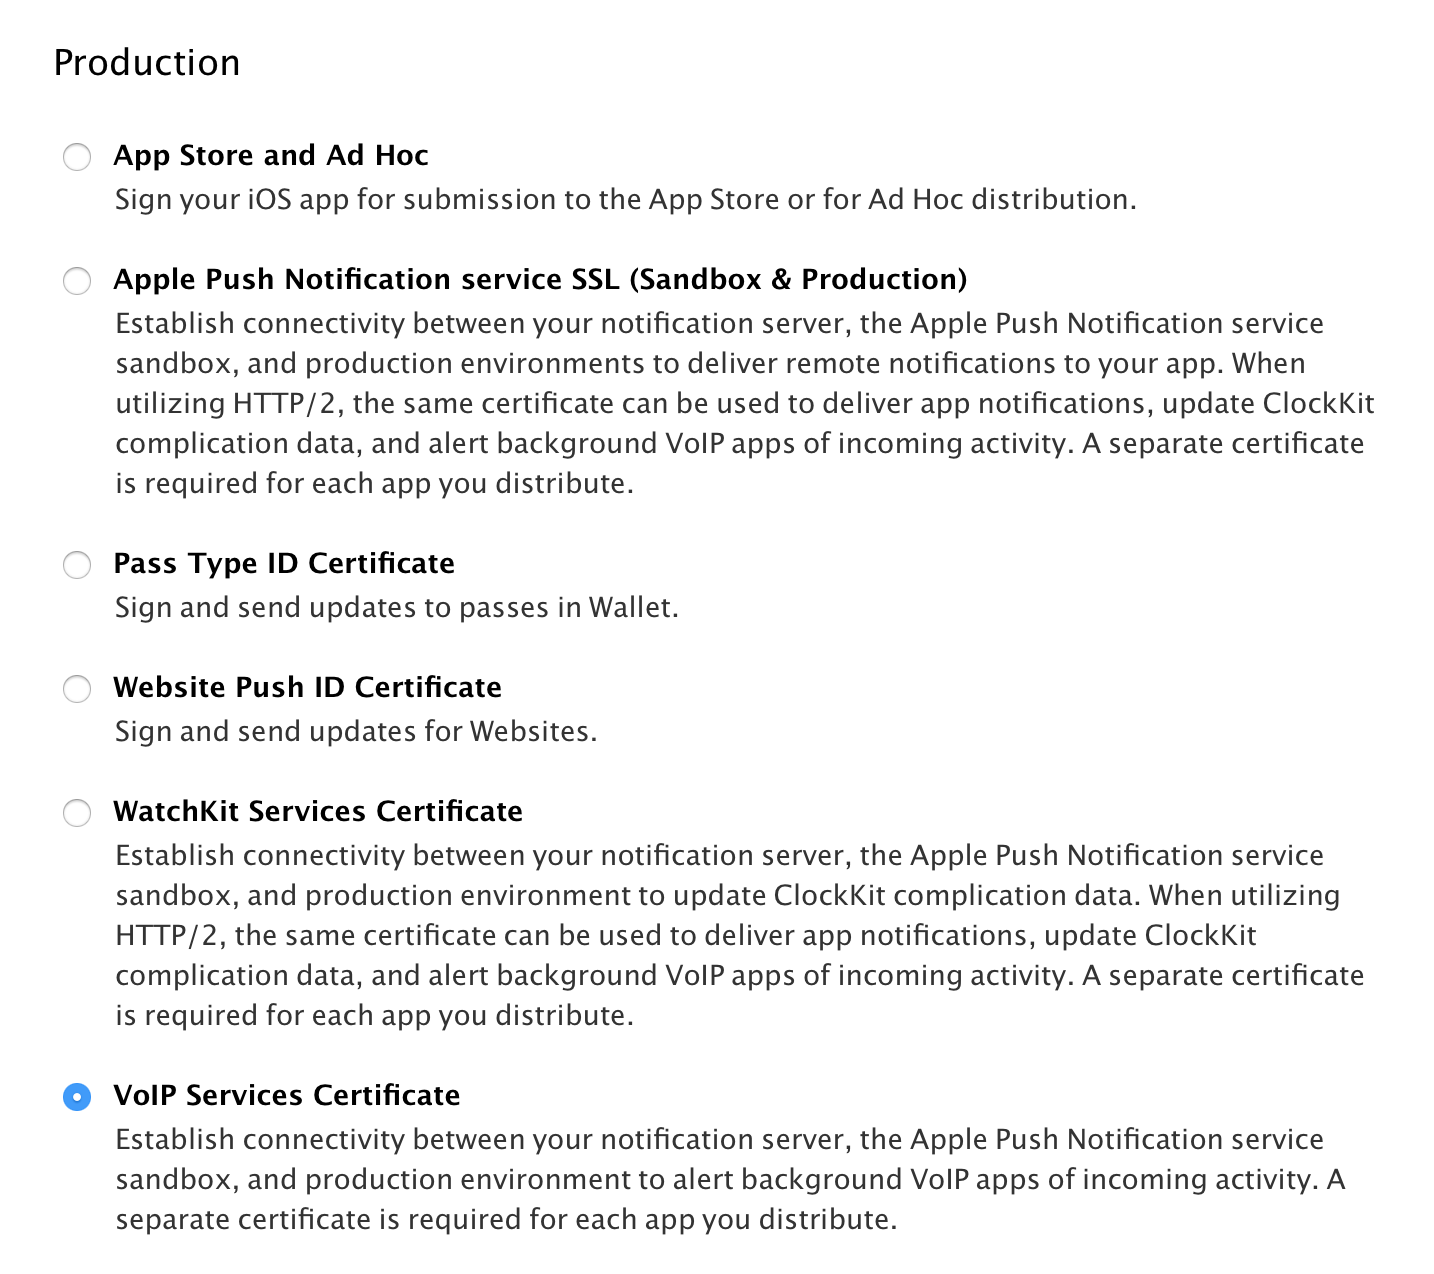
VoIP Services Certificate 作成
通常の Push Notification などの場合と同様に、Apple Developer サイトで VoIP Services Certificate を作成します。
証明書と秘密鍵はキーチェーンアクセスで .p12 形式で書き出した後、.pem 形式に変換しておきます。
openssl pkcs12 -in voip_services.p12 -out voip_services.pem -nodes -clcerts
HTTP/2 環境
APNs Provider API を利用するため、HTTP/2 環境が必要です。
itosho さんの以下の投稿を参考に curl をインストールしました。
APNs Provider API(HTTP/2)をPHPで試してみる
動作確認
curl --http2 https://http2bin.org/get
アプリ側実装
大した実装はないのですが、一応今回作成したサンプルアプリを以下にアップロードしています。
https://github.com/imamurh/PushKitSample
Background Modes
Voice over IP にチェックを入れます。

PushKit
PushKit を import し、必要なタイミングで PKPushRegistry を利用して登録を行います。
import PushKit

...

let voipRegistry: PKPushRegistry = PKPushRegistry(queue: dispatch_get_main_queue())
voipRegistry.delegate = self
voipRegistry.desiredPushTypes = [PKPushTypeVoIP]
PKPushRegistryDelegate
PKPushRegistryDelegate を実装し、デバイストークンをプッシュ通知サーバに登録する処理や VoIP プッシュ通知を受けたときの処理を実装します。
// MARK:- PKPushRegistryDelegate

func pushRegistry(registry: PKPushRegistry!, didUpdatePushCredentials credentials: PKPushCredentials!, forType type: String!) {
    NSLog("didUpdatePushCredentials: \(credentials.token)")
    // デバイストークンをプッシュ通知サーバに登録するなどの処理をここに書く
}

func pushRegistry(registry: PKPushRegistry!, didReceiveIncomingPushWithPayload payload: PKPushPayload!, forType type: String!) {
    NSLog("didReceiveIncomingPushWithPayload: \(payload.dictionaryPayload)")
    // VoIPプッシュ通知を受けたときの処理をここに書く
}

func pushRegistry(registry: PKPushRegistry!, didInvalidatePushTokenForType type: String!) {
    NSLog("didInvalidatePushTokenForType")
}
動作確認
アプリ実行
2016-07-18 15:50:24.619 PushKitSample[834:84768] didFinishLaunchingWithOptions: Inactive
2016-07-18 15:50:24.665 PushKitSample[834:84794] didUpdatePushCredentials: <4cd8bbfa 847dcf0e 8a8b4911 ad8b6732 5111c14f 137f8f5d 66a1ce71 b549d524>
今回はプッシュ通知用のサーバを用意しているわけではないので、ログ出力されたデバイストークン (この例では4cd8bbfa847dcf0e8a8b4911ad8b67325111c14f137f8f5d66a1ce71b549d524) をメモしておく。
curl コマンドで VoIP プッシュ通知リクエストを送る
curl --http2 \
    -E voip_services.pem \
    --header "apns-topic: com.example.imamurh.pushkitsample.voip" \
    -d "{\"message\":\"Hello\"}" \
    https://api.development.push.apple.com/3/device/4cd8bbfa847dcf0e8a8b4911ad8b67325111c14f137f8f5d66a1ce71b549d524
- --http2: HTTP/2 指定
- -E: 事前準備で用意した証明書 + 秘密鍵 .pem ファイルのパスを指定
- apns-topic: 今回作成したサンプルアプリの Bundle Identifier は
com.example.imamurh.pushkitsampleですが、VoIP プッシュではcom.example.imamurh.pushkitsample.voipといったように.voipをつけたものを指定 - -d: ペイロードに載せたいデータ (JSON形式)
- sandbox 環境の場合は
api.development.push.apple.comですが、production 環境ではapi.push.apple.comを利用
VoIP プッシュ通知受信
上記リクエストを送って成功するとデバイスに通知が届きます。dictionaryPayload でペイロードが取得できます。
2016-07-18 15:50:48.709 PushKitSample[834:84934] didReceiveIncomingPushWithPayload: [message: Hello]
アプリプロセスを Kill して試す
Jul 18 15:55:29 iPhone-5 PushKitSample[844] <Warning>: didFinishLaunchingWithOptions: Background
Jul 18 15:55:29 iPhone-5 PushKitSample[844] <Warning>: didUpdatePushCredentials: <4cd8bbfa 847dcf0e 8a8b4911 ad8b6732 5111c14f 137f8f5d 66a1ce71 b549d524>
Jul 18 15:55:29 iPhone-5 PushKitSample[844] <Warning>: didReceiveIncomingPushWithPayload: [message: Hello]
didFinishLaunchingWithOptions が呼ばれアプリプロセスが起動しているのが確認できます。UIApplicationState が Background なので、VoIP プッシュ通知で起動した場合を判定して処理を分岐できそう。