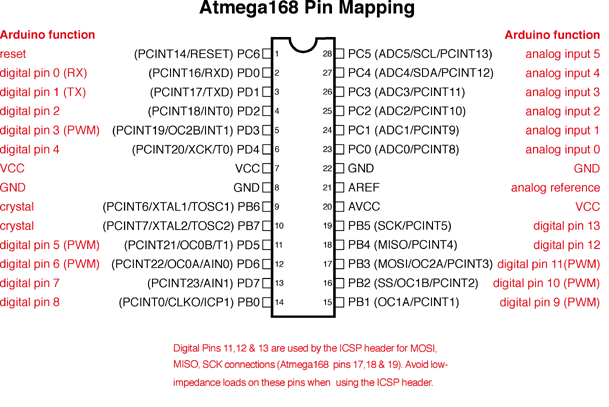
ロータリーエンコーダや感知センサ、ボタンのプッシュなどで、値の変化を即座に検知し反応したい場合、メインループで状態検知を行ってると別処理中で反応できなかったりする。そのために割り込みピンの変化時に割り込み処理をすることで対応する。
Arduino Uno で Interrupt に割り当てられてるピンはデジタルピンの2(INT0)と3(INT1)。
attachInterrupt(digitalPinToInterrupt(2), callback_function, CHANGE);
と記述することで、デジタルピン2が変化したとき(CHANGE)、callback_function が割り込み処理として実行される。どのように状態が変わったかで呼ばれるかの定義は、以下の定数で指定する。
- LOW to trigger the interrupt whenever the pin is low,
- CHANGE to trigger the interrupt whenever the pin changes value
- RISING to trigger when the pin goes from low to high,
- FALLING for when the pin goes from high to low.
LOW と FALLING の違いがわからない(変化は HIGH -> LOW だから違いがあるのかな…)。
またオフィシャルドキュメントには罠があって、pin が 13 だと動かないと思う。ので
int ledPin = 13;
int interruptPin = 2;
volatile int state = LOW;

void setup() {
    pinMode(ledPin, OUTPUT);
    attachInterrupt(digitalPinToInterrupt(interruptPin), blink, CHANGE);
}

void loop() {
    digitalWrite(pin, state);
}

void blink() {
    state = !state;
}
みたいに記述する必要がある。
なお、意図しない最適化を防ぐため、割り込み関数の内部で変更する変数は volatile 修飾子を忘れずに。
