概要
サーバレス構成でサービスを構築する際に便利なServerless Frameworkですが、コアからユニットテストを回すための方法は提供されていません。自分たちでテストの枠組みを定義する必要があります。今回はその方法の紹介です。
テスト対象のLambdaファンクションを作成する
以下のコマンドにてLambdaファンクションを作成します。今回は例としてhelloというファンクションを作ってみます。
$ serverless function create hello
すると以下の様なディレクトリ構成が出来上がります。
├── hello
│   ├── event.json
│   ├── handler.js
│   └── s-function.json
handler.jsが実際にLambdaとして実行されるファイルなのですが、初期状態では以下の様な内容になっています。
module.exports.handler = function(event, context, cb) {
  return cb(null, {
    message: 'Go Serverless! Your Lambda function executed successfully!'
  });
};
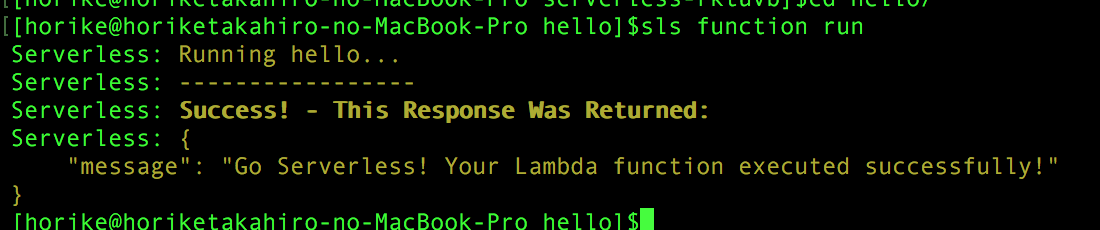
実行させると以下のようにGo Serverless! Your Lambda function executed successfully!というメッセージが返ってきます。
UnitTestの構成を作る
今回はJavaScriptのテスティングフレームワークとして有名なmochaとchaiを使います。
まずはそれらをServerlessプロジェクト内にインストールします。
--save-devオプションを指定して、package.jsonのdevDependenciesに登録しておくとよいでしょう。
$ npm install chai --save-dev
$ npm install mocha --save-dev
tests/all.jsというファイルをプロジェクトのルート階層に作ります。
├── hello
│   ├── event.json
│   ├── handler.js
│   └── s-function.json
└── tests
    └── all.js
テストコードは以下のとおり
テストコード内でLambdaファンクションを実行させて返り値を比較させます。
'use strict';
// Unit tests for Serverless
// Generated by Serverless UnitTestBoilerplate
var s
const path       = require('path'),
      chai       = require('chai'),
      should     = chai.should(),
      Serverless = require('serverless')

describe('ServerlessProjectTest', function() {
  beforeEach(function(done) {
    this.timeout(0);

    s = new Serverless();

    s.init().then(function() {
      s.config.projectPath = __dirname + '/../';
      s.setProject(new s.classes.Project({
        stages: {
          dev: { regions: { 'ap-northeast-1': {} }}
        },
        variables: {
          project: 'serverless-project',
          stage: 'dev',
          region: 'ap-northeast-1'
        }
      }));

      s.getProject().setFunction(new s.classes.Function(
        {
          name:"hello",
          runtime:"nodejs4.3"
        },
        __dirname + '/../hello/s-function.json'));

      done();
    });

  });

  describe('#funciton hello()', function() {
    it('should be funciton hello success', function() {
      return s.getProject().getFunction('hello').run('dev', 'ap-northeast-1', {})
      .then(result => {
        result.response.message.should.equal('Go Serverless! Your Lambda function executed successfully!')
      });
    });
  });
});
そして、package.jsonに以下を追記すれば準備完了です。
├── package.json
├── hello
│   ├── event.json
│   ├── handler.js
│   └── s-function.json
└── tests
    └── all.js
npmでグローバルインストールされているserverlessにpathを通すためexportさせています。
"scripts": {
    "test": "export NODE_PATH=`npm root -g` && mocha tests/all"
}
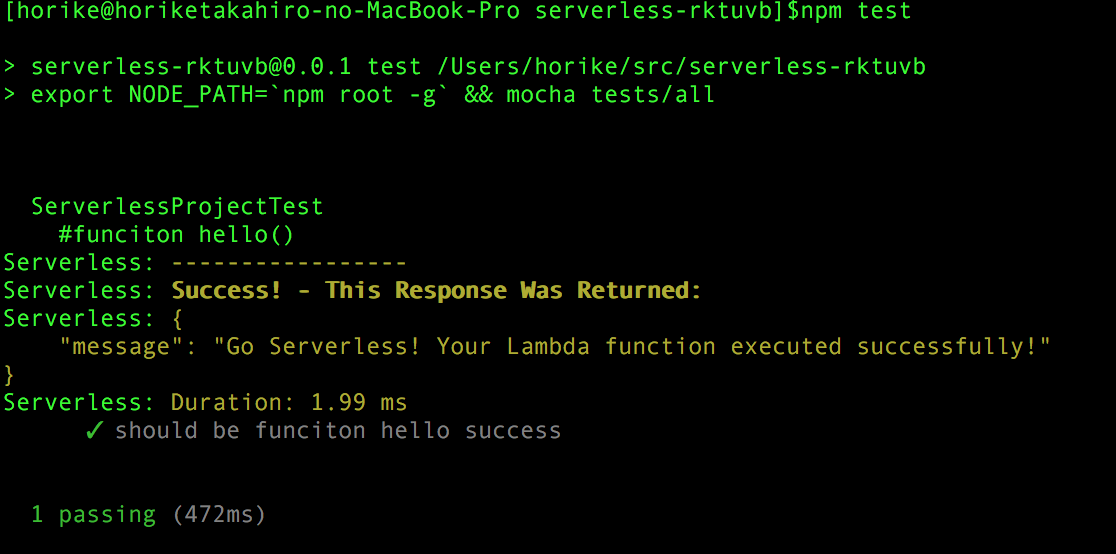
テストを実行してみましょう。npm testの結果以下のとおり、正しくテストが実行されました。
Travisで実行させる
TravisでGitにpushしたタイミングでテストが実行されるようにしてみましょう。
プロジェクトのルート階層に.travis.ymlを設置します。
├── .travis.yml
├── package.json
├── hello
│   ├── event.json
│   ├── handler.js
│   └── s-function.json
└── tests
    └── all.js
ファイルの内容は以下のとおり
language: node_js

node_js:
  - '4'

sudo: false

install:
  - npm install -g serverless
  - npm install

script:
  - npm test
そして、Travis側の設定を行い、gitにpushすると以下のとおりテストを実行してくれました。
https://travis-ci.org/horike37/serverless-deployment-cycle/builds/136548908
今回のテストコードを生成してくれる機能をServerlessのプラグインとして公開しました
Serverless UnitTest Boilerplateとして公開しています。詳しい使い方はREADMEに記載しています。興味の有る方は是非使ってみてください!