前提:今回の環境
- ローカルの Mac に 構築した Rails 環境に導入しました。
- OS:
Mac OS X 10.9.4 (Mavericks) - Ruby:
2.1.2 - Rails:
4.1.1
- OS:
まず、デフォルトでインストールされた minitest を無効にする
rails new する際に -T オプションをつけておけば minitest は除外されているのですが、もし後から外したい場合は、application.rb を編集します。
config/application.rb(変更前)
require File.expand_path('../boot', __FILE__)

require 'rails/all'

〜
config/application.rb(変更前)
require File.expand_path('../boot', __FILE__)

require "active_model/railtie"
require "active_record/railtie"
require "action_controller/railtie"
require "action_mailer/railtie"
require "action_view/railtie"
require "sprockets/railtie"
# require "rails/test_unit/railtie"

〜
この状態で rails g すると、minitest 用のファイルが生成されないのが確認できます。
RSpec の導入
Gemfile へ追記
Gemfile
gem 'rspec-rails', group: [:development, :test]
bundle install する
$ bundle install --path vendor/bundle
※ 私の場合は、vendor/bundle に gem を配置しています。適宜、読み替えてください。
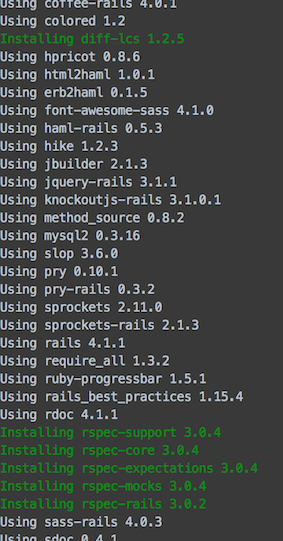
次のよう(緑字)にインストールされます。
RSpec のインストール(一度のみ)
$ ./bin/rails g rspec:install
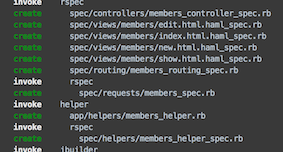
次のようにファイルが生成される。
あとは、今後 rails g した際に、勝手に RSpec 用のファイルが作成されます。
factory_girl の導入
これをいれると、テストデータが作れるようになります。
Gemfile へ追記
Gemfile
gem 'factory_girl_rails', group: [:development, :test]
bundle install する
$ bundle install --path vendor/bundle
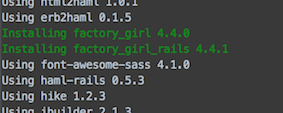
次のよう(緑字)にインストールされます。
あとは、今後 rails g した際に、factory_girlc 用のファイルが作成されます。


