以前研修でやったことを、実際に家でもやってみたので
今度は画像付きで残そうと思います。
利用環境
AWS
| サービス名 | 詳細 |
|---|---|
| EC2 | Amazon Linux |
| RDS | MariaDB |
| S3 | - |
EC2インストールソフトウェア
| 環境 | 詳細 |
|---|---|
| Webサーバ | Apache |
| DBクライアント | MariaDB |
| PHP | ver 5.3.29 |
| CMS | Wordpress |
インストール作業
EC2にWordPressに必要なソフトをインストールします。
EC2更新
$ sudo yum -y update
Apache
$ sudo yum -y install httpd
$ sudo /sbin/chkconfig httpd on #自動起動ON
$ sudo /etc/init.d/httpd start  #サービスの起動
PHP
$ sudo yum -y install php php-mysql php-mbstring
MariaDB
$ sudo yum -y install mysql #接続はMySQLクライアントで可能
WordPress
$ wget http://ja.wordpress.org/latest-ja.tar.gz ~/ #ダウンロード
$ tar zxvf ~/latest-ja.tar.gz #homeディレクトリに解凍
$ sudo cp -r ~/wordpress /var/www/html/sample #解凍したWordpressを/var/www/htmlにコピー
$ sudo chown apache:apache -R /var/www/html/sample #Wordpressフォルダの権限変更
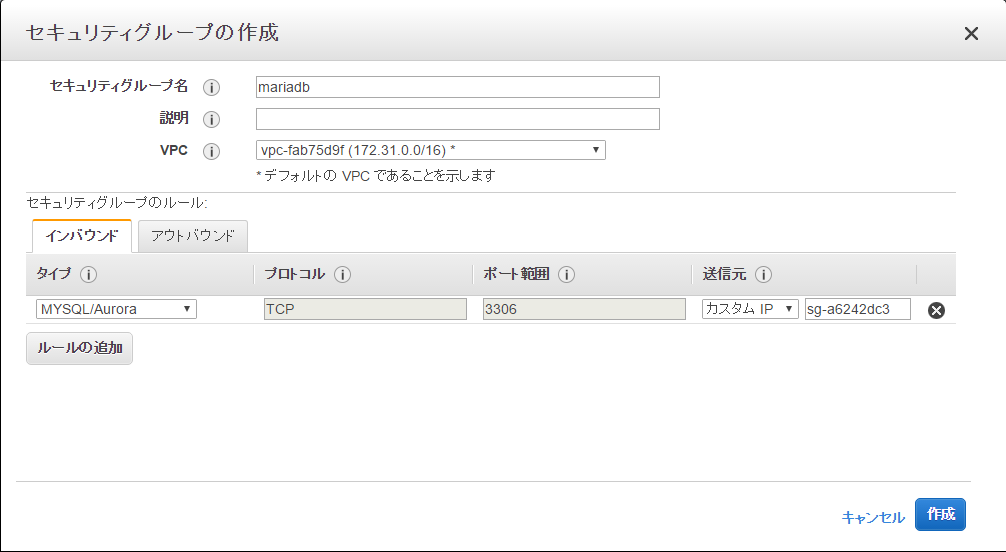
セキュリティグループの作成
インバウンドはEC2に設定したセキュリティグループのIDを設定。
ポートはMySQLと同じで利用可能です。
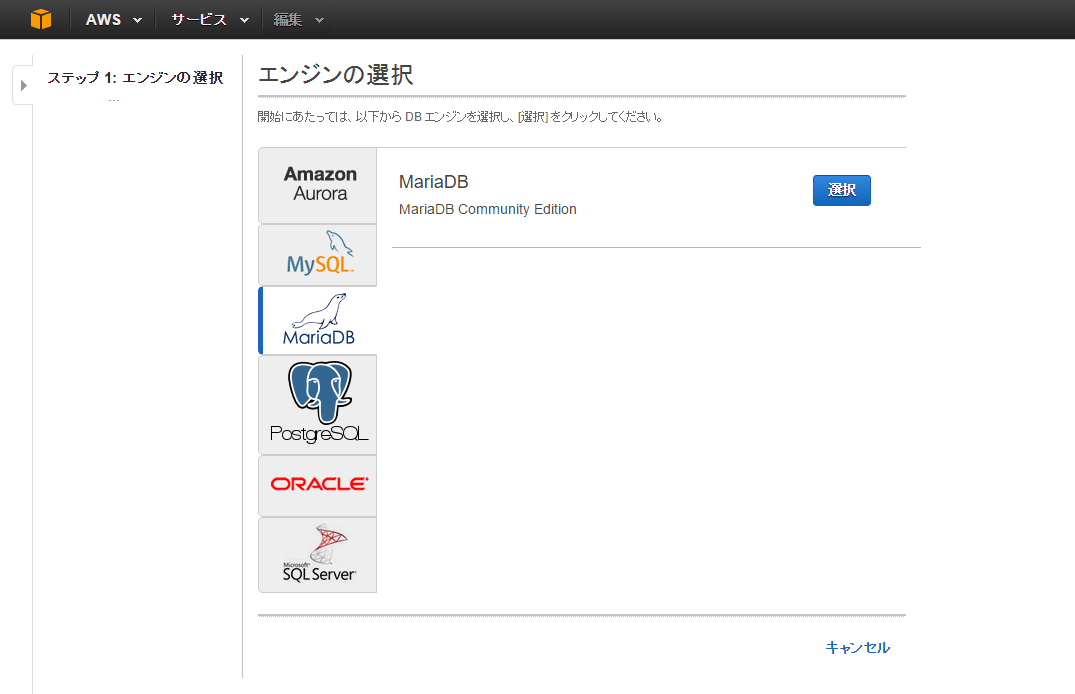
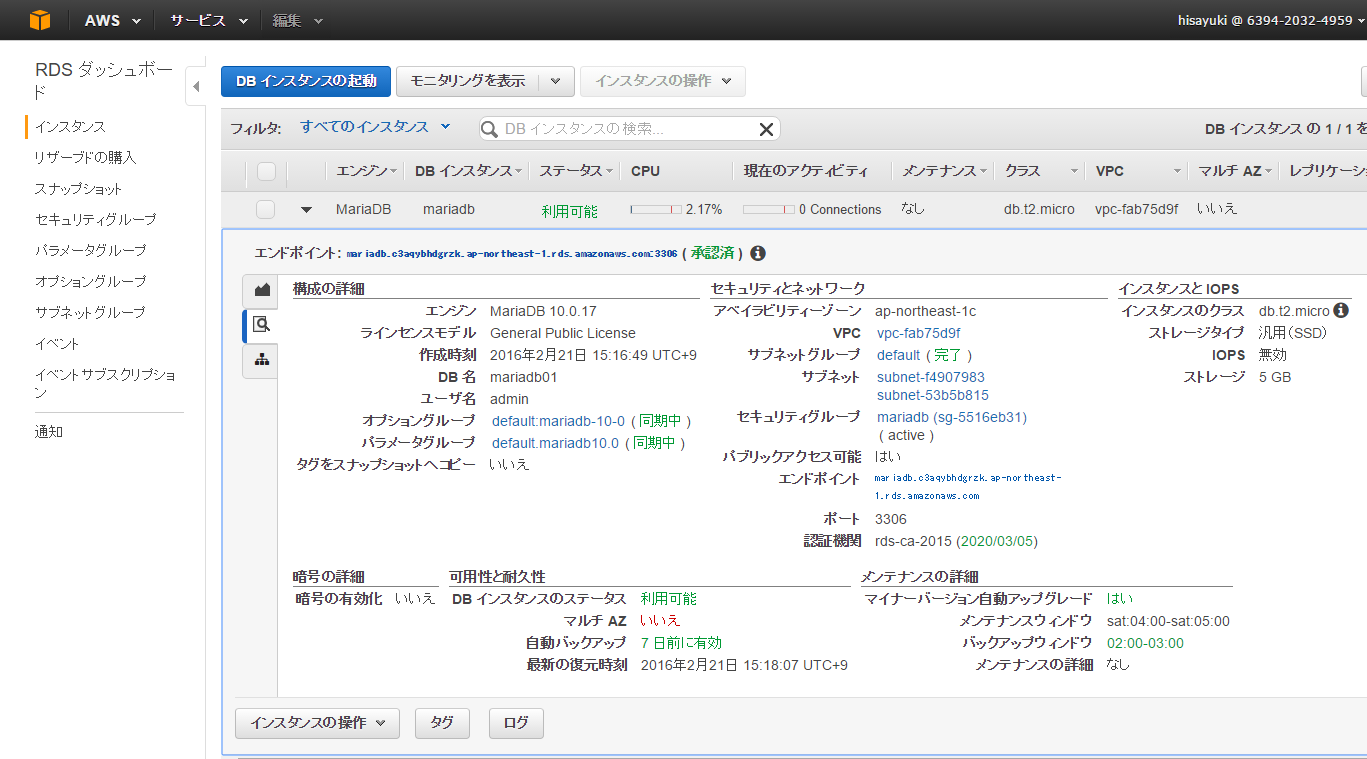
RDSの設定
最初なので設定は必要最低限でインスタンスを作成します。
-
MariaDBを選択
-
開発用/テストの枠を選択

-
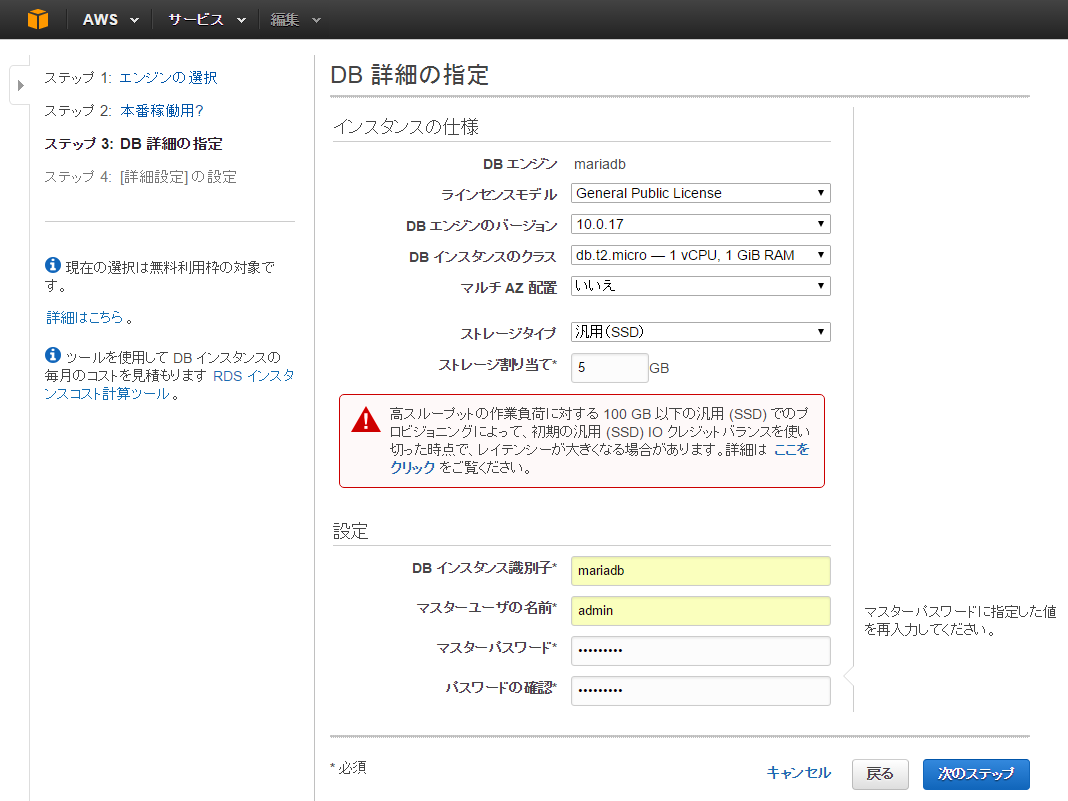
DB詳細の指定は以下のとおり。
- インスタンスクラス: t2.micro
- マルチ AZ 配置: No
- ストレージタイプ: 汎⽤用(SSD) ※既定のまま
- ストレージ割り当て: 5GB ※既定のまま
- DBインスタンスの識別⼦子: mariadb(任意)
- マスターユーザー名: admin(任意)
- マスターパスワード: 任意のパスワード
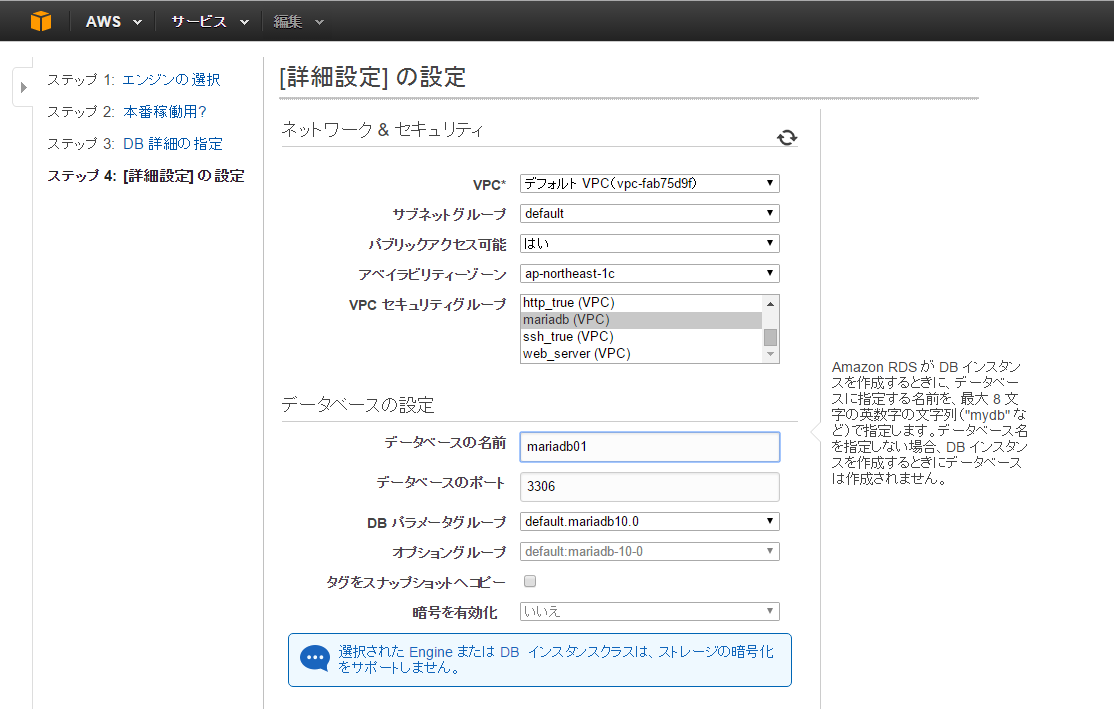
- 詳細設定は以下のとおり
- アベイラリティゾーンはECと同様
- セキュリティグループは先ほど作成したものを選択
- データベース名:任意
- バックアップ設定、メンテナンス設定は任意
画面上ではバックアップは午前2時、メンテナンスは土曜日午前4時に指定
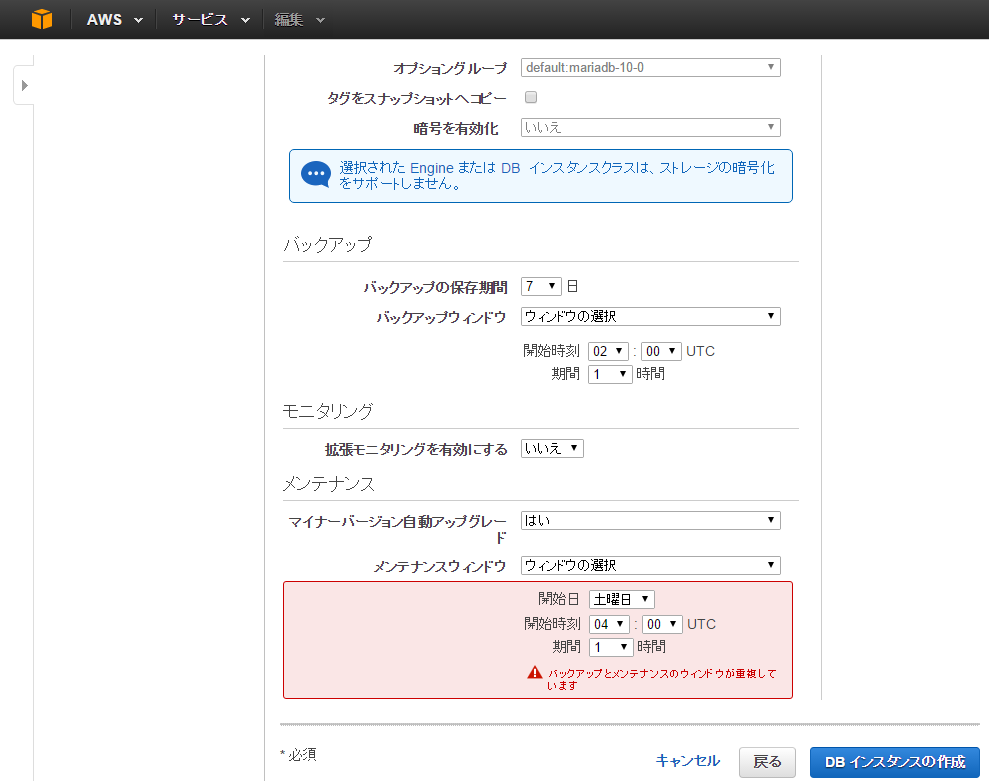
- DBインスタンスの作成ボタンでインスタンス作成
WordPressの設定
-
http://<EC2インスタンス名>/</var/www/htmlディレクトリのwordpressフォルダ名>にアクセス
今回、ディレクトリ名をwordpressからsampleに変更したので以下のとおり。
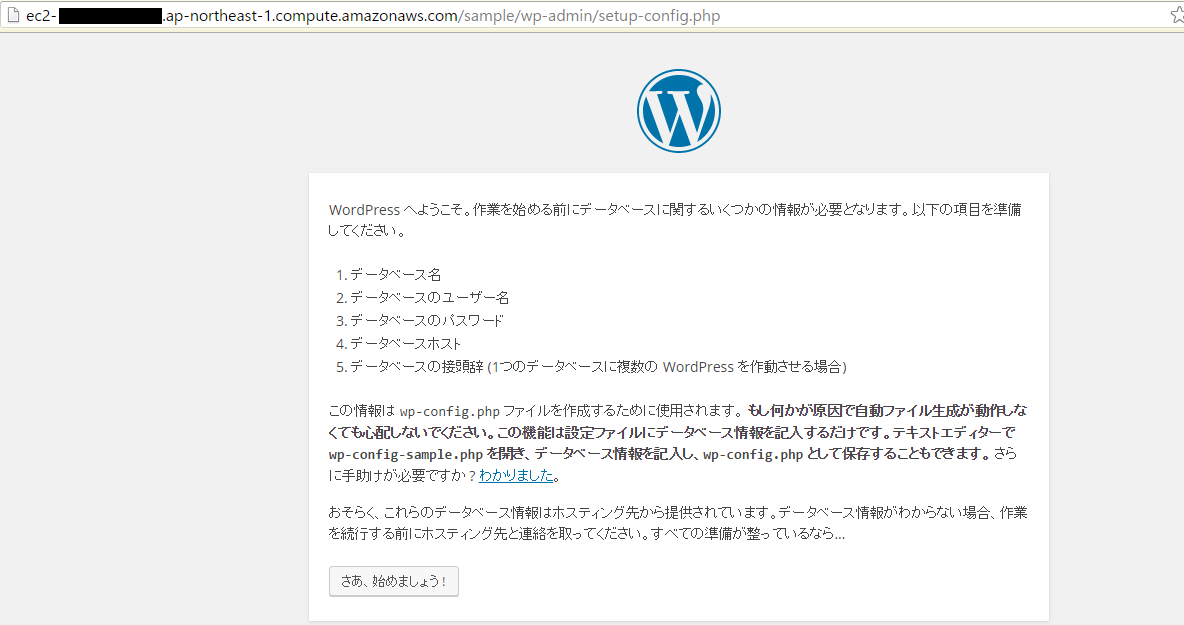
-
必要項目を入力します。
- データベース名:MariaDBのデータベース名
- ユーザ名:MariaDBのユーザ名
- パスワード:MariaDBのパスワード
- データベースホスト名:MariaDBインスタンスのエンドポイント
- テーブル接頭辞:任意(複数Wordpressを作る場合は被らない様にする)
-
以下の画面が出たらRDSとの接続は成功
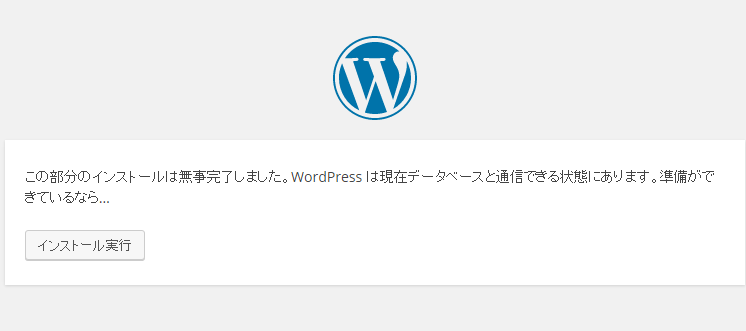
-
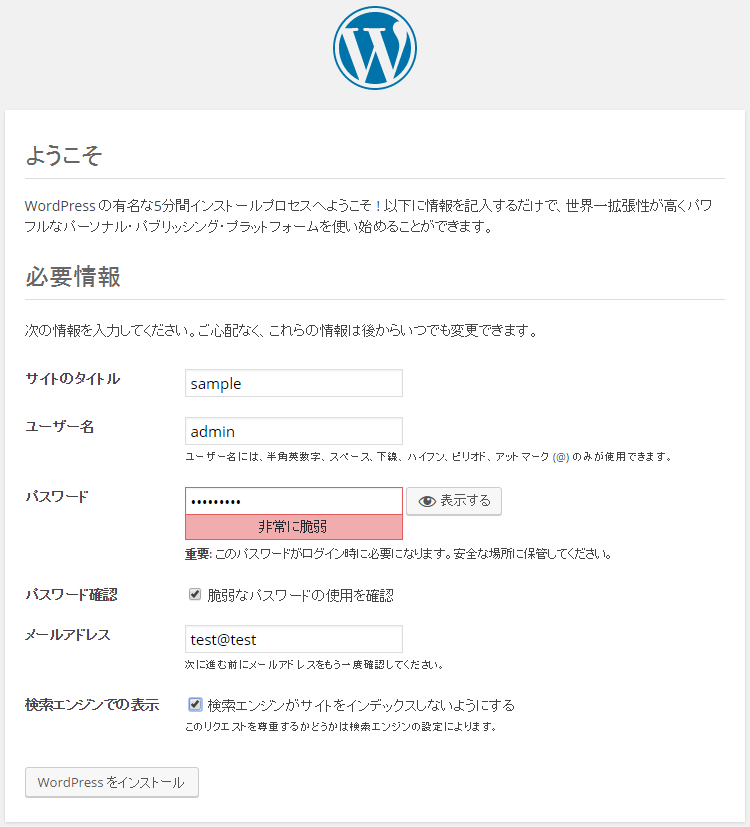
wordpressの初期設定
- サイトタイトル名:(任意)
- メールアドレスは適当でも可能
- 検索エンジンの表示からチェックをつければ、検索エンジンに該当されない。
-
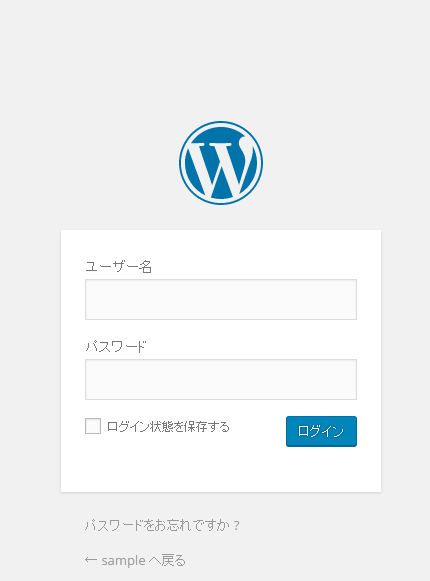
http://<EC2インスタンス名>/</var/www/htmlディレクトリのwordpressフォルダ名>/wp-login.phpにアクセス
ログイン画面からログインを行う
-
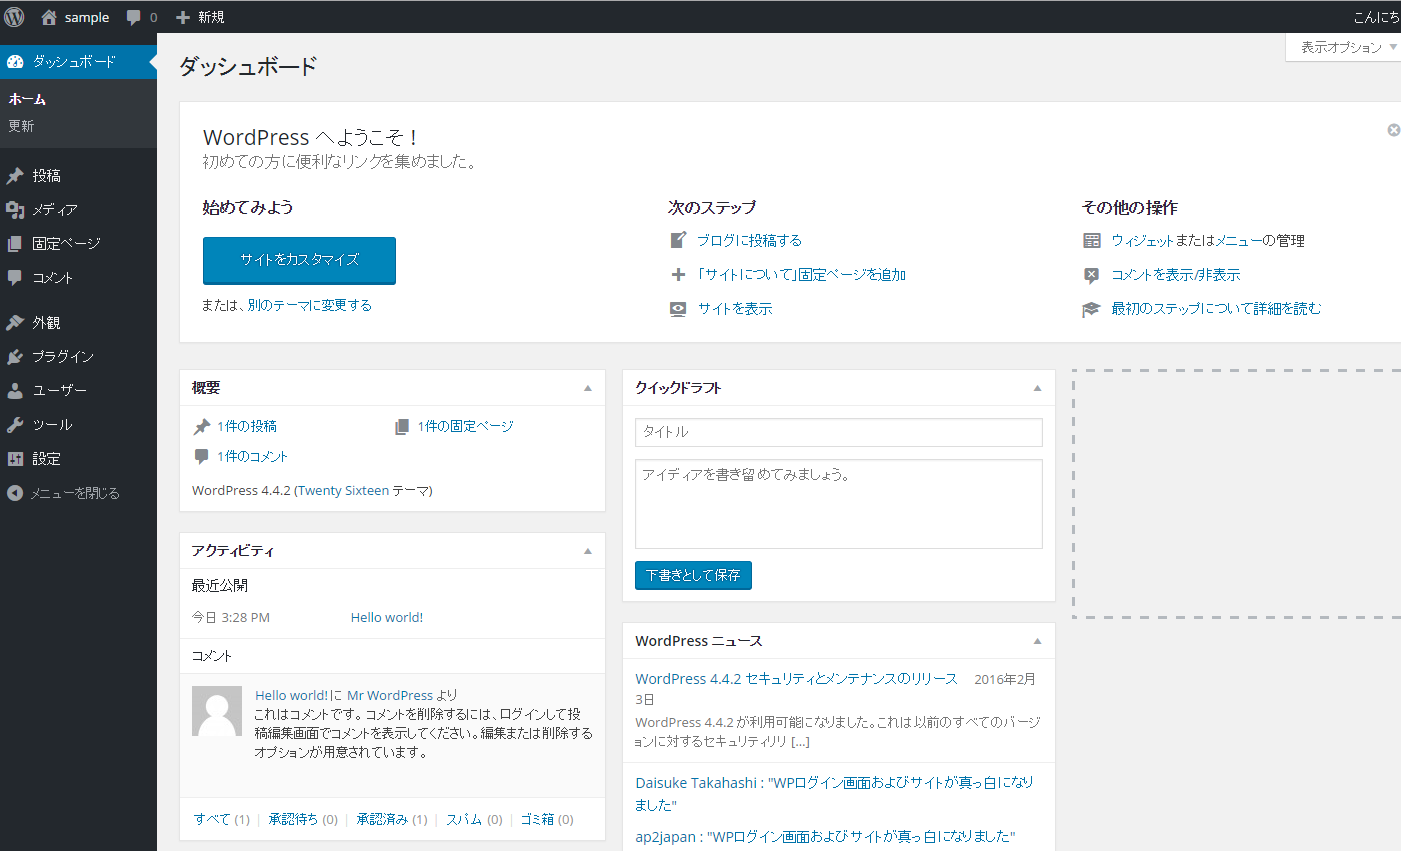
ダッシュボード画面が表示されたらWordpressのインストール、RDSとの連携は完了
EC2からDBの確認方法
MySQL同様の接続方法で確認可能です。
$ mysql -h <ポート番号抜きのRDSエンドポイント> -P 3306 -u <ユーザ名> -p<パスワード>
-pとパスワードは間にスペースを入れないで接続
以下の表示で接続完了。
Welcome to the MySQL monitor.  Commands end with ; or \g.
Your MySQL connection id is 114
Server version: 5.5.5-10.0.17-MariaDB-log MariaDB Server

Copyright (c) 2000, 2015, Oracle and/or its affiliates. All rights reserved.

Oracle is a registered trademark of Oracle Corporation and/or its
affiliates. Other names may be trademarks of their respective
owners.

Type 'help;' or '\h' for help. Type '\c' to clear the current input statement.

mysql>
データベース一覧を確認し、使用するデータベースを選択
mysql> show databases; #データベース一覧表示
+--------------------+
| Database           |
+--------------------+
| information_schema |
| innodb             |
| mariadb01          |
| mysql              |
| performance_schema |
+--------------------+
5 rows in set (0.00 sec)

mysql> use mariadb01 #利用データベース選択
Reading table information for completion of table and column names
You can turn off this feature to get a quicker startup with -A

Database changed
mysql>
選択したデータベースから、テーブル一覧を出力
mysql> show tables;
+-----------------------+
| Tables_in_mariadb01   |
+-----------------------+
| sp_commentmeta        |
| sp_comments           |
| sp_links              |
| sp_options            |
| sp_postmeta           |
| sp_posts              |
| sp_term_relationships |
| sp_term_taxonomy      |
| sp_termmeta           |
| sp_terms              |
| sp_usermeta           |
| sp_users              |
+-----------------------+
12 rows in set (0.00 sec)

mysql>
以上でテーブル一覧が確認できるので、あとはSQLで中身を確認することが出来る。
S3とWordPressの連携
-
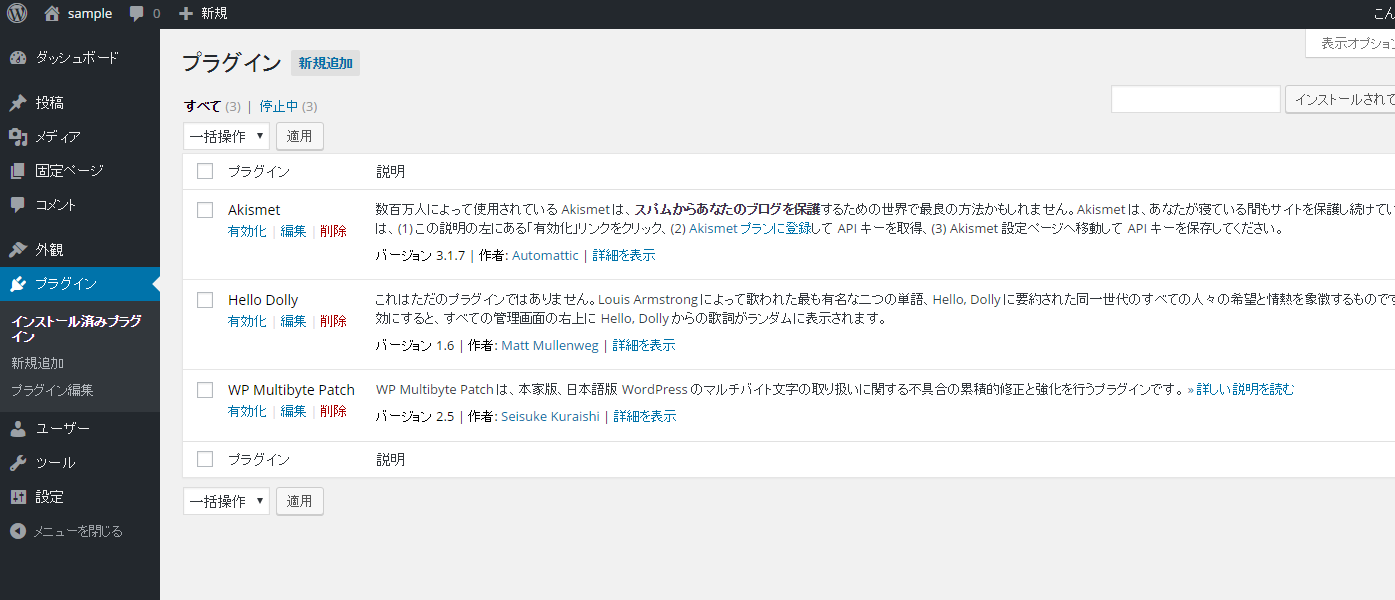
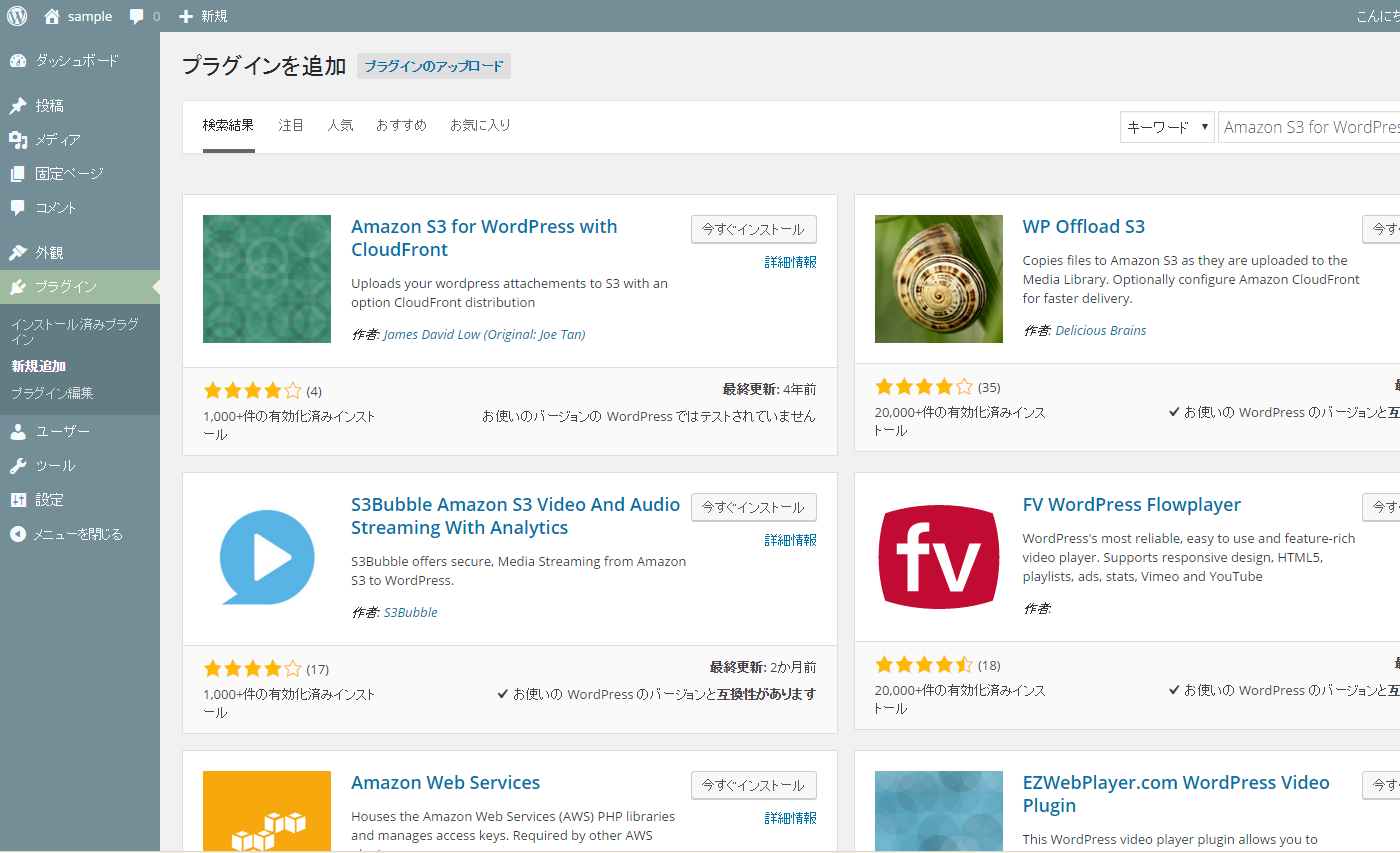
WordPressのダッシュボードからプラグインを選択、新規追加を行う。
-
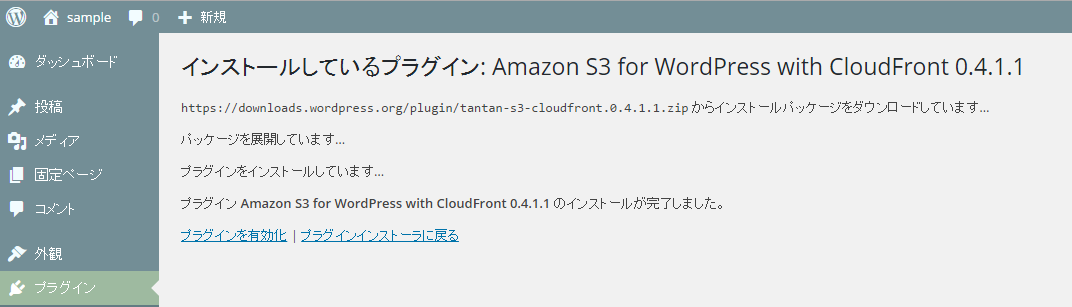
プラグインの検索画面に”Amazon S3 for WordPress with CloudFront”と入力し、表示された"Amazon S3 for WordPress with CloudFront"をインストール
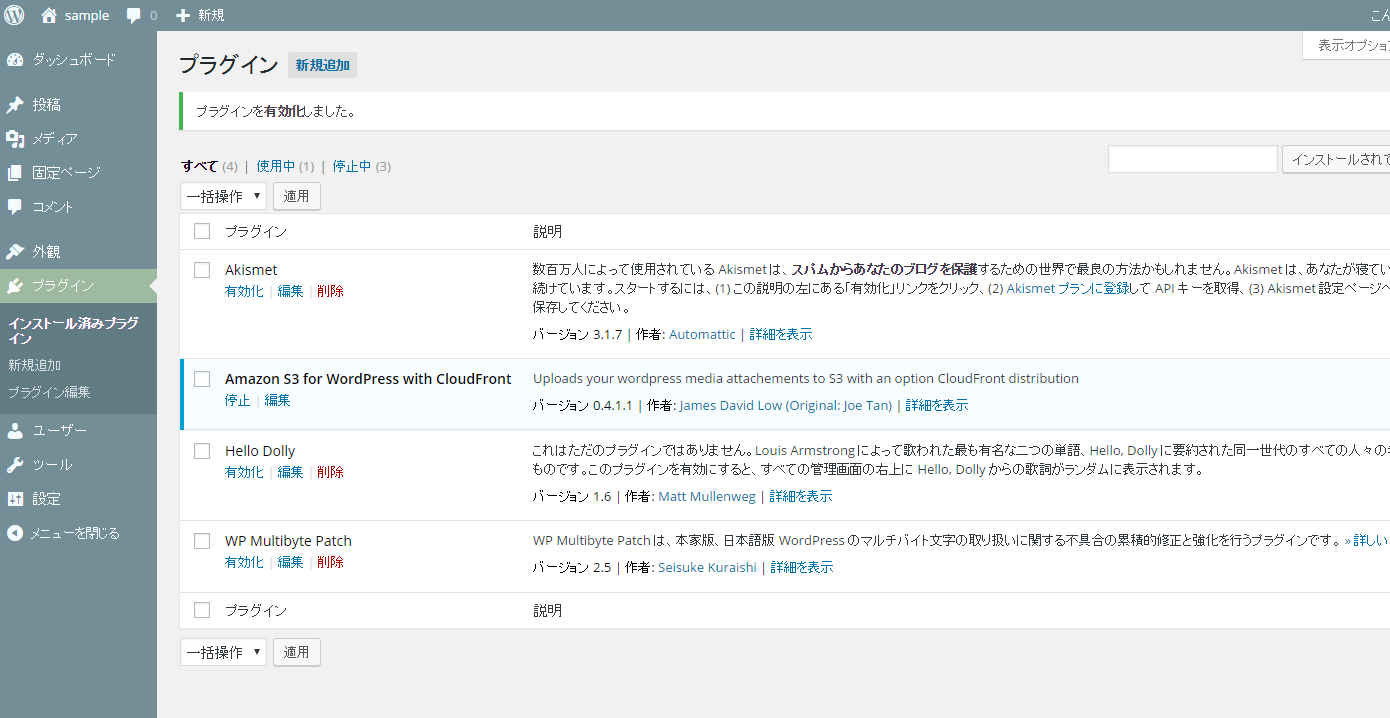
-
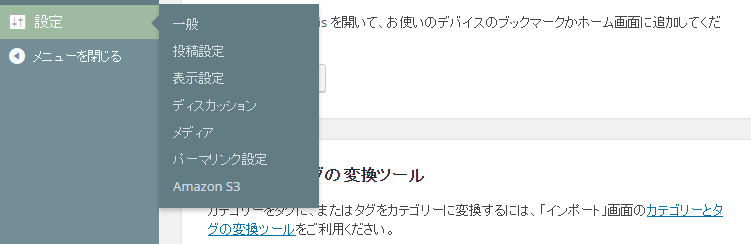
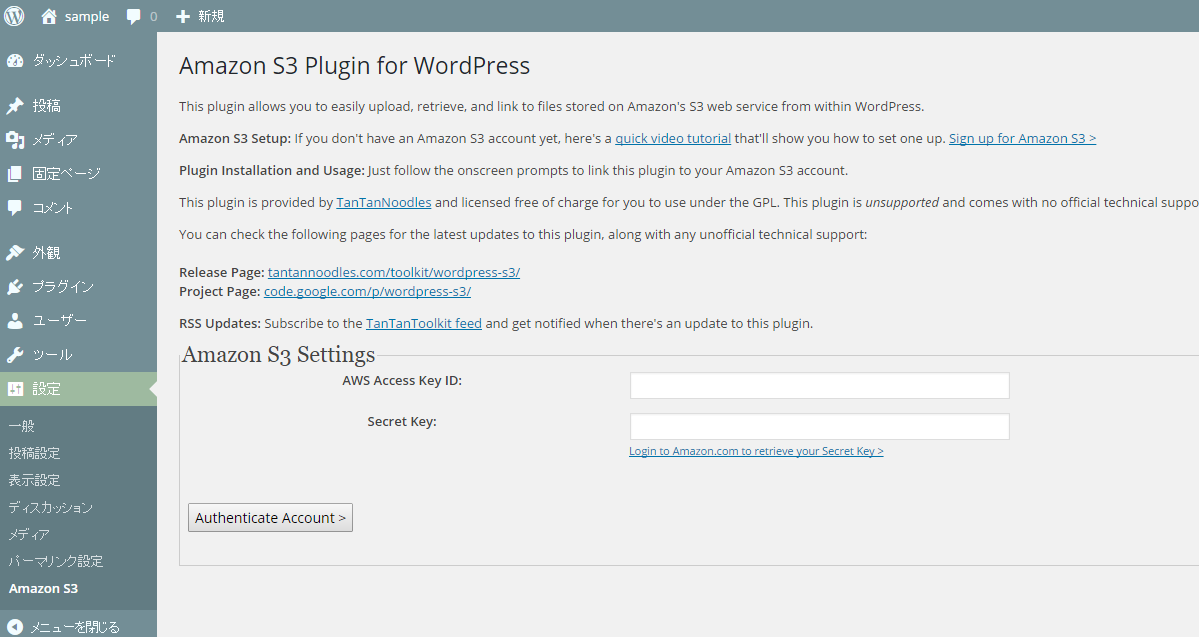
インストール済みプラグインから"Amazon S3 for WordPress with CloudFront"を有効化する。有効化すると設定項目にAmazonS3が表示される。
-
あらかじめS3操作用権限のIAMを作成しておき、設定画面にて、アクセスキーとシークレットアクセスキーを入力します
-
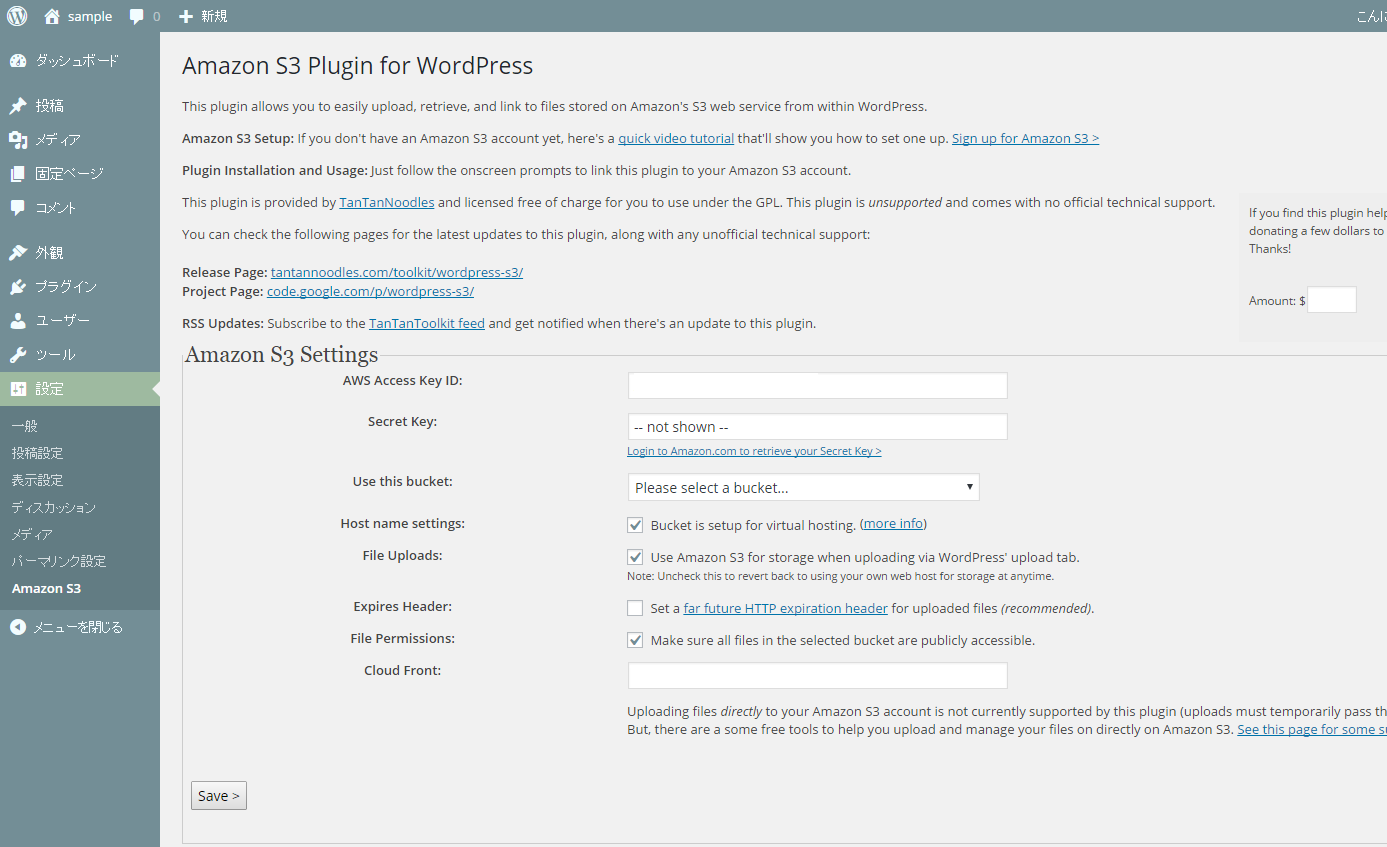
以下の項目を設定し、Saveボタンで保存する
- AWS Access Key ID:アクセスキー(前画面で入力したキーが表示される)
- Secret Key:シークレットアクセスキー(前画面で入力したキーが伏せられてる)
- Use this bucket:S3のバケットを選択
- File Uploads:チェックを入れるとファイルのアップロード先をS3にできる
- File Permissions:アップロードされたファイルが公開設定になる
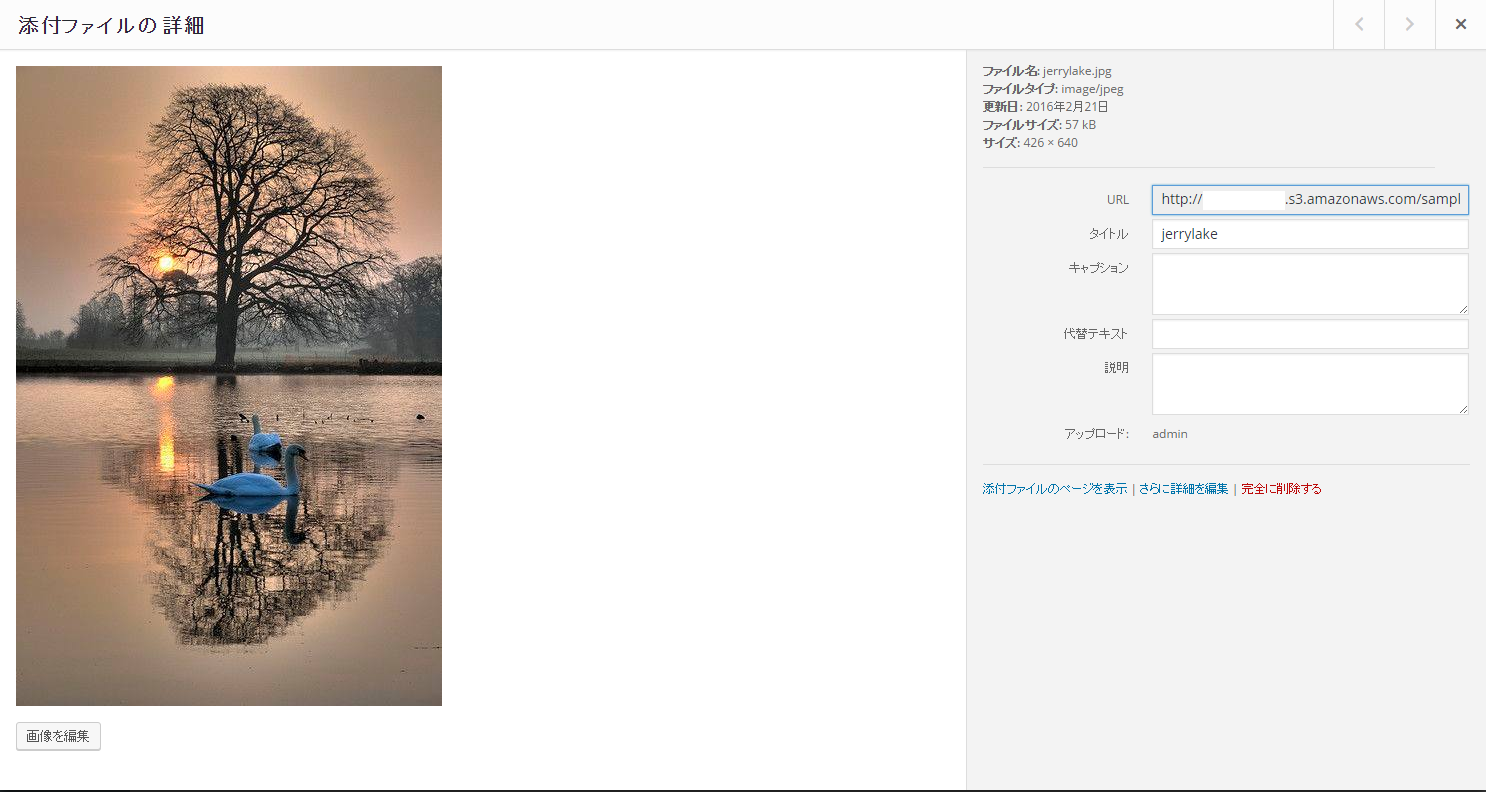
- メディアからファイルをアップロードし、URLがS3のバケットURLに変更されていれば正常に連携されています。
まとめ
ここまでの設定で、EC2+Wordpress+RDS(MariaDB)+S3の連携は完了です。
EC2はWordpressのみが乗っているAPサーバとし、データベースやファイル保存先を別にすることで、EC2は簡単に複製・削除が可能になります。