この記事は2016/8/21時点での情報で作成しています。
環境
VirtualBox
ubuntu-ja-16.04-desktop-amd64.iso
空っぽの環境に構築してみたいと思います!
準備
GuestAdditionsの設定
-
インストール実行確認で「実行する」をクリック
-
認証でパスワードを入力して「認証する」をクリック
-
インストール完了すると
「Press Return to close this window...」と表示されるので、Enterキーで終了 -
設定を反映させるためOSを再起動します。
-
任意の画面サイズに伸長できることを確認して、クリップボードの共有をしておきます。
必要ツール
事前準備としてGitとVimを入れておきます。
$ sudo apt-get install git vim
ホームに作業用ディレクトリを用意しておきます
$ cd
$ mkdir workspace
Redmine
ダウンロード
Ubuntu側でFirefoxを開き、次のURLを開きます。
Bitnami Redmine Installers
Linux用の[Redmine 3.3.0-1 (64-bit) ]をダウンロードします。
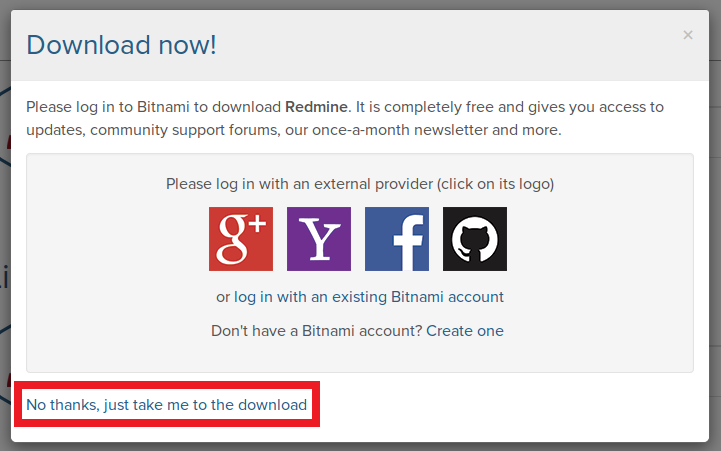
Downloadボタンをクリックすると次のウィンドウが出てきますが、
登録などはせずに左下の「No thanks, just take me to the download」をクリックします。
ダウンロードしたものは作業用ディレクトリへ移動して、実行します。
$ mv ダウンロード/bitnami-redmine-3.3.0-1-linux-x64-installer.run ~/workspace
$ cd workspace
// ファイルに実行権限を付与します。
$ sudo chmod 755 bitnami-redmine-3.3.0-1-linux-x64-installer.run
// 一般ユーザでインストールもできますが、後続のGitLabも管理者で実行するのでRedmineも管理者で実行します。
$ sudo ./bitnami-redmine-3.3.0-1-linux-x64-installer.run
インストール
日本語設定にして、次に進めていきます。
特に設定の変更は必要ありません。
「管理者アカウントの作成」まで進めたら、任意の値を再設定しておきます。
ここで設定した初期パスワードは初回ログイン時に再度設定が必要なので、仮のモノを入力しておいてください。
インストールが完了したら、ブラウザで
http://localhost
へアクセスし、Redmineが起動していることを確認します。
一次的にポートを変更
後続のGitLabでも80のポートを利用して初期インストールが実行されることにより競合が発生します。
ManagerのApache Web ServerのConfigureからポートを変更します。
デフォルト:80
一次的設定:8080
念のためブラウザで
http://localhost:8080
へアクセスし、Redmineが起動していることを確認します。
また、Redmineの起動が確認できたら、ManagerでStop Allですべて止めておきましょう。
自動起動設定
サービス化する
$ sudo cp $INSTALL_DIR/ctlscript.sh /etc/init.d/bitnami-redmine
$ sudo vi /etc/init.d/bitnami-redmine
(ファイルの先頭に下のような記述を追加する)
$ sudo chkconfig --add /etc/init.d/bitnami-redmine
$ sudo apt-get install sysv-rc-conf
/etc/init.d/bitnami-redmineの先頭に追加する記述
### BEGIN INIT INFO
# Provides:          BitNami Redmine
# Required-Start:    $remote_fs $syslog
# Required-Stop:     $remote_fs $syslog
# Default-Start:     2 3 4 5
# Default-Stop:      0 1 6
# Short-Description: Start daemon at boot time
# Description:       Enable service provided by daemon.
### END INIT INFO
参考:http://qiita.com/tacchang001/items/ced3c5f892b406b50754
GitLab
インストール
GitLab公式サイト
Ubuntu16.04向けインストールガイドを参考に進めます。
関連パッケージのインストール
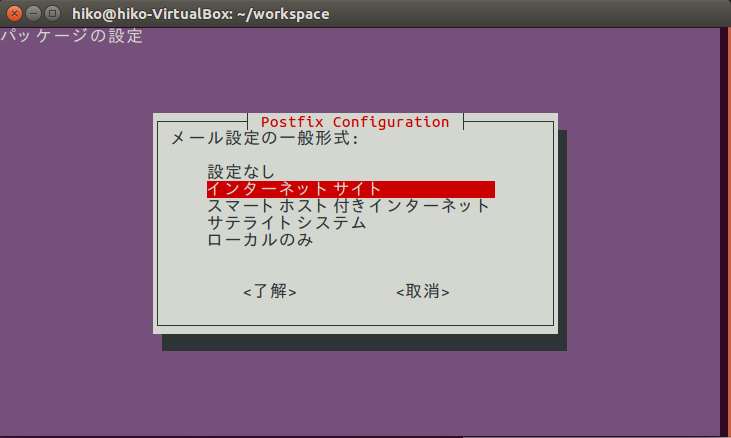
$ sudo apt-get install curl openssh-server ca-certificates postfix
GitLabパッケージのリポジトリを登録して、インストールを実行
$ curl -sS https://packages.gitlab.com/install/repositories/gitlab/gitlab-ce/script.deb.sh | sudo bash
$ sudo apt-get install gitlab-ce
$ sudo gitlab-ctl reconfigure
$ sudo gitlab-ctl restart
(8/20時点で8.10.7が最新)
http://localhost
へアクセスして動作を確認します。
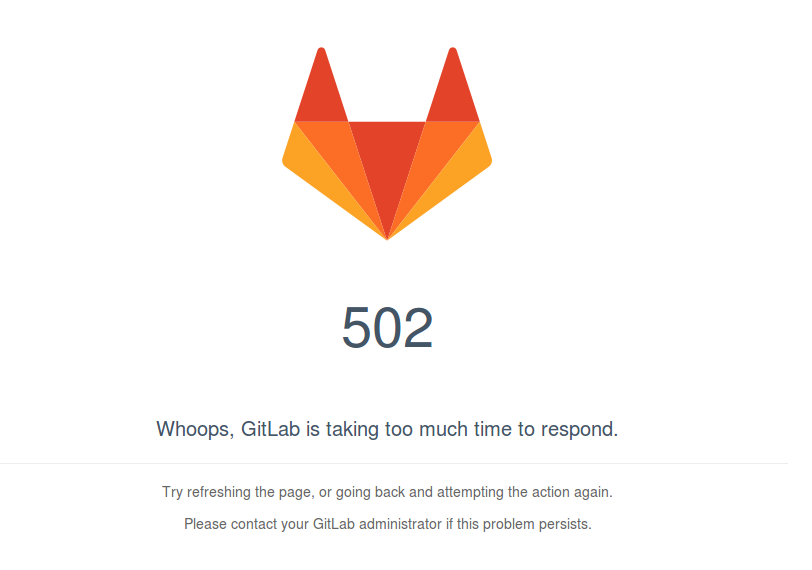
ただし、restartの直後だと次のような画面となる場合があります。
起動途中なので、しばらくしてから再度アクセスしてみます。
もしくは他のプロセスで同じポートを利用している場合にも発生します。その時は他のプロセス(RedmineやJenkins)を停止すると動作することがあります。
正常にアクセスできると初回はパスワードの設定画面となります。
任意のパスワードを設定します。
設定後、ログイン画面になるので
Username:root
Password:任意のパスワード
でログインしてみます。
ログインできればインストール完了です。
おまけ
- パッケージインストールできる種類を確認する場合
$ sudo apt-cache policy gitlab-ce
- 古いパッケージを指定する場合
$ sudo apt-get install gitlab-ce=8.7.0-ce.0
日本語化
https://github.com/ksoichiro/gitlab-i18n-patch
日本語化パッチをGitHubからクローン
$ git clone https://github.com/ksoichiro/gitlab-i18n-patch.git
$ cd /opt/gitlab/embedded/service/gitlab-rails
$  sudo patch -p1 < ~/workspace/gitlab-i18n-patch/patches/v8.10.5/app_ja.patch
スーパーユーザで実施します。
$ sudo su -
# cd /opt/gitlab/embedded/service/gitlab-rails
# rm -rf public/assets
# export PATH=/opt/gitlab/embedded/bin:$PATH
# bundle exec rake assets:precompile RAILS_ENV=production
# exit
$ sudo gitlab-ctl reconfigure
ポートとサブディレクトリの設定
sudo vim /etc/gitlab/gitlab.rb
external_url 'http://XXXX-VirtualBox'
↓
external_url 'http://localhost/gitlab/'
# nginx['listen_port'] = nil
↓
nginx['listen_port'] = 8000
これでGitLabへのアクセスは
http://localhost:8000/gitlab/
に変更されました。
この時点でGitLabとRedmineでのポートの競合は解消されたため、同時に動かすことができるようになります。
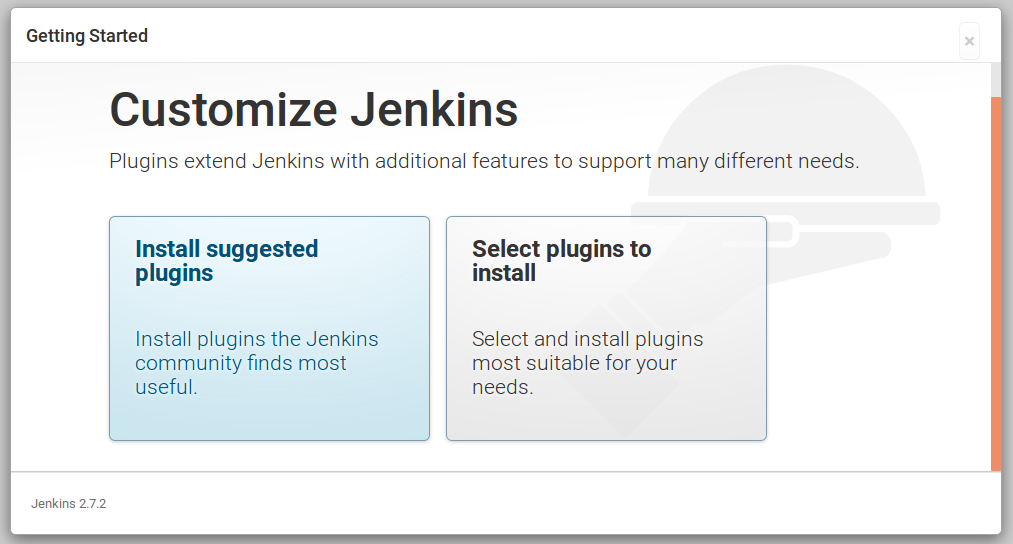
Jenkinsインストール
インストールの前に、GitLabとRedmineは停止させておきます。
※ここで停止させてなかったためにハマりました。
$ wget -q -O - https://pkg.jenkins.io/debian/jenkins-ci.org.key | sudo apt-key add -
$ sudo sh -c 'echo deb http://pkg.jenkins.io/debian-stable binary/ > /etc/apt/sources.list.d/jenkins.list'
$ sudo apt-get update
$ sudo apt-get install jenkins
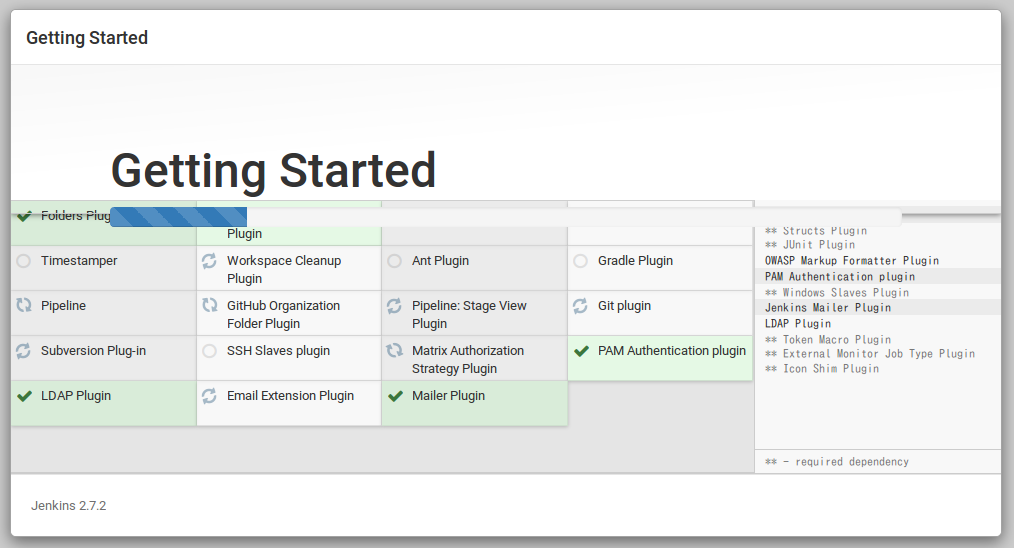
正常に完了するとJenkinsにアクセス可能になります。
http://localhost:8080/
初回起動時にパスコードをきかれます
画面の案内通り、次のファイルを開き、パスコードをコピペします。
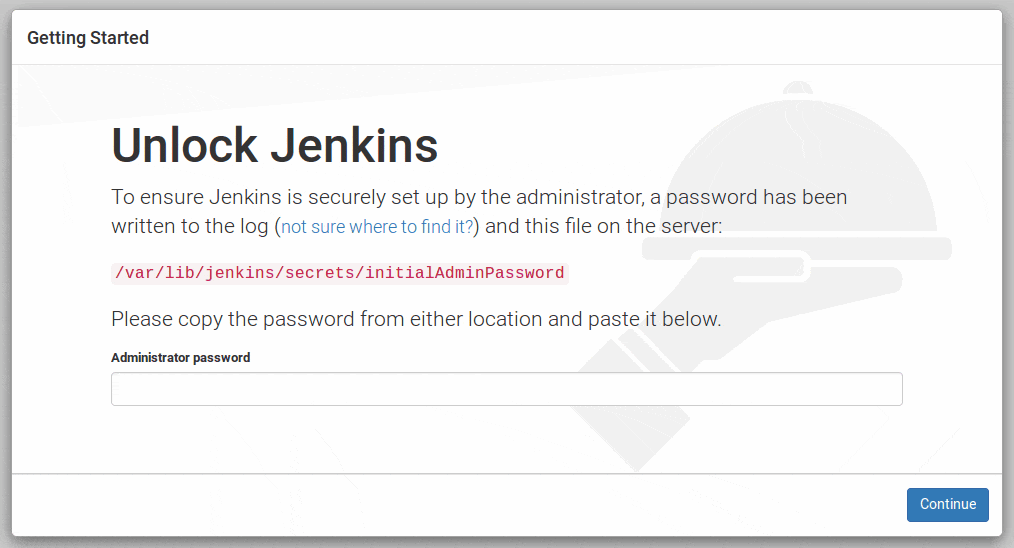
$ sudo less /var/lib/jenkins/secrets/initialAdminPassword
Java
http://qiita.com/minecraft/items/3ca7e9897fa8ec7099ae
sudo add-apt-repository ppa:webupd8team/java && sudo apt-get update && sudo apt-get install oracle-jdk7-installer
ポートとサブディレクトリの設定
Jenkinsのデフォルトポートである8080はGitLabで利用しているRackのポートと競合しているため、
JenkinsとGitLabを同時に立ち上げることができませんでした。
次のファイルを開き、編集します。
$ sudo vim /etc/default/jenkins
ポートを変更します。
HTTP_PORT=8080
↓
HTTP_PORT=8084
--prefix=$PREFIXを追加します。
JENKINS_ARGS="--webroot=/var/cache/$NAME/war --httpPort=$HTTP_PORT"
↓
JENKINS_ARGS="--prefix=$PREFIX --webroot=/var/cache/$NAME/war --httpPort=$HTTP_PORT"
Jenkinsを再起動して、接続確認します。
$ sudo service jenkins restart
URLのサブディレクトリ化
# /opt/redmine-3.3.0-1/apache2/conf#
# vim httpd.conf
一番下の行に次を追加
<IfModule mod_proxy.c>
  ProxyRequests off
  ProxyPass /gitlab http://127.0.0.1:8000/gitlab
  ProxyPassReverse /gitlab http://127.0.0.1:8000/gitlab
  ProxyPass /assets http://127.0.0.1:8000/gitlab/assets
  ProxyPassReverse /assets http://127.0.0.1:8000/gitlab

  ProxyPass /jenkins http://127.0.0.1:8084/jenkins
  ProxyPassReverse /jenkins http://127.0.0.1:8084/jenkins
  ProxyPass /assets http://127.0.0.1:8084/jenkins/assets
  ProxyPassReverse /assets http://127.0.0.1:8084/jenkins

</IfModule>
Redmineの再起動して次へアクセス
http://localhost/gitlab/
http://localhost:8000/gitlab/
http://localhost/jenkins/
http://localhost:8084/jenkins/
Jenkins
http://beniyama.hatenablog.jp/entry/2014/05/28/000331
http://d.hatena.ne.jp/hiranasu/20110507/1304781709
redmine-oauth-plugin
Oauth認証統合
Redmine設定
RedmineのアカウントでGitLabにログインする設定(OAuth認証)
$ sudo su -
# cd /opt/redmine-3.3.0-1/
# ./use_redmine
# cd apps/redmine/htdocs/plugins/
# git clone https://github.com/suer/redmine_oauth_provider.git
# bundle install --no-deployment
# bundle update
# bundle exec rake redmine:plugins:migrate RAILS_ENV=production
Redmine ManagerのRestart Allで再起動します。
adminでログインして次のURLを開きます。
http://localhost/oauth_clients/
Redmine・Gitlab・Jenkins のログインパスワードの管理が大変になったので OAuth 化した
GitLab設定
RedmineのアカウントでGitLabにログインする設定(OAuth認証)
管理者権限で実行するためにrootユーザに切り替える
$ sudo su -
一時的にパスを通す
# export PATH=$PATH:/opt/gitlab/embedded/bin
ライブラリをインストール
# gem install omniauth-redmine
/opt/gitlab/embedded/service/gitlab-rails/Gemfileのに次のように追記する
...
gem 'rack-oauth2', '~> 1.2.1'
gem "omniauth-redmine"
...
```


```
bundle install
bundle exec rake assets:precompile RAILS_ENV=production
```


/opt/gitlab/embedded/service/gitlab-rails/config/initializers/omniauth.rb

```
# OmniAuth.config.full_host = Settings.gitlab['base_url']
OmniAuth.config.full_host = "http://localhost/gitlab"
```

## Redmineアカウントでのクローンとプッシュ
/opt/gitlab/embedded/service/gitlab-rails/config/initializers/devise.rbを開き、
次のようにconfig.omniauthの行を追加します。
これを追加することで、プッシュするときの認証情報を統合することになります。
(直前までの情報ではログインはできてもプッシュできませんでした。。。ココでかなりハマった。)

```
...
  # ==> ORM configuration
  # Load and configure the ORM. Supports :active_record (default) and
  # :mongoid (bson_ext recommended) by default. Other ORMs may be
  # available as additional gems.
  require 'devise/orm/active_record'

  config.omniauth :redmine, "PASTE YOUR CONSUMER KEY FROM REDMINE HERE", "PASTE YOUR CONSUMER SECRET FROM REDMINE HERE", :redmine_base_url => "http://redmine_url.com/"
  # ==> Configuration for any authentication mechanism
  # Configure which keys are used when authenticating a user. The default is
...
```

https://github.com/gitlabhq/gitlab-public-wiki/wiki/Custom-omniauth-provider-configurations


## Jenkins設定

[2016年になっても、これさえ入れておけば大丈夫。Jenkins Plugin Must Install 16選!!](http://qiita.com/cy-katsuhiro-miura/items/513e97a44a5b21cbf76c)より
[Redmine-oauth-plugin](https://jitpack.io/com/github/mallowlabs/redmine-oauth-plugin/330130879f/redmine-oauth-plugin-330130879f.hpi)をダウンロード

管理ープラグイン管理-高度な設定ープラグインのアップロード
でダウンロードしたhpiファイルを指定します。

[ubuntu 14.04にOracleJDK7(JAVA)をインストールする](http://qiita.com/minecraft/items/3ca7e9897fa8ec7099ae)
[Ubuntu インストールしたらやること:Oracle Java JDK & JRE をインストールする(JDK8)](http://zorinos.seesaa.net/article/439139847.html)

# RedmineとGitLabの連携
http://qiita.com/isaac-otao/items/1e6b57809e3841d600c2

RedmineからGitLabが作成したリポジトリを直接参照させるために権限を変更します。
```
$ sudo chmod -R a+r /var/opt/gitlab/git-data
$ sudo chmod -R a+x /var/opt/gitlab/git-data
```

http://l-light-note.hatenablog.com/entry/2015/09/16/190651
http://qiita.com/sakatukitukasa/items/b00b9d9ce5412ac315af
http://d.hatena.ne.jp/toritori0318/20140620/1403287430


# GitLabアップデート
(2016/8/31時点)
記事作成の間にGitLabがアップデートされていたので
更新処理での注意点も合わせて記載します。

次のコマンドでアップデートを実行

```
$ sudo apt-get install gitlab-ce
```
すると次のエラーが発生しました。

```
Running handlers:
Running handlers complete
Chef Client failed. 5 resources updated in 16 seconds
dpkg: パッケージ gitlab-ce の処理中にエラーが発生しました (--configure):
 サブプロセス インストール済みの post-installation スクリプト はエラー終了ステータス 1 を返しました
処理中にエラーが発生しました:
 gitlab-ce
```

次の2つのサイトを参考にして解決できました
http://engetu21.hatenablog.com/entry/2014/12/06/004525
http://ikkuntech.blogspot.jp/2012/03/apt-get.html

ファイルを削除して再度実行して成功しました。

```
$ sudo rm /var/lib/dpkg/info/gitlab-ce.p*
$ sudo dpkg --configure gitlab-ce
```

更新完了後にはRedmineによる認証と日本語化を再度実施します。
![SnapCrab_Ubuntu1604SCM [実行中] - Oracle VM VirtualBox_2016-8-21_19-53-33_No-00 (2).png](https://qiita-user-contents.imgix.net/https%3A%2F%2Fqiita-image-store.s3.amazonaws.com%2F0%2F122879%2Fde287e72-e64f-ddce-7c17-f76fec46d586.png?ixlib=rb-4.0.0&auto=format&gif-q=60&q=75&s=899859b72aae975eabdfaceeeb172f92)
