はじめに
自分用のメモとして残しました。
Nifty Cloud mobile backendを使ってリモートプッシュ通知をする方法になります。
Nifty Cloud mobile backendを使ってリモートプッシュ通知がされるまでの流れ
- Nifty Cloud mobile backend → Apple Push Notificationサービス(APNs)
Nifty Cloud mobile backendに登録されたデバイストークンをAPNsに送信する。
- APNs → デバイス → アプリで通知
APNsがデバイストークンから通知するデバイスを判断してプッシュ通知をする。
手順
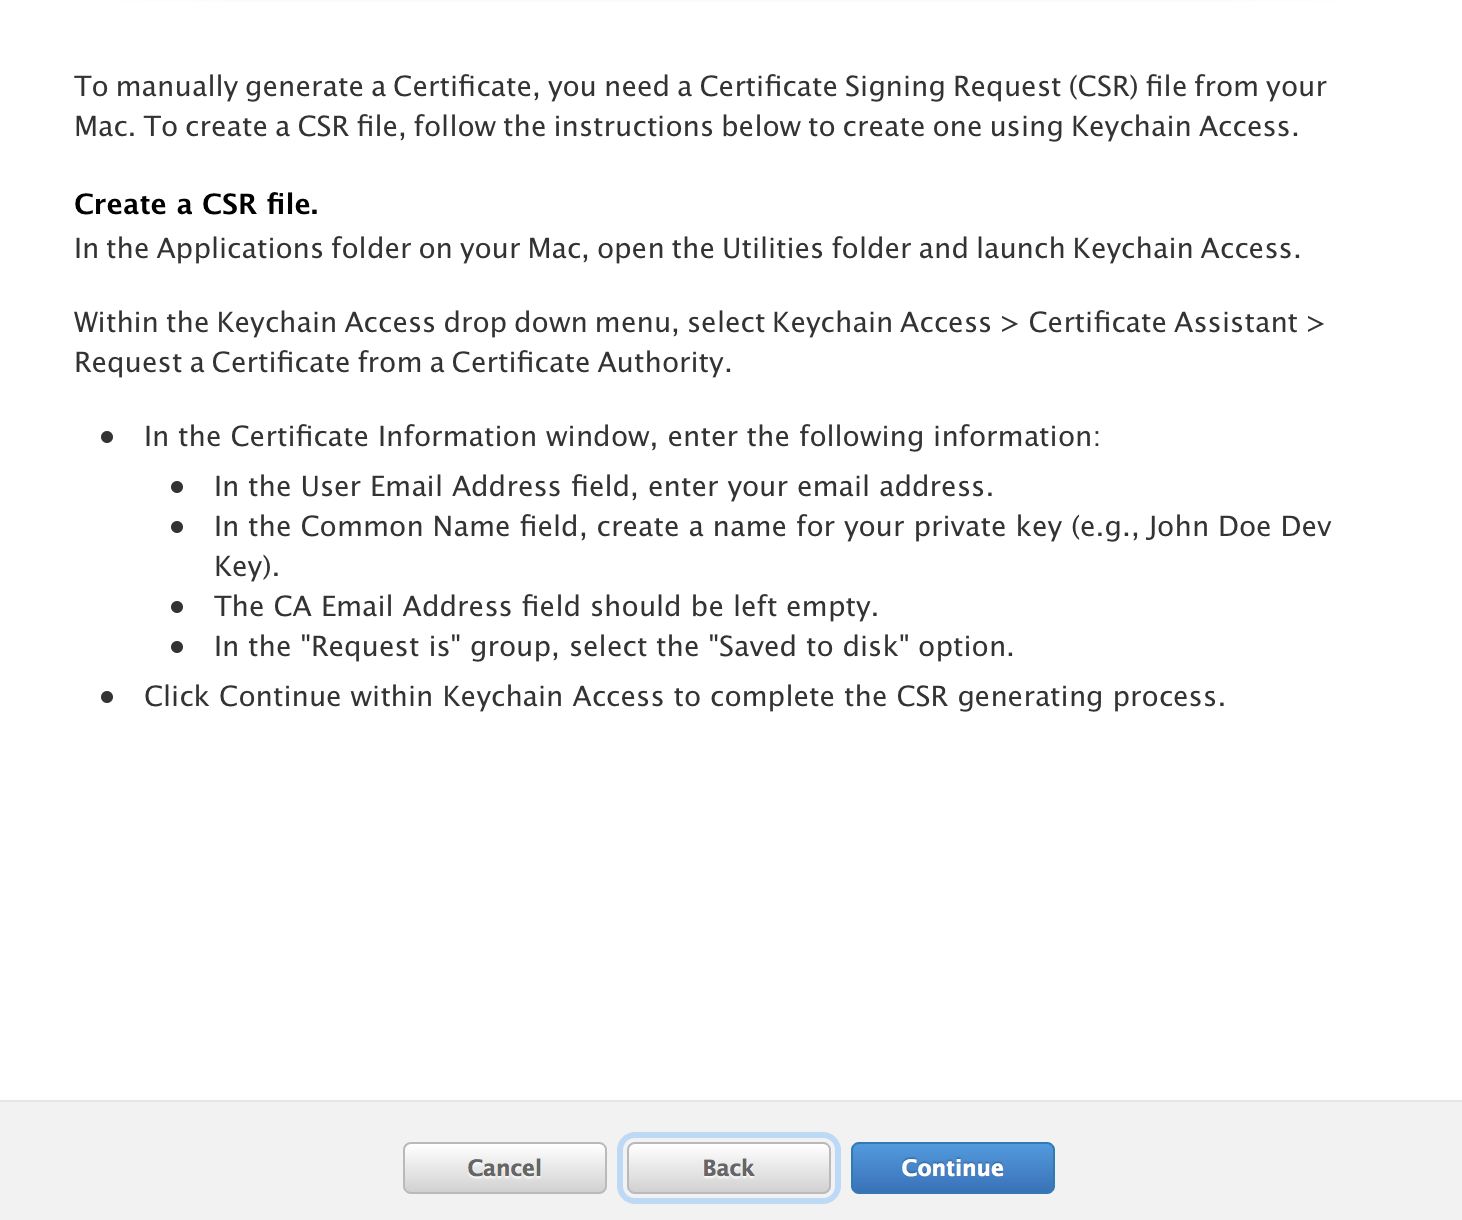
その1「CSR Fileの作成」
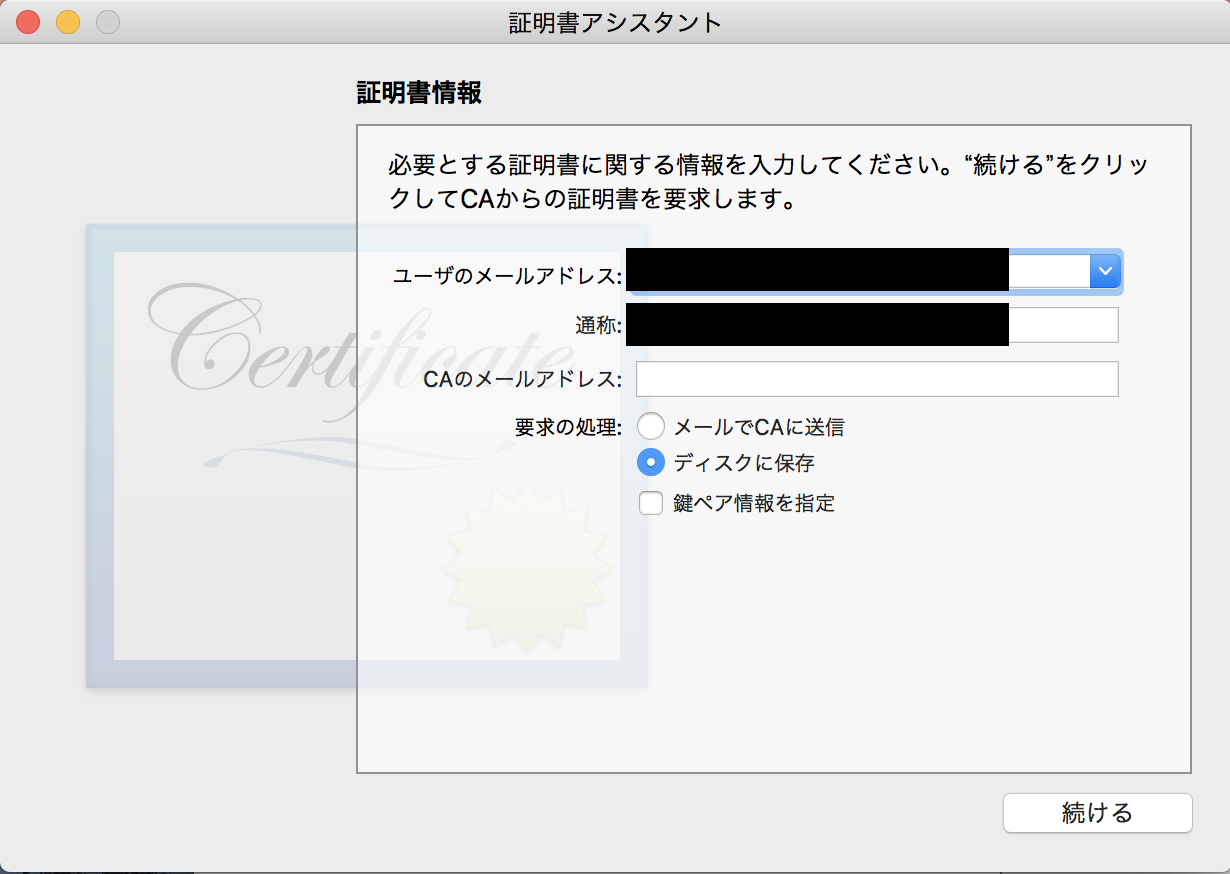
キーチェーン → 証明書アシスタント → 証明局に証明書を要求...
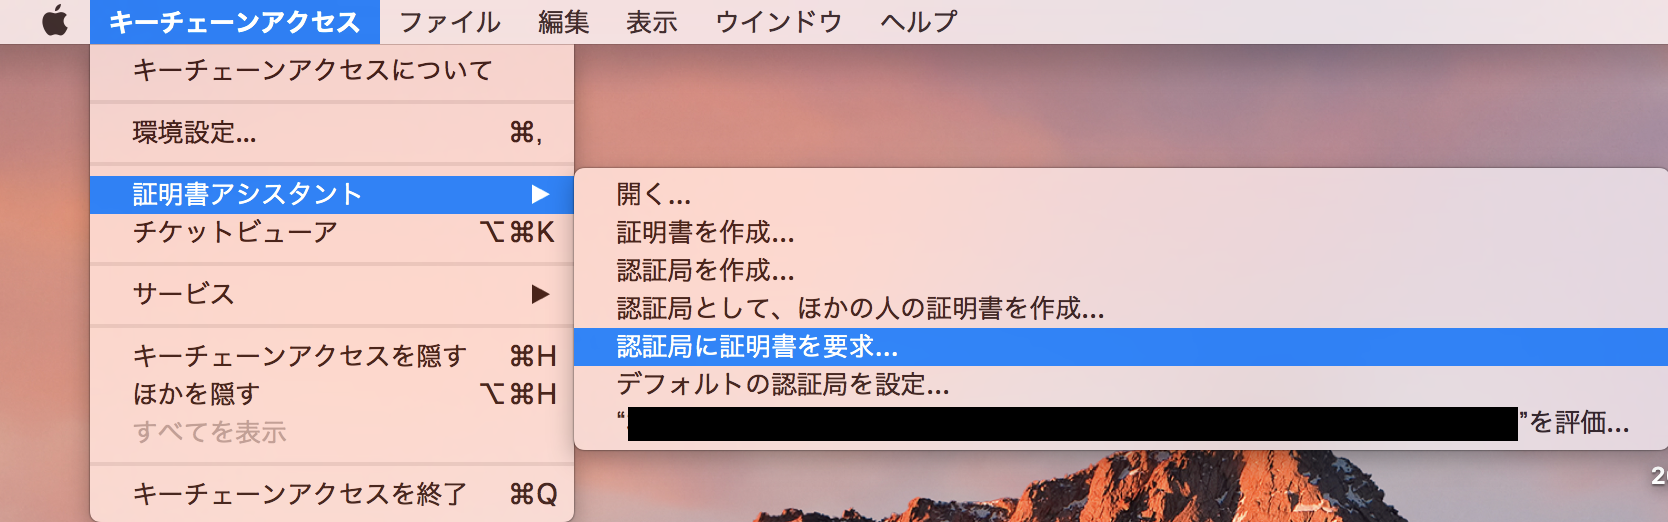
ディスクに保存を選択して続けるを押下。
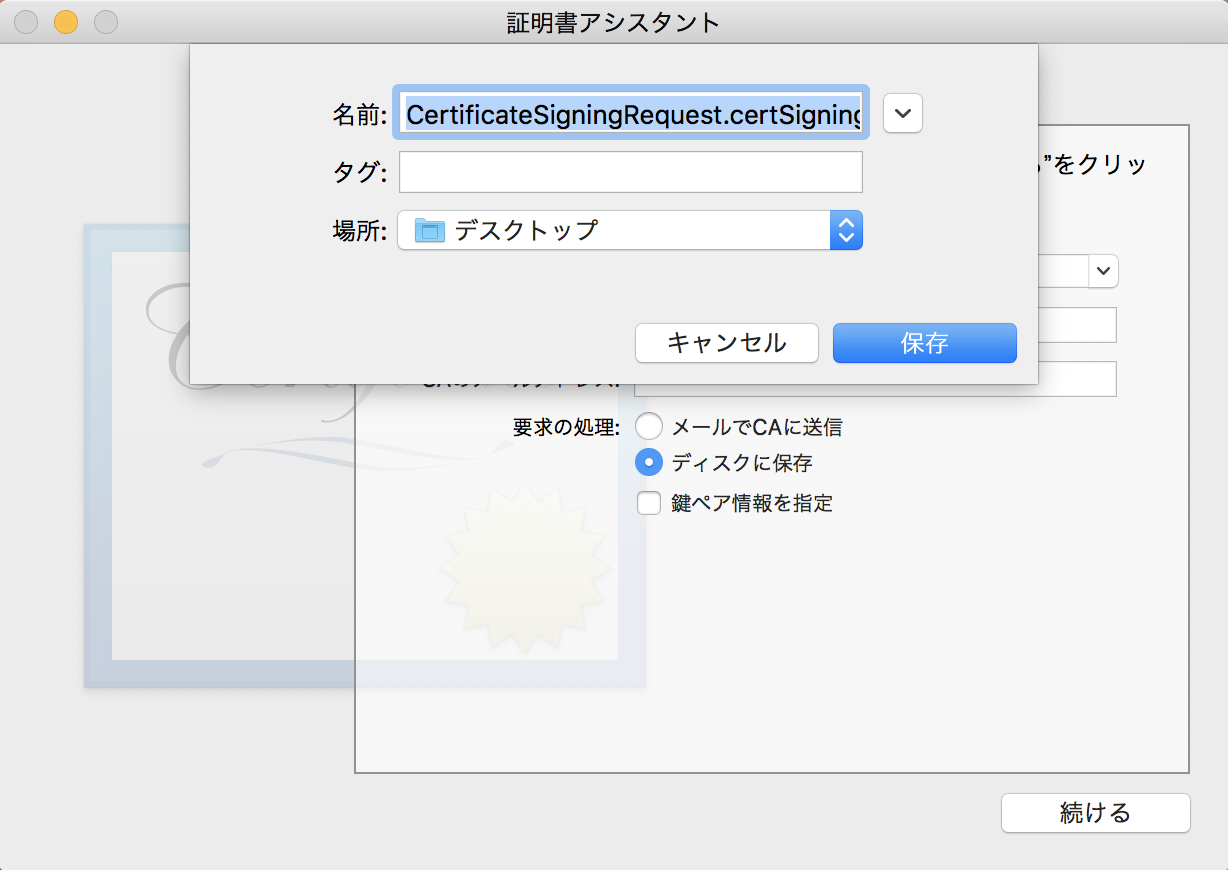
保存場所を選択して保存を押下。
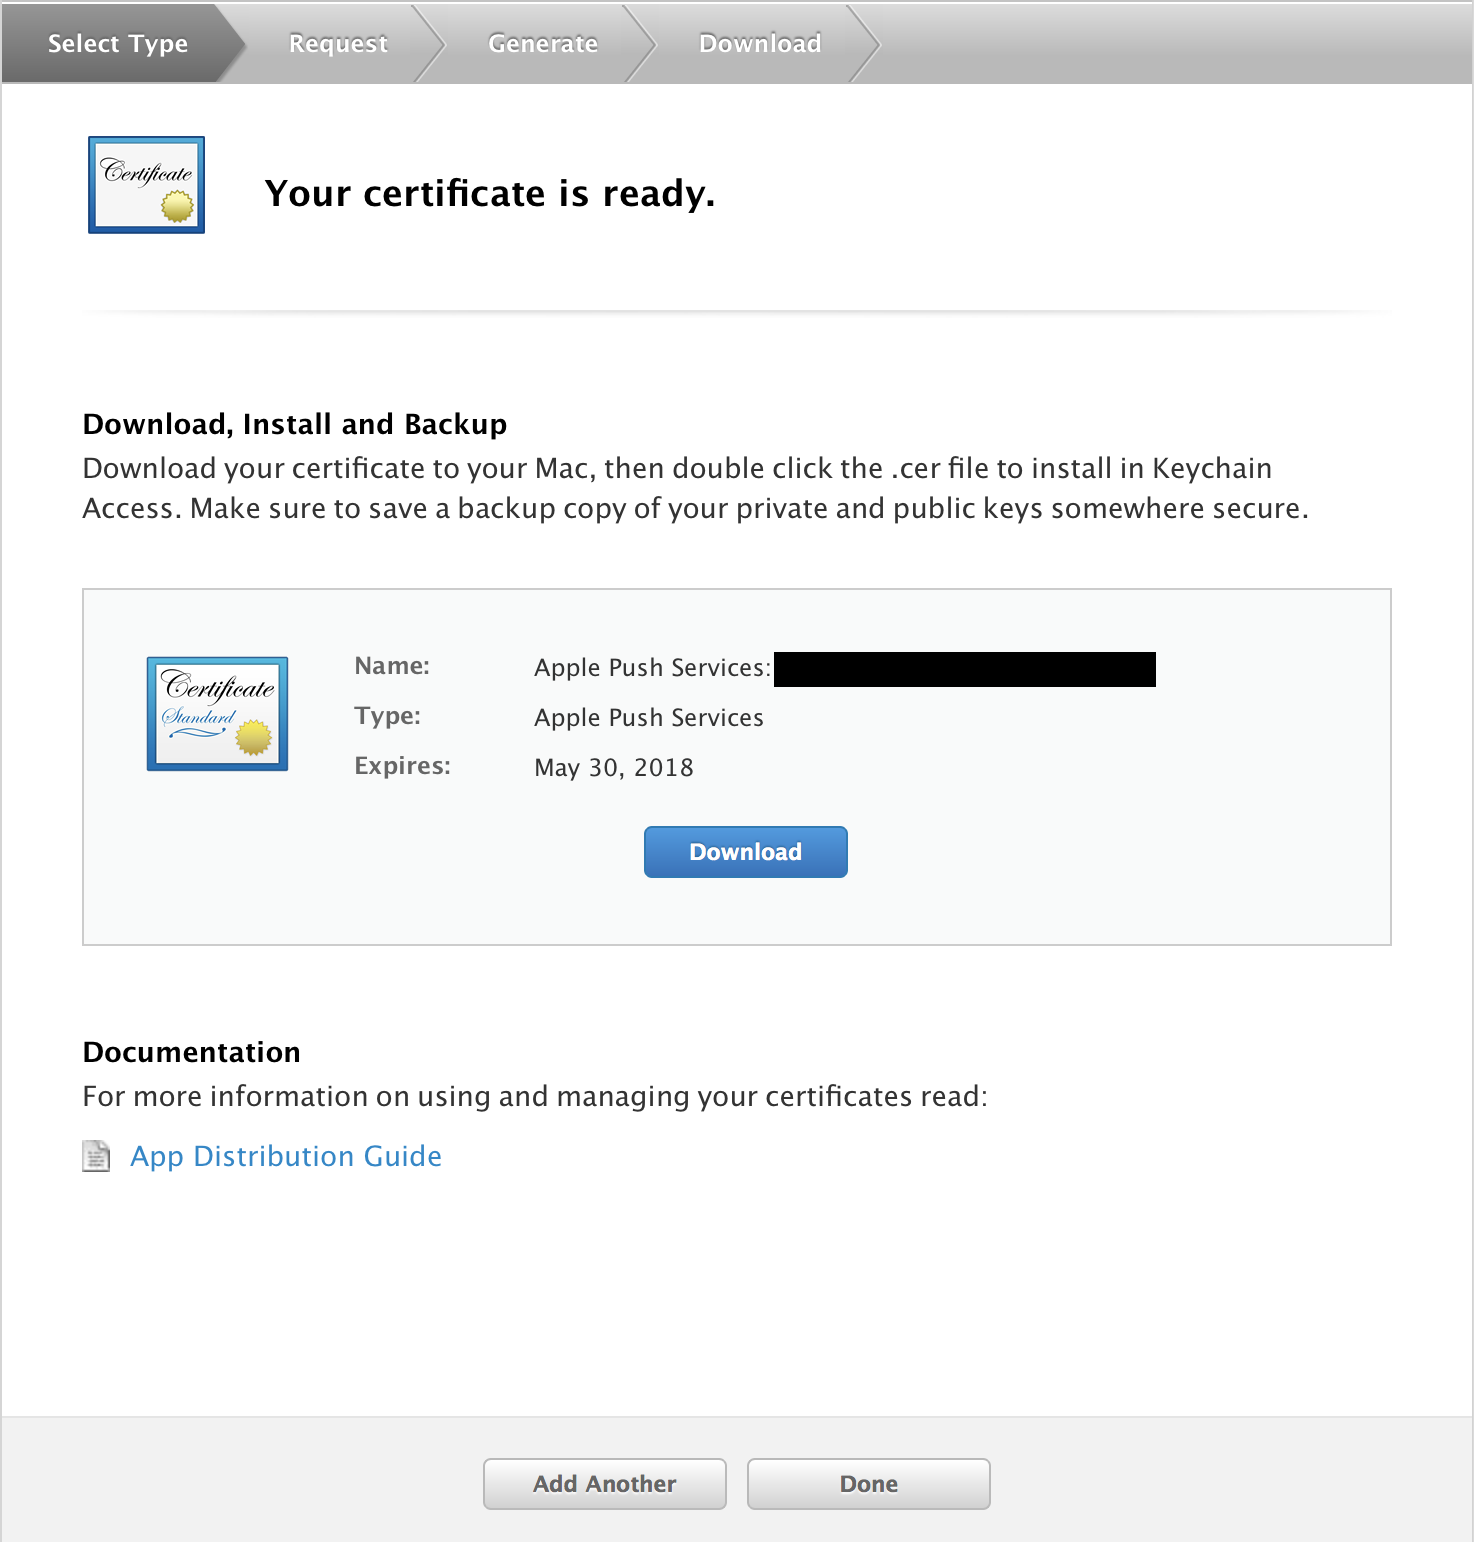
Certificates(Production)の作成
Apple Developerサイト「Certificates, Identifiers & Profiles」を開く。
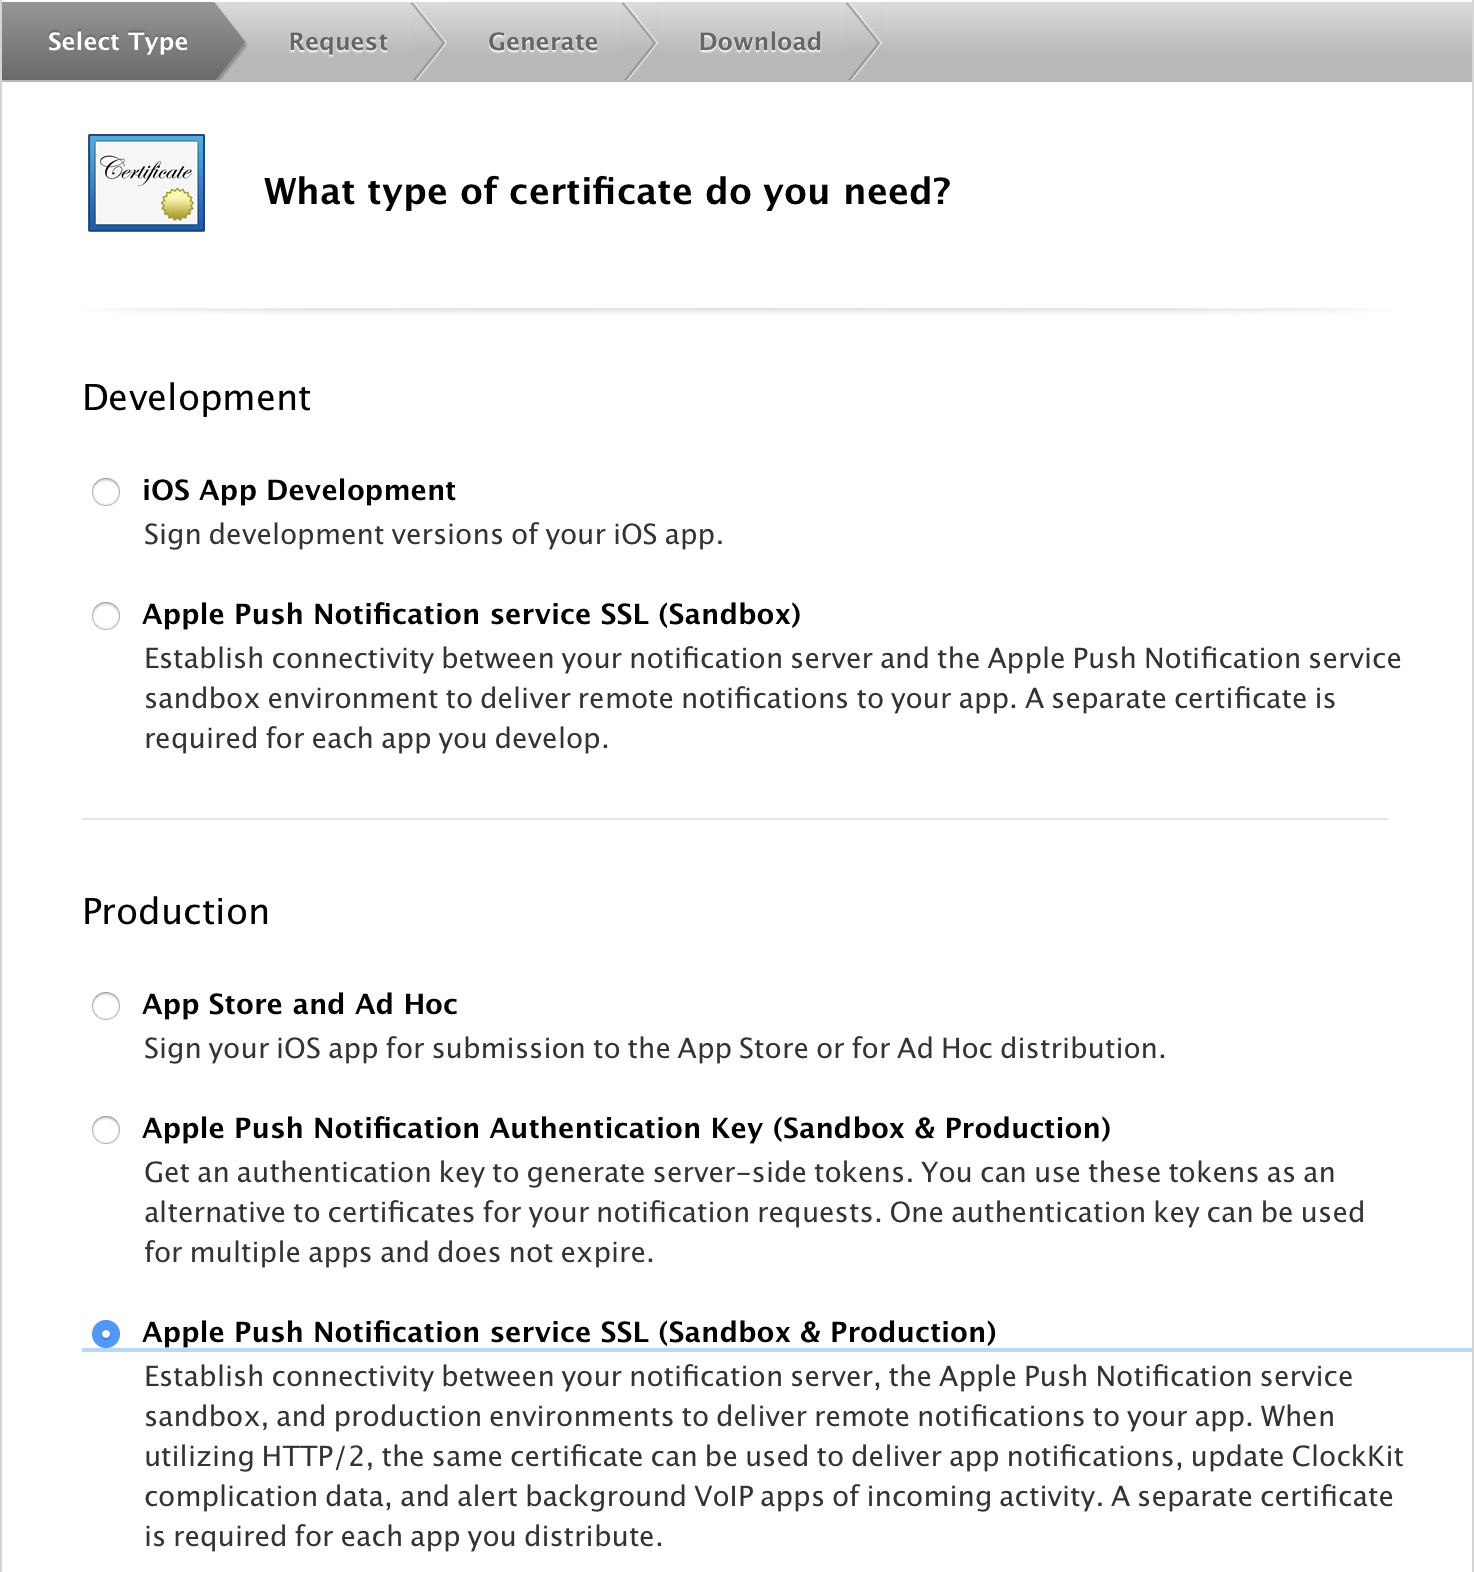
Certificatesの「All」の右上「+」を押下。
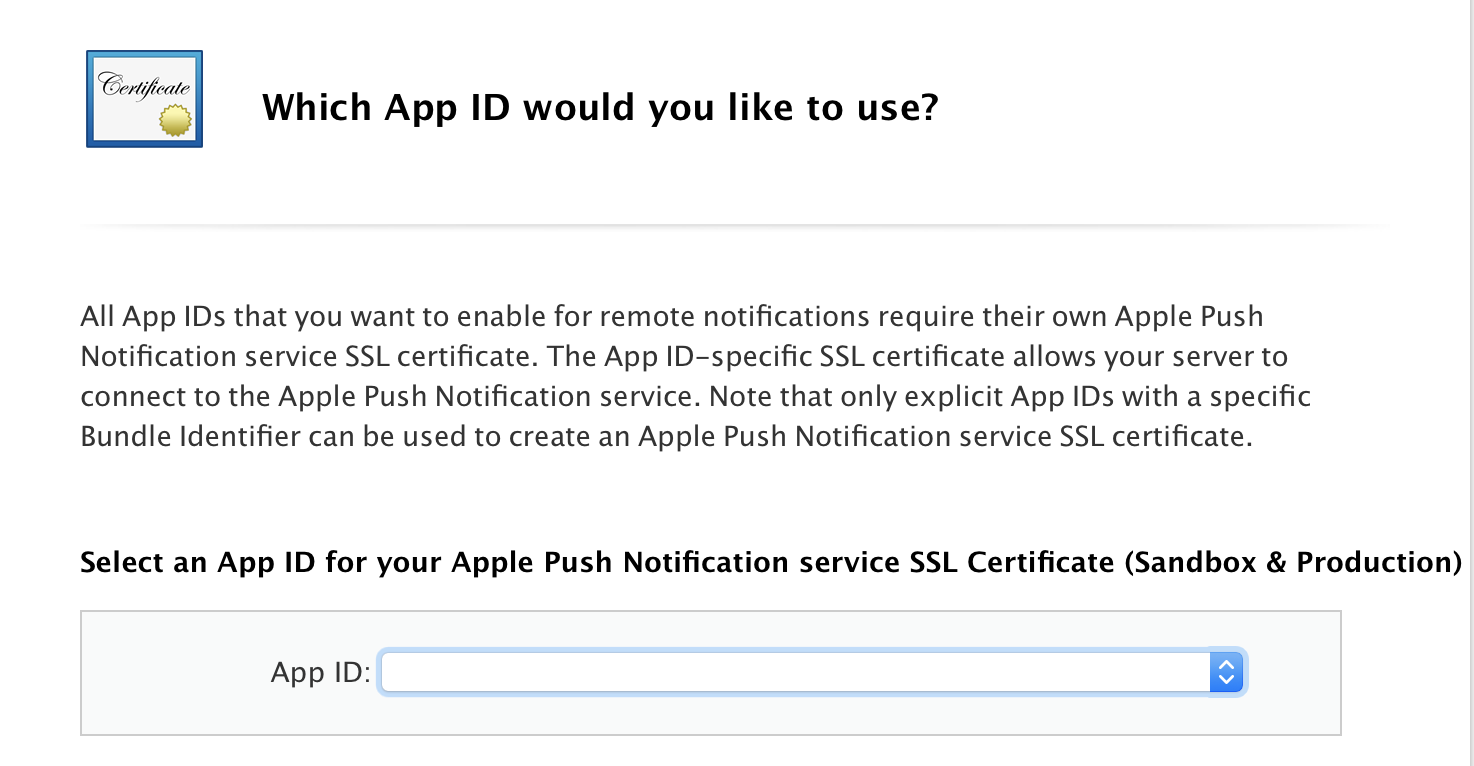
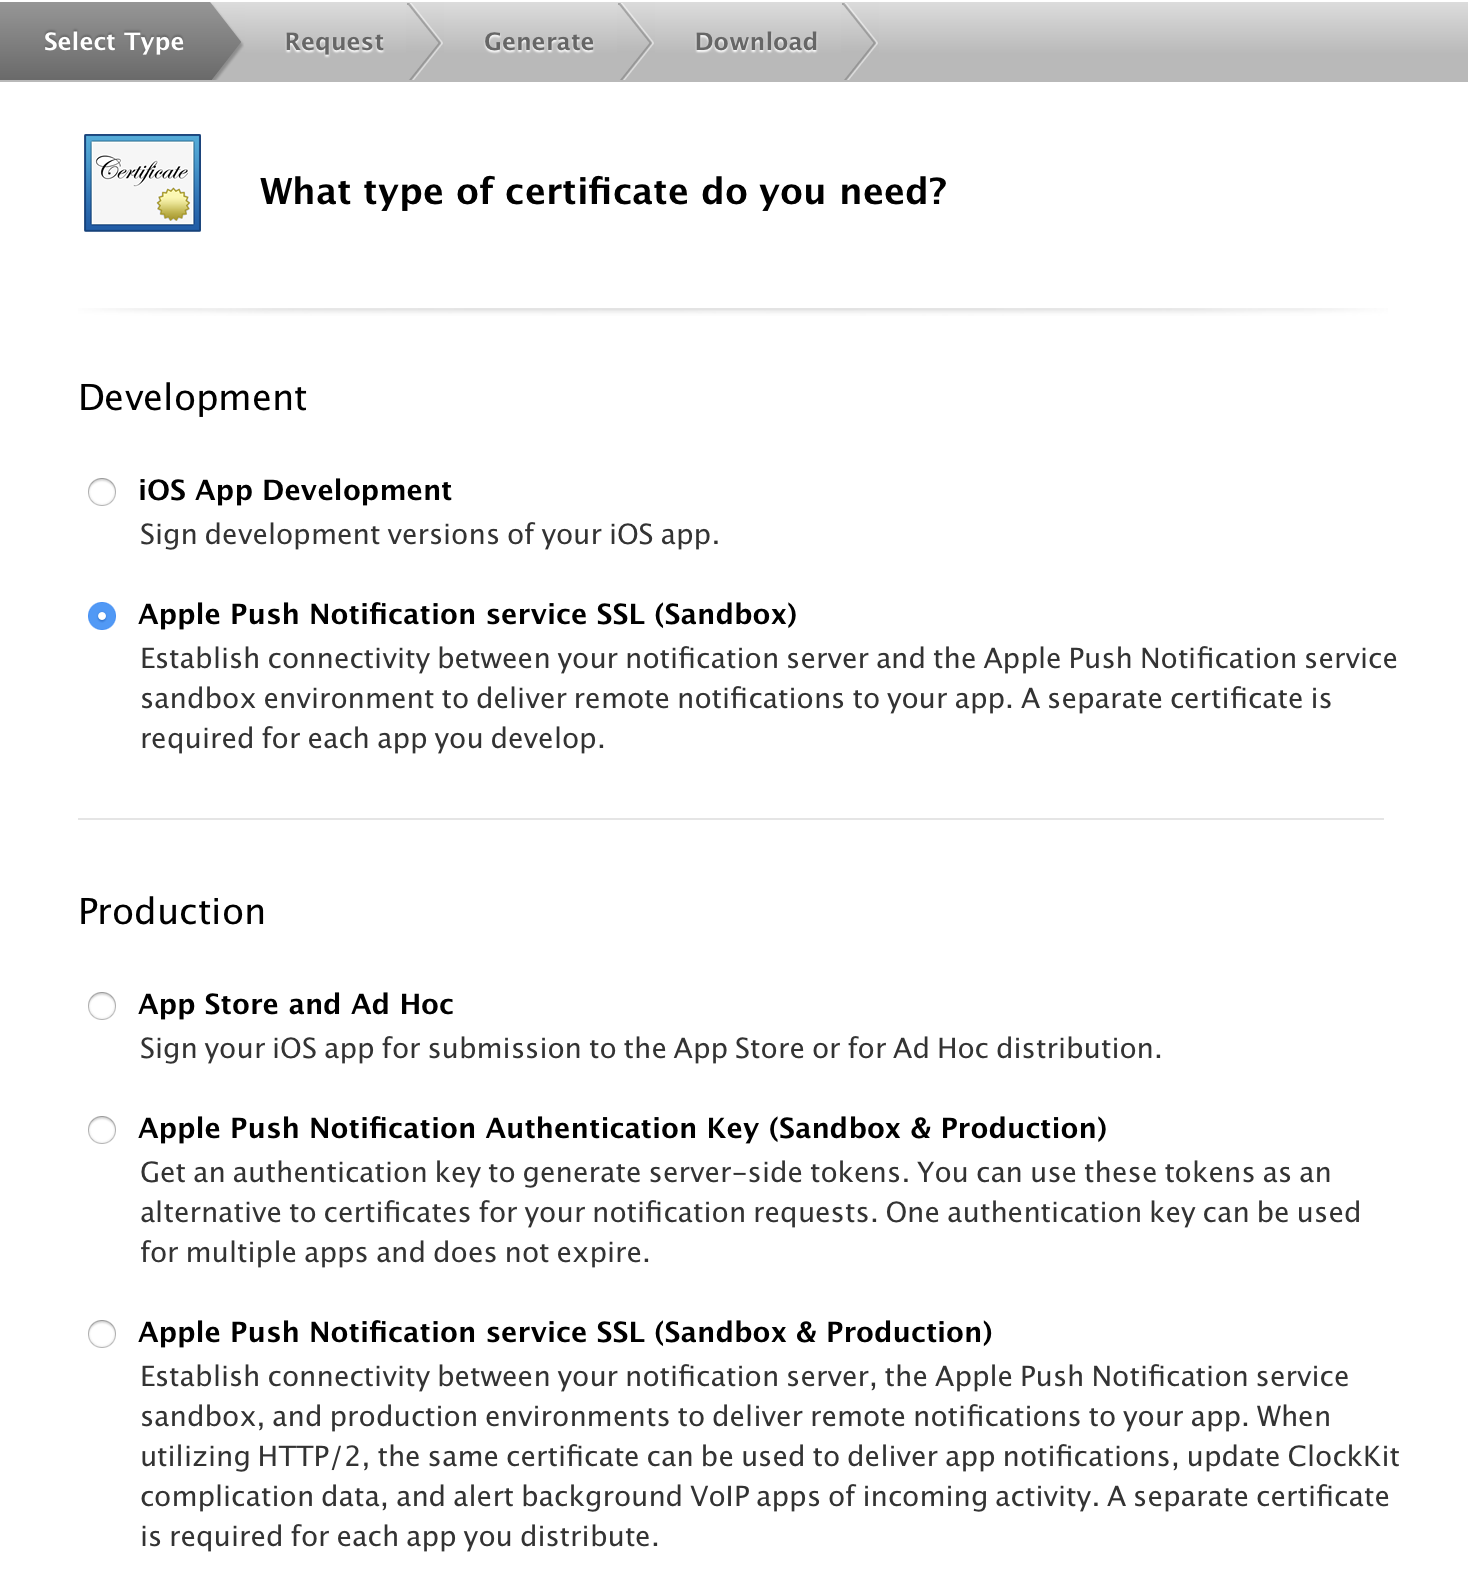
Apple Push Notification service SSL (Sandbox & Production)を選択してContinueを押下。
App IDを選択してContinueを押下。
Continueを押下。
先ほど作成したCSR File(CertificateSigningRequest.certSigningRequest)をChoose File...から選択。
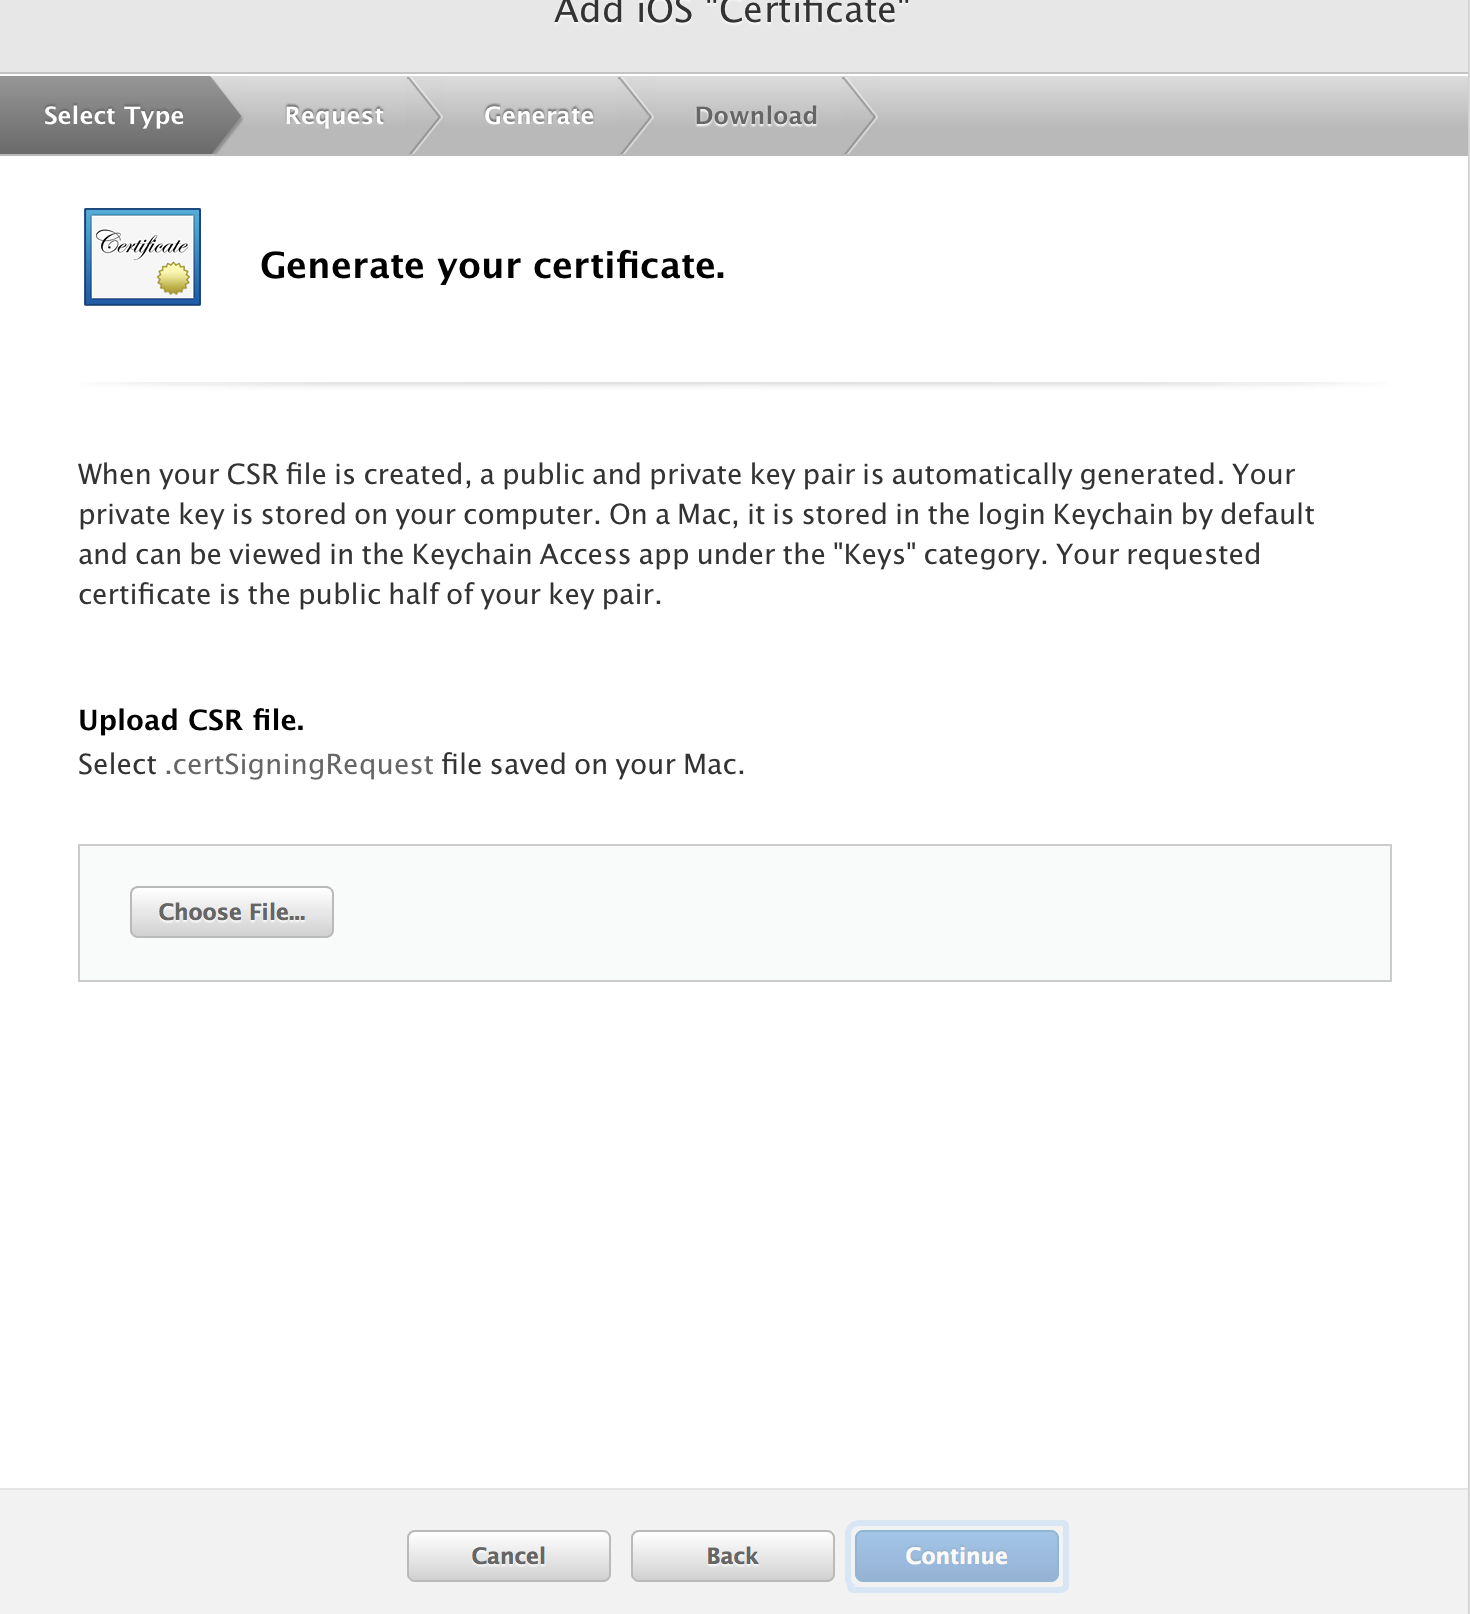
Continueを押下。
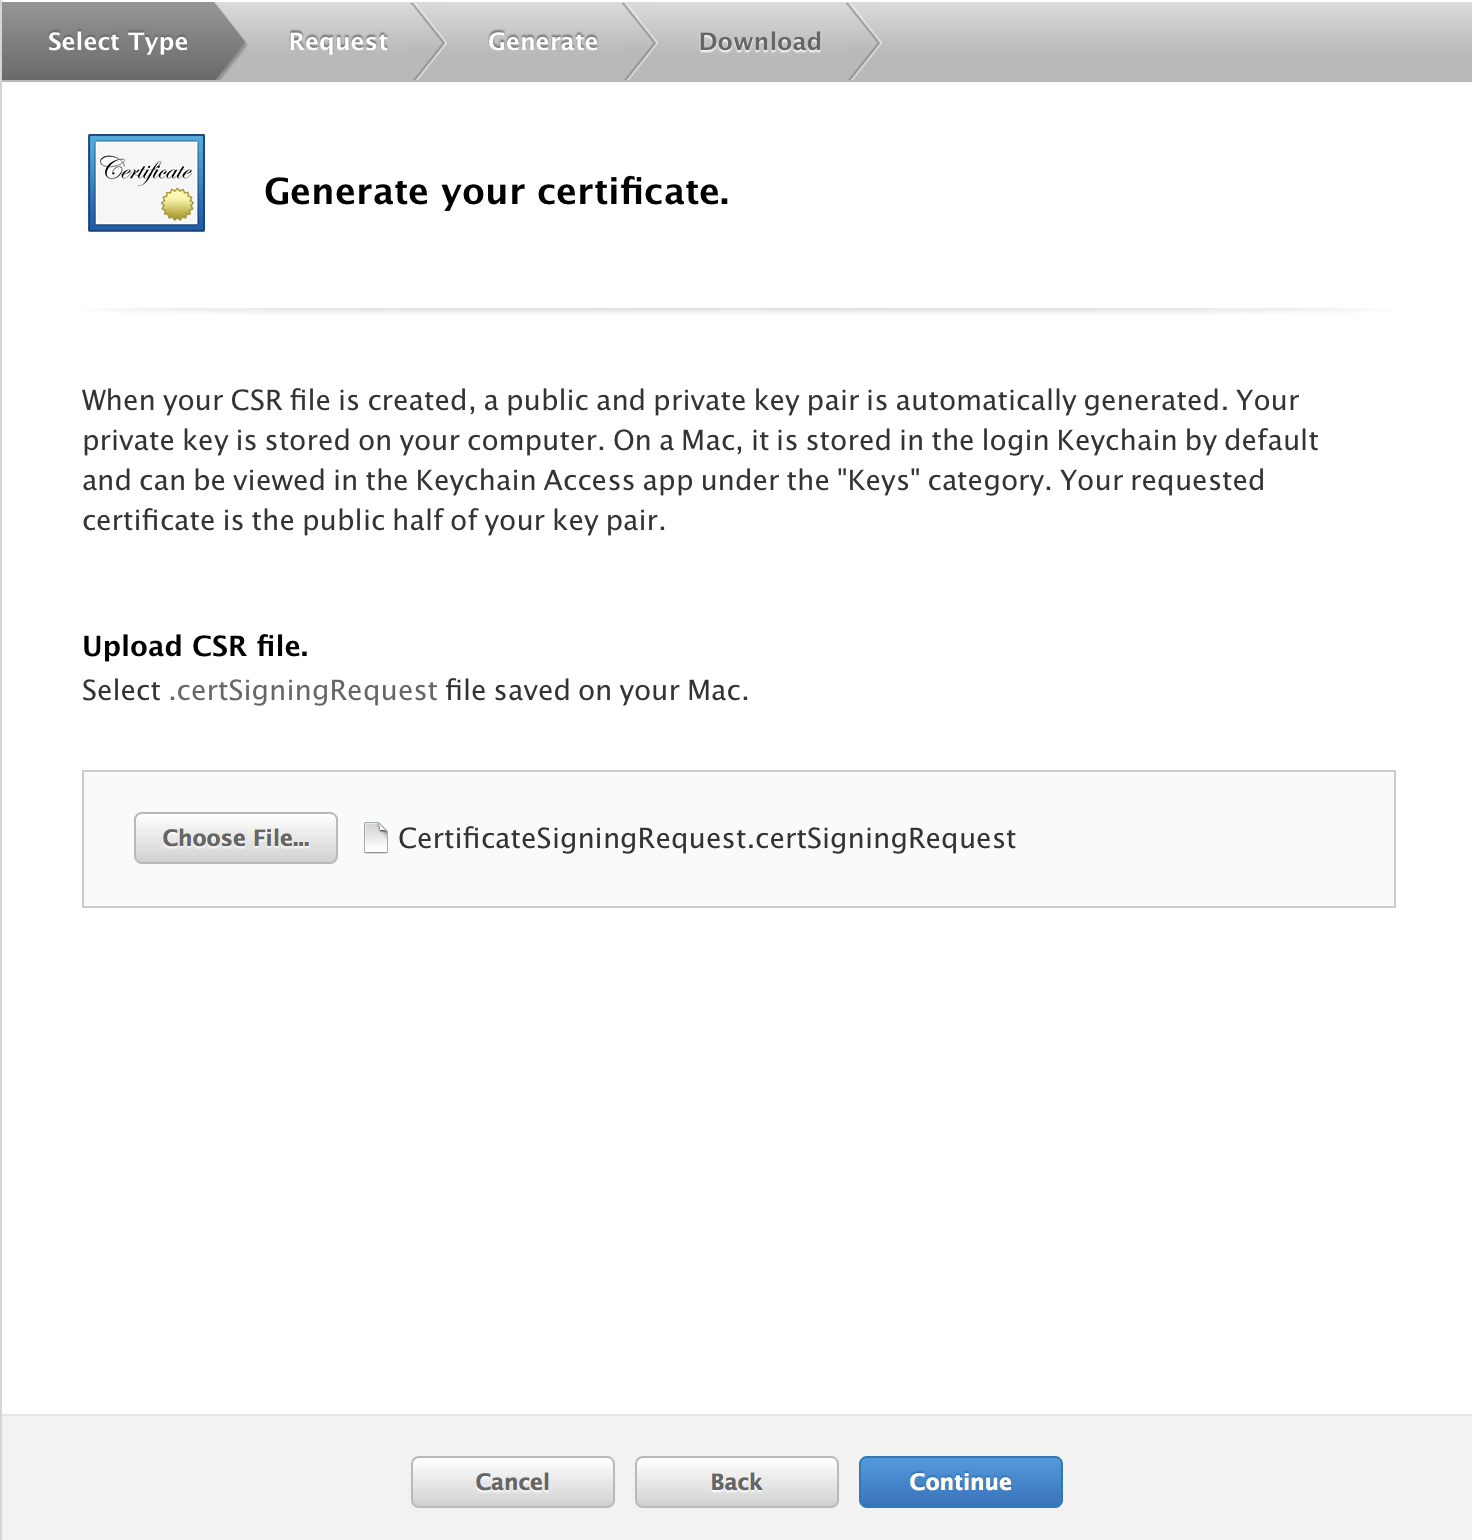
Downloadを押下。
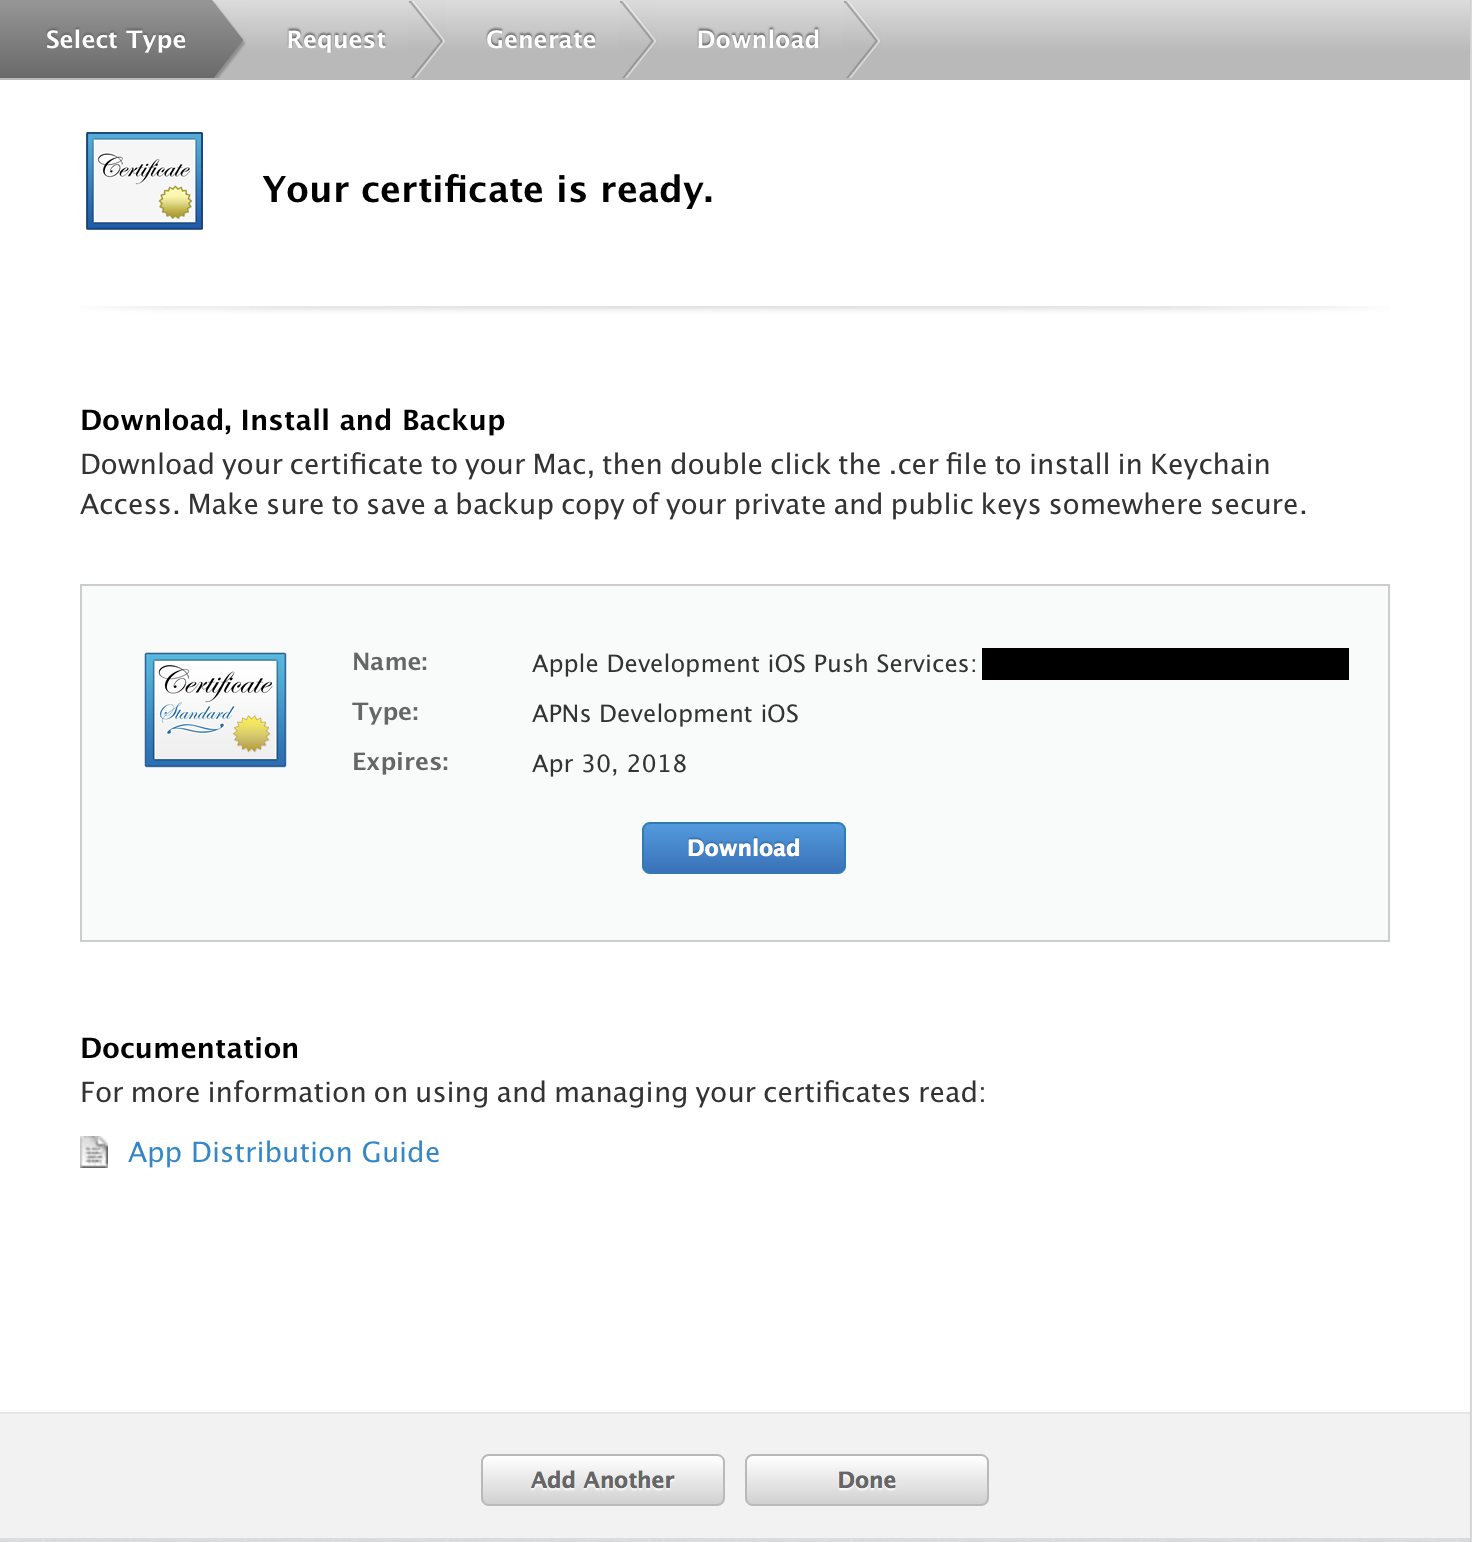
Certificates(Development)の作成
Apple Developerサイト「Certificates, Identifiers & Profiles」を開く。
Certificatesの「All」の右上「+」を押下。
Apple Push Notification service SSL (Sandbox)を選択してContinueを押下。
App IDを選択してContinueを押下。
Continueを押下。
先ほど作成したCSR File(CertificateSigningRequest.certSigningRequest)をChoose File...から選択。
Continueを押下。
Downloadを押下。
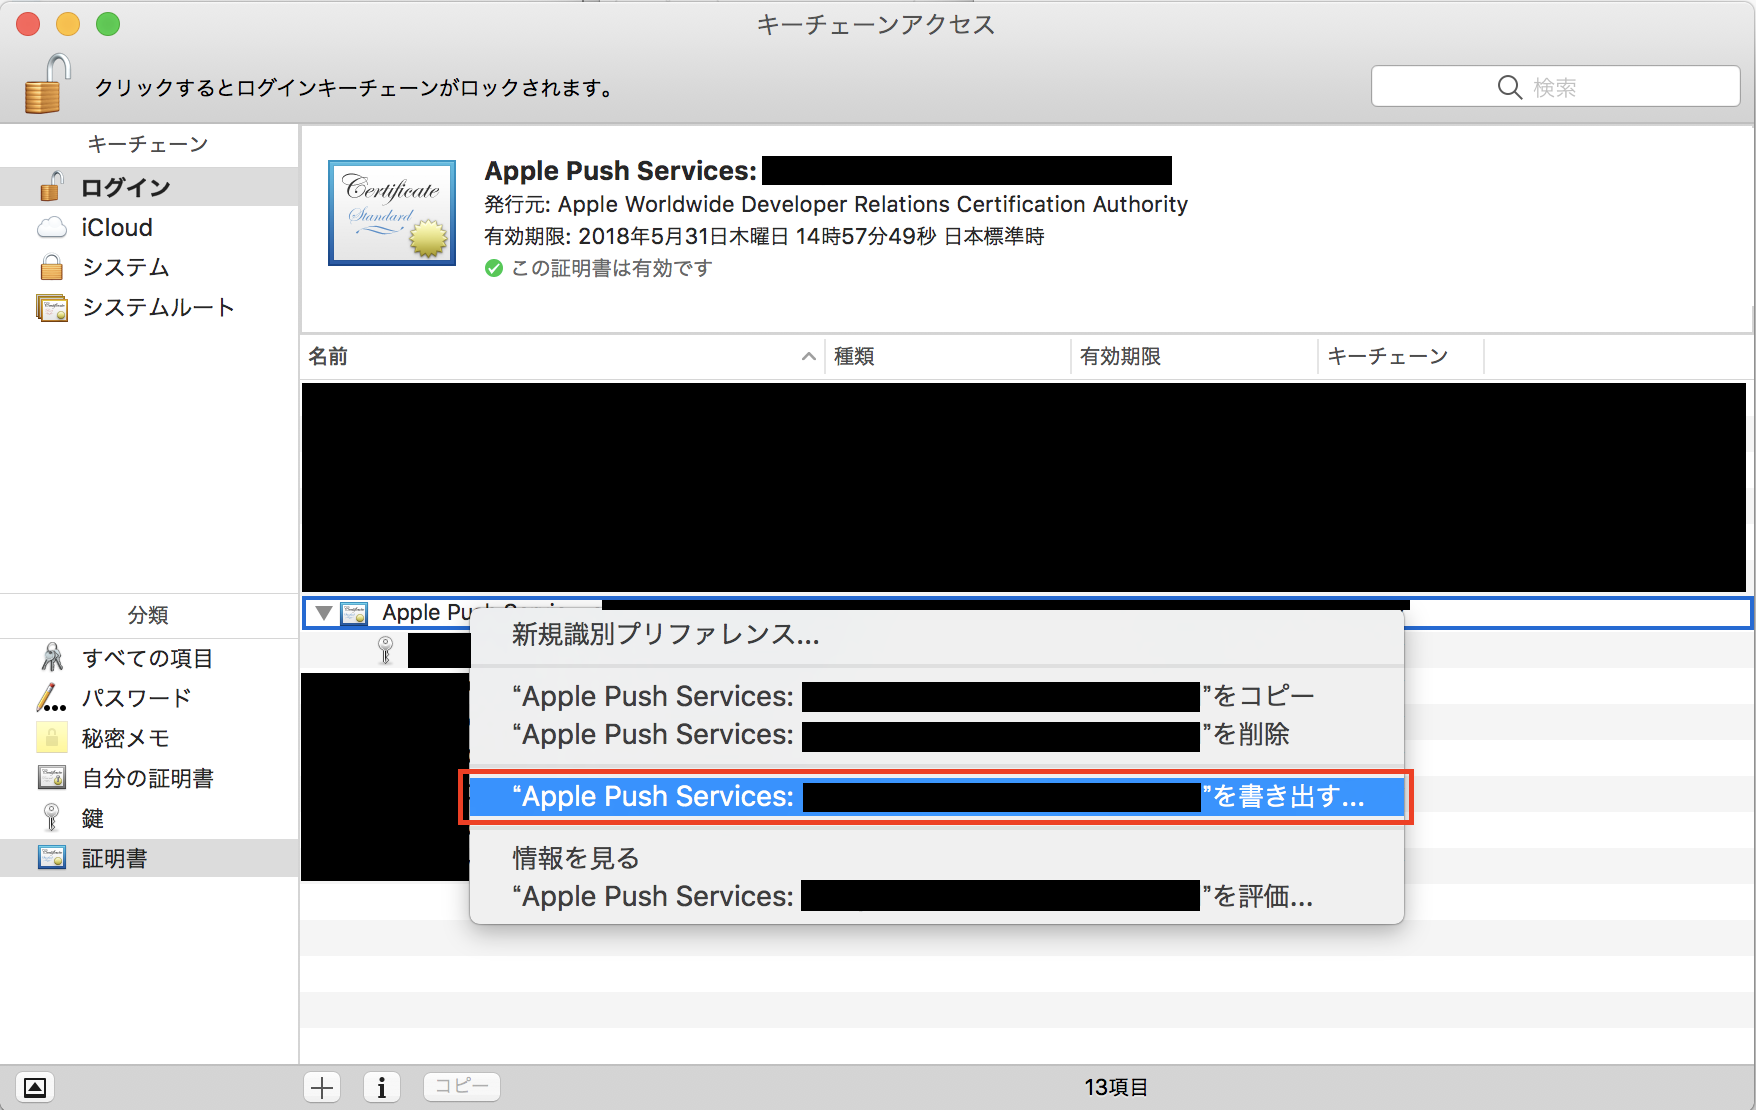
P12 File(Production)の作成
ダウンロードしたaps.cerをダブルクリック。(キーチェーンが開きます。)
Apple Push Services: xxxxxxを右クリック。
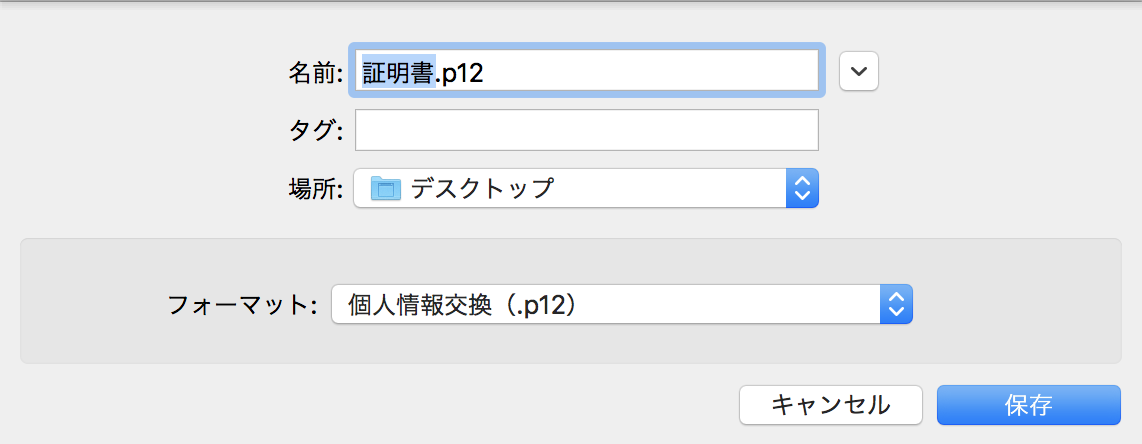
Apple Push Services: xxxxxxを書き出すを選択。
場所を選択して保存を押下。
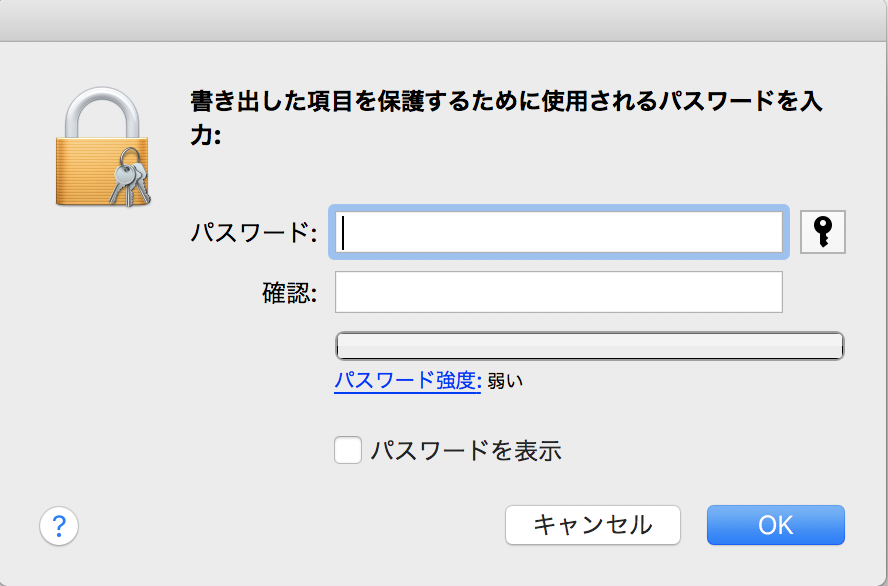
パスワードは設定せず空白のままOKを押下。
その2「P12 File(Development)の作成」
ダウンロードしたaps_development.cerをダブルクリック。(キーチェーンが開きます。)
場所を選択して保存を押下。
(名前を「証明書dev.p12」などにしておくと良い。)
パスワードは設定せず空白のままOKを押下。
App ID
Apple Developerサイト「Certificates, Identifiers & Profiles」を開く。
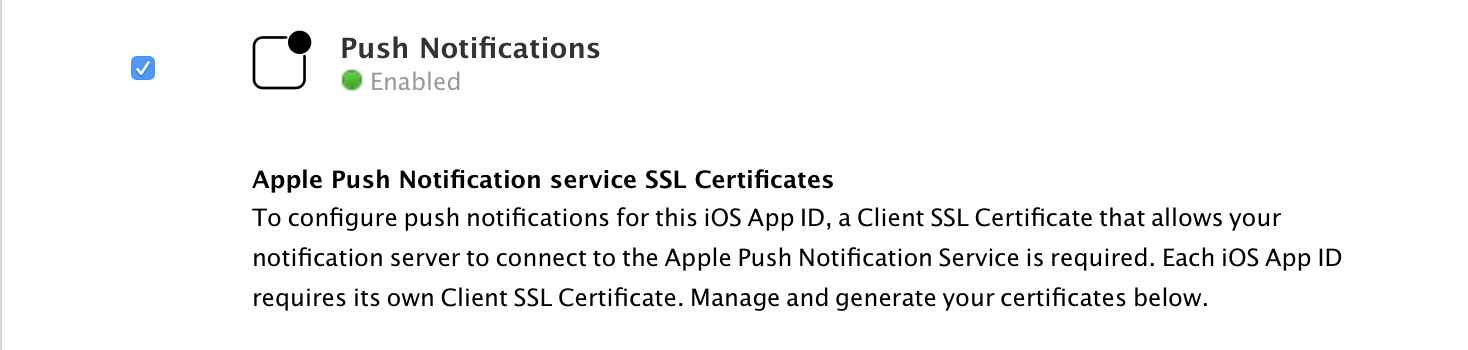
IdentifiersのApp IDsから対象アプリを選択。(未作成の場合は作成する。)
Push Notificationsを有効にする。
その3「Provisioning Profileの再作成」
Provisioning Profilesから対象のProfileをEdit→Generateして再ダウンロードする。
ダウンロードしたProfileをダブルクリックする。
(iOS Distribution、iOS Developmentを再ダウンロードする)
その4「Xcode」
CapabilitiesのPush Notificationsを有効にする。

Background ModesのRemote notificationsを有効にする。

その5「AppDelegate」
AppDelegateのdidFinishLaunchingWithOptionsにUIApplication.shared.registerForRemoteNotifications()を追加。
UIApplication.shared.registerForRemoteNotifications()
下記メソッドを追加。
extension AppDelegate {
    func application(_ application: UIApplication, didReceiveRemoteNotification userInfo: [AnyHashable : Any], fetchCompletionHandler completionHandler: @escaping (UIBackgroundFetchResult) -> Void) {
        //リモートプッシュ時の処理

        print("成功")
        completionHandler(.newData)
    }

    func application(_ application: UIApplication, didFailToRegisterForRemoteNotificationsWithError error: Error) {
        ////リモートプッシュ失敗

        print(error)
    }

    func application(_ application: UIApplication, didRegisterForRemoteNotificationsWithDeviceToken deviceToken: Data) {
        let installation = NCMBInstallation.current()
        installation?.setDeviceTokenFrom(deviceToken)

        saveInstallation(installation: installation)
    }

    private func saveInstallation(installation: NCMBInstallation?) {
        enum InstallationRegistErrorType: Int {
            case delete = 404001
            case duplication = 409001
        }

        installation?.saveInBackground { [weak self] (error) in
            if let error = error {
                switch InstallationRegistErrorType(rawValue: (error as NSError).code) {
                case .delete?:
                    //installationが削除された時 管理者の操作ミスなどによる削除
                    print("デバイストークン再登録開始")
                    self?.reRegistInstallation(installation: installation)
                case .duplication?:
                    //deviceTokenの重複エラー アプリの再インストールが原因(ただiOS9からはデバーストークンが変わる)
                    print("デバイストークン更新開始")
                    self?.updateExistInstallation(installation: installation)
                default:
                    print("デバイストークン登録失敗", error)
                }
            }else {
                print("デバイストークン登録成功")
            }
        }
    }

    private func reRegistInstallation(installation: NCMBInstallation?) {
        installation?.objectId = nil

        saveInstallation(installation: installation)
    }

    private func updateExistInstallation(installation: NCMBInstallation?) {
        guard let deviceToken = installation?.deviceToken else {
            print("デバイストークン更新失敗")
            return
        }

        let query = NCMBInstallation.query()
        query?.whereKey(NCMBInstallationClass.deviceToken, equalTo: deviceToken)

        query?.getFirstObjectInBackground({ [weak self] (searchDevice, error) in
            if let error = error {
                print("デバイストークン更新失敗", error)
            }else if let searchDevice = searchDevice as? NCMBInstallation {
                installation?.objectId = searchDevice.objectId

                self?.saveInstallation(installation: installation)
            }else {
                print("デバイストークン更新失敗")
            }
        })
    }
}
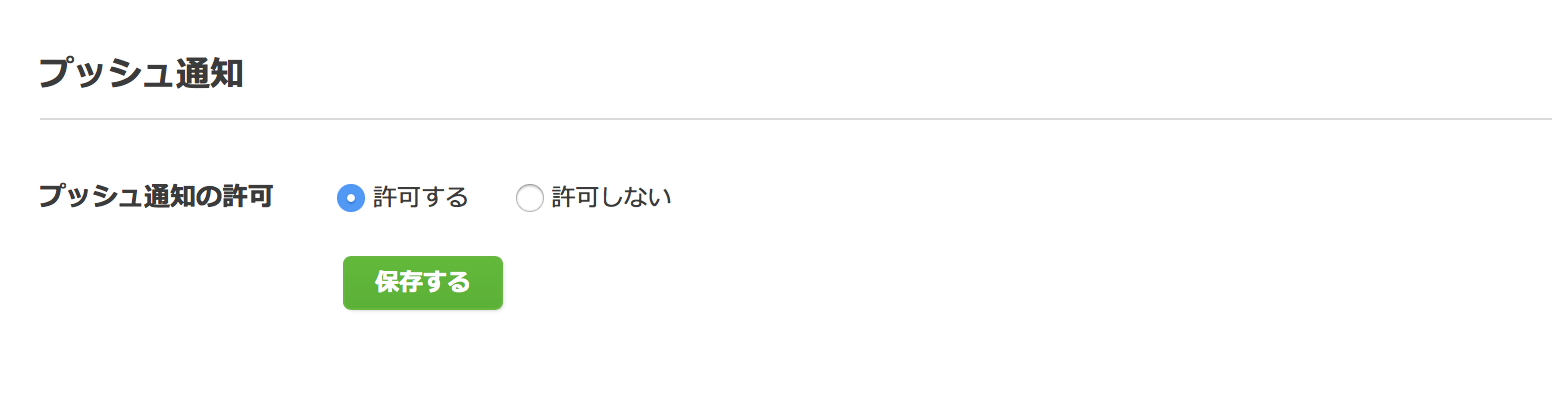
その6「Nifty Cloud mobile backendの設定」
プッシュ通知の許可を許可するを選択して保存。
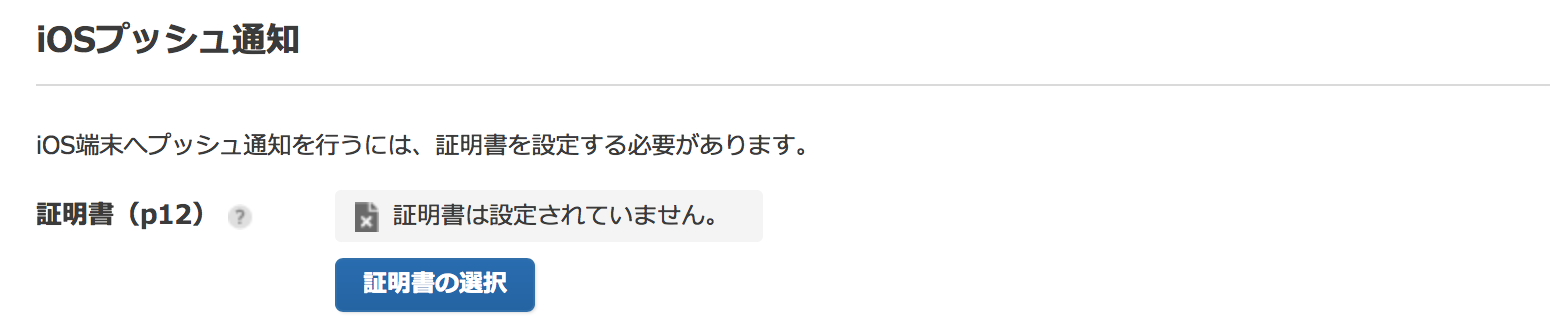
その7「iOSプッシュ通知の証明書を選択」
証明書の選択を押下。
P12 File(Production)を選択する。
※リリース前の場合はP12 File(Development)を選択する。
※リリース後にP12 File(Production)に変更する。
テスト
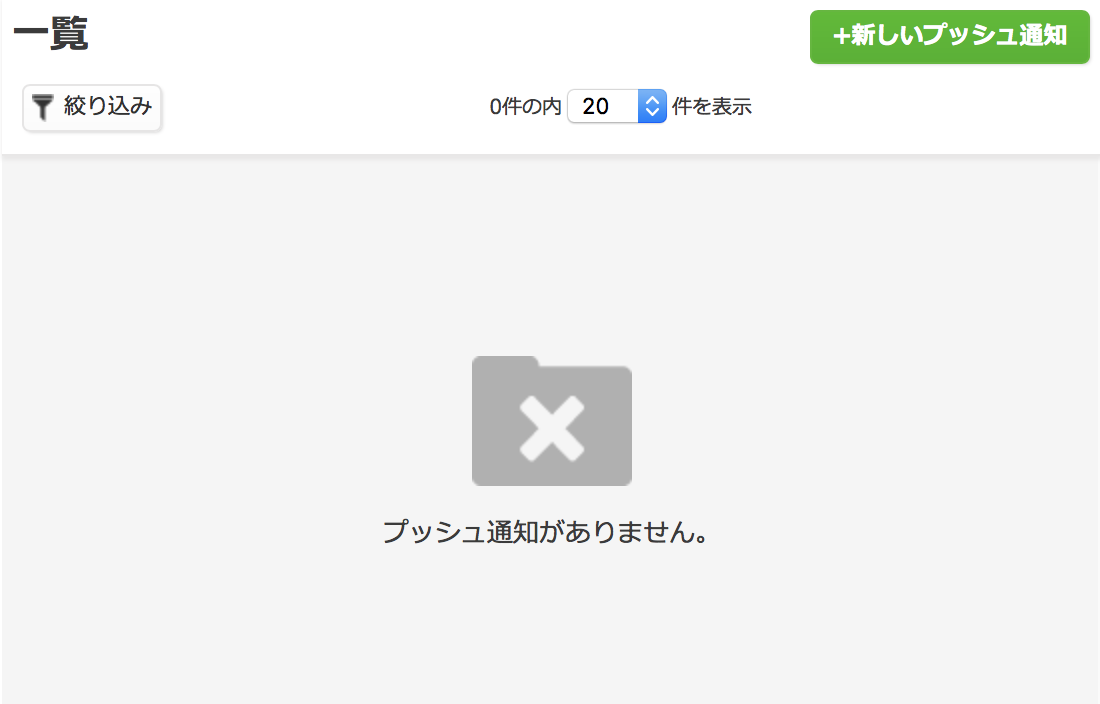
Nifty Cloud mobile backendの新しいプッシュ通知を押下。
iOS端末に配信するにチェックを入れてプッシュ通知を作成するを押下。
※テストのため、他は入力する必要はありません。
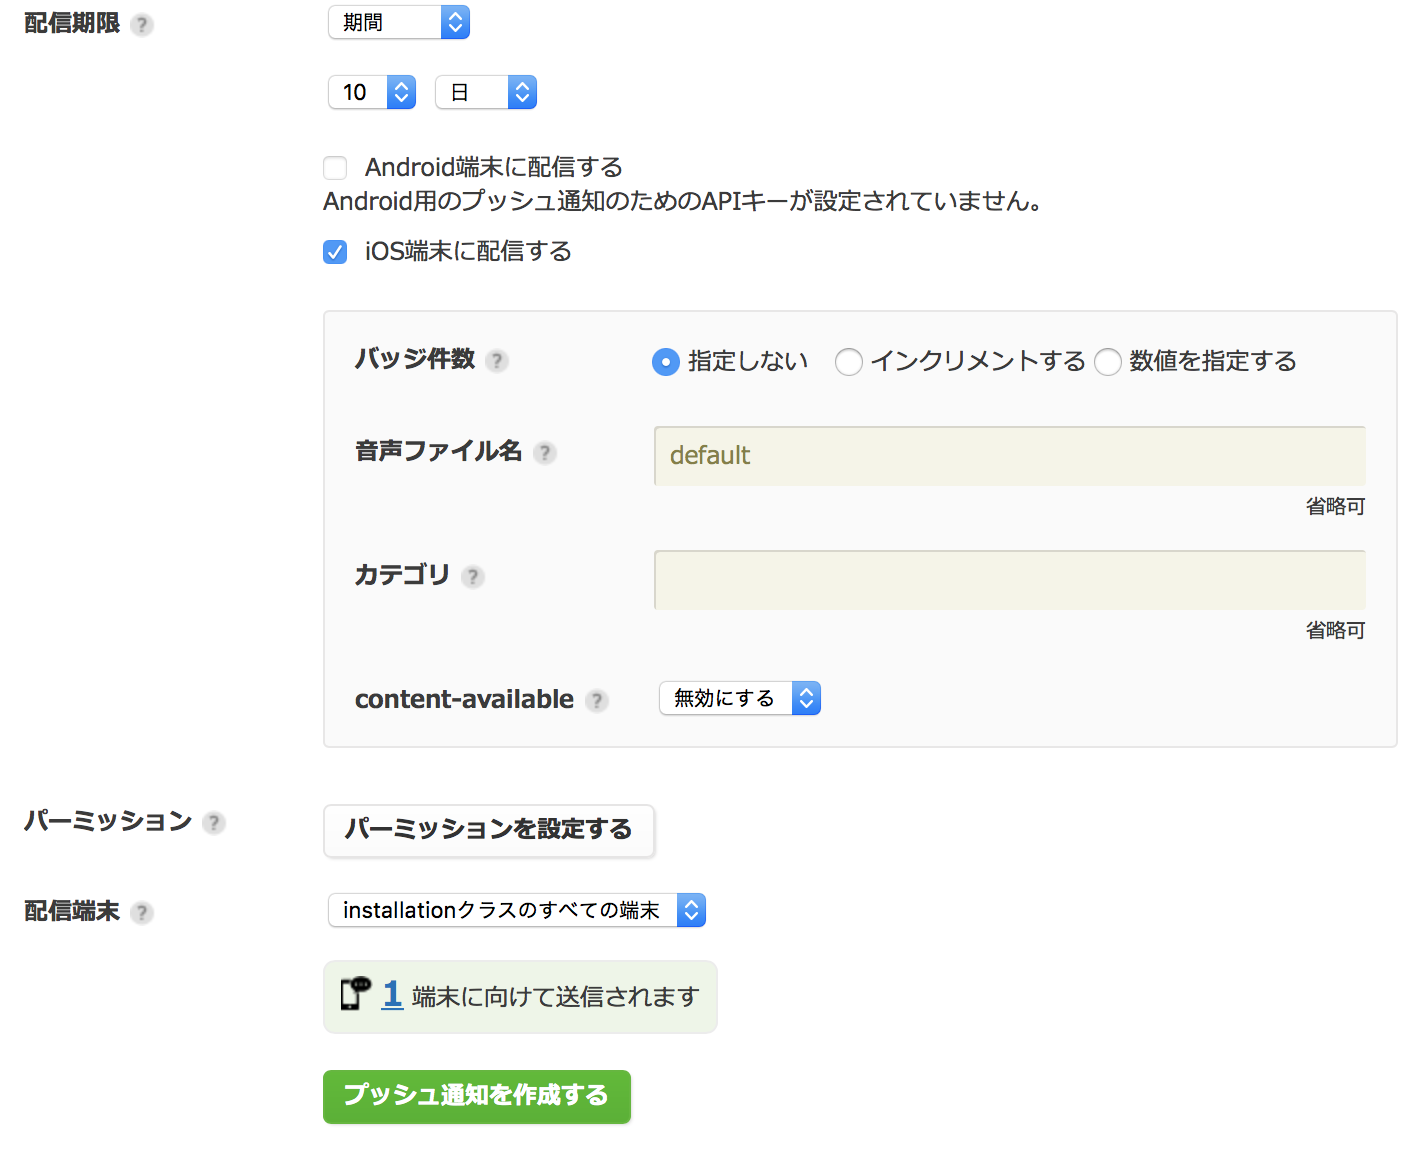
AppDelegateのdidReceiveRemoteNotificationが呼ばれたら成功です。
さいごに
不備や疑問点などございましたら、お気軽にご連絡ください。