Overview
Google Drive は 便利です。個人的には、ChromeBook Pixelの特典で、1TB使える権利があり、それを利用していましたが、そろそろその期限が切れるので、なんとかしなければと思っておりました。 One Driveも容量無制限ではなくなりましたし、安価な代替手段も無いので、Raspberry Piならば消費電力も低いので、昔の余っている2.5 inch USB HDDと組み合わせて、自分Storageを構築してみます。
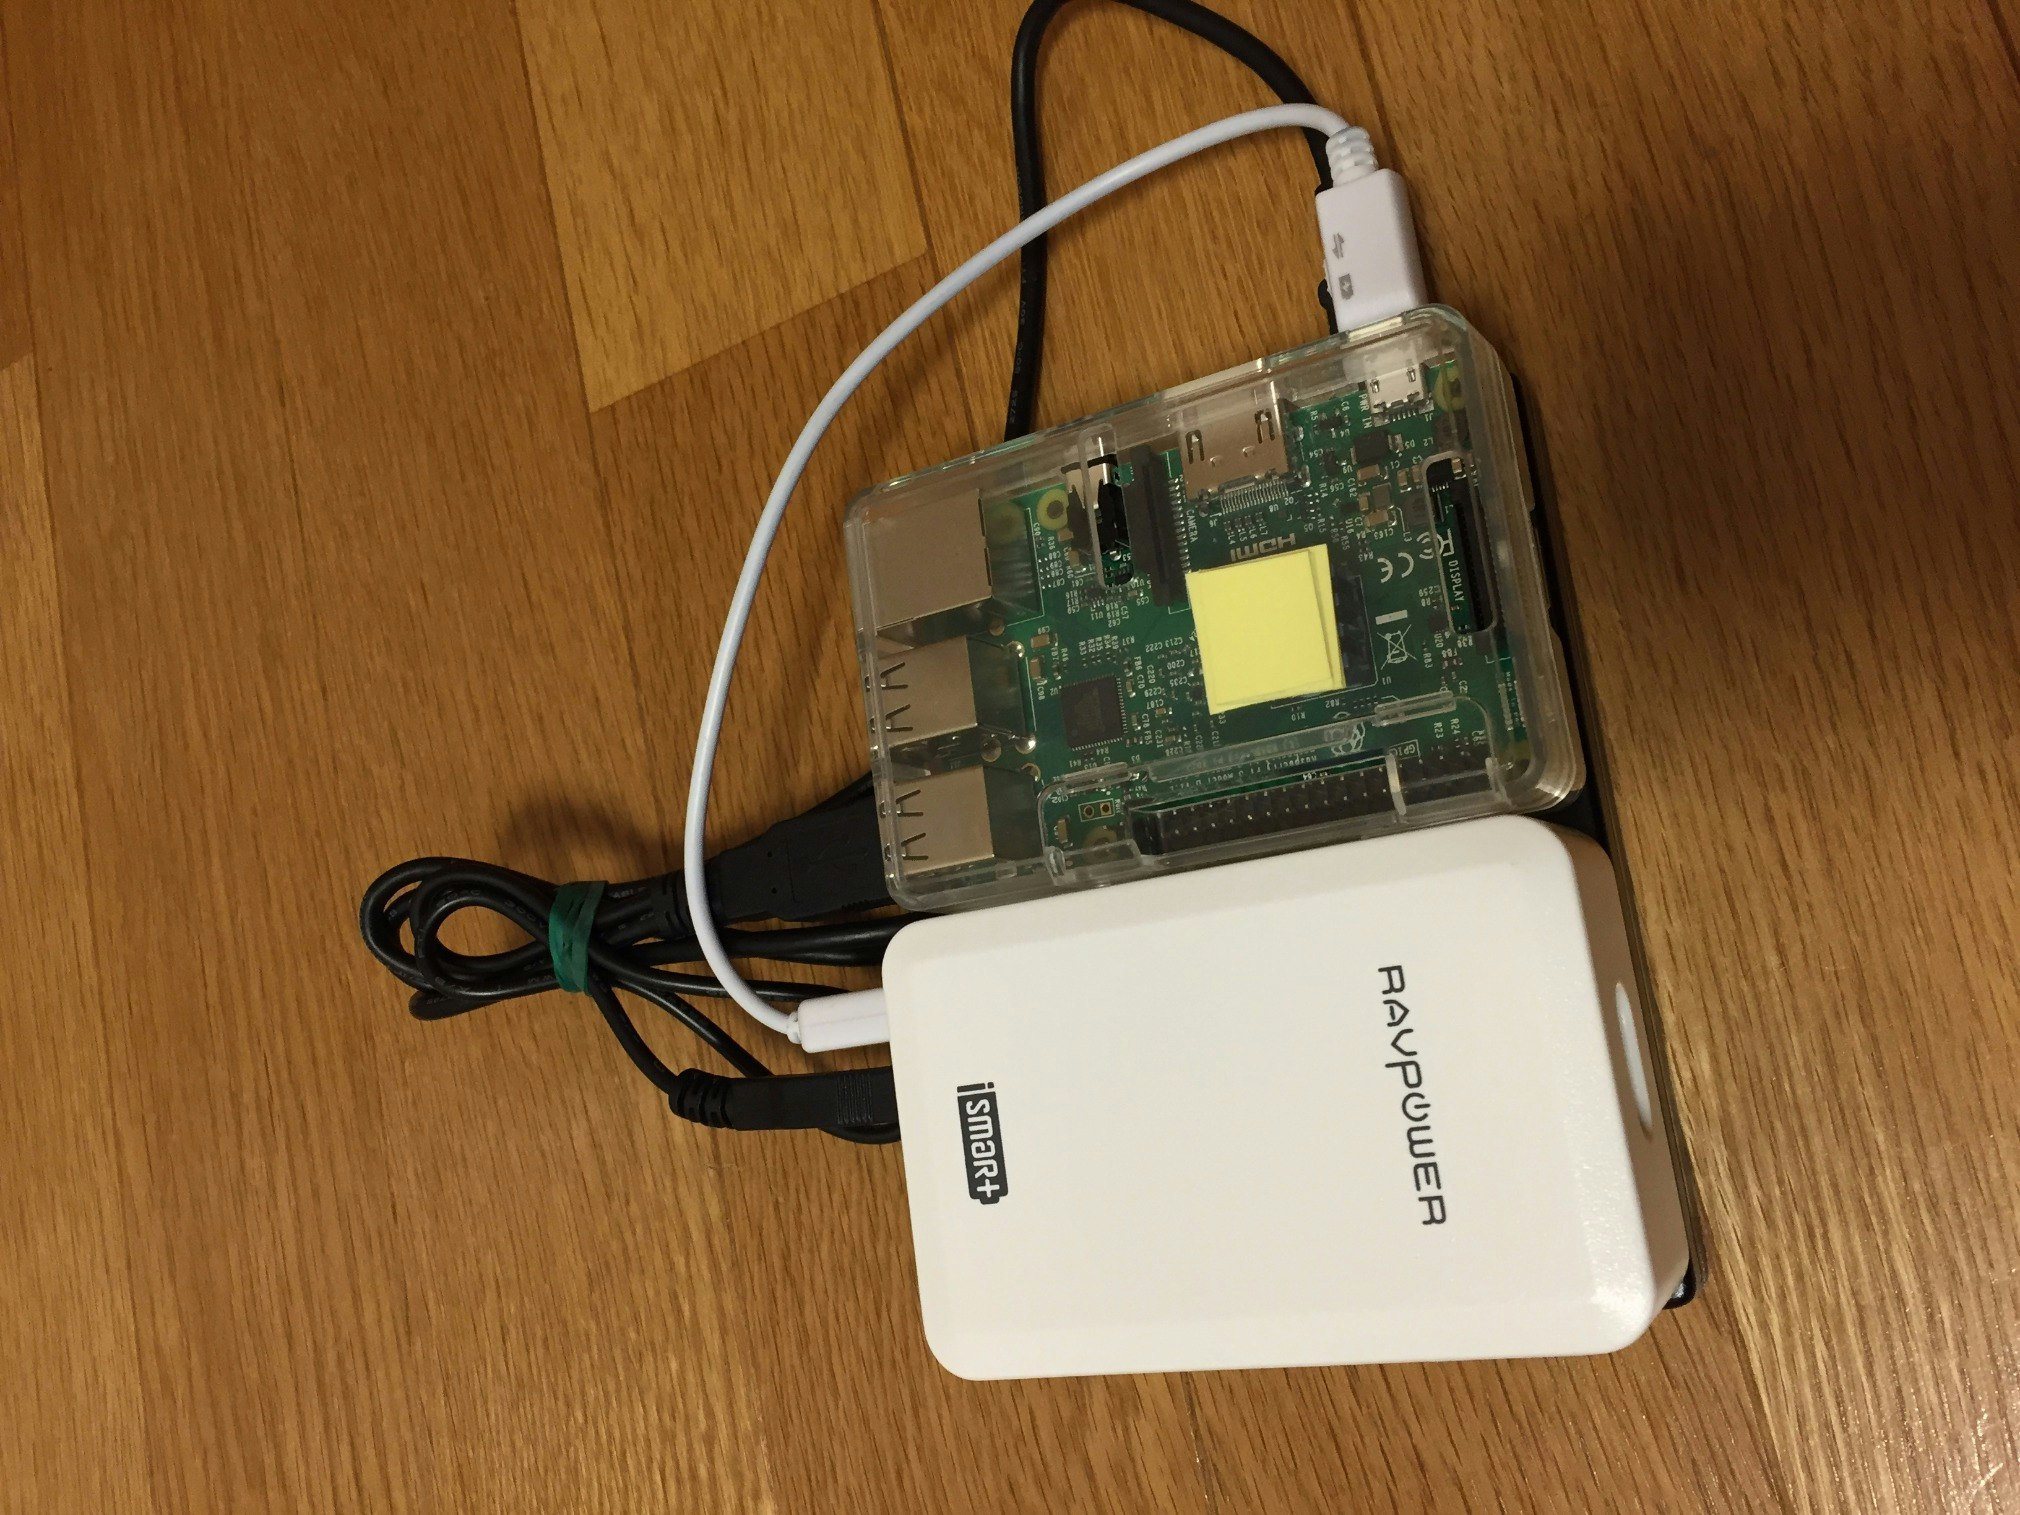
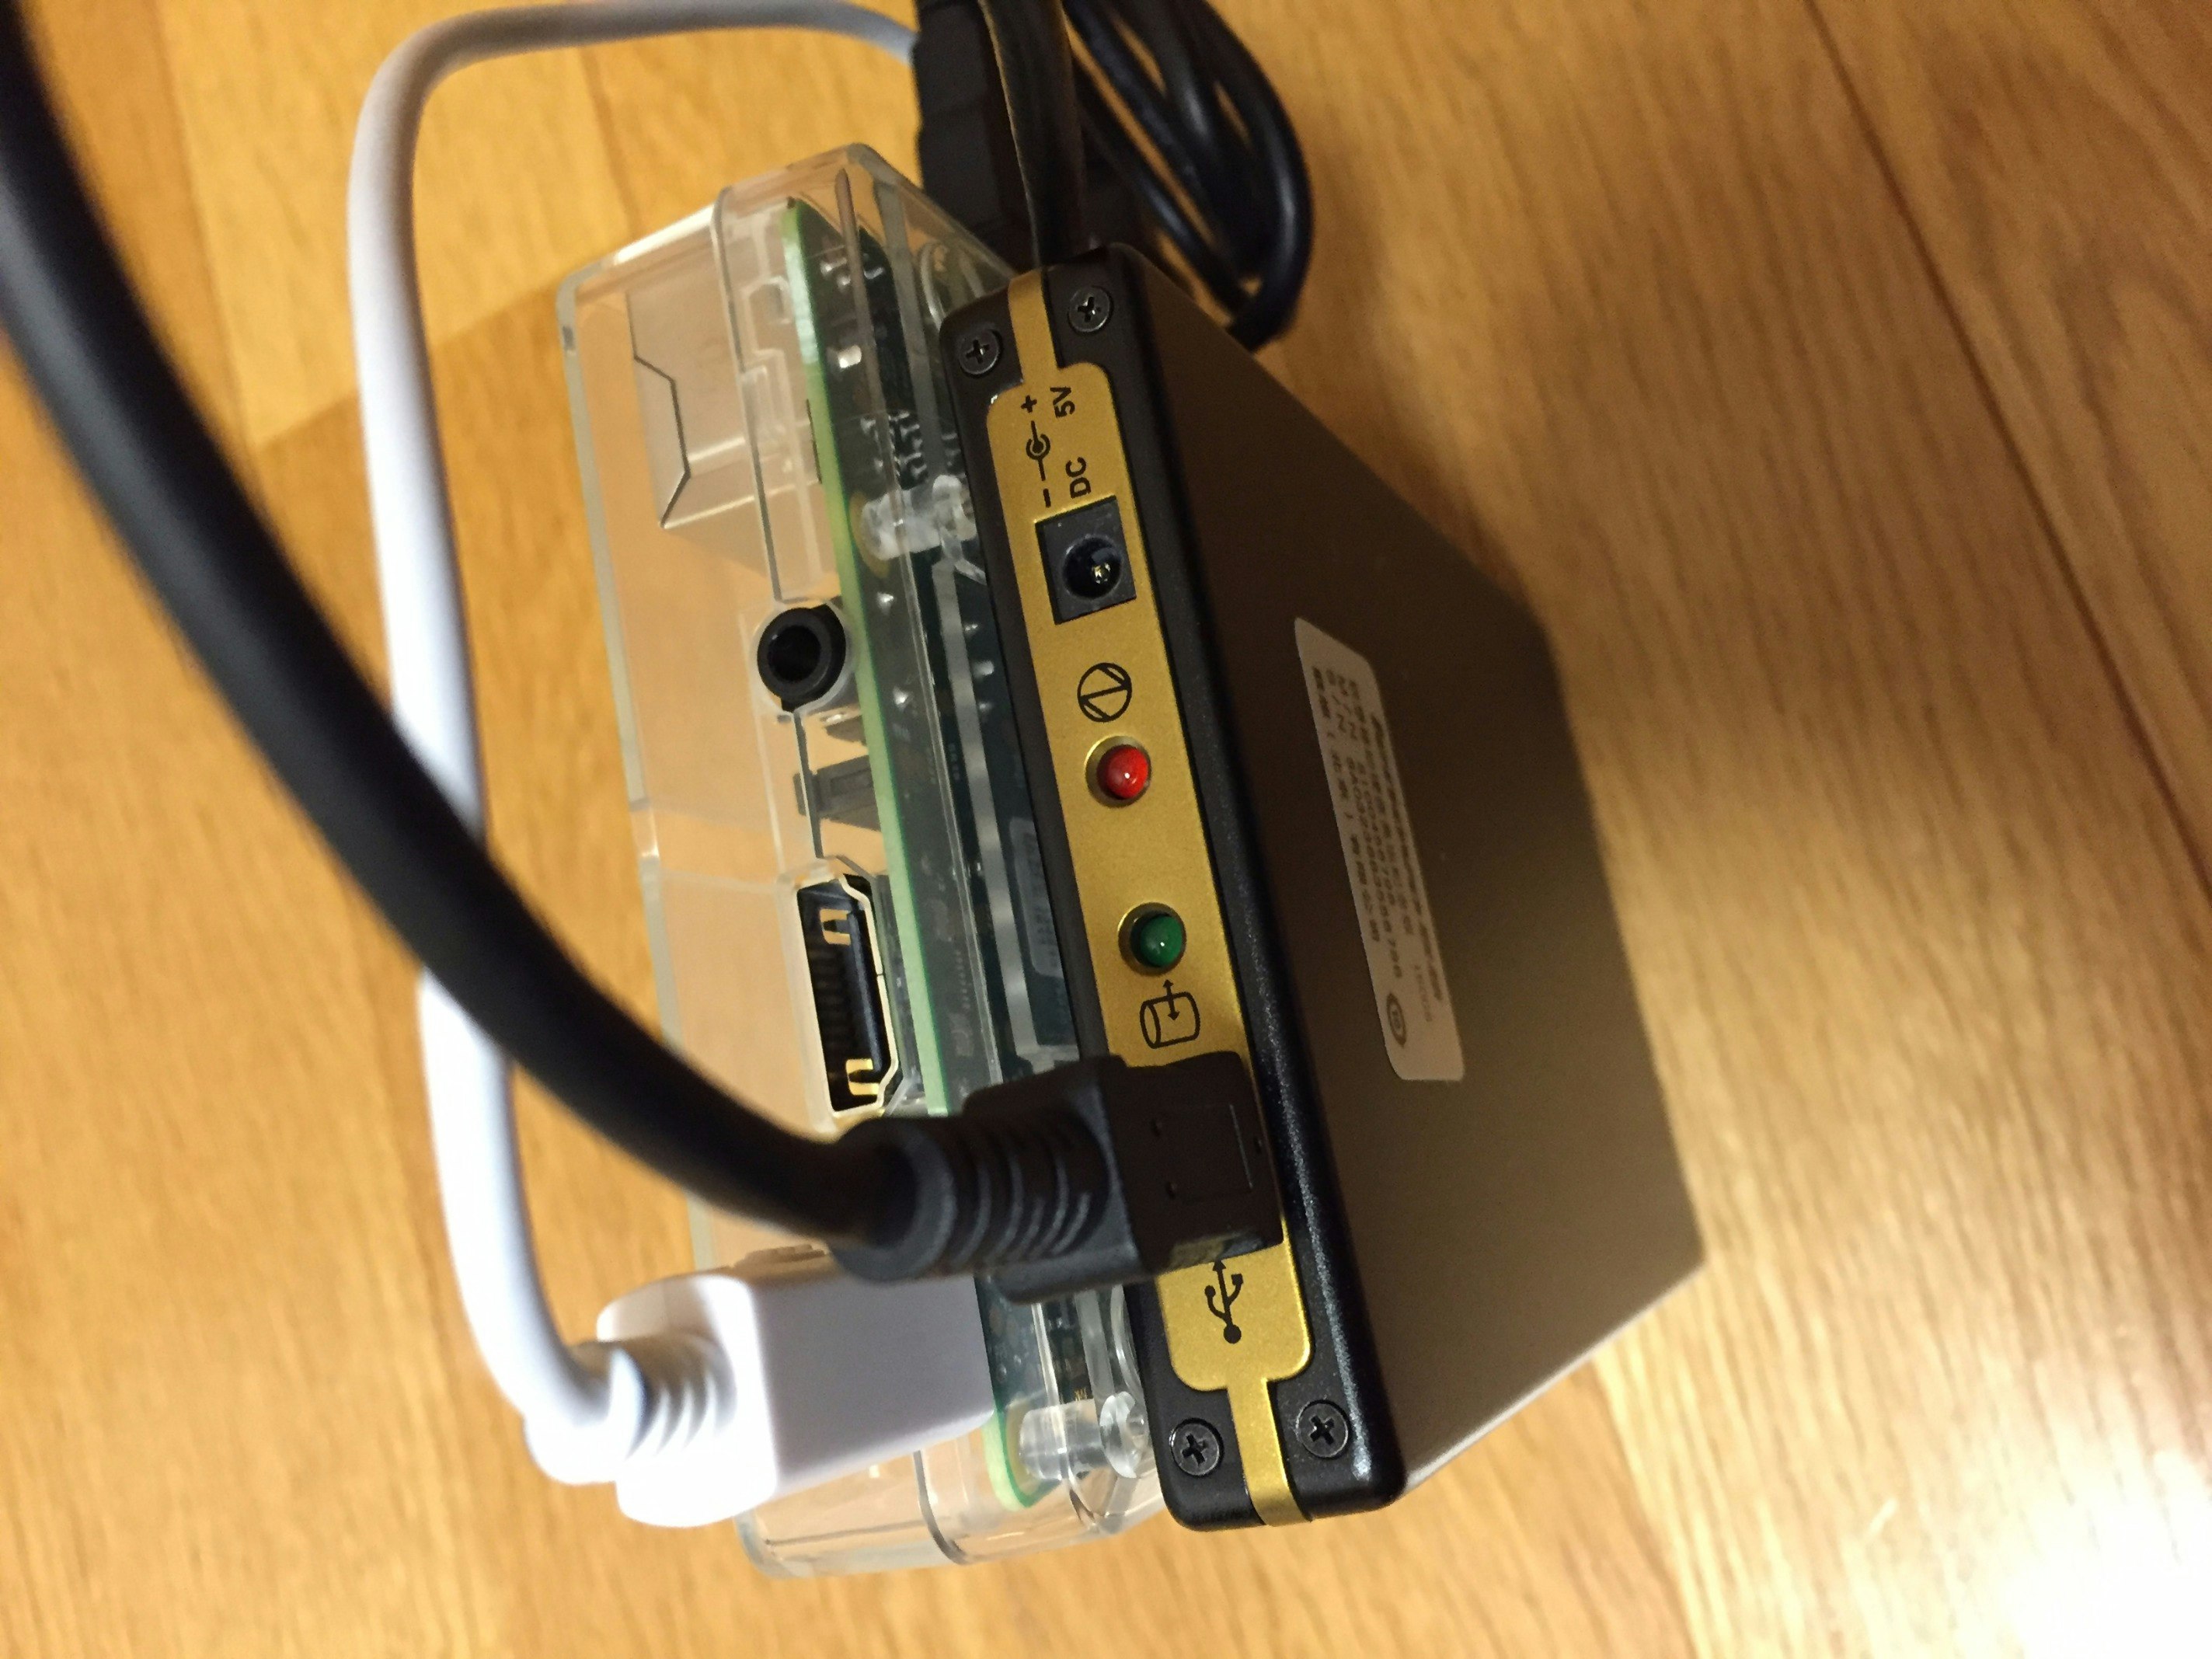
Raspberry Pi3 に USB HDDを接続
HDDもRaspberry Pi3も消費電力をそこそこ必要そうなので、最大2.4A供給可能なUSB AC Adaptorを用意しています。
また、当方は、Ubuntu Mate 15.10をRaspberry Pi3に入れています。
/etc/fstabの設定
とりあえず、/etc/fstabに書いてマウントをします。
$ sudo blkid
$ sudo ls -l /dev/disk/by-uuid
こんな感じで、UUIDを調べましょう。
# mkdir /mnt/usbdisk
# vim /etc/fstab
proc            /proc           proc    defaults          0       0
/dev/mmcblk0p2  /               ext4   defaults,noatime  0       1
/dev/mmcblk0p1  /boot/          vfat    defaults          0       2
/dev/disk/by-uuid/調べたUUID /mnt/usbdisk ext4 defaults,nosuid 0 2
まずはLAMP環境の設定
Apache2 + MySQL + PHP on Linuxとしての設定を行います。
$ sudo apt-get install apache2 php5 mysql-server libapache2-mod-php5 php5-intl php5-gd php-xml-parser php5-mysql smbclient curl libcurl3 php5-curl php5-json php5-mysql php5-intl php5-mcrypt php5-imagick
mysqlの設定
上のinstallの途中で、mysqlの設定の問い合わせがCUIで出てきて、mysqlのrootの設定を要求されますので、設定します。
Apache2の設定
$ sudo vim /etc/php5/apache2
[Date]
; Defines the default timezone used by the date functions
; http://php.net/date.timezone
date.timezone = "Asia/Tokyo"
ownCloudのinstall
https://download.owncloud.org/download/repositories/stable/owncloud/
をご参考に。
$ wget -nv https://download.owncloud.org/download/repositories/stable/xUbuntu_15.10/Release.key -O Release.key
$ sudo apt-key add - < Release.key
$ sudo sh -c "echo 'deb http://download.owncloud.org/download/repositories/stable/xUbuntu_15.10/ /' >> /etc/apt/sources.list.d/owncloud.list"
$ sudo apt-get update
$ sudo apt-get install owncloud-files
こうすることで、apt-get update; apt-get upgradeでowncloudもupdateできるようになりますので大変便利です。
ownCloudに必要なphp moduleのinstall
先ほどのapt-getで一応必須のものは入っているはずですが、一応確認してください。
apache2に、ownCloudのsites configの設定
$ sudo vim /etc/apache2/sites-available/owncloud.conf
Alias /owncloud "/var/www/owncloud/"

<Directory /var/www/owncloud/>
  Options +FollowSymlinks
  AllowOverride All

 <IfModule mod_dav.c>
  Dav off
 </IfModule>

 SetEnv HOME /var/www/owncloud
 SetEnv HTTP_HOME /var/www/owncloud

</Directory>
$ sudo ln -s /etc/apache2/sites-available/owncloud.conf /etc/apache2/sites-enabled/
ownCloudが必要なapache2のmodulesの有効化
$ sudo su
# a2enmod rewrite
# a2enmod headers
# a2enmod env
# a2enmod dir
# a2enmod mime
# /etc/init.d/apache2 restart
ownCloud向けのpermissionの設定
vimなどで以下のsetupOwncloud.shを作成します.
# !/bin/bash
ocpath='/var/www/owncloud'
htuser='www-data'
htgroup='www-data'
rootuser='root'

printf "Creating possible missing Directories\n"
mkdir -p $ocpath/data
mkdir -p $ocpath/assets

printf "chmod Files and Directories\n"
find ${ocpath}/ -type f -print0 | xargs -0 chmod 0640
find ${ocpath}/ -type d -print0 | xargs -0 chmod 0750

printf "chown Directories\n"
chown -R ${rootuser}:${htgroup} ${ocpath}/
chown -R ${htuser}:${htgroup} ${ocpath}/apps/
chown -R ${htuser}:${htgroup} ${ocpath}/config/
chown -R ${htuser}:${htgroup} ${ocpath}/data/
chown -R ${htuser}:${htgroup} ${ocpath}/themes/
chown -R ${htuser}:${htgroup} ${ocpath}/assets/

chmod +x ${ocpath}/occ

printf "chmod/chown .htaccess\n"
if [ -f ${ocpath}/.htaccess ]
 then
  chmod 0644 ${ocpath}/.htaccess
  chown ${rootuser}:${htgroup} ${ocpath}/.htaccess
fi
if [ -f ${ocpath}/data/.htaccess ]
 then
  chmod 0644 ${ocpath}/data/.htaccess
  chown ${rootuser}:${htgroup} ${ocpath}/data/.htaccess
fi
$ sudo chmod +x ./setupOwncloud.sh
$ sudo ./setupOwncloud.sh
作ったscriptを実行します.
ownCloudの初期設定
$ sudo -u www-data php occ maintenance:install --database "mysql" --database-name "owncloud" --database-user "root" --database-pass "mysqlのroot password" --admin-user "admin" --admin-pass "ownCloudのadminのパスワード"
firewallの設定
$ sudo ufw allow 80 # ご自分のportの設定を...
$ sudo ufw enable
ちなみに、sshとかhttpsを使う方は、
$ sudo ufw allow 22
$ sudo ufw allow 443
も先にしておいてから、$ sudo ufw enableしたほうが良いと思います。
そして、念のためApache2を再起動します
$ sudo /etc/init.d/apache2 restart
また、ご自分のルータも同じ設定をすることを忘れずに。。。
browserでのowncloudの設定
とりあえず、firefoxで、http://localhost/owncloud/
などでアクセスします。
- 最初に、ログイン画面で、ログインできない場合は、ユーザ・パスワードの入力の下にあるadvancedで、設定を行います。
- MySQLを選択し、databaseを作成した時のuser名とパスワードを入れます。
Android clientについて
http://otasys.hotcom-web.com/?p=123
によると、
https://play.google.com/store/apps/details?id=jp.ddo.shigadroid.webdavfilemanager&hl=ja
がおすすめみたいです。

