はじめに
最近新しくなったSpring Cloud Streamを試してみる。
まずはサンプルをつかってredisから。
Spring Cloud StreamのQuick Startだとうまくいかなかったので、IntelliJのSpring Initializrを使ってみた。
環境
- Mac
- IntelliJ
- redis(適当にインストールしておく)
手順
IntelliJからプロジェクトを作成する
昨日紹介したIntelliJのSpring Initializrの機能を利用する
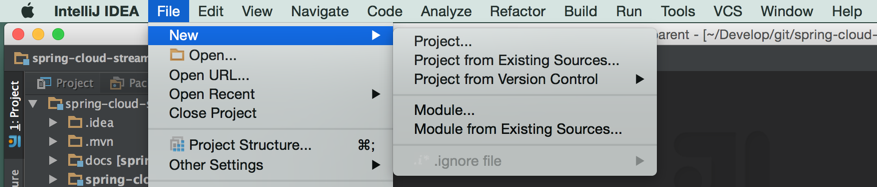
プロジェクトを作成メニューを開く
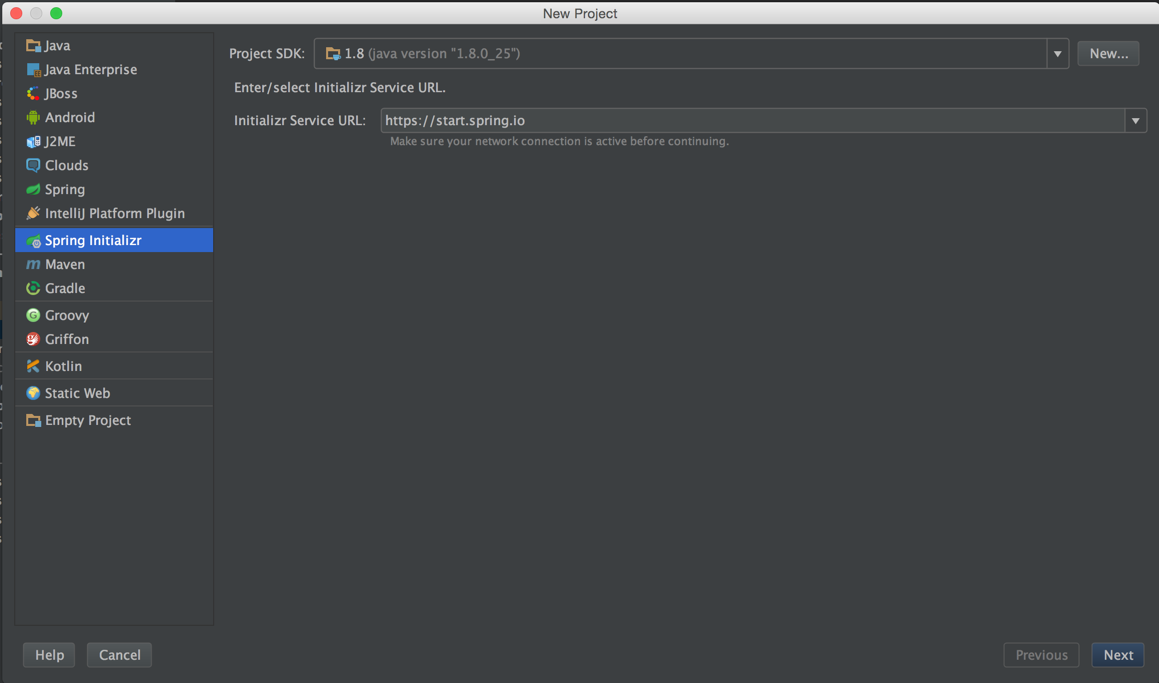
左のペインから「Spring Initializr」を選択して、「Next」ボタンをクリック
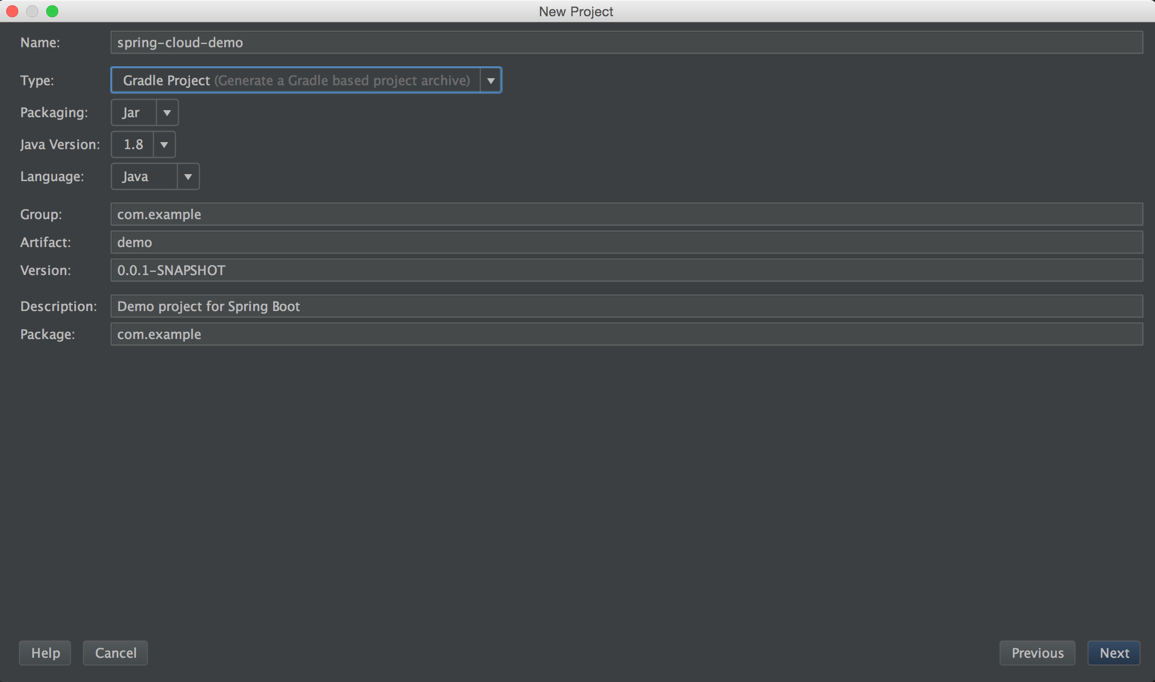
「Name」に適当に名前をつけて「Next」ボタンをクリック
「Type」はGradle Projectを選択したが、MavenでもOK。
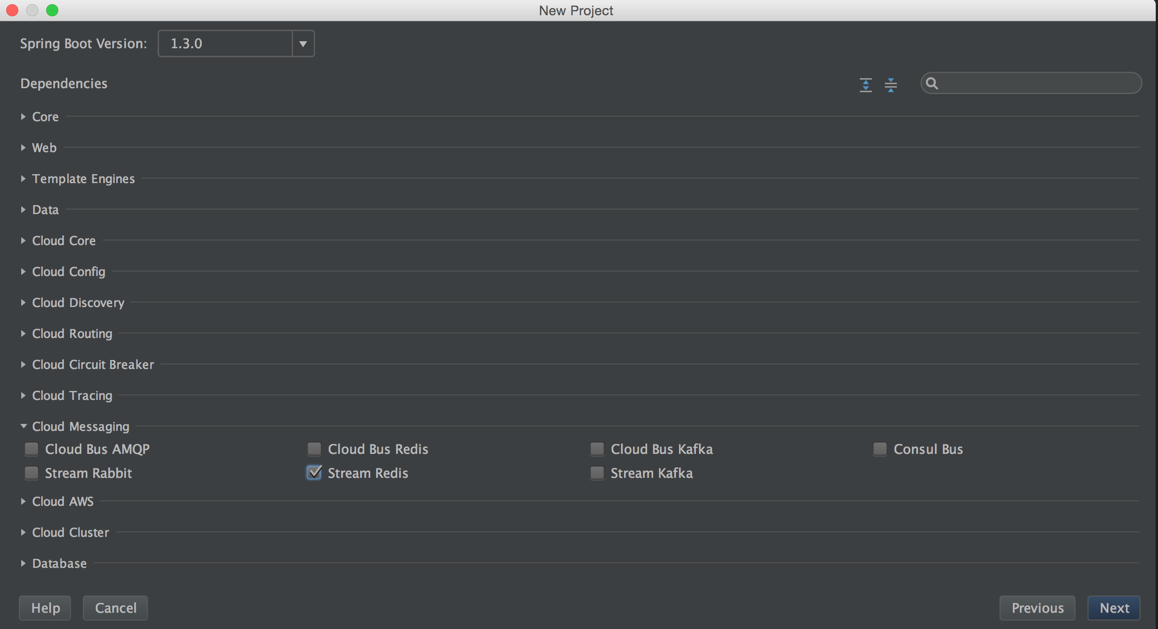
「Dependencies」から``を選択して、「Next」ボタンをクリック
わかりやすさのために余計なメニューはたたんでいます。
「Project Name」に適当に名前をいれて、「Next」ボタンをクリック
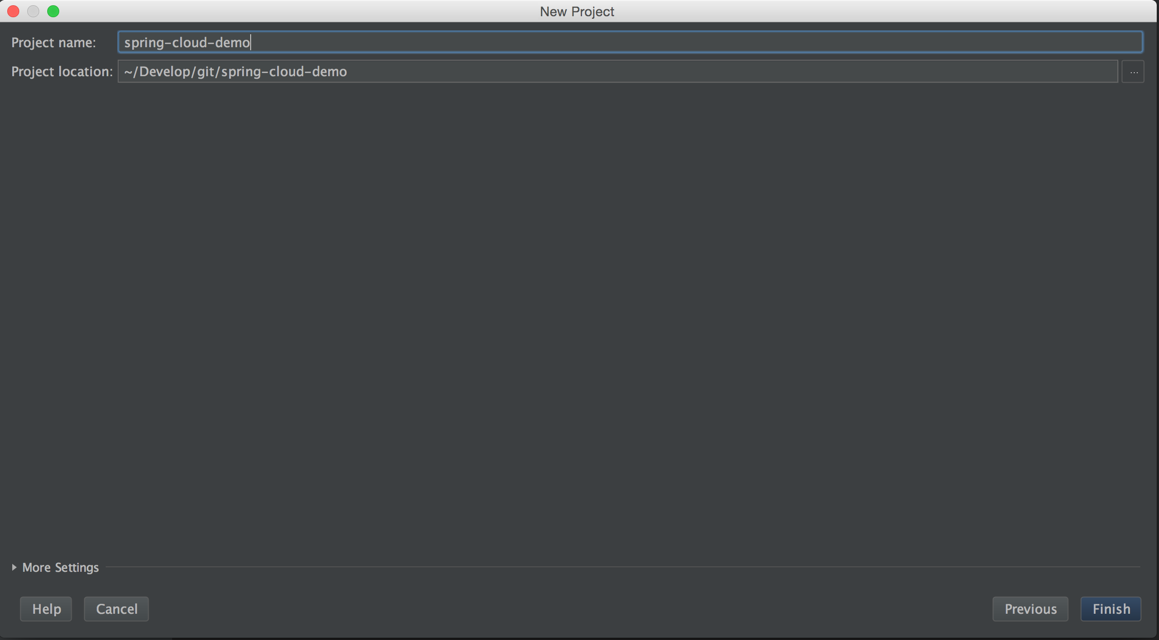
しばらくしてGradleの設定画面がでてきたら、「OK」ボタンをクリック
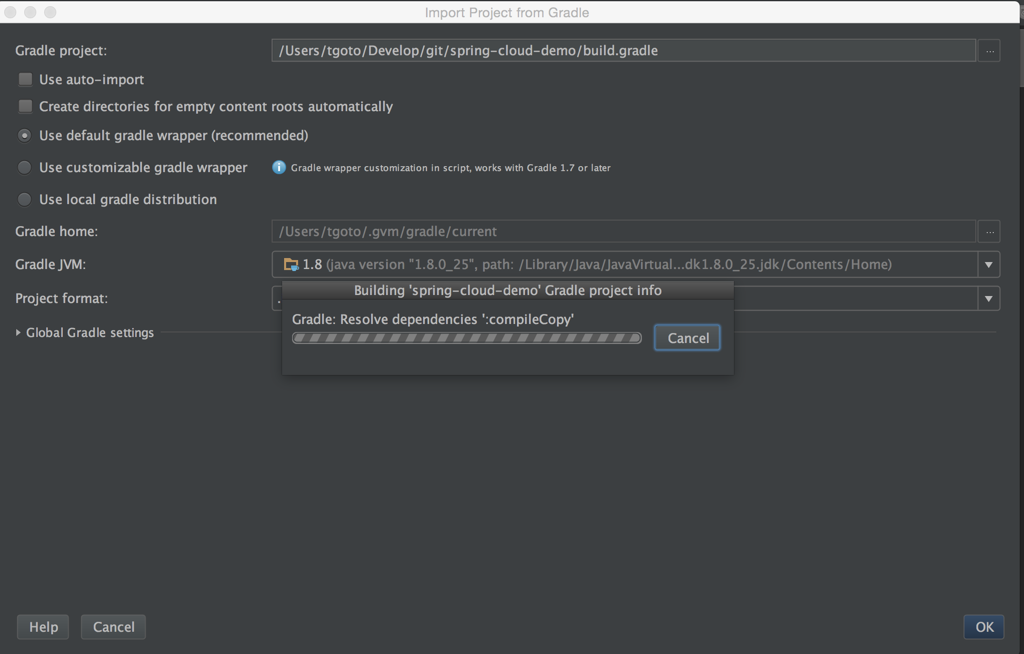
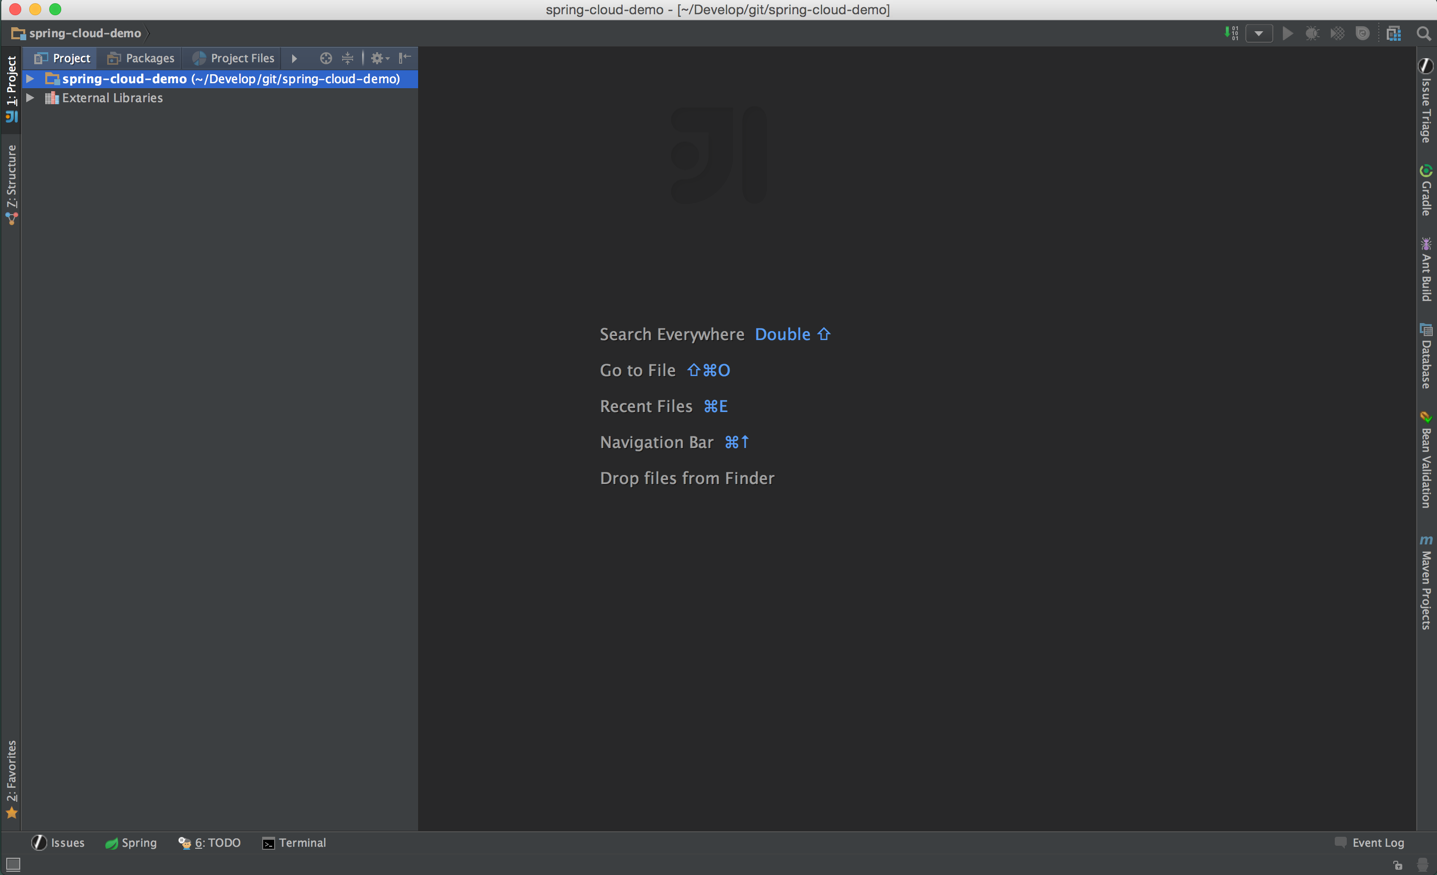
プロジェクトができあがる
デフォルトの状態で起動してみる
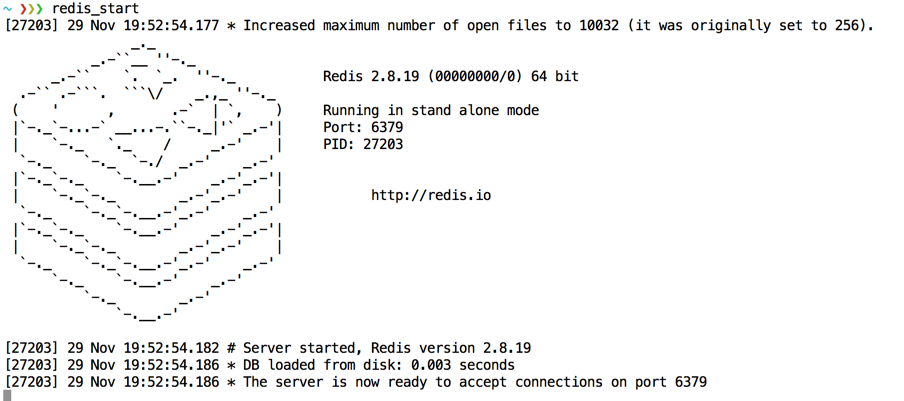
redisを起動
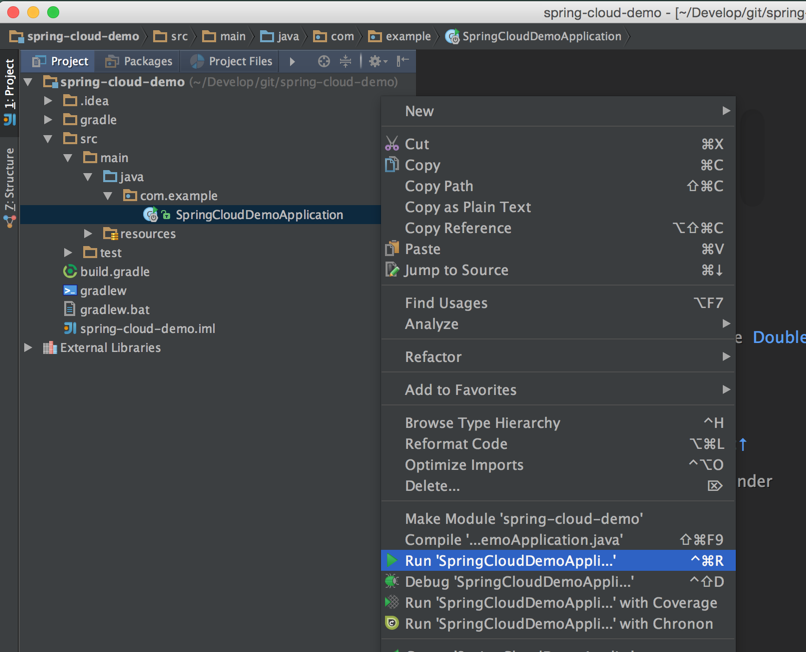
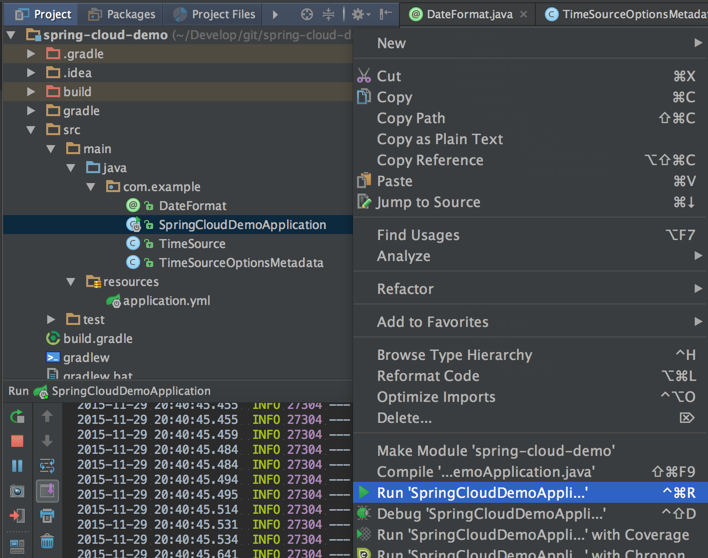
IntelliJから自動生成された「SpringCloudDemoApplication」を起動
Javaのクラス名は、自分で設定した名前+Applicationになっているので読み替えてください。
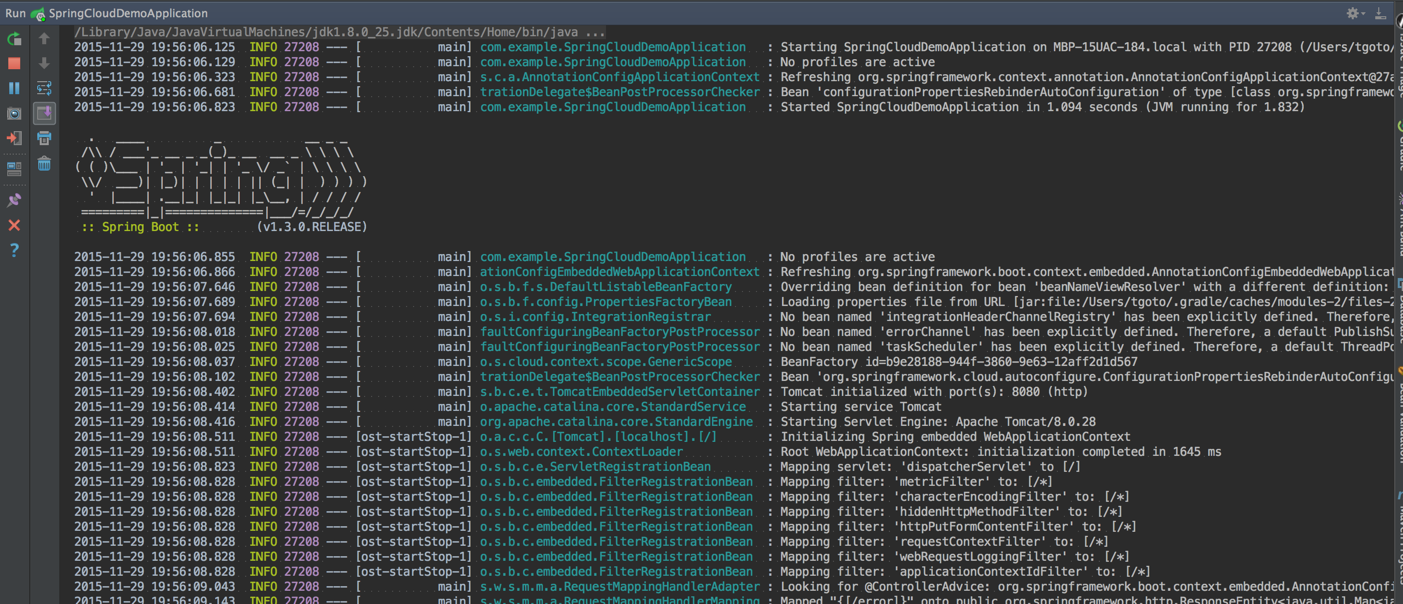
起動してエラーがでなければOK
正しく起動すれば停止する
サンプルを動かす
spring-cloud-streamのgithubのsampleから利用できそうなソースをもってくる
Sourceのサンプルを持ってくる
Spring Cloud StreamのSourceは、情報のinputにあたる役割になる。要するにredisに情報を入力する役割。
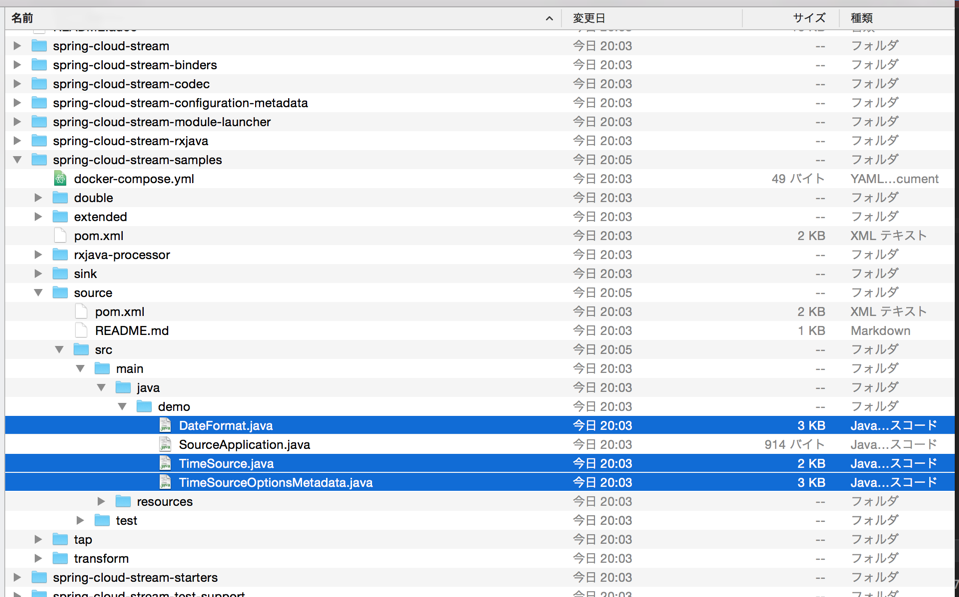
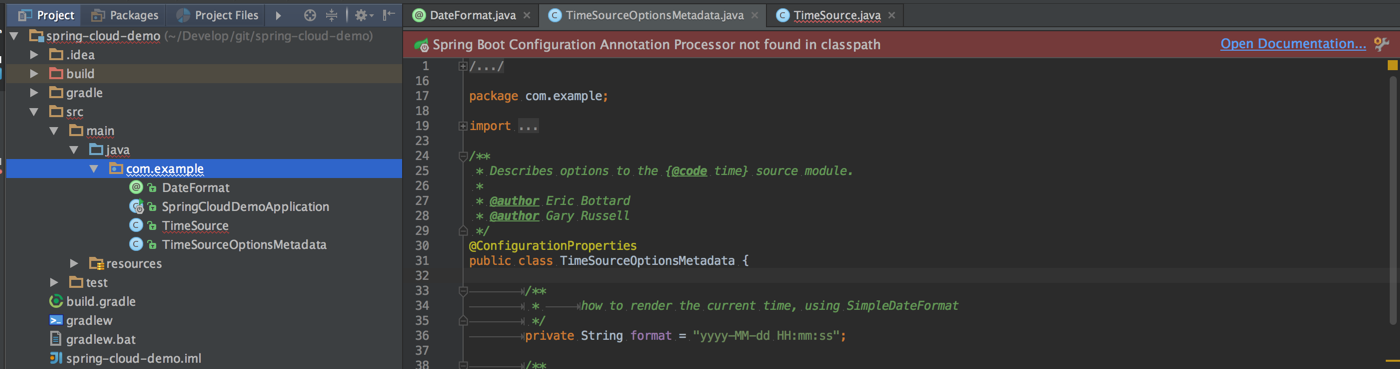
sourceのサンプルを以下の3つを自動生成されたSpringCloudDemoApplication.javaと同じパッケージにコピーする。
- DateFormat.java
- TimeSource.java
- TimeSourceOptionsMetadata
githubからcloneする
cd /tmp
git clone https://github.com/spring-cloud/spring-cloud-stream.git
Finderを使って、3つのファイルをコピーして、IntelliJのSpringCloudDemoApplication.javaと同じパッケージにコピーする
IntelliJにコピーする
application.propertiesをymlへrename
サンプルがyml形式になっているので、自動生成されたapplication.propertiesをapplication.ymlへ変更する
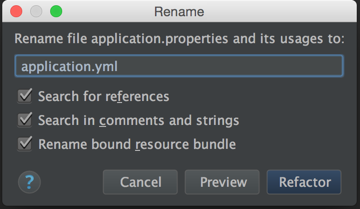
ファイルを右クリックして「Refactor」「Rename」を選択
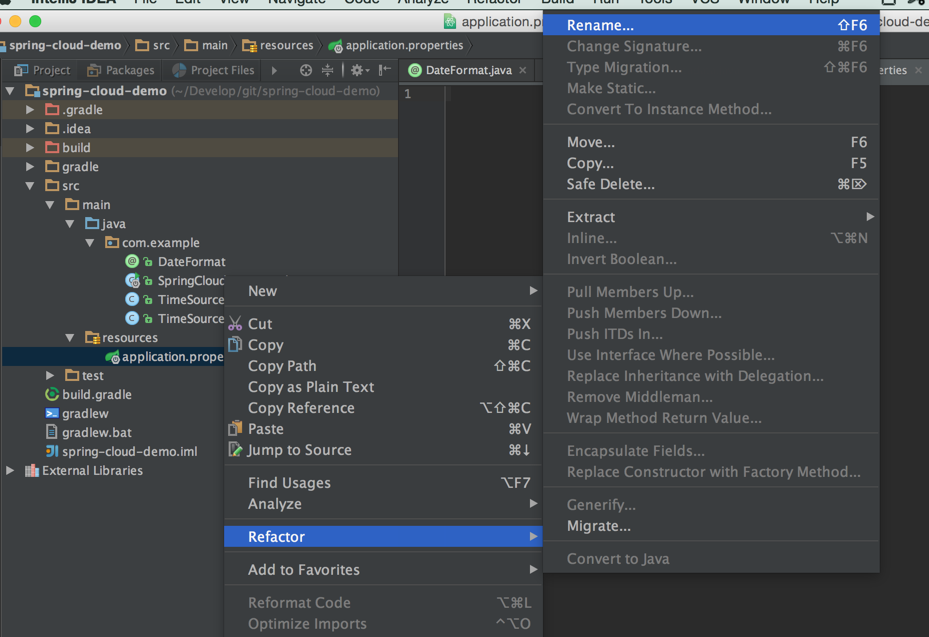
名前をapplication.ymlに変更して、「Refactor」ボタンをクリック
サンプルのapplication.ymlの内容をコピーして、renameした自分のプロジェクトのapplication.ymlに貼り付ける
server:
  port: 8080
fixedDelay: 5000
spring:
  cloud:
    stream:
      bindings:
        output:
          destination: testtock
          contentType: text/plain
        # uncomment below to use the last digit of the seconds as a partition key
        # hashcode(key) % N is then applied with N being the partitionCount value
        # thus, even seconds should go to the 0 queue, odd seconds to the 1 queue
        #producerProperties:
        #  partitionKeyExpression: payload.charAt(payload.length()-1)
        #  partitionCount: 2

---
spring:
  profiles: extended
  cloud:
    stream:
      bindings:
        output: xformed
コンパイルエラーを解消する
Sourceのサンプルを単純にコピーするだけだとConfigurationPropertiesが利用できない旨のエラーが発生する。Intelljのエディタの上部にSpring Boot Configuration Annotation Processor not in classpath...のようなエラーとともにOpen Documentationのリンクが表示されるのでそれをクリックする。
spring-boot-configuration-processorの指定
エラーの原因が独自のアノテーションを利用するのにconfiguration-processorが必要ということで、ページ内のpropdeps-pluginリンクの情報と共に以下のようにbuild.gradleファイルを変更した。
変更ポイント
- buildscript.repositoriesに
maven { url 'http://repo.spring.io/plugins-release' }を追加 - buildscript.dependenciesに
classpath("org.springframework.build.gradle:propdeps-plugin:0.0.7")を追加 -
configure(allprojects)を追加 -
compileJava.dependsOn(processResources)を追加 - dependenciesに
optional("org.springframework.boot:spring-boot-configuration-processor")を追加
buildscript {
    ext {
        springBootVersion = '1.3.0.RELEASE'
    }
    repositories {
        mavenCentral()
        maven { url 'http://repo.spring.io/plugins-release' }
    }
    dependencies {
        classpath("org.springframework.boot:spring-boot-gradle-plugin:${springBootVersion}")
        classpath("org.springframework.build.gradle:propdeps-plugin:0.0.7")
    }
}

apply plugin: 'java'
apply plugin: 'eclipse'
apply plugin: 'idea'
apply plugin: 'spring-boot'

jar {
    baseName = 'demo'
    version = '0.0.1-SNAPSHOT'
}
sourceCompatibility = 1.8
targetCompatibility = 1.8

configure(allprojects) {
    apply plugin: 'propdeps'
    apply plugin: 'propdeps-maven'
    apply plugin: 'propdeps-idea'
    apply plugin: 'propdeps-eclipse'
}

repositories {
    mavenCentral()
    maven { url "https://repo.spring.io/snapshot" }
    maven { url "https://repo.spring.io/milestone" }
}

compileJava.dependsOn(processResources)

dependencies {
    compile('org.springframework.cloud:spring-cloud-starter-stream-redis')
    optional("org.springframework.boot:spring-boot-configuration-processor")
    testCompile('org.springframework.boot:spring-boot-starter-test')
}


dependencyManagement {
	imports {
		mavenBom "org.springframework.cloud:spring-cloud-starter-parent:Brixton.M3"
	}
}


eclipse {
    classpath {
         containers.remove('org.eclipse.jdt.launching.JRE_CONTAINER')
         containers 'org.eclipse.jdt.launching.JRE_CONTAINER/org.eclipse.jdt.internal.debug.ui.launcher.StandardVMType/JavaSE-1.8'
    }
}

task wrapper(type: Wrapper) {
    gradleVersion = '2.7'
}
この状態で、gradleをbuildしなおせばエラーは解消されるはず。
IntelliJから「SpringCloudDemoApplication」を起動
起動してエラーがでなければ、fixedDelayに設定した5秒おきに時間の内容がredisに記録されている。ことになる。が、ログにでないのでわかりづらい。
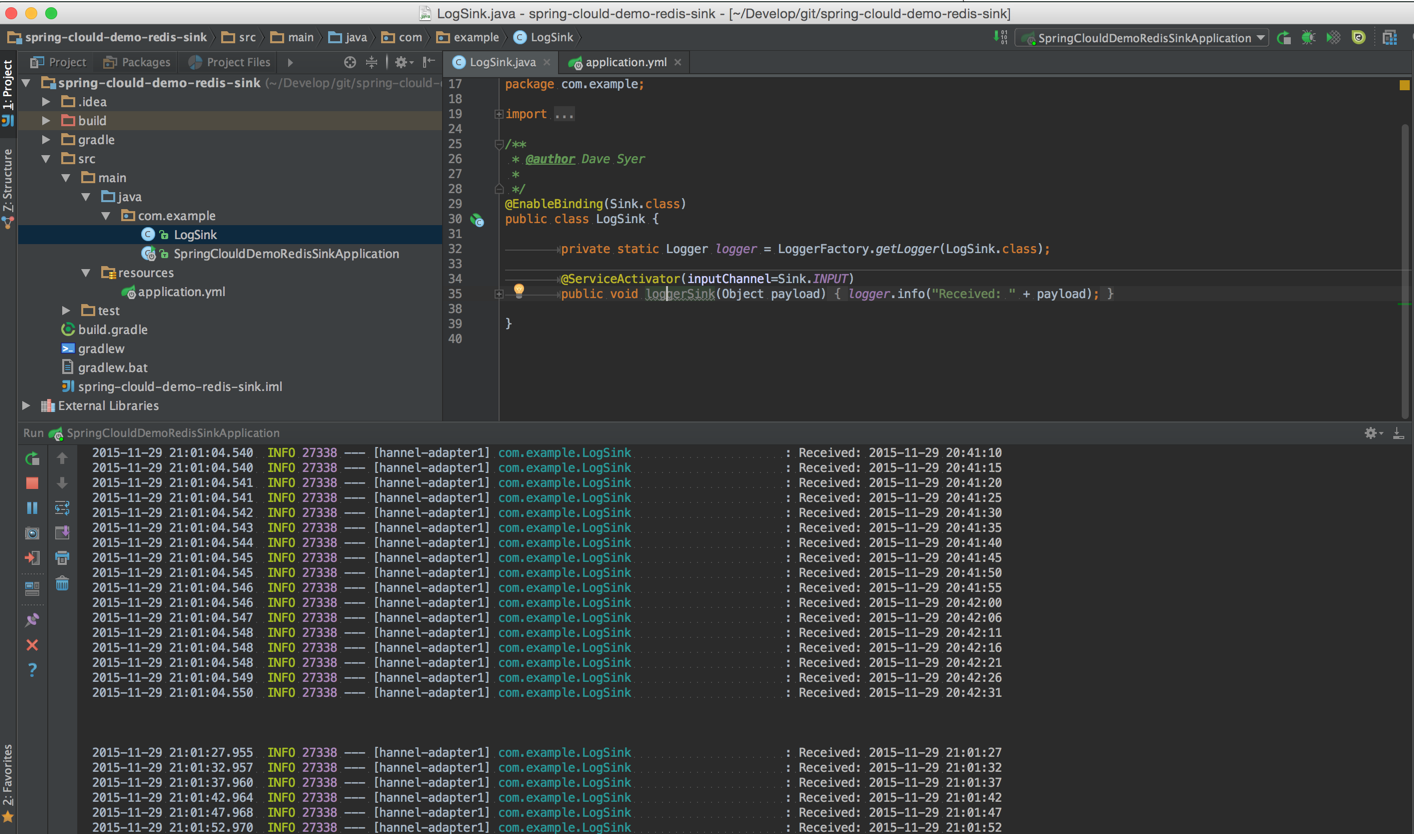
Sink側も作成する
Sourceでredisに書きだした時間の情報をSinkのサンプルも動かして受け取るようにする。
今までの手順を繰り返して、Sink用のプロジェクトを作成し、Sinkのサンプルをコピーして使えるようにする。
※同じ手順になるのであえて説明は繰り返さない。
こんな感じでReceived: 2015-11-29 21:01:27が5秒ごとに出力されればOK