最近、「Re:ゼロから始める異世界生活」を観たんですが、かなり良かったです。
夜観始めて、気づいたら朝になっていました。レムりんたまらん。
「鉄血のオルフェンズ」も二期が始まって個人的に注目しています。
...余談が過ぎました。本題に入りましょう。
アプリ内で使える独自のキーボードが欲しい...
iOS側でもともと用意されている Number Pad や Decimal Pad は決定キーが無かったり、余計なキーが付いていたりと何かと不便なケースがあります。
「CustomKeyboard で実装しよう」と考えると、いちいちユーザーに設定から許可をしてもらわないと使えなかったりでそれも不便。
で、見つけたのが以下。
Custom Views for Data Input - Apple Developers Guide -
なるほど、UITextField.inputView にUIView突っ込めばいいのか。
作っていきましょうか。一から... いいえ、ゼロから!
作ってみる
UIの作成
- Storyboardの準備
あらかじめMain StoryboardにUITextFieldを準備してViewController側へOutletしておいてください。

- カスタムビューの準備
以下の2つのファイルを作成します
CustomKeyboard.xibCustomKeyboard.swift
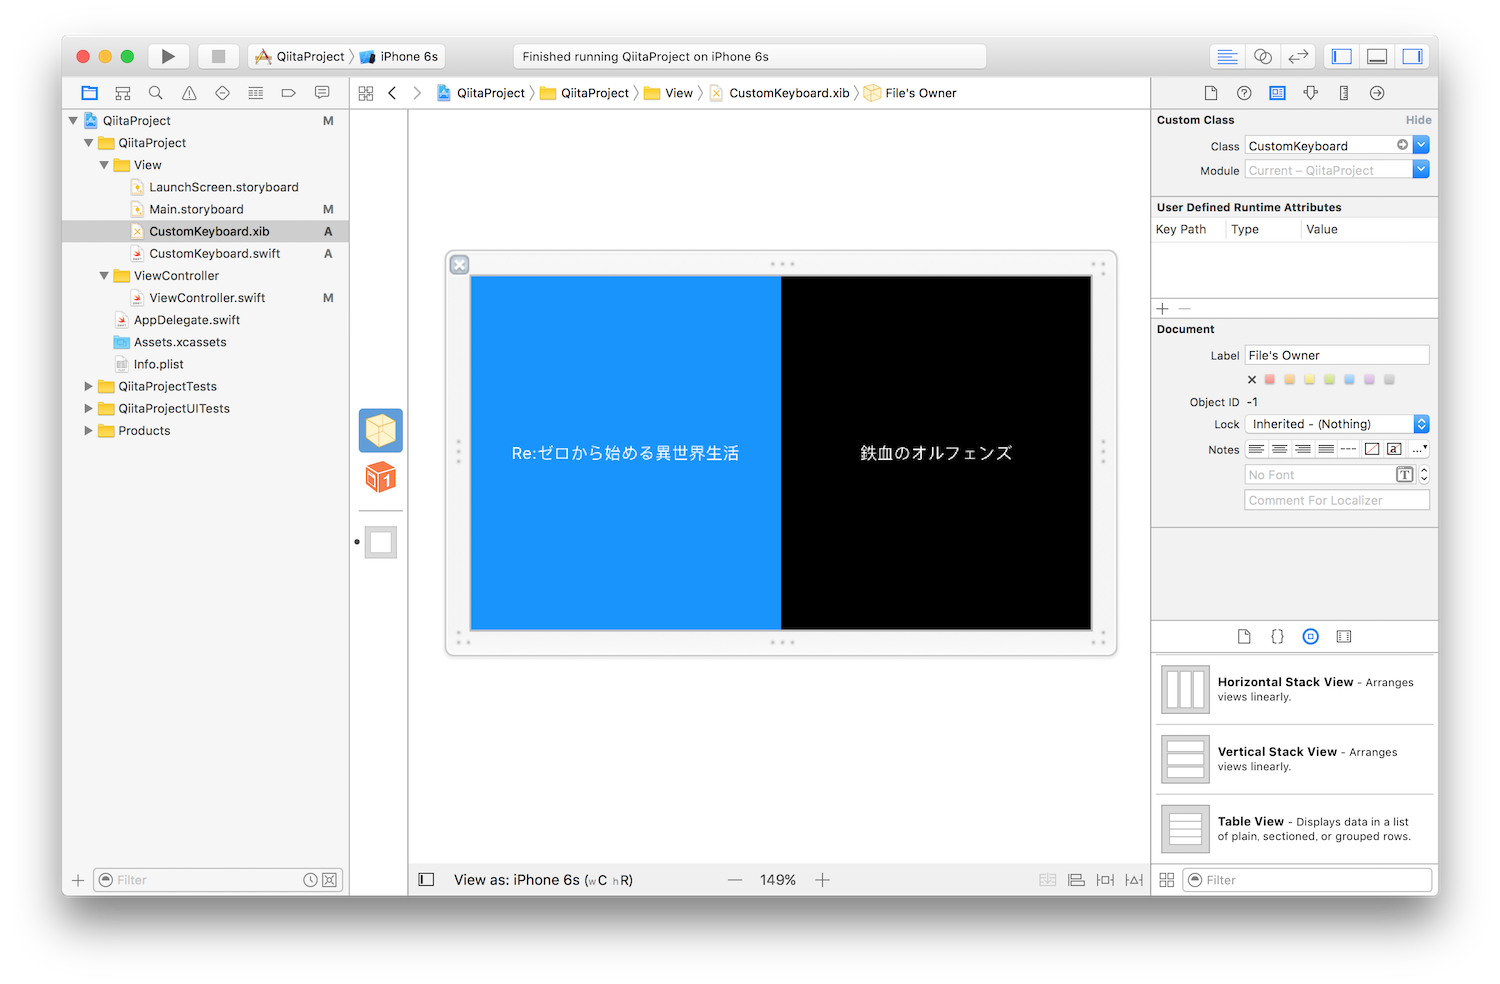
CustomKeyboard.xibへ適当にボタンを配置します。
(File's Owner にCustomKeyboardを設定してください)
CustomKeyboard.swiftの内容は以下で。
class CustomKeyboard: UIView {

    // コードから呼ばれるInitializer
    override init(frame: CGRect) {
        super.init(frame: frame)
        initView()
    }

    // xib/storyboardから呼ばれるInitializer
    required public init?(coder aDecoder: NSCoder) {
        super.init(coder: aDecoder)
        initView()
    }

    func initView() {
        // xibファイルからViewを読み込みます
        let view = Bundle.main.loadNibNamed("CustomKeyboard",
                                            owner: self,
                                            options: nil)?.first as! UIView
        addSubview(view)

        // AutoLayoutの制約関連を設定
        view.translatesAutoresizingMaskIntoConstraints = false
        let bindings = ["view": view]
        addConstraints(NSLayoutConstraint.constraints(
            withVisualFormat: "H:|[view]|",
            options: NSLayoutFormatOptions(rawValue: 0),
            metrics: nil,
            views: bindings))
        addConstraints(NSLayoutConstraint.constraints(
            withVisualFormat: "V:|[view]|",
            options: NSLayoutFormatOptions(rawValue: 0),
            metrics: nil,
            views: bindings))
    }
}
これでUIの準備は完了です。
ViewController側の設定
あとはViewControllerでUITextField.inputViewへ先ほど作成したCustomKeyboardを代入すれば完了です。
class ViewController: UIViewController {

    @IBOutlet weak var textField: UITextField!

    override func viewDidLoad() {
        super.viewDidLoad()
        setKeyboard()
    }

    func setKeyboard() {
        // viewを生成
        let keyboardView = CustomKeyboard()

        // サイズを決めます
        let frame = CGRect(x: 0, y: 0, width: UIScreen.main.bounds.width, height: UIScreen.main.bounds.height / 3)
        keyboardView.frame = frame

        // 代入
        textField.inputView = keyboardView
    }
...
あとは実行してみてください。
呼び出してみる
あとは、エミュレータで実行してTextFieldをタップしてみるだけです。
以下のように下からにゅっとViewが表示されます。
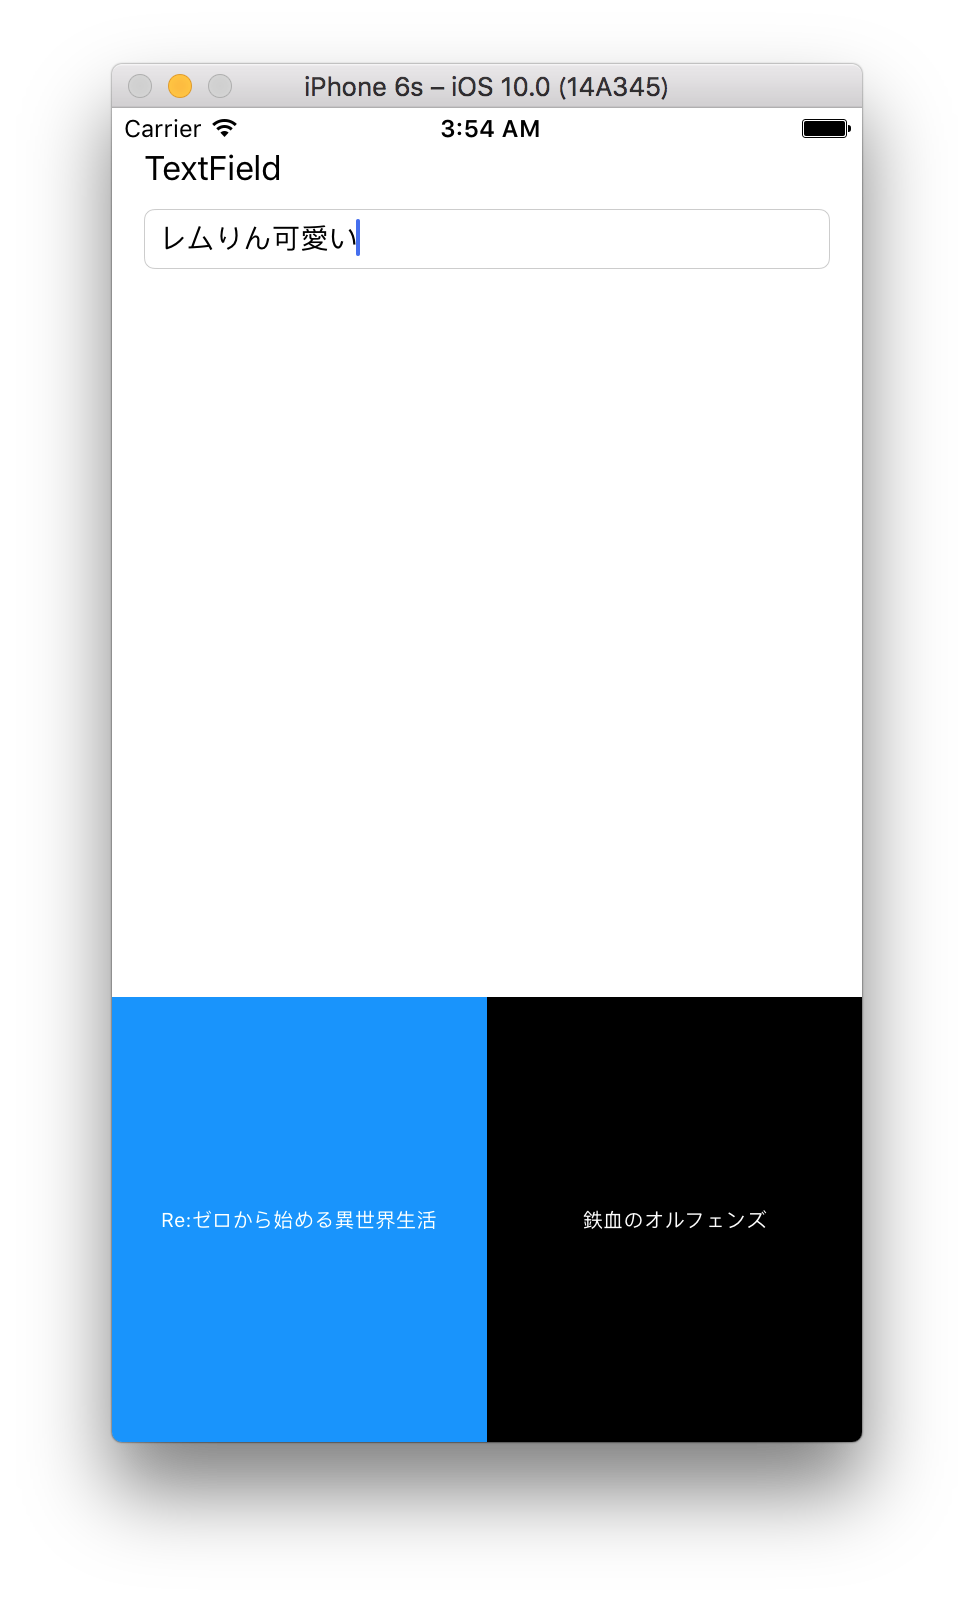
うん、ちょっと待てよ...
キーボードは表示できたんですが、このままじゃ入力できません。
押しても何も反応しないんじゃ。
そこも自前で実装しなきゃなりません。詳しくは次回やっていきましょう。
大雑把に説明すると...
-
CustomKeyboard.swiftにdelegateを定義 -
ViewController側で受け取ってUITextField.textの値を書き換える
てな感じです。