60
61

Delete article

Deleted articles cannot be recovered.

Draft of this article would be also deleted.

Are you sure you want to delete this article?

More than 5 years have passed since last update.

iOS8でカスタムキーボードを作ってみる

Last updated at Posted at 2014-09-30

背景

ここらへんで前振りしてみたので、いつでも回収出来るように試してみました。

概要

キーボード用のライブラリだけを作成・インストールすることは出来ないようなので、まずセットになるアプリのプロジェクトを作り、そのアプリに、キーボード用のターゲットを追加します。

アプリケーションのプロジェクトの作成

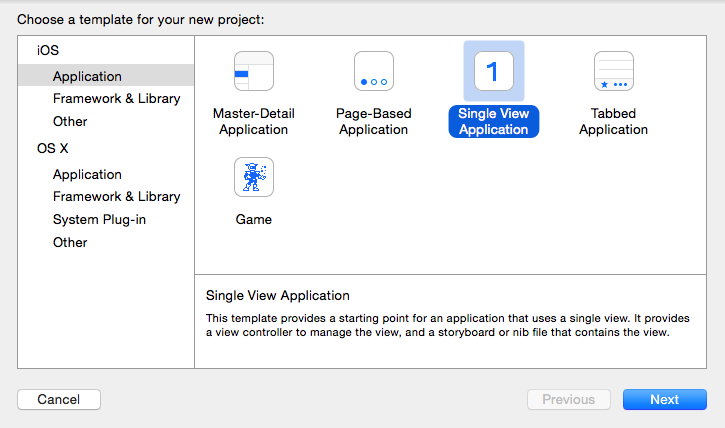
  1. File > New > Project から、iOS > Application > Single View Application を選択 kobito.1411556020.521124.png

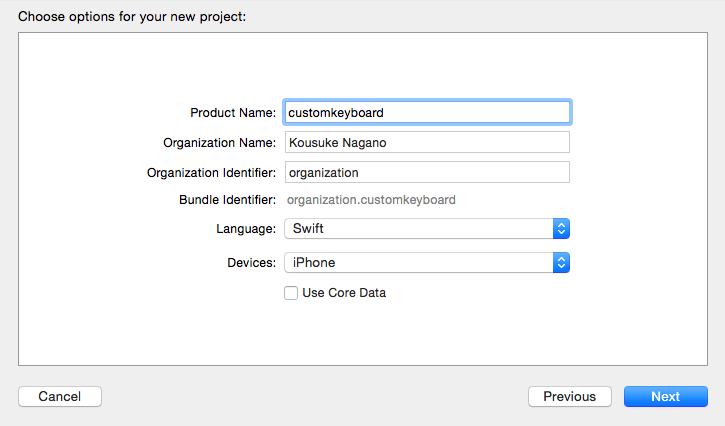
  2. プロジェクト名を適当に入力 kobito.1411556161.809168.png

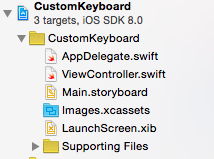
  3. アプリのプロジェクトが作成されます
    Screen Shot 2014-09-26 at 22.59.30.png

キーボード用のターゲットを追加

アプリケーションには一切触れずに、キーボード用のターゲットを追加します。

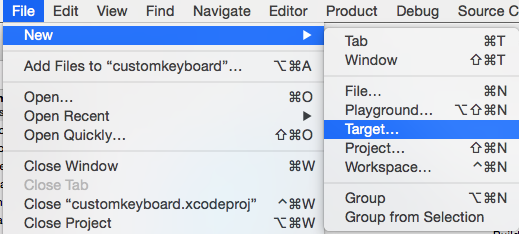
  1. File > New > Target を選び、 Screen Shot 2014-09-24 at 19.56.46.png

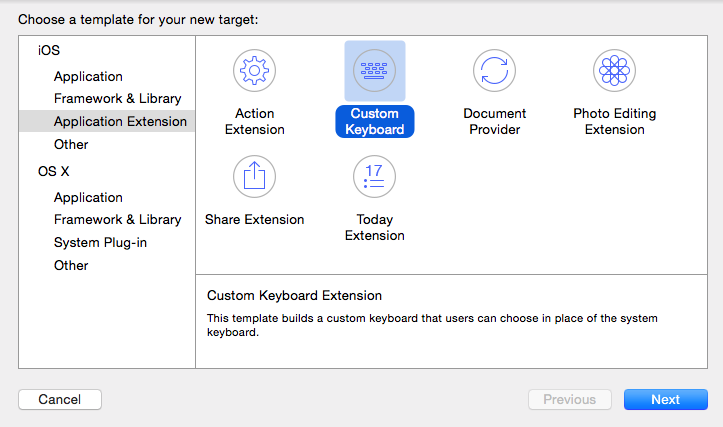
  2. iOS > Application Extention > CustomKeyboardを選ぶ Screen Shot 2014-09-24 at 19.57.20.png

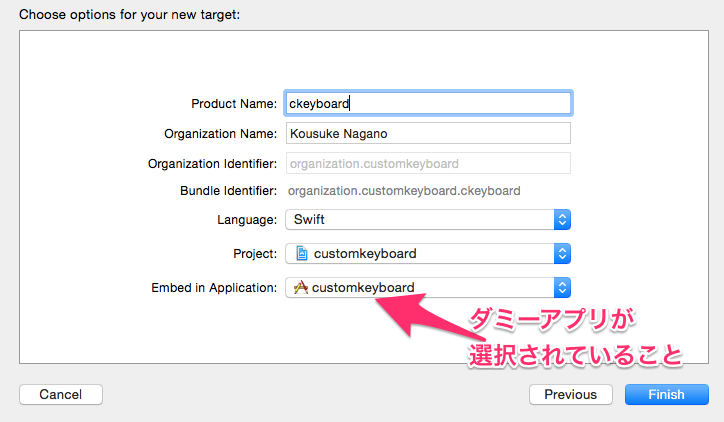
  3. こちらにも適当に名前をつけます
    このとき、Embed in Applicationのところに、先に作成したアプリケーション(ダミーアプリ)が選択されているのを確認する必要があります。
    Screen_Shot_2014-09-24_at_19_58_29.png

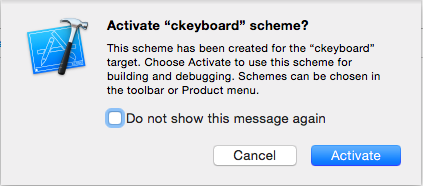
  4. ここでスキームを有効にするか確認されるのでActivateをクリック。Screen Shot 2014-09-24 at 20.02.03.png

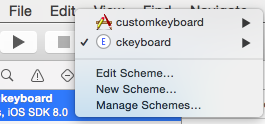
  5. キーボード用のターゲットとファイルが作成されます。
    Screen Shot 2014-09-24 at 20.03.26.png
    Screen Shot 2014-09-24 at 20.02.53.png

キーボードの作成

注意:サイズはiPhone5を想定して決め打ちです

  1. 作成したキーボード用ターゲットの下に.xibファイルを追加します。右クリック > New File...を選び、iOS > User Interface > Emptyを選択します。ファイル名を適切に設定してCreateでファイルが作成されます。
    Screen Shot 2014-09-26 at 23.22.32.png

  2. (暫定)Viewをxibに追加し、Simulated MetricsからSize > Freeformを選び、
    Screen Shot 2014-09-26 at 23.29.29.png

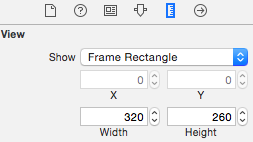
  3. (暫定)ViewWidth > 320, Height > 260を設定します。
    Screen Shot 2014-09-26 at 23.30.37.png

  4. 作成されたViewの上に適当にUIButtonを配置し、
    Screen Shot 2014-09-26 at 23.34.44.png

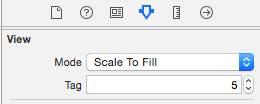
  5. インスペクタのtagのところにそれぞれに違う値を入れておきます。Screen Shot 2014-09-26 at 23.33.24.png

ソースコードの修正

Viewがロードされた時に所定のコードが呼び出されるようにして、

KeyboardViewController.swift
    override func viewDidLoad() {
        super.viewDidLoad()
        
        var xibView = NSBundle.mainBundle().loadNibNamed("CustomKeyboard", owner: self, options: nil)
        self.mainView = xibView[0] as UIView
        
        self.view.addSubview(mainView)
        
        for v in self.mainView.subviews as [UIButton]
        {
                v.addTarget(self, action: "btnPressed:", forControlEvents: .TouchUpInside)
        }
    }

呼び出される側のコードでself.textDocumentProxy.insertText(stringToInsert)を呼び出す。

KeyboardViewController.swift
    func btnPressed(sender: AnyObject) {
        var btn = sender as UIButton
        var stringToInsert = ""
        let proxy = self.textDocumentProxy as UIKeyInput
        switch (btn.tag)
        {
        case 5:
                stringToInsert = "?"
        case 10:
                stringToInsert = "?"
        case 15:
                stringToInsert = "Wani"
        case 20:
                stringToInsert = "(・(ェ)・)"
        default:
                stringToInsert = ""
        }
        proxy.insertText(stringToInsert)
    }

完成

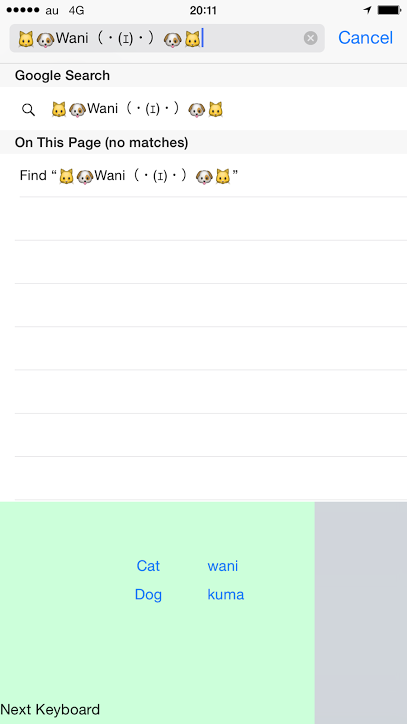
これだけで、次のような動物の絵文字をはりつけるキーボードが完成です。iPhone6+でのスクリーンショットなのでサイズがあってないのが分かりますね。
IMG_0098.png

まとめ

欲しいキーボードは自分で作ればいいと思います。

リポジトリ

以下にコミットしてあります。
参考資料

60
61
0

Register as a new user and use Qiita more conveniently

  1. You get articles that match your needs
  2. You can efficiently read back useful information
  3. You can use dark theme
What you can do with signing up
60
61

Delete article

Deleted articles cannot be recovered.

Draft of this article would be also deleted.

Are you sure you want to delete this article?