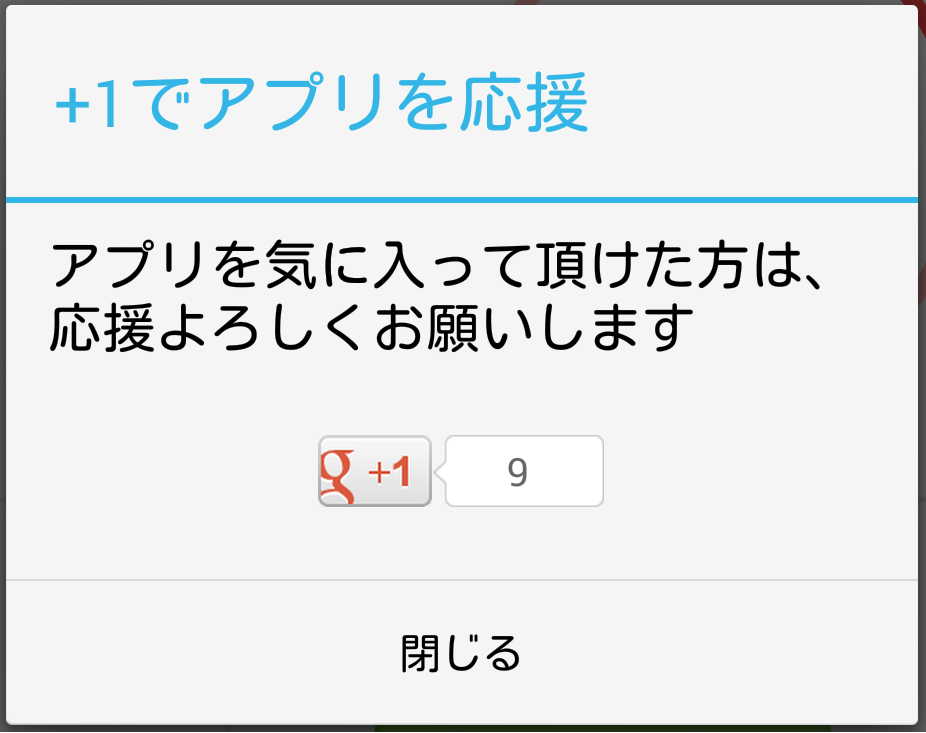
導入するべき理由
- +1の数が検索結果の順位やランキングに影響する
- Google+上の友達が+1してるとアプリ詳細ページで強調される
- 導入が比較的簡単
手順
Google+ APIを使えるようにする
1.Google APIs Consoleでアプリのプロジェクトを作成
Google APIs Consoleで「Create Project」ボタンを押してプロジェクトを作ります。
PROJECT NAME:アプリの名前
PROJECT ID:自動生成されるのでそのまま
2.Google+ APIを有効にする
サイドメニューから「APIs」を選択。
一覧の中から「Google+ API」を有効にします。
3.OAuth2.0のクライアントIDを作成する
サイドメニューから「Credentials」を選択
「Create New Client ID」でIDを作成
[Application Type]
Installed Application
[Installed Application Type]
Android
[Package Name]
アプリのパッケージ名
[SIGNING CERTIFICATE FINGERPRINT (SHA1)]
Kyetoolユーティリティを使って取得したアプリの証明書のSHA-1フィンガープリント
証明書のSHA-1フィンガープリント取得手順
ターミナルで以下のコマンドを使用する
keytool -exportcert -alias androiddebugkey -keystore <デバッグ証明書のパス> -list -v
※ デバッグ キーストアは通常 ~/.android/debug.keystore にある。
※ リリース時はリリース用のClient IDを作成する。
プロジェクトにGoogle Play Serviceのライブラリを入れる
プロジェクトのbuild.gradleに以下の記述を加えてビルド。
動かなかったらSet Up Google Play Services SDKを参照してください。
dependencies {
    /*
     * 他の記述
     */
    compile 'com.google.android.gms:play-services:4.4.52'
}
※上手くビルド出来ない人はSDK MANAGERでGoogle Play servicesとGoogle Repositoryが入っているか確認する
+1ボタンの設置
xml
+1ボタンを表示したいレイアウトのxmlに以下のように記述
<com.google.android.gms.plus.PlusOneButton
    android:id="@+id/plus_one_button"
    xmlns:plus="http://schemas.android.com/apk/lib.com.google.android.gms.plus"
    android:layout_width="wrap_content"
    android:layout_height="wrap_content"
    plus:annotation="inline"
    plus:size="standard" />
Java
onCreate()内で
mPlusOneButton = (PlusOneButton) findViewById(R.id.plus_one_button);
onResume()内で
String googlePlayUrl = "https://market.android.com/details?id=<PackageName>"
int requestCode = 1;

mPlusOneButton.initialize(googlePlayUrl, requestCode);
これで+1ボタンが表示できます。Googleアカウントの選択画面などはライブラリ側に用意されているので、仕込むのはここまでで大丈夫です。
※ GooglePlayのアプリURLのホストはplay.google.comでは正しくGoogle Playのアプリページの+値が増えないので、market.android.comの方を使わないとダメです。
