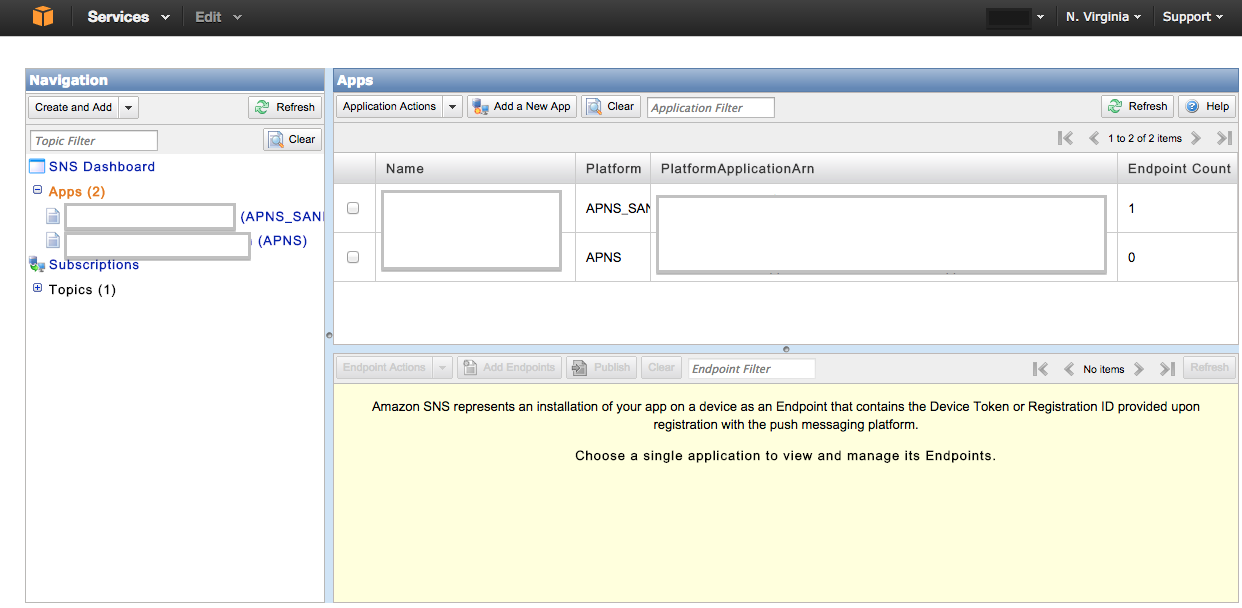
手順(ここでは下記5の「Xcode上で実装する」をメインに記載しています。)
- AppIDを作成する
- 通知用証明書を作成する
- プロビジョニングファイルを作成する
- Amazon SNSに証明書を登録する
- Xcode上で実装する
参考サイト(上から順に見て理解していくと手戻り少ない)
SwiftでAWSのSDKを導入する際に参考になるソース
導入方法
1・Podfileに以下の内容を追加
source 'https://github.com/CocoaPods/Specs.git'

   pod 'AWSiOSSDKv2'
2・podコマンドを実行
pod update
pod install
3・ブリッジファイルに以下を追記
Bridging-Header.h
# import "AWSCore.h"
# import "SNS.h"
AWSのSNSで肝になる設定
AppDelegate.swift
let cognitoAccountId = "Your-AccountID"
let cognitoIdentityPoolId = "Your-PoolID"
let cognitoUnauthRoleArn = "Your-RoleUnauth"
let snsPlatformApplicationArn = "Your-Platform-Applicatoin-ARN"
let mobileAnalyticsAppId = "Your-MobileAnalytics-AppId"
osのバージョン毎の分岐(iOS7とiOS8対応で設定方法が異なるため)
AppDelegate.swift
        let osVersion = UIDevice.currentDevice().systemVersion
        if osVersion < "8.0" {
            application.registerForRemoteNotificationTypes(
                UIRemoteNotificationType.Badge |
                    UIRemoteNotificationType.Sound |
                    UIRemoteNotificationType.Alert )


        }else{

            var types: UIUserNotificationType = UIUserNotificationType.Badge |
                UIUserNotificationType.Alert |
                UIUserNotificationType.Sound

            var settings: UIUserNotificationSettings = UIUserNotificationSettings( forTypes: types, categories: nil )

            application.registerUserNotificationSettings( settings )
            application.registerForRemoteNotifications()
        }
deviceトークンのアラート部分
AppDelegate.swift
    func application(application: UIApplication, didRegisterForRemoteNotificationsWithDeviceToken deviceToken: NSData) {
        let deviceTokenString = "\(deviceToken)"
            .stringByTrimmingCharactersInSet(NSCharacterSet(charactersInString:"<>"))
            .stringByReplacingOccurrencesOfString(" ", withString: "")
        NSUserDefaults.standardUserDefaults().setObject(deviceTokenString, forKey: "deviceToken")


        let alert = UIAlertView()
        alert.title = "deviceTokenString"
        alert.message = "\(deviceTokenString)"
        alert.addButtonWithTitle("OK")
        alert.show()


        let sns = AWSSNS.defaultSNS()
        let request = AWSSNSCreatePlatformEndpointInput()
        request.token = deviceTokenString
        sns.createPlatformEndpoint(request).continueWithExecutor(BFExecutor.mainThreadExecutor(), withBlock: { (task: BFTask!) -> AnyObject! in
            if task.error != nil {
                println("Error: \(task.error)")
            } else {
                let createEndpointResponse = task.result as AWSSNSCreateEndpointResponse
                println("endpointArn: \(createEndpointResponse.endpointArn)")
                NSUserDefaults.standardUserDefaults().setObject(createEndpointResponse.endpointArn, forKey: "endpointArn")
            }

            return nil
        })
    }
deviceトーキングのエビデンス
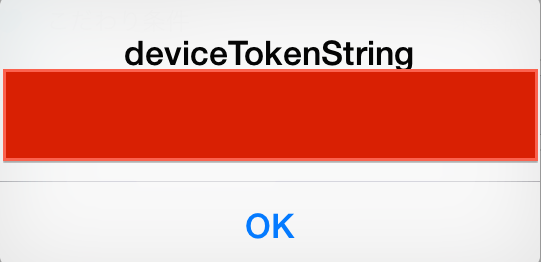
実行結果が正常ですと起動時に以下のようなアラートが飛びます。
まだdeviceトーキングのエビデンスが取得のみとなっており、
このままではまだ、push通知は行えません。
また、このままだと手動でdeviceトーキングの登録を
行うことになります。
Congntoを使って自動で登録出来るように設定していきます。
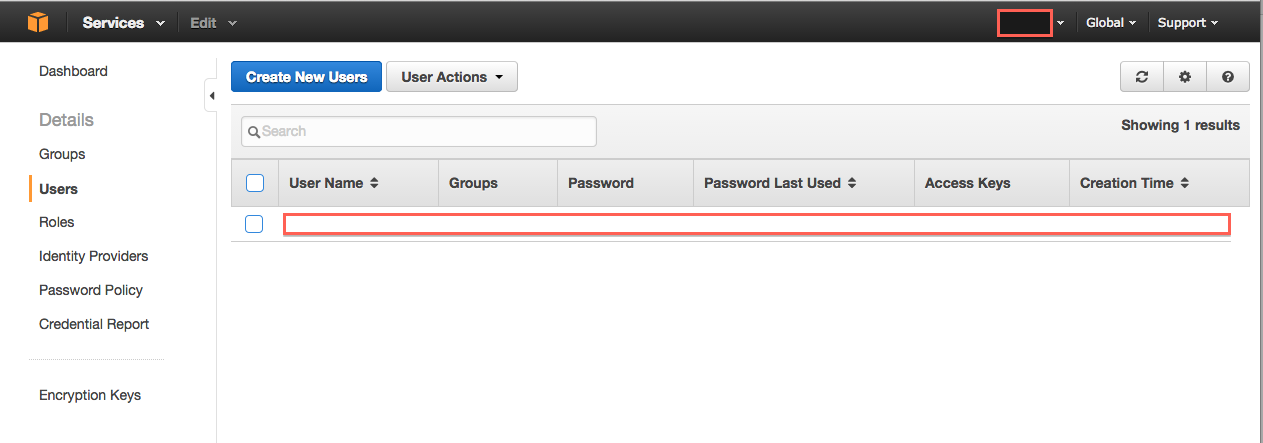
Cognto登録のためにAWSにユーザーを作成
AWSはユーザー作成必須でないので注意が必要です。
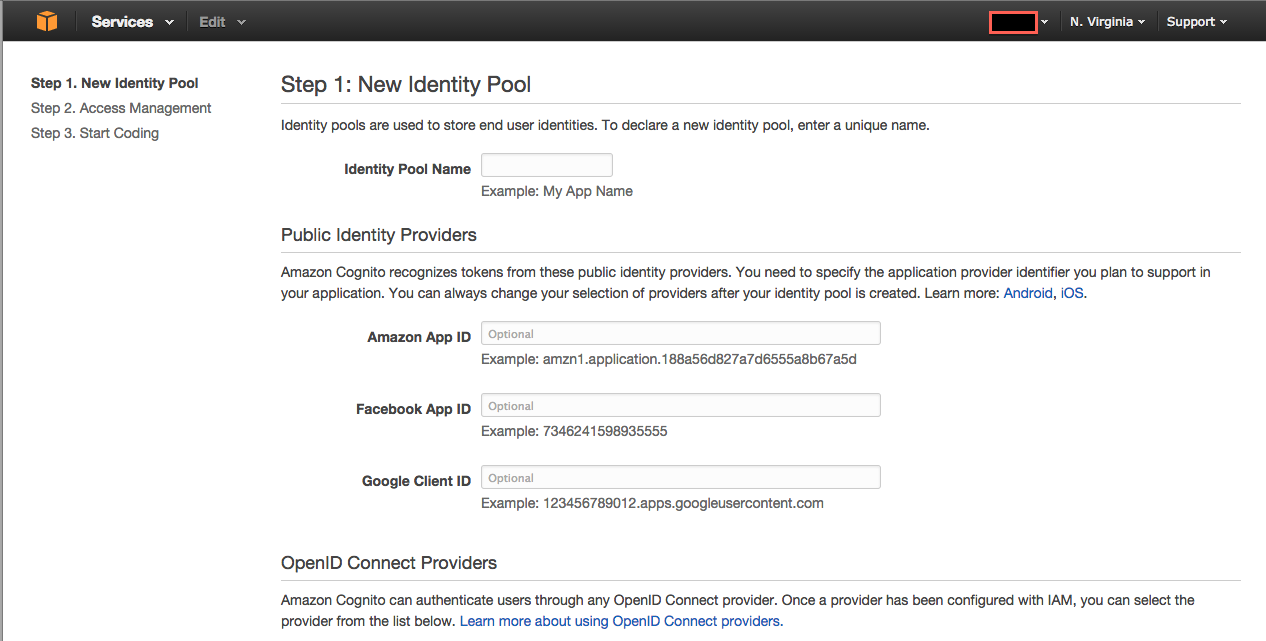
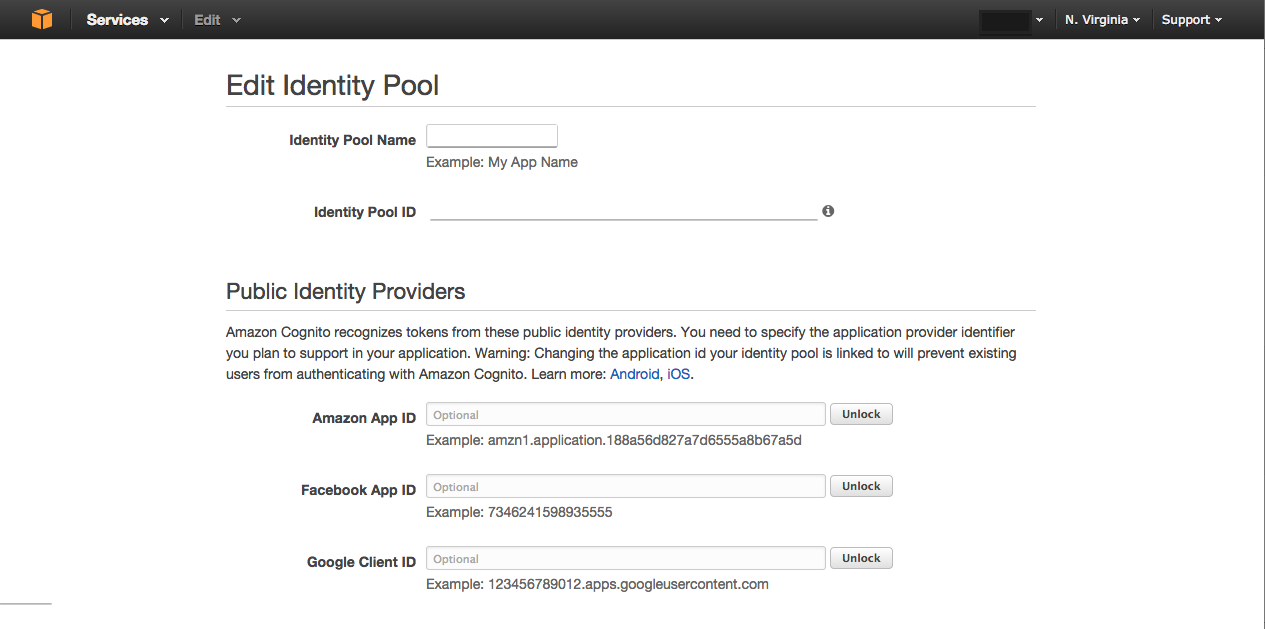
Cogntoを作成
AWS SNSを設定しCogntoとの接続を行う
メッセージのサンプルコード(JSON形式)
{
 "APNS_SANDBOX":"{\"aps\":{\"alert\":\"Pushサンプルメッセージ\",\"sound\":\"default\",\"badge\":0}}"
}
注意
- CognitoとSNSは同一のregionを指定。異なるregion(例:CognitoはUS、SNSはTokyo)だとエラーになり、エンドポイントは登録されない
エラー
内容:エンドポイントが取得出来ずにエラーになる
ログ
エラー「Domain=NSCocoaErrorDomain Code=3000 "Appの有効な“aps-environment”エンタイトルメント文字列が見つかりません" ........」
解決方法
Push Notification用の設定をしたプロビジョニングファイルを作成し、Xcodeに適用させる
