目的
IDEを使いながらGitとかSVNでソースファイルを管理しながら、ローカルサーバーにて動作確認するときに、いちいちファイルをコミットしたりプッシュ・プルったりするのがめんどいぞと。
なので、ローカルファイルのような感覚で微修正とか細かい動作チェックしながら、キリの良いところでコミットしていきたいわけだが、Vagrantの共有フォルダを使ってやってるとパーミッション云々で何かとめんどいから、FinderにVagrantの/var/www/htmlをマウントしてIDEでソースいじろうぜ、っていう記事。
共有フォルダじゃないから普通にchmodもchownも使えるよ。
Vagrantの共有フォルダ
Vagrantfile
ローカル環境はCentOSでVagrantfileは下記にしてる。
メモリは2048MBになってるので適宜変更してください。
共有ディレクトリのデフォルトパーミッションはフォルダが755でファイルが644。
ファイルのオーナーはvagrantで、グループはapacheにしておく。
そもそものVagrantのインストール方法とか使い方は他の人がいっぱい記事書いてるので割愛。
# -*- mode: ruby -*-
# vi: set ft=ruby :

# Vagrantfile API/syntax version. Don't touch unless you know what you're doing!
VAGRANTFILE_API_VERSION = "2"

Vagrant.configure(VAGRANTFILE_API_VERSION) do |config|
  # All Vagrant configuration is done here. The most common configuration
  # options are documented and commented below. For a complete reference,
  # please see the online documentation at vagrantup.com.

  # Every Vagrant virtual environment requires a box to build off of.
  config.vm.box = "vagrant"

  # Disable automatic box update checking. If you disable this, then
  # boxes will only be checked for updates when the user runs
  # `vagrant box outdated`. This is not recommended.
  # config.vm.box_check_update = false

  # Create a forwarded port mapping which allows access to a specific port
  # within the machine from a port on the host machine. In the example below,
  # accessing "localhost:8080" will access port 80 on the guest machine.
  # config.vm.network "forwarded_port", guest: 80, host: 8080

  # Create a private network, which allows host-only access to the machine
  # using a specific IP.
  config.vm.network "private_network", ip: "192.168.33.10"

  # Create a public network, which generally matched to bridged network.
  # Bridged networks make the machine appear as another physical device on
  # your network.
  # config.vm.network "public_network"

  # If true, then any SSH connections made will enable agent forwarding.
  # Default value: false
  # config.ssh.forward_agent = true

  # Share an additional folder to the guest VM. The first argument is
  # the path on the host to the actual folder. The second argument is
  # the path on the guest to mount the folder. And the optional third
  # argument is a set of non-required options.
  # config.vm.synced_folder "/Users/nobu/Documents/vagrant", "/var/www/vagrant"
  #config.vm.synced_folder "/Users/nobu/Documents/vagrant", "/var/www/vagrant", owner: 'vagrant', group: 'apache', mount_options: ['dmode=777', 'fmode=777']
  config.vm.synced_folder "/Users/nobu/Documents/vagrant", "/var/www/vagrant", owner: 'vagrant', group: 'apache', mount_options: ['dmode=755', 'fmode=644']

  # Provider-specific configuration so you can fine-tune various
  # backing providers for Vagrant. These expose provider-specific options.
  # Example for VirtualBox:
  #
   config.vm.provider "virtualbox" do |vb|
  #   # Don't boot with headless mode
  #   vb.gui = true
  #
  #   # Use VBoxManage to customize the VM. For example to change memory:
     vb.customize ["modifyvm", :id, "--memory", "2048"]
   end
  #
  # View the documentation for the provider you're using for more
  # information on available options.

  # Enable provisioning with CFEngine. CFEngine Community packages are
  # automatically installed. For example, configure the host as a
  # policy server and optionally a policy file to run:
  #
  # config.vm.provision "cfengine" do |cf|
  #   cf.am_policy_hub = true
  #   # cf.run_file = "motd.cf"
  # end
  #
  # You can also configure and bootstrap a client to an existing
  # policy server:
  #
  # config.vm.provision "cfengine" do |cf|
  #   cf.policy_server_address = "10.0.2.15"
  # end

  # Enable provisioning with Puppet stand alone.  Puppet manifests
  # are contained in a directory path relative to this Vagrantfile.
  # You will need to create the manifests directory and a manifest in
  # the file default.pp in the manifests_path directory.
  #
  # config.vm.provision "puppet" do |puppet|
  #   puppet.manifests_path = "manifests"
  #   puppet.manifest_file  = "default.pp"
  # end

  # Enable provisioning with chef solo, specifying a cookbooks path, roles
  # path, and data_bags path (all relative to this Vagrantfile), and adding
  # some recipes and/or roles.
  #
  # config.vm.provision "chef_solo" do |chef|
  #   chef.cookbooks_path = "../my-recipes/cookbooks"
  #   chef.roles_path = "../my-recipes/roles"
  #   chef.data_bags_path = "../my-recipes/data_bags"
  #   chef.add_recipe "mysql"
  #   chef.add_role "web"
  #
  #   # You may also specify custom JSON attributes:
  #   chef.json = { mysql_password: "foo" }
  # end

  # Enable provisioning with chef server, specifying the chef server URL,
  # and the path to the validation key (relative to this Vagrantfile).
  #
  # The Opscode Platform uses HTTPS. Substitute your organization for
  # ORGNAME in the URL and validation key.
  #
  # If you have your own Chef Server, use the appropriate URL, which may be
  # HTTP instead of HTTPS depending on your configuration. Also change the
  # validation key to validation.pem.
  #
  # config.vm.provision "chef_client" do |chef|
  #   chef.chef_server_url = "https://api.opscode.com/organizations/ORGNAME"
  #   chef.validation_key_path = "ORGNAME-validator.pem"
  # end
  #
  # If you're using the Opscode platform, your validator client is
  # ORGNAME-validator, replacing ORGNAME with your organization name.
  #
  # If you have your own Chef Server, the default validation client name is
  # chef-validator, unless you changed the configuration.
  #
  #   chef.validation_client_name = "ORGNAME-validator"
end
共有フォルダのデフォルトパーミッション
config.vm.synced_folder "/Users/nobu/Documents/vagrant", "/var/www/vagrant", owner: 'vagrant', group: 'apache', mount_options: ['dmode=755', 'fmode=644']
共有フォルダはホスト-ゲスト間で何かと便利だが、Webシステム開発屋としては非常に困るのが**「パーミッション・オーナーを変更できない」**ということ。
ゲスト側からホスト側のファイルのアクセス権限を変更できてしまってはまずいということから、共有フォルダのパーミッションとオーナー権限は変更できないらしい。
一応、dmode=777,fmode=777みたいなことをやればバッチを起動したり、tmpフォルダにファイルを書き出したり、云々ができるわけだが、全ファイルが777権限のアプリなんて使い物にならんわけで全くもって実用性が無い。
下記は過去の遺物【追記】
結局、下記のやり方はMacをスリープ等、離席している時とかにSSH接続が切れてしまい、アンマウントできなくなって変な状態になってしまう、という問題があるため、Sambaを構築して「Mac起動→vagrant up→Finderからサーバー接続→IDEでSambaで指定した/var/wwwディレクトリを開く」みたいな感じで使うようにした。この方法なら問題無くパーミッション設定出来る。
#FinderからVagrantの共有フォルダ以外にアクセスできればよくね?
ということで、調べてみたらSSH接続でFinderにVagrantの任意のディレクトリを表示できるようだ。
sshfsコマンドを使うので、予めいれておく。
##FUSE for OSXのインストール
http://sourceforge.net/projects/osxfuse/
ここからインストールしとく。
##sshfsコマンドのインストール
https://github.com/osxfuse/sshfs/downloads
ここからインストールしとく。
~~##ターミナルからssfhsコマンドを試してみる
[Macのターミナル]
$ mkdir vagrant-html
$ sshfs vagrant@[vagrantのドメインorIP]:/var/www/html /Users/[ユーザー名]/Documents/vagrant-html
※[]←カッコは消して適宜自分の環境を入力
そうすると/Users/[ユーザー名]/Documents/になんか沸いてるはず。~~
##いちいちコマンドを入力するのがめんどい
ダブルクリックがし易いところにテキストファイル「VagrantSSHmount.command」を作成。
[適当なテキストエディタで作成]
#!/bin/bash
sshfs vagrant@[vagrantのドメインorIP]:/var/www/html /Users/[ユーザー名]/Documents/vagrant-html
んで、Macのターミナルから実行権限付与しとく。
[Macのターミナル]
$ chmod 744 VagrantSSHmount.command
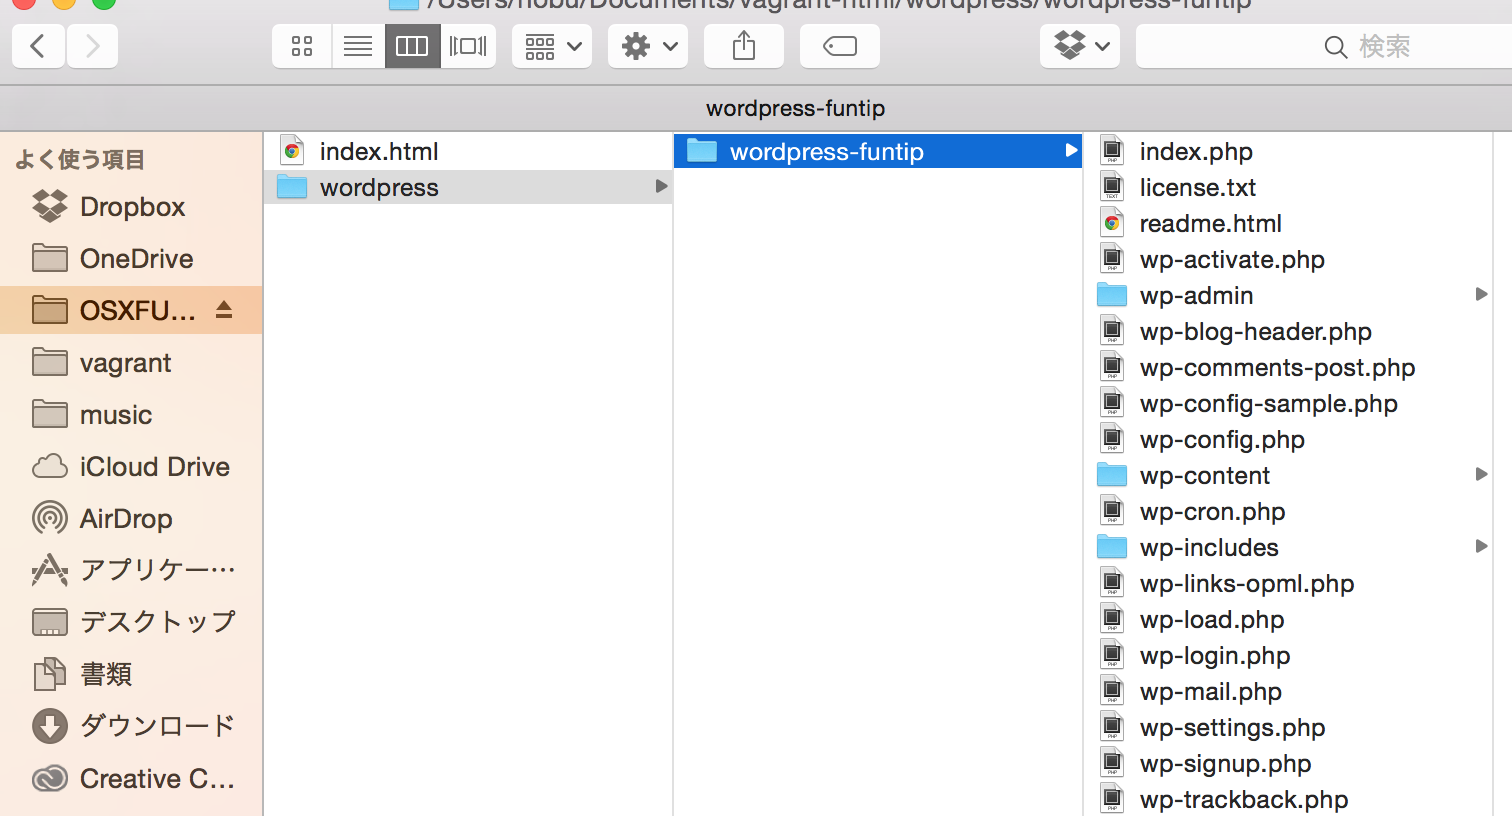
次からは「VagrantSSHmount.command」をダブルクリックしてvagrantのパスワードを入力すればFinderにマウントされたディレクトリが表示されるはず。
ついでに表示されたディレクトリをよく使う項目にドラッグ&ドロップしとくと良い。
あとはIDEで開いていじるだけ。
いじるファイルはオーナー・グループ・アクセス権限がちゃんとしてないとRead Onlyだったりするので注意。