概要
Microsoft Bot Frameworkを使って作成したボットをMicrosoft Azureで公開する方法については以下の記事が参考になります。
「Build2016 : Microsoft Bot Framework を使った Bot アプリ作成」
https://blogs.msdn.microsoft.com/bluesky/2016/04/01/build2016-microsoft-bot-framework/
しかし、この記事ではVisual Studio2015を利用しているため、Macで開発したボットをAzureに上げるためにはいくつか気にすべき点と手順があります。
この記事ではそれを紹介します。
ボットを作る
Microsoft Bot Frameworkを使ってボットを作る手順については以下の記事が参考になります。
「MS謹製のbot作成フレームワーク「botbuilder」で遊んでみた!」
http://qiita.com/o0h/items/1a51cd0bbd9c38027388
上記記事中ではファイル名を"slack.js"としていますが、Azure(App Service)にNode.jsプログラムだと認識させるためにはこれを"server.js"とする必要があります。
また、セットアップ時に以下のパッケージも追加でインストールする必要があるようです。(これはAzureだから、ではなく)
npm install --save botkit
Azureにアップする前に一度ローカルで動作を確認しておきましょう。
112-233:botexample y.furukawa$ token=$SLACK_BOT_TOKEN node server.js
info: ** No persistent storage method specified! Data may be lost when process shuts down.
info: ** Setting up custom handlers for processing Slack messages
info: ** API CALL: https://slack.com/api/rtm.start
notice: ** BOT ID: botexample ...attempting to connect to RTM!

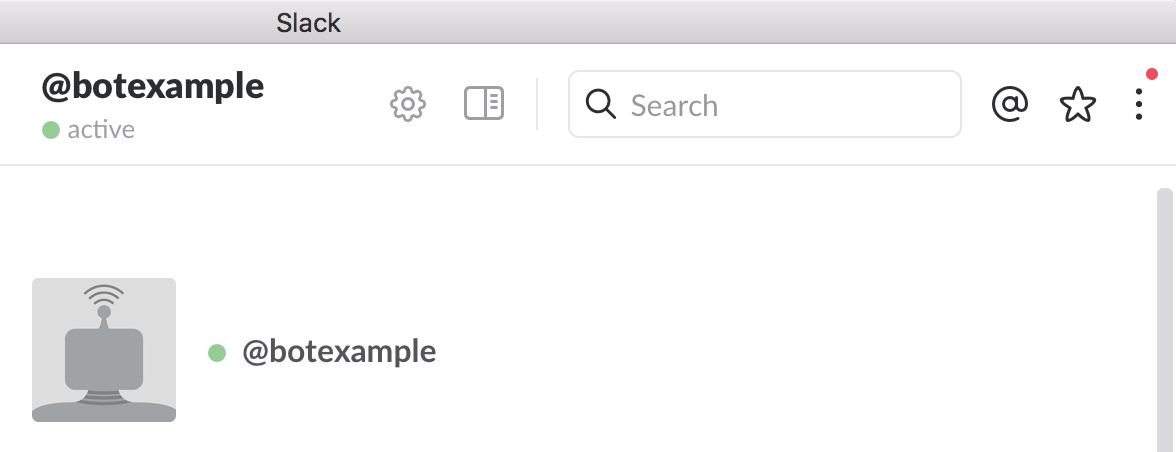
OKですね!
Azureにボットを上げる
まず、App Serviceに新しい環境を作成します。
手順は下記ページを一部参考にしました。
「Azure App Service での Node.js Web アプリの使用」
https://azure.microsoft.com/ja-jp/documentation/articles/app-service-web-nodejs-get-started/
Azure CLIにてログインします。
Azure CLIを入れてなければインストールしてください。インストール方法は上記記事参照のこと。
112-233:botexample y.furukawa$ azure login
Microsoft Azure CLI would like to collect data about how users use CLI
(中略)
info:    login command OK
112-233:botexample y.furukawa$ azure site create --git botexample1
info:    Executing command site create
+ Getting sites
+ Getting locations
help:    Choose a location
  1) South Central US
  2) North Europe
  3) West Europe
  4) Southeast Asia
  5) East Asia
  6) West US
  7) East US
  8) Japan West
  9) Japan East
  10) East US 2
  11) North Central US
  12) Central US
  13) Brazil South
  14) Canada Central
  15) Canada East
  : 8
適当に近場(8:Japan West)を選択しました。
info:    Creating a new web site at botexample1.azurewebsites.net
-info:    Created website at botexample1.azurewebsites.net
+
info:    Executing `git init`
(中略)
info:    Creating default iisnode.yml file
info:    Initializing remote Azure repository
+ Updating site information
info:    Remote azure repository initialized
+ Getting site information
+ Getting user information
info:    Executing `git remote add azure https://deploy_user1@botexample1.scm.azurewebsites.net/botexample1.git`
info:    A new remote, 'azure', has been added to your local git repository
info:    Use git locally to make changes to your site, commit, and then use 'git push azure master' to deploy to Azure
info:    site create command OK
112-233:botexample y.furukawa$
Gitリポジトリが作成されています。
コードをコミットして、プッシュすればデプロイできるわけですね。簡単!
ちなみに、初回実行時はこのようなエラーが発生しました。
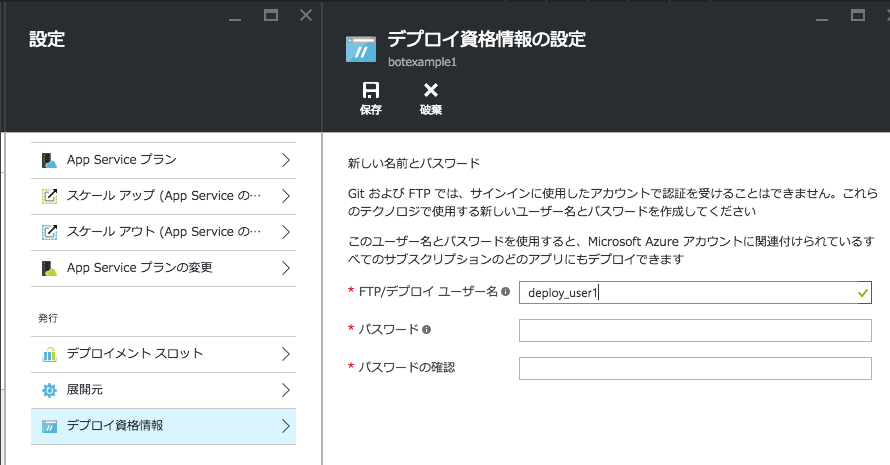
help: You must create your git publishing credentials using the Microsoft Azure portal
Web UIから 設定 > デプロイ資格情報 にてデプロイユーザ名およびパスワードの設定を行い、再度 azure site create --git botexample1 を実行することで環境作成が完了しました。
では、実際にデプロイします。
112-233:botexample y.furukawa$ git add .
112-233:botexample y.furukawa$ git commit -m "create server.js"
(中略)
112-233:botexample y.furukawa$ git push azure master
(中略)
remote: Deployment successful.
To https://deploy_user1@botexample1.scm.azurewebsites.net/botexample1.git
 * [new branch]      master -> master
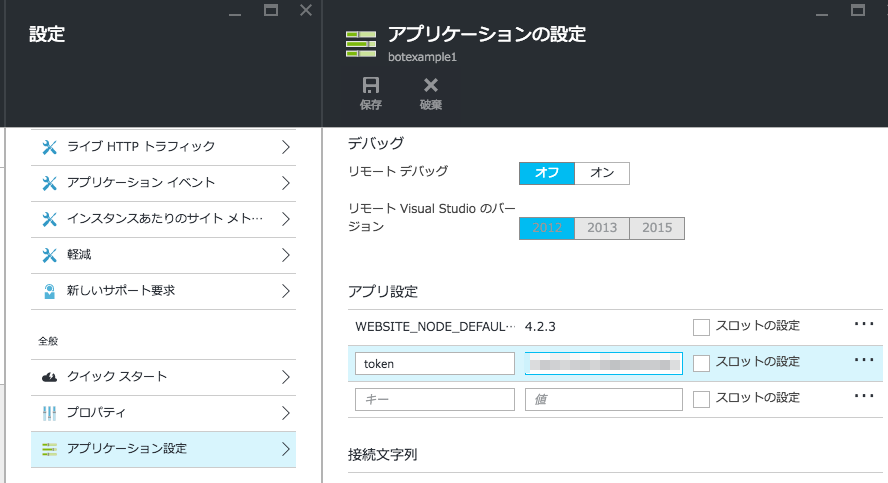
Web UIに戻り、設定 > アプリケーション設定 > アプリ設定 にて環境変数tokenを設定します。
何らかのフレームワークでNode.jsプロジェクトを作成していれば package.json が作成され、それによって自動的にモジュールがインストールされると思われます。しかし、サンプルコードのファイルだけだと Error: Cannot find module 'botkit' といったエラーになってしまいます。
よって、あまり望ましい形ではありませんが、node_modules 下のファイル一式もコミット&プッシュします。
112-233:botexample y.furukawa$ vi .gitignore
node_modules の行を削除します。
112-233:botexample y.furukawa$ git add .
112-233:botexample y.furukawa$ git commit -m "add node_modules"
(中略)
112-233:botexample y.furukawa$ git push azure master
そのままだとserver.jsが実行されないため、一発たたいて起こします。
GET http://botexample1.azurewebsites.net/
レスポンスは返ってきませんが、これでボットが起き、メッセージを返すようになります。やったね!


