はじめに
Railsに触れたいなとかRailsでWebサービスを作りたいなーとか思ってたので
構築しようと思います。
今日のゴールは ローカル環境で Webサービスが表示されるところまでですが、
dcalen.com というサイトを作ろうと思うので、そこまでやりたいっす。
よろしくお願いします。
仮想環境の構築
VirtualBoxのインストール
OSに合ったVirtualBoxをダウンロードしてインストール。
https://www.virtualbox.org/wiki/Downloads
Vagrantのインストール
OSに合ったVagrantをダウンロードしてインストール
https://www.vagrantup.com/downloads.html
VirtualBoxとVagrantをインストールしたらいよいよ仮想環境を構築していきます。
仮想マシンの作成
http://www.vagrantbox.es/ から好みにイメージリンクをコピーして作成。
今回私は「Official Ubuntu 16.04 daily Cloud Image amd64」を選択。
# vagrant box add 'ボックス名' 'URL'
$ vagrant box add ubuntu1604a64 https://cloud-images.ubuntu.com/xenial/current/xenial-server-cloudimg-amd64-vagrant.box
$ mkdir ~/vagrant
$ mkdir ~/vagrant/dcalen
$ cd ~/vagrant/dcalen
$ vagrant init ubuntu1604a64
2G割当(4Gくらいのほうがいいかなぁと思いつつ。)
$ vi Vagrantfile
 config.vm.provider "virtualbox" do |vb|
   # Display the VirtualBox GUI when booting the machine
   # vb.gui = true

   # Customize the amount of memory on the VM:
   vb.memory = "2048"
 end
Ruby on Rails で3000番ポートを使用するのでポートフォワーディング設定。
config.vm.network "forwarded_port", guest: 3000, host: 3000`
外からvagrantの仮想環境内にアクセスできるように設定。
config.vm.network "private_network", ip: "192.168.33.10"
あとは、仮想環境を立ち上げてsshしてみる。
$ vagrant up
$ vagrant ssh
_____________________________________________________________________
WARNING! Your environment specifies an invalid locale.
The unknown environment variables are:
  LC_CTYPE=UTF-8 LC_ALL=
This can affect your user experience significantly, including the
ability to manage packages. You may install the locales by running:

  sudo apt-get install language-pack-UTF-8
    or
  sudo locale-gen UTF-8

To see all available language packs, run:
  apt-cache search "^language-pack-[a-z][a-z]$"
To disable this message for all users, run:
  sudo touch /var/lib/cloud/instance/locale-check.skip
_____________________________________________________________________
初回は上のようなwarningがでるが、これに騙される。
   sudo apt-get install language-pack-UTF-8
     or
   sudo locale-gen UTF-8
と記載されているが、これを打ってもそんなものはないと怒られる。
$ sudo apt-get install language-pack-ja-base
$ cat /etc/default/locale
# Created by cloud-init v. 0.7.8 on Sun, 11 Dec 2016 02:18:39 +0000
LANG="en_US.UTF-8"
$ echo "export LC_ALL=en_US.UTF-8" >> ~/.bashrc
$ source ~/.bashrc
これで怒られなくなる。
環境の構築
user作成
$ sudo su -
# adduser fukumura
# gpasswd -a fukumura sudo
パッケージのupdate(これをしないとダウンロードで404頻発です。)
$ sudo apt-get update
zsh インストール
$ sudo apt-get install zsh
次回、ログインしてからはzshになるように設定。
$ chsh
Password:
Changing the login shell for ubuntu
Enter the new value, or press ENTER for the default
       Login Shell [/bin/bash]: /usr/bin/zsh
done.
% echo "export LC_ALL=en_US.UTF-8" >> ~/.zshrc
% sudo apt-get install build-essential g++ zlib1g-dev libssl-dev libreadline-dev libyaml-dev libxml2-dev libxslt1-dev libffi-dev bison mariadb-server libmysqld-dev
ついでに、mariadbの設定もutf8に。
# 105,106行目:変更
character-set-server = utf8
# collation-server = utf8mb4_general_ci
# systemctl restart mysql
# mysql_secure_installation
参考 https://www.server-world.info/query?os=Ubuntu_16.04&p=mariadb
Ruby環境の構築
rbenvの導入
開発者用userを作成。
% sudo - fukumura
https://github.com/rbenv/rbenv を参考に。
% git clone https://github.com/rbenv/rbenv.git ~/.rbenv
% echo 'export PATH="$HOME/.rbenv/bin:$PATH"' >> ~/.zshrc
% echo 'eval "$(rbenv init -)"' >> ~/.zshrc
% mkdir -p ~/.rbenv/plugins
% cd ~/.rbenv/plugins
% git clone git@github.com:rbenv/ruby-build
※ .ssh/id_rsa を設置しないとエラーになります
PATHの変更が有効になるようにシェルを再起動
% type rbenv
最新化
% cd ~/.rbenv
% git pull
Ruby インストール
% rbenv install --list
https://www.ruby-lang.org/ja/downloads/
好みのものを。ちょっと時間かかります。
% rbenv install 2.3.3
% rbenv rehash
% rbenv global 2.3.3
% ruby -v
ruby 2.3.3p222 (2016-11-21 revision 56859) [x86_64-linux]
ruby2.3.3がインストールされました。
Ruby on Rails のインストール
% gem install rails --version="~>5.0"
% rails -v
Rails 5.0.0.1
% rails new dcalen -d mysql
% cd dcalen
SQLiteで動かすのもあれなんで、mariadbで。
下記を準備。
MariaDB [(none)]>create user [dbdev] identified by 'パスワード1',
MariaDB [(none)]>[dbtest] identified by 'パスワード2',
MariaDB [(none)]>[dbprod] identified by 'パスワード3';
MariaDB [(none)]>select User,Host from mysql.user;
MariaDB [(none)]>grant all on *.* to '[ユーザー名]'@'localhost'
DBの作成
MariaDB [(none)]>CREATE DATABASE dcalen_development;
MariaDB [(none)]>CREATE DATABASE dcalen_test;
MariaDB [(none)]>CREATE DATABASE dcalen_production;
rails側もdatabase.ymlを修正。
development:
  adapter: mysql2
  encoding: utf8
  reconnect: false
  database: dcalen_development
  pool: 5
  username: dbdev
  password: *********
  host: localhost

test:
  adapter: mysql2
  encoding: utf8
  reconnect: false
  database: dcalen_test
  pool: 5
  username: dbtest
  password: *********
  host: localhost

production:
  adapter: mysql2
  encoding: utf8
  reconnect: false
  database: dcalen_production
  pool: 5
  username: dbprod
  password: <%= ENV['DCALEN_DATABASE_PASSWORD'] %>
rails server起動。
%rails server -b 0.0.0.0 -d
で、
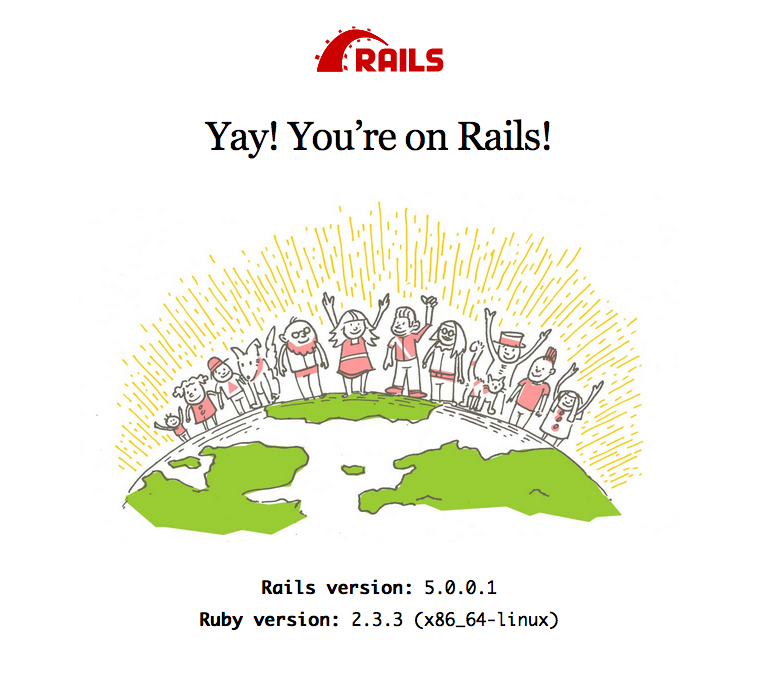
http://192.168.33.10:3000
で表示されるようになりました。
次は、railsごにょごにょやって、リバースプロキシたてて、デプロイの仕組み作ったりしようかな。
