キュレーションアプリを作る(その1)
横スライドのタブメニューライブラリPageMenuを使ったキュレーションアプリの実装手順を2回に分けて紹介します。サンプルとしてQAサイトのキュレーションアプリを作成します。
記事で取り扱っているサイトは説明の便宜上のためであり、利用は本記事内に留まります
見本(その1)
なんかちょっと青みがかってますが・・・
1.プロジェクト作成
「Single View Application」をテンプレートにプロジェクトを新規作成します。今回は「NewsAppSample」という名前にしました。
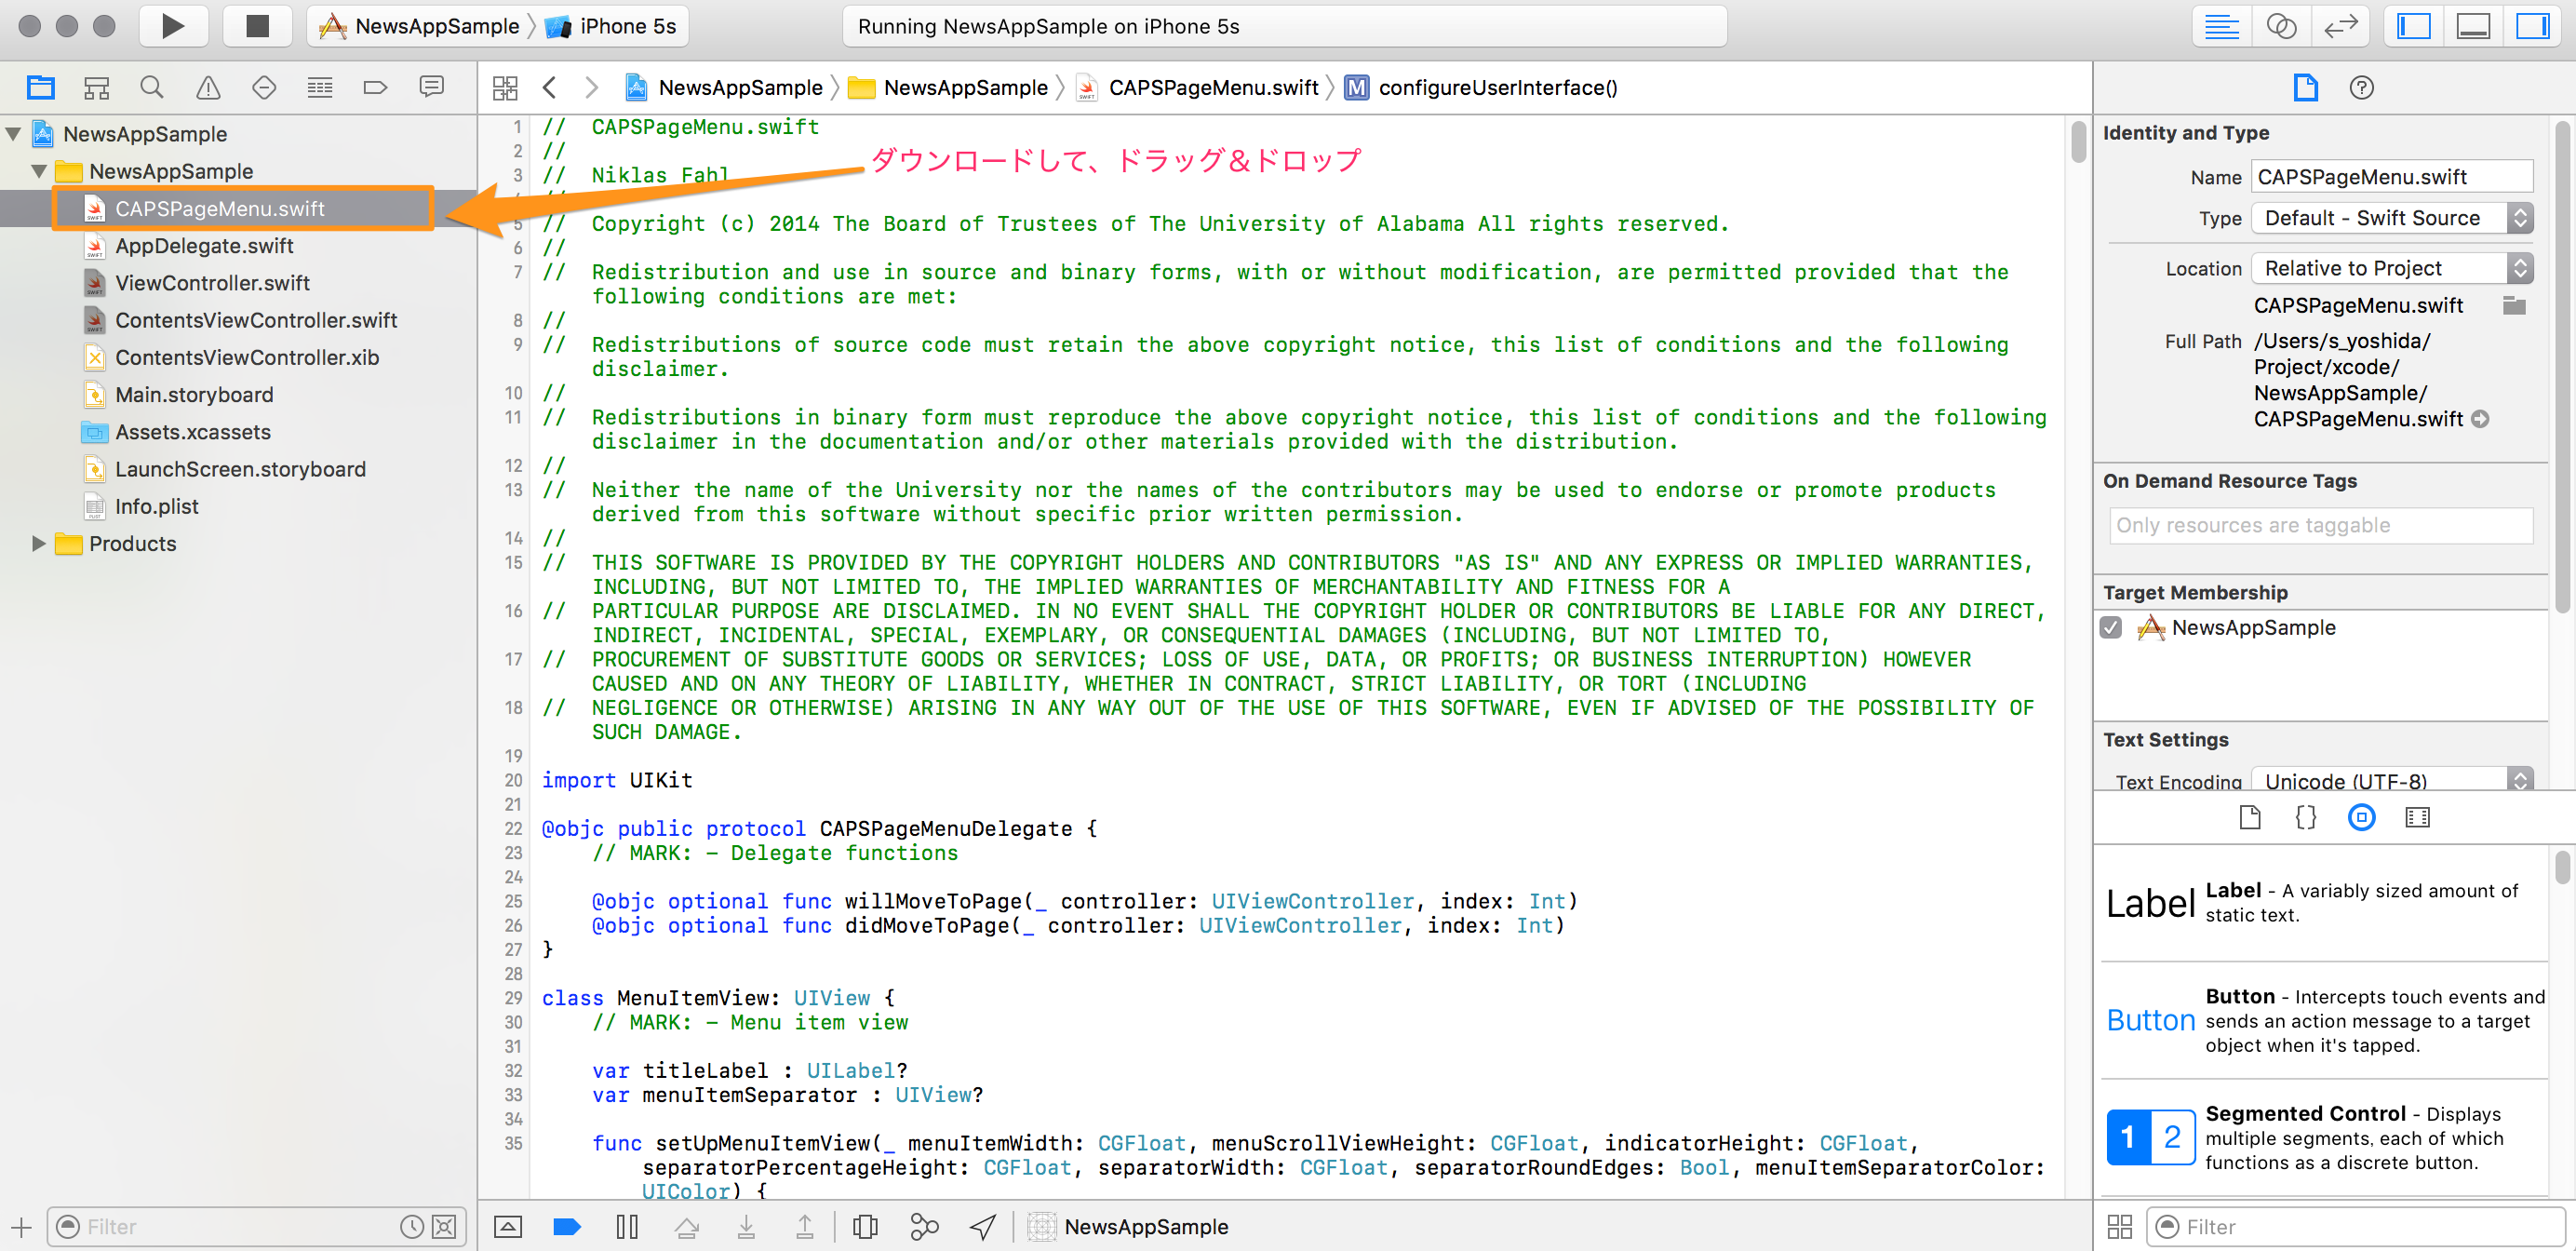
2.PageMemuのインポート
https://github.com/orazz/PageMenu からSwift3.0版がダウンロードできます。ダウンロードしたらCAPSPageMenu.swiftをプロジェクトにドラッグ&ドロップします。

3.ウェブアクセスの設定
info.plistにApp Transport Security Settingsを追加します。その子要素にAllow Arbitray Loadsを追加してvalueをYESにします。これでウェブアクセスが全許可状態となります(2016.12月時点)。

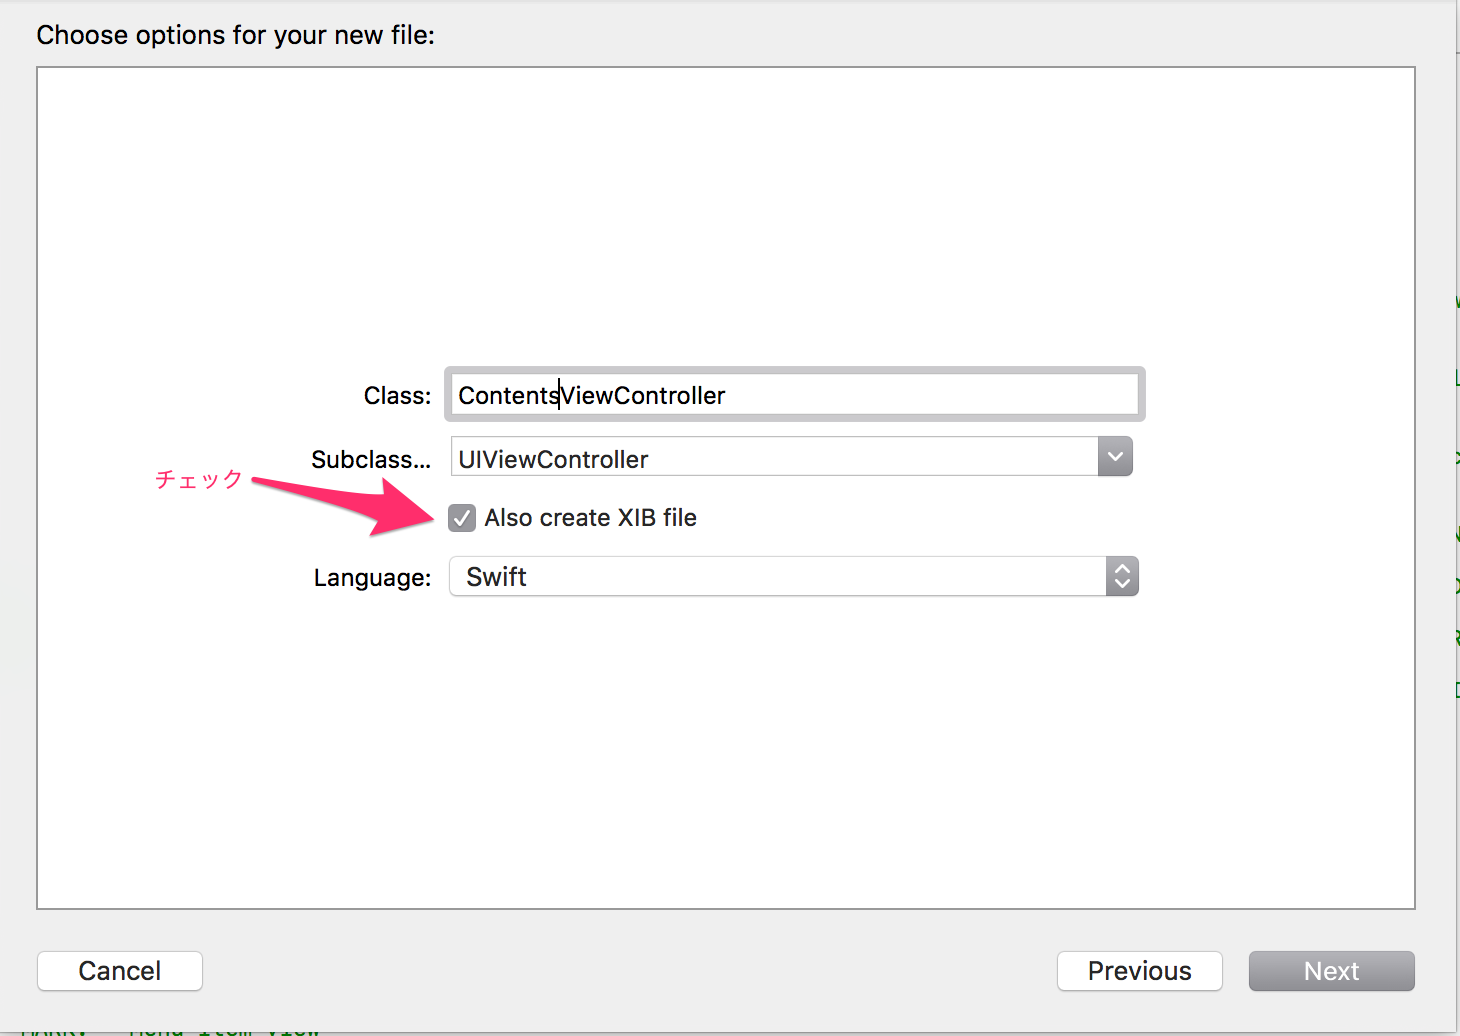
4.コンテンツコントローラーの準備
PageMenuの各タブに対応するコントローラーを用意します。メニュー:File → New → Fileと辿り、「Cocoa Touch Class」をダブルクリックします。XIBファイルも同時作成したいので「Also create XIB file」にチェックを入れます。今回はContentsViewControllerという名前にしました。
5.ContentsViewControllerの実装
プロパティにwebViewとsiteUrl、nibファイルをパラメタにとるイニシャライザinitを追加します。
ContentsViewController.swift
// Swift3.0

import UIKit

class ContentsViewController: UIViewController ,UIWebViewDelegate{

    var webView:UIWebView!
    var siteUrl:String!


    override init(nibName nibNameOrNil: String?, bundle nibBundleOrNil: Bundle?) {
        super.init(nibName: nibNameOrNil, bundle: nibBundleOrNil)
    }

    required init?(coder aDecoder: NSCoder) {
        super.init(coder: aDecoder)
    }

    override func viewDidLoad() {
        super.viewDidLoad()

        // Do any additional setup after loading the view.
    }

    override func didReceiveMemoryWarning() {
        super.didReceiveMemoryWarning()
        // Dispose of any resources that can be recreated.
    }

}
6.ViewControllerの実装
このサンプルではサイト情報をハードコードしていますが、実用レベルではDBから取得するような感じになると思います。
ViewController.swift
// Swift3.0

import UIKit

class ViewController: UIViewController {

    // インスタンス配列
    var controllerArray : [UIViewController] = []
    var pageMenu : CAPSPageMenu?

    // サイト情報
    let siteInfo:[Dictionary<String,String>] = [
        ["title":"ヤフー!知恵袋","url":"http://chiebukuro.yahoo.co.jp/"],
        ["title":"教えて!goo","url":"http://oshiete.goo.ne.jp/"],
        ["title":"OKWAVE","url":"http://okwave.jp/"],
        ["title":"発言小町","url":"http://komachi.yomiuri.co.jp/"],
        ["title":"BIGLOBEなんでも相談室","url":"http://soudan.biglobe.ne.jp/sp/"]
    ]

    override func viewDidLoad() {
        super.viewDidLoad()
        // Do any additional setup after loading the view, typically from a nib.

        for site in siteInfo {

            let controller:ContentsViewController = ContentsViewController(nibName: "ContentsViewController", bundle: nil)

            controller.title = site["title"]!
            controller.siteUrl = site["url"]!

            controller.webView = UIWebView(frame : self.view.bounds)
            controller.webView.delegate = controller
            controller.view.addSubview(controller.webView)
            let req = URLRequest(url: URL(string:controller.siteUrl!)!)
            controller.webView.loadRequest(req)
            controllerArray.append(controller)

        }

        // Customize menu (Optional)
        let parameters: [CAPSPageMenuOption] = [
            .scrollMenuBackgroundColor(UIColor.white),
            .viewBackgroundColor(UIColor.white),
            .bottomMenuHairlineColor(UIColor.blue),
            .selectionIndicatorColor(UIColor.red),
            .menuItemFont(UIFont(name: "HelveticaNeue", size: 14.0)!),
            .centerMenuItems(true),
            .menuItemWidthBasedOnTitleTextWidth(true),
            .menuMargin(16),
            .selectedMenuItemLabelColor(UIColor.black),
            .unselectedMenuItemLabelColor(UIColor.gray)

        ]

        // Initialize scroll menu

        let rect = CGRect(origin: CGPoint(x: 0,y :20), size: CGSize(width: self.view.frame.width, height: self.view.frame.height))
        pageMenu = CAPSPageMenu(viewControllers: controllerArray, frame: rect, pageMenuOptions: parameters)

        self.addChildViewController(pageMenu!)
        self.view.addSubview(pageMenu!.view)

        pageMenu!.didMove(toParentViewController: self)

    }

    override func didReceiveMemoryWarning() {
        super.didReceiveMemoryWarning()
        // Dispose of any resources that can be recreated.
    }


}
7.ビルドしてみる
とりあえずこの時点でビルドしてみます。見本の通り、横スライドメニューと各タブにウェブサイトがロードされていればOKです。