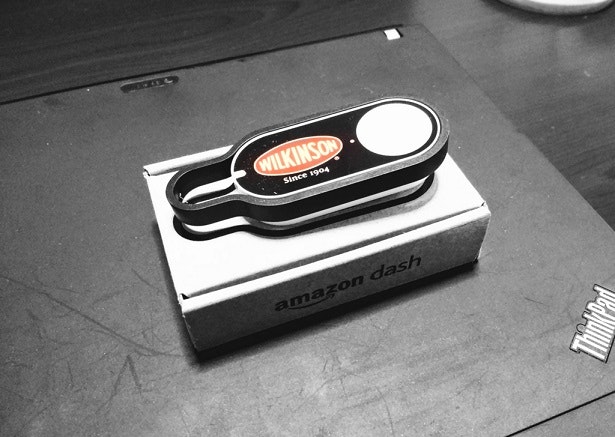
Wifi接続可能なIoTデバイスとしては破格値の、Amazon Dash Button。(500円也)
「これを、ただのIoTボタンとして使ってみたい。」
ふつふつと込み上げる思いを形にすべく、Webで下調べを始めたところ、
nodeやruby用のライブラリを使ってハックされている方がいるようでした。
[参照]
Amazon Dash Buttonの仕組みとハック
Amazon Dash Buttonを(正しくない方向で)使ってみた
TCP/IP - DHCP
動作原理を見る限り、Linux標準機能で実装できそうな為とりあえずやってみます。
[環境]
IoTボタン:
Amazon Dash Button(Wilkinson)
フックサーバ:
HW) Raspberry Pi 2 Model B
OS) Raspbian GNU/Linux 8 (jessie)
MW) rsyslog 8.4.2
[動作概要]
Amazonダッシュボタンは押下する事でWifiに接続し、DHCPディスカバーリクエストを投げます。
そこで同じLAN内に、このブロードキャストパケットを受け取るサーバを設置し
特定MACアドレスからのパケット受信をトリガとして好きな処理を実行、
というのが大まか流れです。
ダッシュボタン押下(DHCPディスカバー)
-> フックサーバ/iptables -> syslog -> fifo <-> shell script
[前準備]
1.Amazonダッシュボタンを、Wifiに繋げる。
(下記URLを参考に設定を進める。商品選択前にキャンセルするのがポイント)
Amazon Dash ButtonをただのIoTボタンとして使う
2.ダッシュボタンのMACアドレスを確認する
# tcpdump -i wlan0 | grep BOOTP/DHCP ※ここでダッシュボタンを押下。
tcpdump: verbose output suppressed, use -v or -vv for full protocol decode
listening on wlan0, link-type EN10MB (Ethernet), capture size 262144 bytes
19:06:55.729394 IP 0.0.0.0.bootpc > 255.255.255.255.bootps: BOOTP/DHCP, Request from ac:63:be:98:xx:xx (oui Unknown), length 261
^C172 packets captured
180 packets received by filter
0 packets dropped by kernel

※例では、wlan0がダッシュボタンと同一のNWにつながるインタフェース
※「ac:63:be:98:xx:xx」が本機器のMacアドレス
[設定]
・iptablesの設定
# iptables -I INPUT -i wlan0 -p udp --dport 67 -m mac --mac-source ac:63:be:98:xx:xx -j LOG --log-level=debug

※iptablesのsyslog facilityはkern固定なので、priorityを変更し、kern.debugとしてsyslogへ渡す。
# iptables -nvL
Chain INPUT (policy ACCEPT 966 packets, 123K bytes)
 pkts bytes target     prot opt in     out     source               destination
    1   289 LOG        udp  --  wlan0  *       0.0.0.0/0            0.0.0.0/0            udp dpt:67 MAC AC:63:BE:98:xx:xx LOG flags 0 level 7
~以下略~

※反映確認
# vi /etc/rc.local
iptables -I INPUT -i wlan0 -p udp --dport 67 -m mac --mac-source ac:63:be:98:xx:xx -j LOG --log-level=debug

※再起動すると消えるので、とりあえずrc.localに書いておく。
※exit 0の前に上記iptables設定を追記。インタフェース名は環境の応じ適宜変更。
・rsyslog設定
# cp -p /etc/rsyslog.conf{,.orig}
# vi /etc/rsyslog.conf
# diff /etc/rsyslog.conf{.orig,}
65c65
< kern.*                        -/var/log/kern.log
---
> kern.*;kern.!=debug           -/var/log/kern.log
90c90
<       news.none;mail.none     -/var/log/debug
---
>       news.none;mail.none;kern.none   -/var/log/debug
121a122
> kern.=debug                   |/var/log/dash.fifo

※rsyslog.confへkern.debugの設定を追加。
および「kern.debug」をkern.*/*.debugの処理から除外
※kern.debug宛のログが来たら、名前付きパイプ/var/log/dash.fifoに渡す
・名前付きパイプの作成
# mkfifo -m 600 /var/log/dash.fifo
・名前付きパイプ監視スクリプトの作成
# mkdir -p /root/dash_button
# vi /root/dash_button/check_fifo.sh
# !/bin/sh

PID='check_fifo.pid'

trap 'echo check_fifo process was terminated.;rm -f /var/run/$PID' INT TERM
echo $$ > /var/run/$PID

while read log; do
    sh -c '/root/dash_button/dash_button.sh > /dev/null 2>&1 &'
done < /var/log/dash.fifo
# chmod u+x /root/sh/check_fifo.sh
# /bin/sh -c '/root/dash_button/check_fifo.sh &'
# vi /etc/rc.local
/bin/sh -c '/root/dash_button/check_fifo.sh &'
※exit 0の前に追記
・任意の処理をさせるスクリプトの作成
# vi /root/dash_button/dash_button.sh
# !/bin/sh

touch /tmp/hoge
ここに好きな処理を書きます。
私はボタンを押すことで、職場のIRCへ出勤/退勤挨拶を書き込むスクリプトにしてます。
あと監視プロセス自体は、monitでお手軽プロセス監視中。
以上