初めてWatson IoT Platformを使ってみよう、というかたのためのガイドです。
Watson IoT Platformを使ってみるでIoTアプリを準備しました。
Internet of Things Platformにデバイスを登録してデータを送信します。
Internet of Things Platformサービスを接続します
-
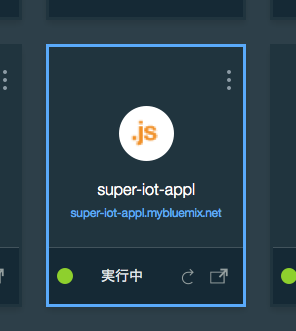
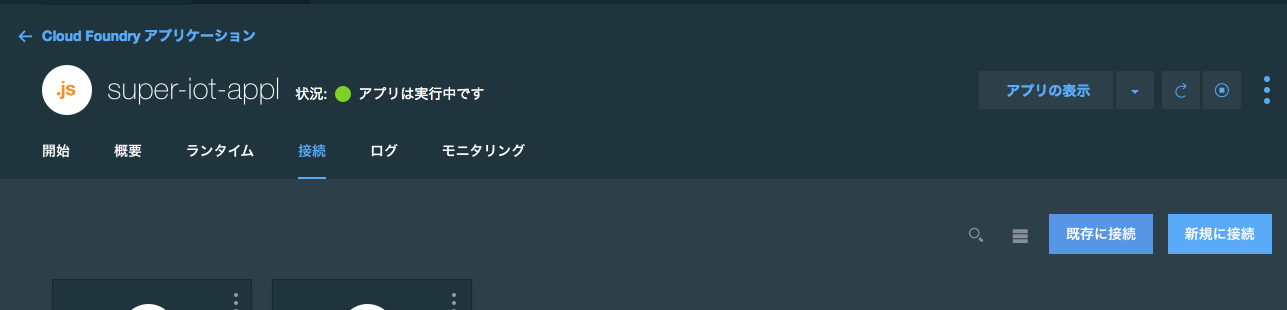
BluemixのIoTアプリの画面を開き、
「概要」画面の右側の「新規に接続」を選択します。
-
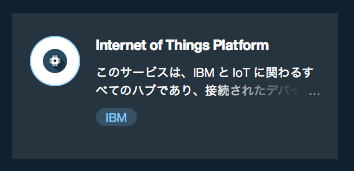
新規に接続するサービスとして「モノのインターネット」セクションの「Internet of Things Platform」サービスを選択します。
-
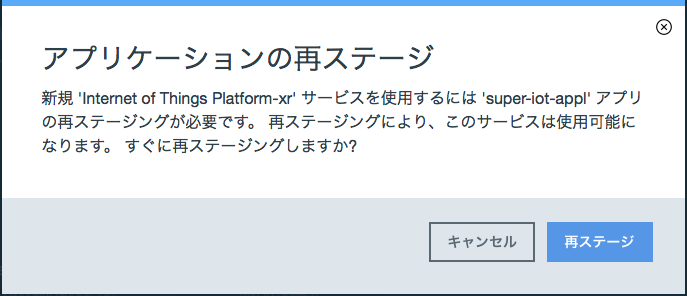
「アプリケーションの再ステージ」が表示されるので再ステージを実行します。
-
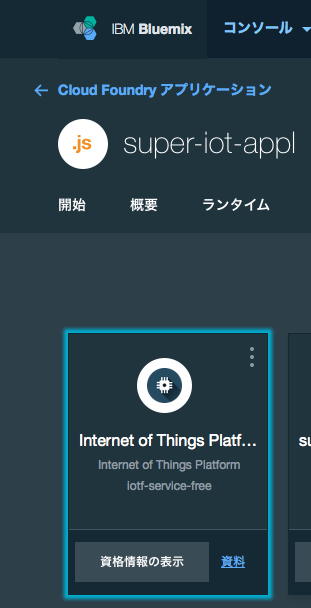
再ステージが完了してアプリが実行状態になったら、接続した「Internet of Things Platform-xx」のアイコンをクリックし、「ダッシュボードを起動」を選択します。
-
ダッシュボード画面が起動されたら、画面左側の「デバイス」アイコンを選択して
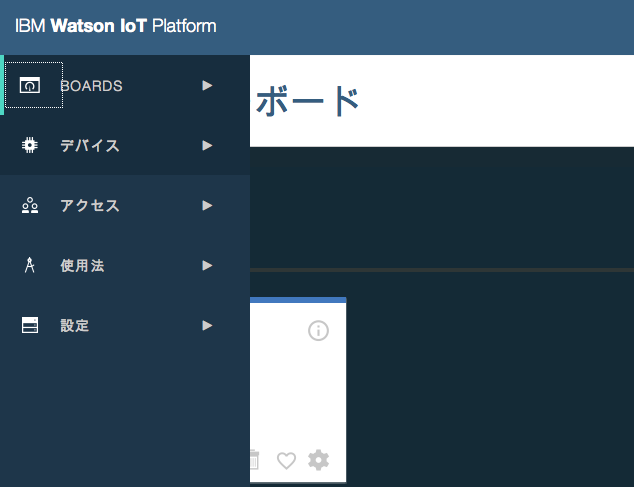
「デバイス」設定画面を開きます。
-
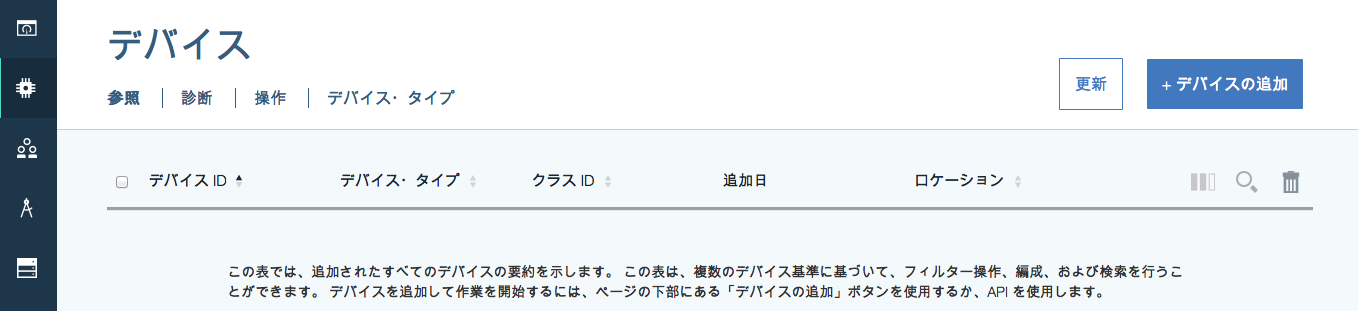
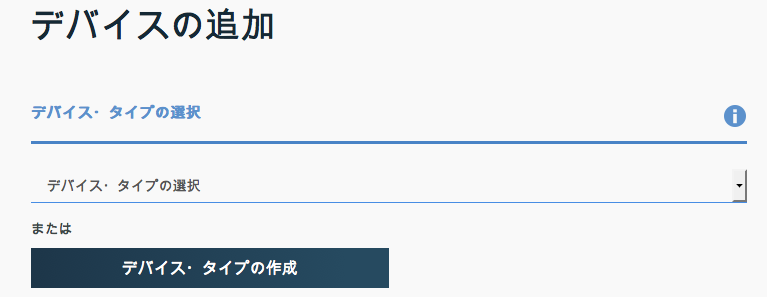
画面右端の「デバイスの追加」ボタンを押します。
-
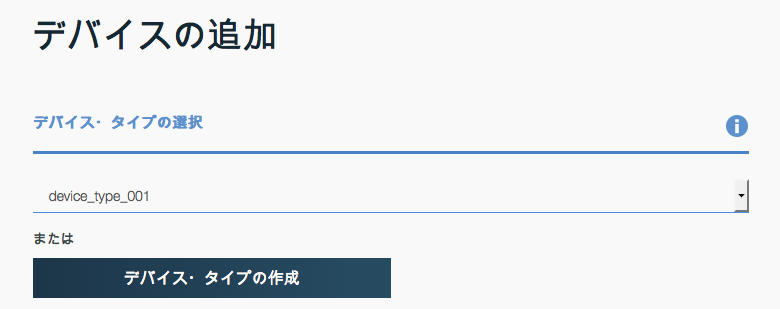
「デバイスの追加」画面で「デバイス・タイプの作成」ボタンを押します。
-
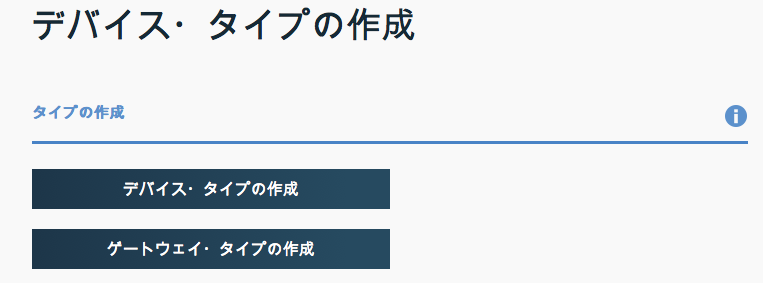
「デバイス・タイプの作成」画面で「デバイス・タイプの作成」ボタンを押します。
-
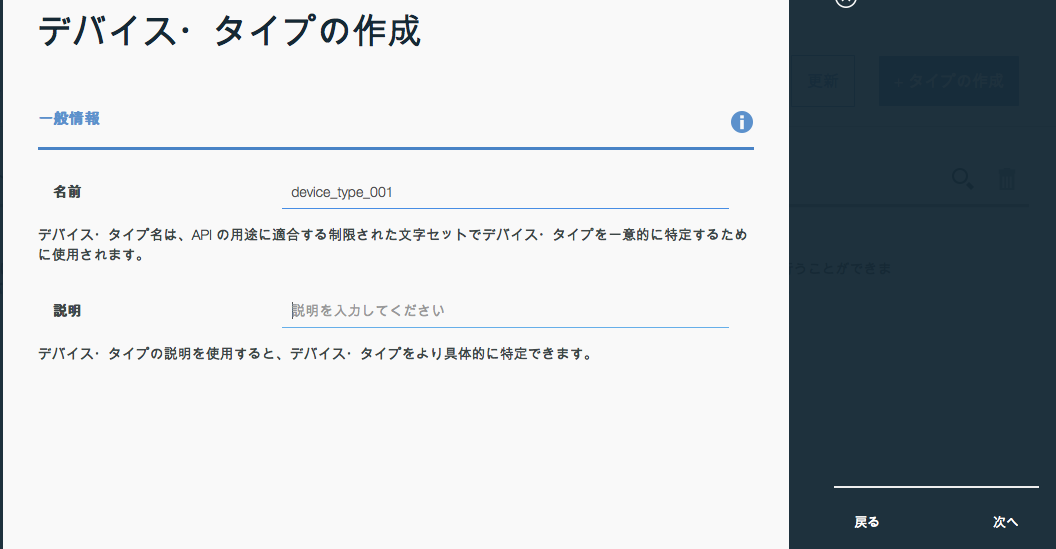
デバイス・タイプ名を入力し、画面右下の「次へ」ボタンを押します。
-
必要に応じてシリアル番号などの属性を選択します。
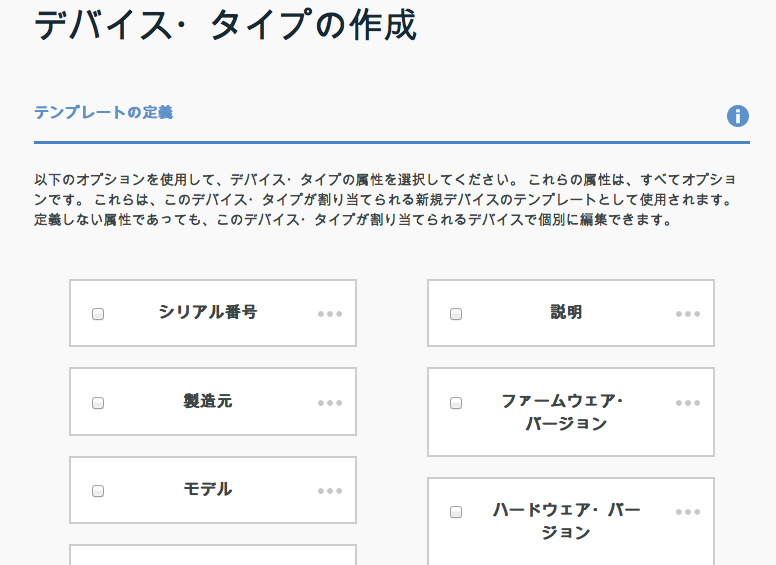
「次へ」を押します。 -
「情報の送信」画面で「次へ」を押します。
-
「メタデータ(オプション)」画面で必要に応じてメタデータを定義し、「作成」を押します。
-
新しいデバイス・タイプが作成されました。
「次へ」を押します。 -
「デバイスの追加」画面でデバイスIDを入力します。
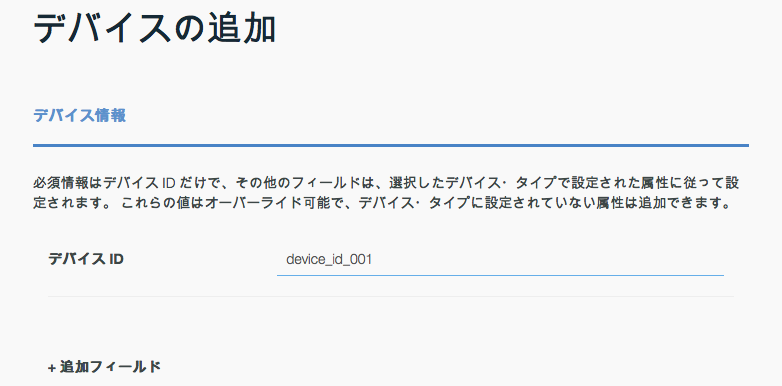
「次へ」を押します。 -
「メタデータ(オプション)」画面で必要に応じメタデータを定義し、「次へ」を押します。
-
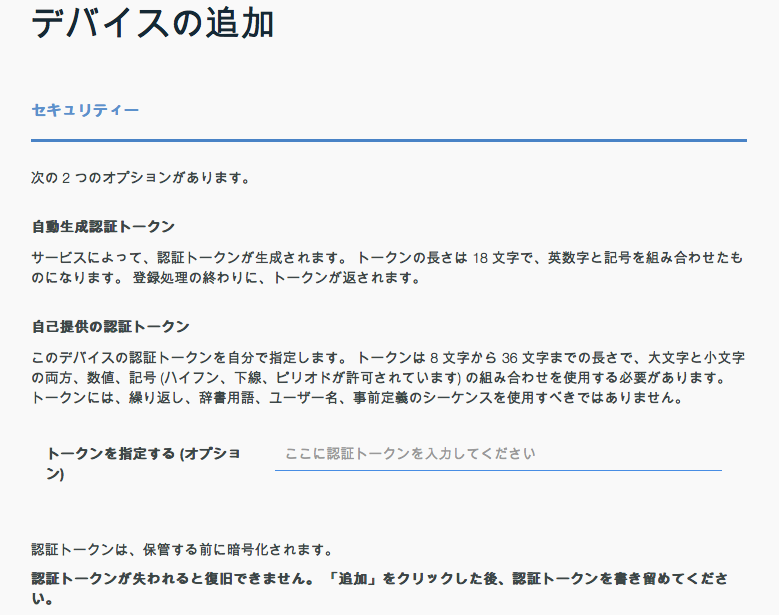
セキュリティーの画面の説明を読みます。ここでは「自動生成認証トークン」を使用するので、この画面では何も指定せず「次へ」を押します。
-
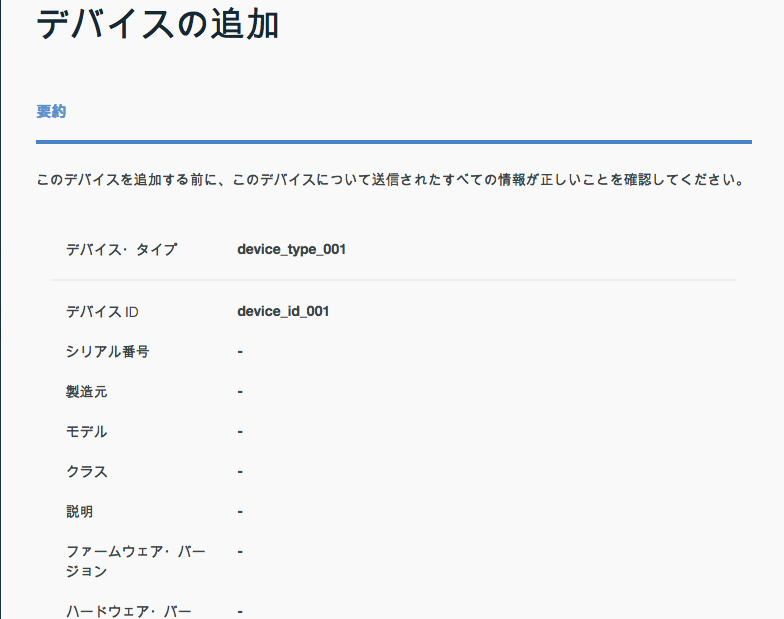
「要約」画面に表示される内容を確認し、「追加」を押します。
-
生成されたデバイス資格情報(組織 ID、デバイス・タイプ、デバイス ID、認証方式 token、認証トークン)をコピペで控えておきます(画面は省略)
-
「×」キーで画面を閉じます。
-
ここでは、本物のデバイスの代わりに下記のようなプログラムを用意し、デバイスからInternet of Things Platformへアクセスできる事を確認します。
# !/usr/bin/python
# -*- coding: utf-8 -*-

import logging
import os
import os.path
import sys
import codecs
import time
import paho.mqtt.client as mqtt
import json
import threading
import random

broker = ""
username = "use-token-auth"
password = "xxxxxxxxxxxxxxxxxx" # 英数字18桁の「認証トークン」を指定します
organization = "xxxxxx"		# 6桁の「組織ID」を指定します
deviceType = "device_type_001" # 「デバイス・タイプ」として登録した値を指定します
deviceSerial = "device_id_001" # 「デバイスID」として登録した値を指定します

topic = "iot-2/evt/status/fmt/json"

clientID = "d:" + organization + ":" + deviceType + ":" + deviceSerial
broker = organization + ".messaging.internetofthings.ibmcloud.com"
mqttc = mqtt.Client(clientID)

if username is not "":
	mqttc.username_pw_set(username, password=password)

	try:
		mqttc.connect(host=broker, port=1883, keepalive=60)
	except Exception as e:
		print "Exception at connect"
		print e

mqttc.loop_start()

while mqttc.loop() == 0:

	temp = random.randrange(-10,40)
	humidity = random.randrange(20,99)
	print "temp = " + str(temp) + ", humidity = " + str(humidity)
	msg = " {\"d\": {\"temperature\": " + str(temp) +",\"humidity\": " + str(humidity) + "} }";

	try:
		mqttc.publish(topic, payload=msg, qos=0, retain=False)
		print "message published"
		# print raw_input("[Enter] to send another request")
	except Exception as e:
		print "Exception at publish"
		print e

	time.sleep(5)
	pass
- 上記のpythonでは、
passwordに英数字18桁の「認証トークン」を、organizationに6桁の「組織ID」を、
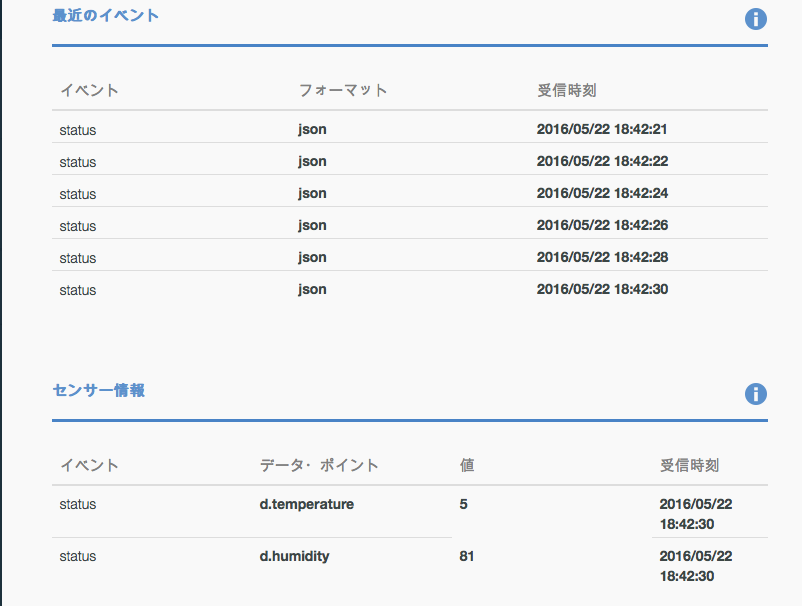
deviceTypeに「デバイス・タイプ」として登録した値を、deviceSerialに「デバイスID」として登録した値を指定します。(deviceSerialと、「シリアル番号」が混同しやすいので注意します。) - デバイスからの接続とメッセージ送信の状況は下記のようにInternet of Things Platformのダッシュボードから確認できます。