初めてWatson IoT Platformを使ってみよう、というかたのためのガイドです。
Watson IoT Platformを使ってみるでIoTアプリを使ってみました。
- Node-REDでシンプルなウェブサイトを作ってみる でNode-REDを使ってシンプルなウェブサイトを作ってみています。
- Node-REDでシンプルなウェブサイト - 6. 写真を貼ってみる写真を貼ってみました。
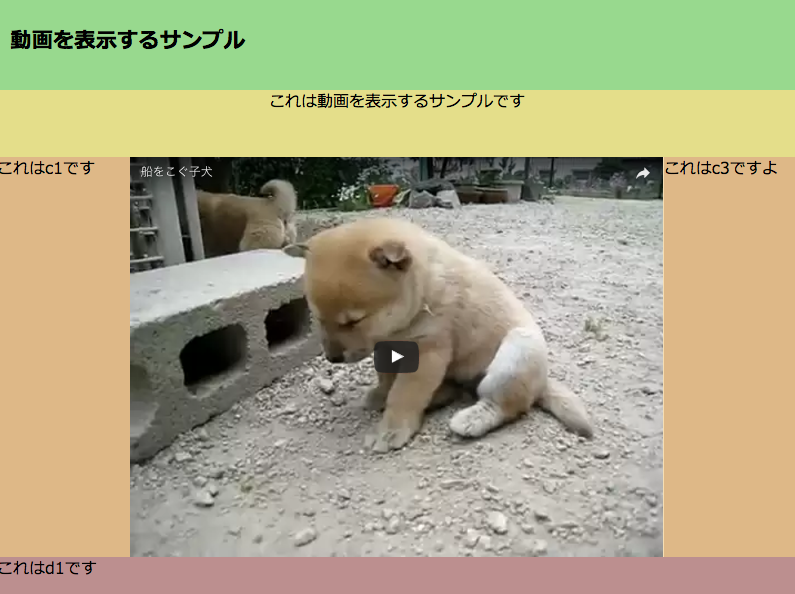
- このステップではウェブサイトに動画を貼ってみます。
7.1. Node−REDフローを用意する
-
Node-RED - フローをコピーする方法を参照し、下記のフローをコピペします。

動画掲出用フロー
[{"id":"a1b5d2b3.32b3","type":"http in","z":"2302eb53.652cc4","name":"","url":"/test25","method":"get","swaggerDoc":"","x":90,"y":240,"wires":[["1cb8d38f.db2d74"]]},{"id":"2dba3778.fc6f6","type":"http response","z":"2302eb53.652cc4","name":"","x":590,"y":240,"wires":[]},{"id":"d4c56dbc.0bfb8","type":"comment","z":"2302eb53.652cc4","name":"動画を掲出します","info":"","x":110,"y":200,"wires":[]},{"id":"3aa99b0b.2d240c","type":"template","z":"2302eb53.652cc4","name":"test25.html","field":"payload","fieldType":"msg","format":"handlebars","syntax":"mustache","template":"<html>\n <head>\n <style type=\"text/css\">\n {{{payload.css}}}\n </style>\n </head>\n <body style=\"background-color: #EAE5E3; \">\n <div id='basic'>\n <div id='a1'><h1>動画を表示するサンプル</h1></div>\n <div id='b1'>これは動画を表示するサンプルです</div>\n <div id='c1'>これはc1です</div>\n <div id='c2'>\n ここに動画の情報をコピペします\n </div>\n <div id='c3'>これはc3ですよ</div>\n <div id='d1'>これはd1です</div>\n </div>\n </body>\n</html>\n","x":410,"y":240,"wires":[["2dba3778.fc6f6"]]},{"id":"1cb8d38f.db2d74","type":"template","z":"2302eb53.652cc4","name":"css","field":"payload.css","fieldType":"msg","format":"handlebars","syntax":"mustache","template":"#basic {\n font-family: meiryo;\n width: 1200px;\n position: absolute;\n top: 0;\n left: 0;\n right: 0;\n bottom: 0;\n margin: auto;\n}\n#a1 {\n background-color: #98d98e;\n height: 100px;\n padding: 20px;\n}\n#b1 {\n background-color: #e4de8a;\n height: 100px;\n text-align: center;\n font-size: 18pt;\n}\n#c1 {\n float: left;\n background-color: burlywood;\n height: 600px;\n width: 200px;\n text-align: left;\n font-size: 18pt;\n}\n#c2 {\n float: left;\n background-color: wheat;\n height: 600px;\n width: 800px;\n}\n#c3 {\n float: right;\n background-color: burlywood;\n height: 600px;\n width: 200px;\n font-size: 18pt;\n}\n#d1 {\n clear: both;\n background-color: rosybrown;\n height: 100px;\n text-align: left;\n font-size: 18pt;\n}\n","x":250,"y":240,"wires":[["3aa99b0b.2d240c"]]}]
7.2.動画を見つける
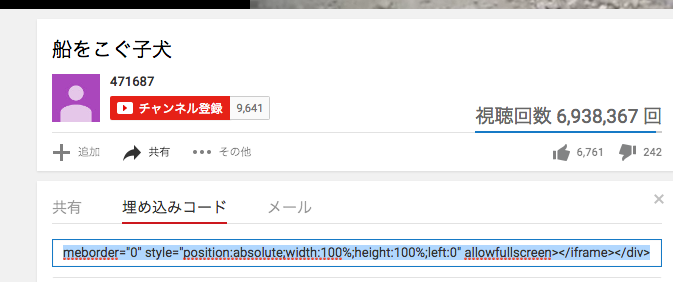
- YouTubeなどで気に入った動画を探します。
- YouTubeでは動画の下の「共有」メニューから「埋め込みコード」をコピーします。
7.3.ウェブページに貼り付けます
- 7.1で準備したフローの
test25.htmlテンプレートノード(オレンジ色)を開き、「ここに動画の情報をコピペします」の行に前項でコピーした内容をコピペします。 - 「完了」→「デプロイ」しアプリ名/test25へアクセスして確認します