3
2

Delete article

Deleted articles cannot be recovered.

Draft of this article would be also deleted.

Are you sure you want to delete this article?

More than 5 years have passed since last update.

Watson IoT Platform - Node-RED - 登録されたデバイスからデータを受信する

Last updated at Posted at 2016-06-06

#Node-REDのデバイス情報を書きとめます

  1. Watson IoT Platformを使ってみるの手順で作成されたデフォルトのIoTフローを開きます。
  2. 上部のフロー("Device Simulator"と表記され灰色の"Send Data"ノードから始まるフロー)の右端の青い「Send to IBM IoT Platform」をクリックして開きます。
  3. "Device Type"(ここではthermostat)と"Device Id"(ここではLivingRoomThermo1)を書きとめておきます。
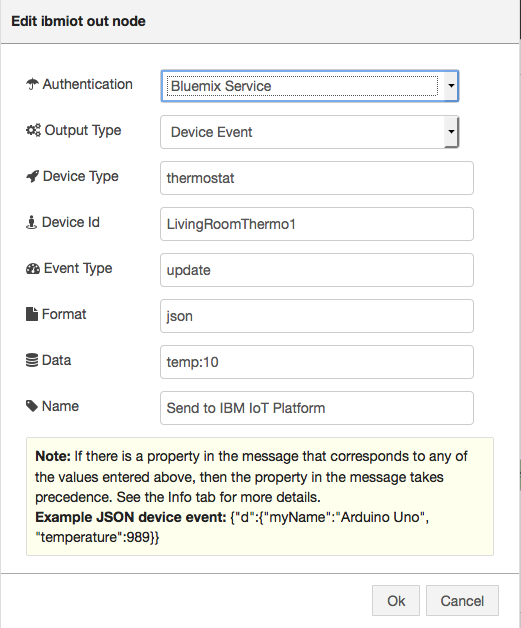
    スクリーンショット 2016-06-07 8.42.05.png

#IoTサービスを開きます

  1. Bluemixにログインし、画面左上の「IBM Bluemix」のロゴを選択して主メニューを表示し、「すべての項目」を選択し、作成したIoTアプリを表示します。

  2. IoTアプリのタイルをクリックして選択し、メニューから「接続」を選択します。

  3. 「アプリ名-iotf-service」と表示されているタイルをクリックして選択します。

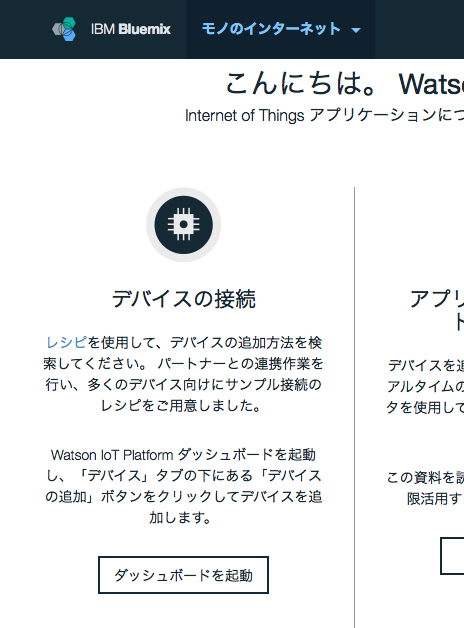
  4. IoTサービスの画面左側の「ダッシュボードを起動」ボタンを押してダッシュボードを起動します。
    スクリーンショット 2016-06-07 8.37.25.png

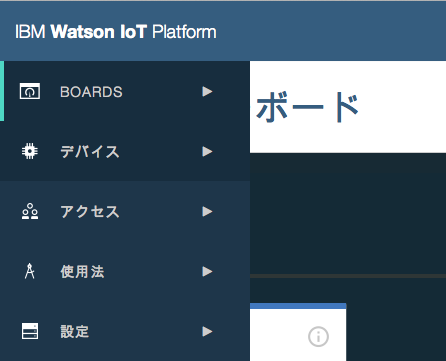
  5. ダッシュボードが起動したら、画面左側に並んで表示されているアイコンから「デバイス」を選択します。
    スクリーンショット 2016-06-07 8.38.02.png

  6. 「デバイスの追加」を選択します。

  7. 「デバイスの追加」画面で「デバイス・タイプの作成」を選択します。

  8. 「デバイス・タイプの作成」画面で「デバイス・タイプの作成」(「ゲートウェイ・タイプの作成」ではなく)を選択します。

  9. デバイス・タイプとして前節のデバイスタイプ(thermostat`など)を指定します。

  10. 「次へ」を押していきます。シリアル番号などはここでは不要です。

  11. 作成したデバイスタイプを使用して「デバイスの追加」を行います。「次へ」で進みます。

  12. 「デバイスID」として前節のデバイスID(LivingRoomThermo1など)を指定します。

  13. 「次へ」で進み、デバイスの設定を完了します。

  14. デバイス登録のダッシュボード画面で登録したデバイスを選択し、「更新」を押します。

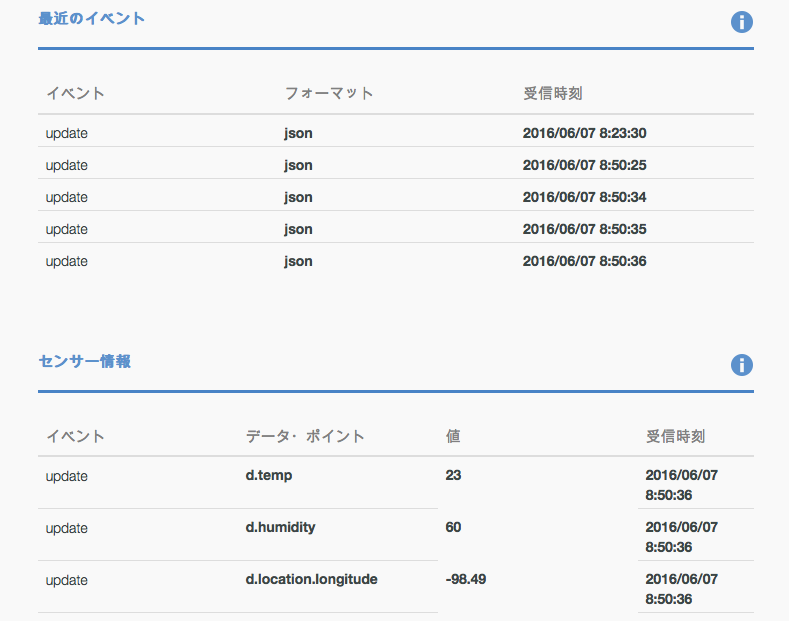
  15. Node-REDフローの左端の灰色のinjectノードのボタンを押してデバイスからのデータ送信をシミュレートし、Debugタブへデータが出力され、上記のデバイスダッシュボードでデータが受信される事を確認します。
    スクリーンショット 2016-06-07 8.50.37.png
    スクリーンショット 2016-06-07 8.50.49.png

3
2
0

Register as a new user and use Qiita more conveniently

  1. You get articles that match your needs
  2. You can efficiently read back useful information
  3. You can use dark theme
What you can do with signing up
3
2

Delete article

Deleted articles cannot be recovered.

Draft of this article would be also deleted.

Are you sure you want to delete this article?