所用で新しく借りたVPSにCentOS入れることになり、そろそろリリースから半年経ったし、CentOS7いれるかなーという感じのノリで着手。。。してみたものの、サービスやらネットワークやら大きく変わってて素直にセットアップが進んでくれないですね。
ググりながら先陣を切ってこられた皆さんに感謝しつつ、できるだけ素直な手順にしてみました。
インストールするサービスの構成は、
+nginx (http)
+PHP 5.4.16
+MariaDB 5.5.41 (MySQL互換DB)
にしてみます。
特定の用途を想定せず、最低限の環境を躓かずに構築することを目標にしています。
今回はMacOS上のVirtualBox上です。WindowsやLinuxホストの場合も対して変わりません。(ポート番号の制約だけ?)
VirtualBoxにCentOS7をインストール
VPSにセットアップする前にVirtualBox上でセットアップお試ししておこう。
今回はリソースの少ないMacBookAir上なのでメモリ1GB、ディスク4GBの狭小住宅で頑張ってもらいます。
本家 からDVD ISOをダウンロードしたら、VMにマウントして起動します。
現時点でのバージョンは CentOS Linux release 7.0.1406 です。
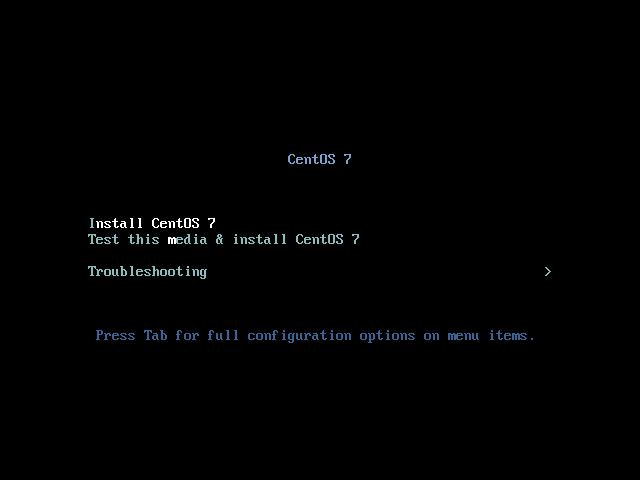
GUIベースのウィザード形式でインストール。(MacBookAirのディスプレイに対して画面デカイ…)
メニューが表示されたら、Install CentOS 7かTest this media & install CentOS 7を選択してEnter。
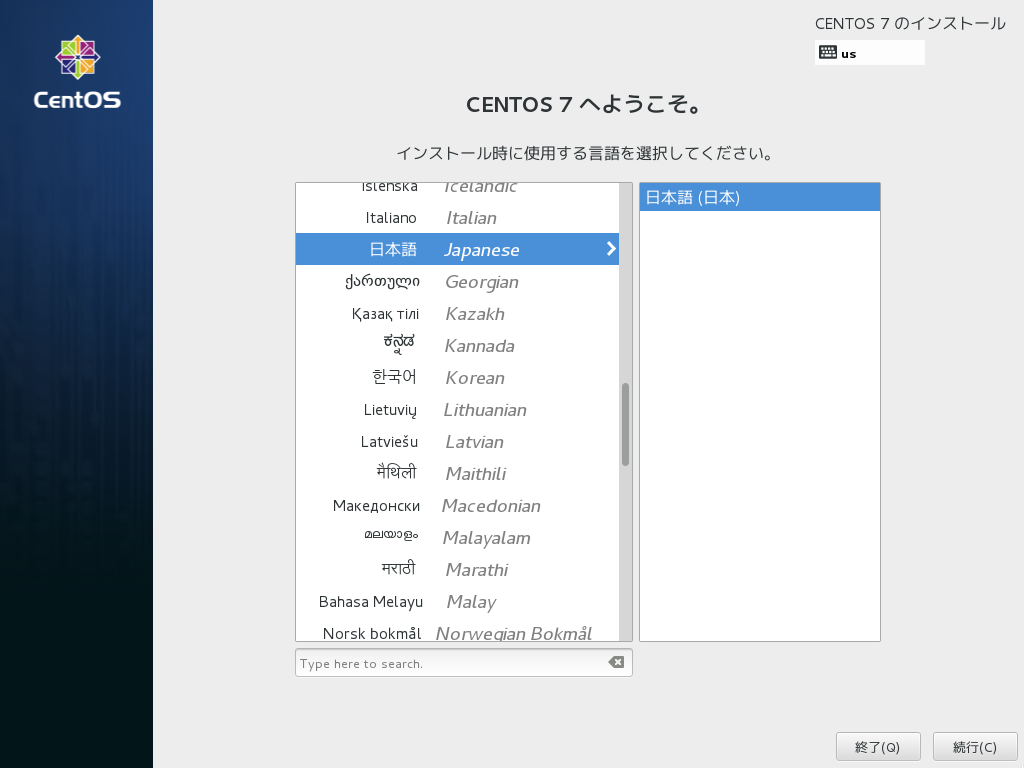
日本語を選択。
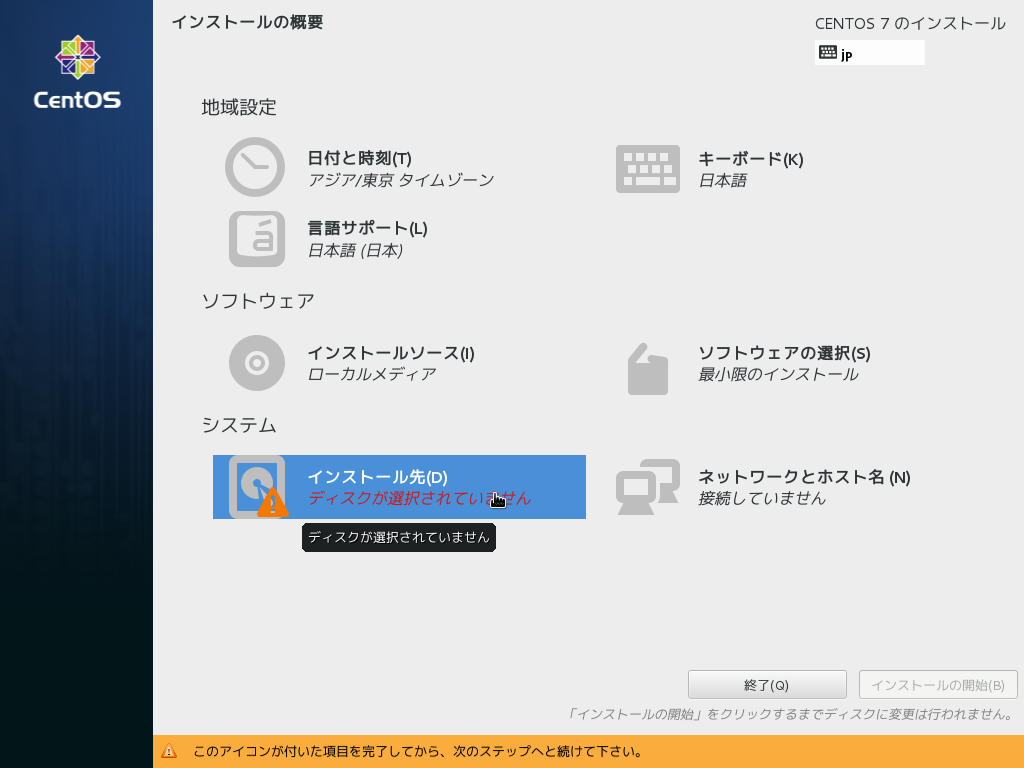
インストール先をクリック
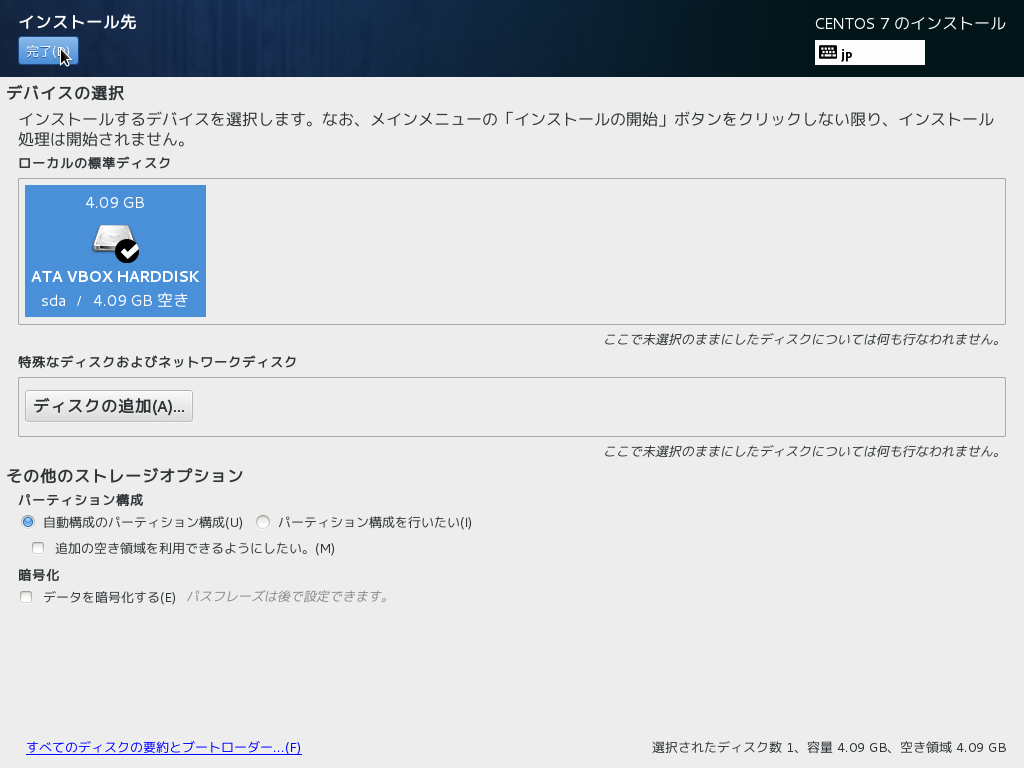
ディスクが選択されていること、自動パーティション構成になっていることを確認して完了。
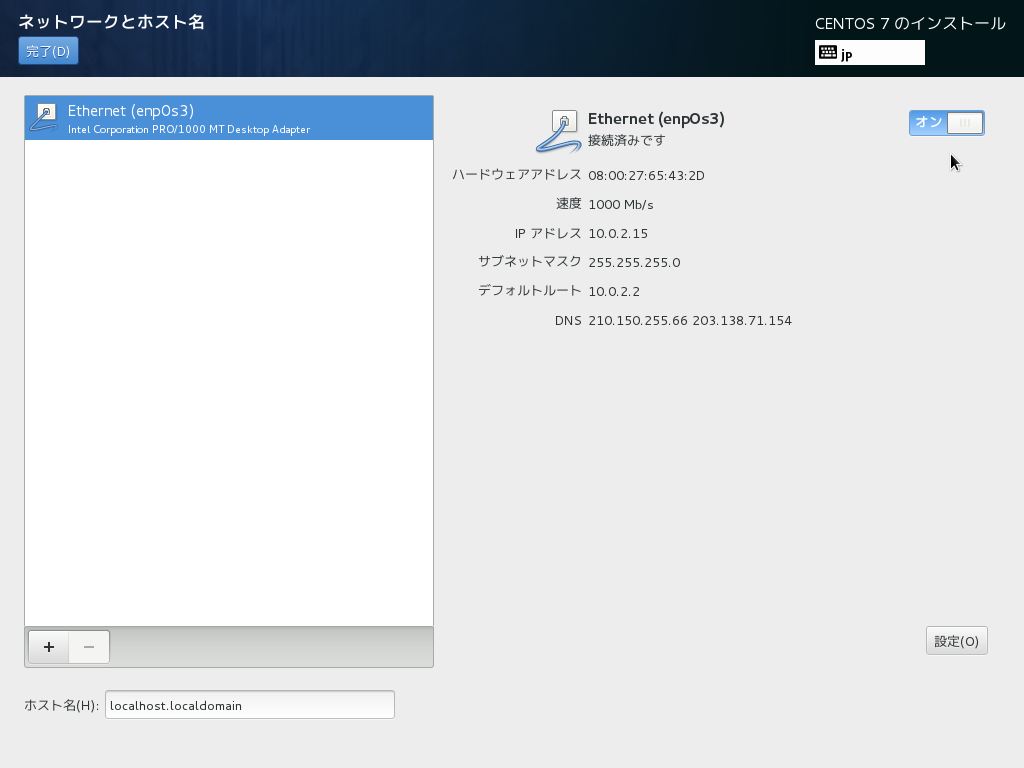
今度はネットワークとホスト。VMに割り当てられたNICが一個あるので、オンにして完了。
今回DHCPなので設定そのまま。固定IPのときは設定をクリックしてIPアドレスを指定します。
インストールを開始します。
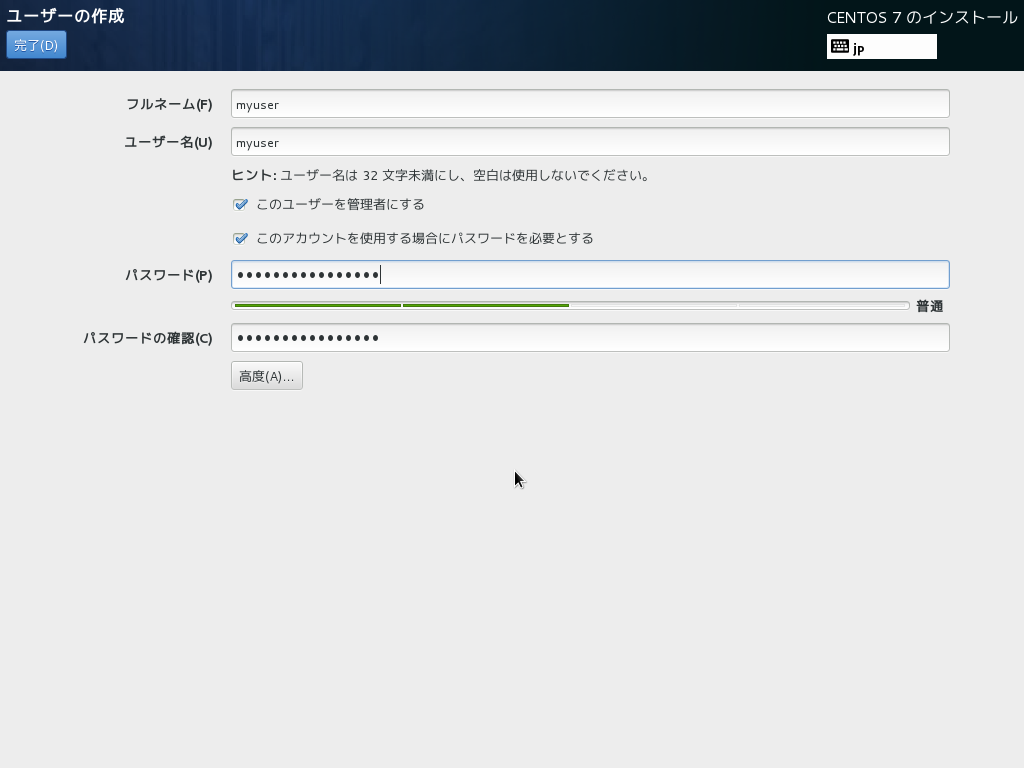
インストール中、ルートのパスワード設定が可能なので設定しておきます。

ユーザーも作成しておきます。基本的にrootは使わずにsudoで作業したいので、「このユーザーを管理者にする」にチェックをいれときます。
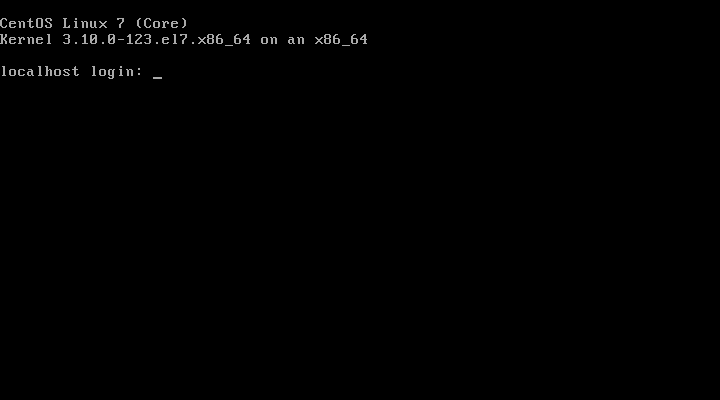
程なくインストールが終わって再起動するとログイン画面が表示されます。
SSHでログイン
最小構成の場合でも、通常はSSHとSMTPサーバーは稼働しています。
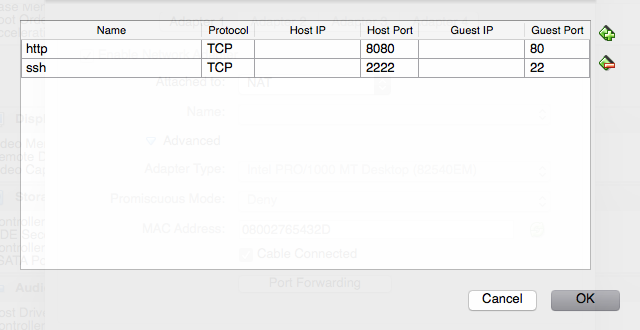
VirtualBoxでホストからSSHでポートフォワーディングでport22を転送してアクセス可能にします。Mac(UNIX)の制約上ポート22を使えないので、ホスト側のポートは2222を使用することにします。
作成したユーザーでログイン
ホスト側(mac book air)からログインします。
ユーザー名が myuser なら、
ssh -p 2222 myuser@localhost
Windowsを使用している方は、適宜teratermなどを使用してください。
rootでログインできないようにする
rootユーザーでssh可能な場合、クライアントにパスワード記憶されてしまった場合にリスクになるので、sshのログイン許可を外します。
sshサービスの設定フィアルを変更します。
$ sudo vi /etc/ssh/sshd_config
PermitRootLoginを追加

     45 # Authentication:
     46
     47 #LoginGraceTime 2m
     48 #PermitRootLogin yes
     49 #StrictModes yes
     50 #MaxAuthTries 6
     51 #MaxSessions 10
     52 PermitRootLogin no        #追加
sshdを再起動して、ssh(port22)がlistenされていることを確認。
$ sudo systemctl restart sshd
$ ss -lt
State      Recv-Q Send-Q                                    Local Address:Port                                        Peer Address:Port
LISTEN     0      100                                           127.0.0.1:smtp                                                   *:*
LISTEN     0      128                                                   *:ssh                                                    *:*
LISTEN     0      100                                                 ::1:smtp                                                  :::*
LISTEN     0      128                                                  :::ssh                                                   :::*
Ctrl + Dで一度ログアウトし、rootでログインできないことを確認します。
$ ssh -p 2222 root@loalhost
root@localhost's password:
Permission denied (publickey,gssapi-keyex,gssapi-with-mic,password).
ちゃんと拒否されました。
もう一度作成したユーザーでログインし直しておきます。
ssh -p 2222 myuser@localhost
yumリポジトリ
epelリポジトリを追加しておく
CentOS7だけでなくepelリポジトリを利用する機会も多そうなので、あらかじめ追加しておきます。
$ sudo yum install epel-release
これで毎回リポジトリ指定する必要がなくなります。
更新
yum updateでリポジトリを更新しておきます。
$ sudo yum update
nginx(httpサーバー)
インストール
yum コマンドでインストールします。すでにepelリポジトリ登録してるので、そのままノーオプションでインストールします。
$ sudo yum install nginx
サービスの起動
インストールが完了したらサービスを実行します。
サービスを有効にして自動で起動するようにしておきます。
サービス有効化
$ sudo systemctl enable nginx
ln -s '/usr/lib/systemd/system/nginx.service' '/etc/systemd/system/multi-user.target.wants/nginx.service'

nginx起動
$ sudo systemctl start nginx
$ sudo systemctl status nginx
nginx.service - The nginx HTTP and reverse proxy server
   Loaded: loaded (/usr/lib/systemd/system/nginx.service; enabled)
   Active: active (running) since Fri 2015-02-00 00:00:00 JST; 10s ago
  Process: 22314 ExecStart=/usr/sbin/nginx (code=exited, status=0/SUCCESS)
  Process: 22312 ExecStartPre=/usr/sbin/nginx -t (code=exited, status=0/SUCCESS)
 Main PID: 22316 (nginx)
   CGroup: /system.slice/nginx.service
           ├─22316 nginx: master process /usr/sbin/nginx
           └─22317 nginx: worker process

Feb 00 00:00:00 localhost.localdomain systemd[1]: Starting The nginx HTTP and reverse proxy server...
Feb 00 00:00:00 localhost.localdomain nginx[22312]: nginx: the configuration file /etc/nginx/nginx.conf syntax is ok
Feb 00 00:00:00 localhost.localdomain nginx[22312]: nginx: configuration file /etc/nginx/nginx.conf test is successful
Feb 00 00:00:00 localhost.localdomain systemd[1]: Failed to read PID from file /run/nginx.pid: Invalid argument
Feb 00 00:00:00 localhost.localdomain systemd[1]: Started The nginx HTTP and reverse proxy server.
確認
nginxがstartedになっていたら、実際にhttpでアクセスしてみます。
$ curl localhost
<!DOCTYPE html PUBLIC "-//W3C//DTD XHTML 1.1//EN" "http://www.w3.org/TR/xhtml11/DTD/xhtml11.dtd">

<html xmlns="http://www.w3.org/1999/xhtml" xml:lang="en">
    <head>
        <title>Test Page for the Nginx HTTP Server on Fedora</title>
        <meta http-equiv="Content-Type" content="text/html; charset=UTF-8" />
(省略)
正常にレスが帰ってきました。ブラウザでの確認はファイアウォール設定後におこないます。
PHP
インストール
php-fpmをインストールし、nginxをリバースプロキシとしてアクセスします。
まずはyumでphp-fpmをインストール
$ sudo yum install php-fpm php-mbstring
サービスの起動
nginx同様、サービスを有効化して、サービスを開始します。
$ sudo systemctl enable php-fpm
$ sudo systemctl start php-fpm
$ sudo systemctl status php-fpm
php-fpm.service - The PHP FastCGI Process Manager
   Loaded: loaded (/usr/lib/systemd/system/php-fpm.service; enabled)
   Active: active (running) since 月 2015-02-00 00:00:00 JST; 0min ago
 Main PID: 1198 (php-fpm)
   Status: "Processes active: 0, idle: 5, Requests: 3, slow: 0, Traffic: 0req/sec"
   CGroup: /system.slice/php-fpm.service
           tq1198 php-fpm: master process (/etc/php-fpm.conf)
           tq2095 php-fpm: pool www
           tq2096 php-fpm: pool www
           tq2097 php-fpm: pool www
           tq2098 php-fpm: pool www
           mq2099 php-fpm: pool www

 2月 00 00:00:00 localhost.localdomain systemd[1]: Started The PHP FastCGI P...
Hint: Some lines were ellipsized, use -l to show in full.
エラーもでず、無事起動しました。
nginxをリバースプロキシとして設定
nginxで、*.phpにアクセスがあった場合、php-fpmへphpのスクリプトを処理結果を要求するようにします。
ドキュメントルートはデフォルトのまま
/usr/share/nginx/html
にしています。
$ sudo vi /etc/nginx/nginx.conf
(中略)
http {
    (中略)
    server {
        (中略)
        location / {
        }
# ここから追加
        location ~ \.php$ {
            fastcgi_pass     127.0.0.1:9000;
            fastcgi_index    index.php;
            fastcgi_param    SCRIPT_FILENAME  /usr/share/nginx/html/$fastcgi_script_name;
            include          fastcgi_params;
        }
# ここまで
    }
設定が正しいか確認しておきます。
$ sudo nginx -t
nginx: the configuration file /etc/nginx/nginx.conf syntax is ok
nginx: configuration file /etc/nginx/nginx.conf test is successful
test is successfulなので大丈夫そうなので、nginxを再起動して設定を有効にします。
$ sudo systemctl restart nginx
phpinfo
動作確認のために、お約束のphpinfoを表示するファイルを、ドキュメントルート直下に置いておきます。
$ sudo vi /usr/share/nginx/html/phpinfo.php
<?php
phpinfo();
?>
確認
$ localhost/phpinfo.php
<!DOCTYPE html PUBLIC "-//W3C//DTD XHTML 1.0 Transitional//EN" "DTD/xhtml1-transitional.dtd">
<html xmlns="http://www.w3.org/1999/xhtml"><head>

(中略)

<p>If you did not receive a copy of the PHP license, or have any questions about PHP licensing, please contact license@php.net.
</p>
</td></tr>
</table><br />
</div></body></html>
エラーではなくphpinfoのソースっぽいのが返ってきました。
ファイアウォール
外からの接続ができるよう、ファイアウォールのポートを開けます。
まずは現在listenしているサービスを確認します。
$ ss -lt
State      Recv-Q Send-Q      Local Address:Port          Peer Address:Port
LISTEN     0      100             127.0.0.1:smtp                     *:*
LISTEN     0      128             127.0.0.1:cslistener                  *:*
LISTEN     0      128                     *:http                     *:*
LISTEN     0      128                     *:ssh                      *:*
LISTEN     0      100                   ::1:smtp                    :::*
LISTEN     0      128                    :::ssh                     :::*
smtp(メール)と、sshと、あとcslistenerっていうのはポート番号9000で、実際はphp-fpmです。紛らわしいので後ほどphp-fpmの設定か、services書換えます。
今回はsshとhttpを外アクセスできるようにします。 sshはすでにアクセスできているので、http(ポート80)の許可を追加します。
また、今後再起動しても永続的にアクセスできるように、permanentオプションを指定しておきます。
sudo firewall-cmd --add-service=http --permanent
sudo firewall-cmd --reload
SELinux 無効化
2015/3/2追記
SE Linuxのせいで権限弾かれて実行できないことがあったので、一旦無効化しておきます。
$ sudo setenforce 0
$ sudo getenforce
Permissive
SELinuxが有効なほうが高セキュリティなので、動作確認ができたらじっくりと設定してください。
ホストWebブラウザからアクセス
ポート80が公開できたので、Webブラウザからアクセスしてみます。
Virtual Boxの設定
VirtualBoxのポートフォワーディングも追加しておきます。ssh同様、ポート80はつかえないので、8080にしました。
safariから http://localhost:8080/phpinfo.php にアクセスしてみます。
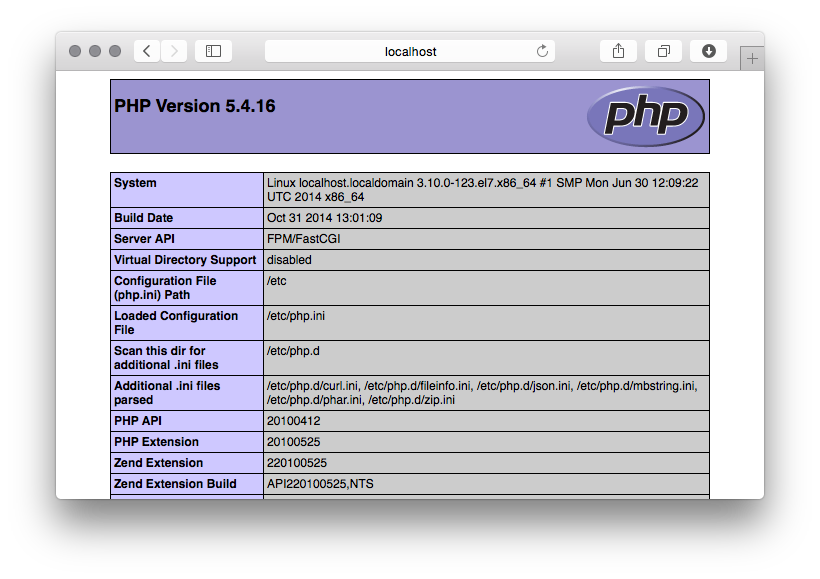
PHPの動作が確認できました。
MariaDB
基本的にはMySQLと同じです。
インストール
$ sudo yum install mariadb mariadb-server
起動
nginxやphpと同様、サービス有効にして起動します。
$ sudo systemctl enable mariadb
ln -s '/usr/lib/systemd/system/mariadb.service' '/etc/systemd/system/multi-user.target.wants/mariadb.service'
$ sudo systemctl start mariadb
$ sudo systemctl status mariadb
mariadb.service - MariaDB database server
   Loaded: loaded (/usr/lib/systemd/system/mariadb.service; enabled)
   Active: active (running) since 月 2015-02-00 00:00:00 JST; 6s ago
  Process: 2419 ExecStartPost=/usr/libexec/mariadb-wait-ready $MAINPID (code=exited, status=0/SUCCESS)
  Process: 2390 ExecStartPre=/usr/libexec/mariadb-prepare-db-dir %n (code=exited, status=0/SUCCESS)
 Main PID: 2417 (mysqld_safe)
   CGroup: /system.slice/mariadb.service
           tq2417 /bin/sh /usr/bin/mysqld_safe --basedir=/usr
           mq2575 /usr/libexec/mysqld --basedir=/usr --datadir=/var/lib/mysql...

 2月 00 00:00:00 localhost.localdomain mysqld_safe[2417]: 150223 00:00:00 my...
 2月 00 00:00:00 localhost.localdomain mysqld_safe[2417]: 150223 00:00:00 my...
 2月 00 00:00:00 localhost.localdomain systemd[1]: Started MariaDB database ...
Hint: Some lines were ellipsized, use -l to show in full.
アクセス確認
MariaDBのクライアントコマンドはそのまんまmysqlです。
初期状態ではrootパスワードが設定されていないので、ユーザー名だけ指定します。
$ mysql -u root
Welcome to the MariaDB monitor.  Commands end with ; or \g.
Your MariaDB connection id is 2
Server version: 5.5.41-MariaDB MariaDB Server

Copyright (c) 2000, 2014, Oracle, MariaDB Corporation Ab and others.

Type 'help;' or '\h' for help. Type '\c' to clear the current input statement.

MariaDB [(none)]>
アクセスできました。
rootパスワード変更
先ほどパスワード無しで接続したMariaDBのコマンドラインで、作業します。
パスワードを間違わないように注意して下さい。
MariaDB [(none)]> SET PASSWORD FOR root@localhost=PASSWORD('任意のパスワード');
Query OK, 0 rows affected (0.00 sec)

MariaDB [(none)]> exit;
Bye
今度は-pオプションを指定して、設定したパスワードでログインできることを確認します。
$ mysql -u root -p
Enter password:
Welcome to the MariaDB monitor.  Commands end with ; or \g.
Your MariaDB connection id is 2
Server version: 5.5.41-MariaDB MariaDB Server

Copyright (c) 2000, 2014, Oracle, MariaDB Corporation Ab and others.

Type 'help;' or '\h' for help. Type '\c' to clear the current input statement.

MariaDB [(none)]>
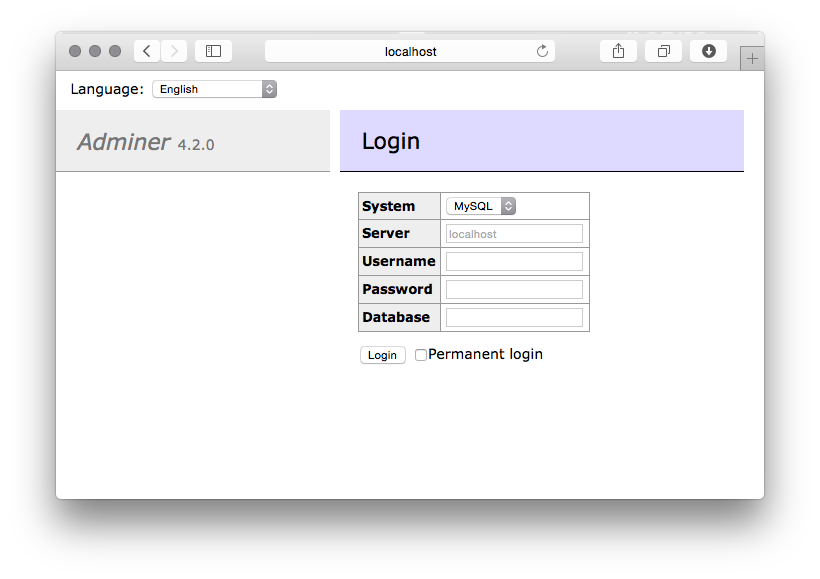
Adminer
phpMyAdminでもいいのですが、なんとなく流行りの予感がしているので、期待も込めて、Adminerを入れてみます。(気に入らなかったらそのうちphpMyAdmin入れます)
インストール
といっても本体はダウンロードするだけ。
$ cd /usr/share/nginx/html/
$ sudo curl -O http://jaist.dl.sourceforge.net/project/adminer/Adminer/Adminer%204.2.0/adminer-4.2.0-mysql.php
$ sudo mv adminer-4.2.0-mysql.php adminer.php
php-mysqli
あとはphp拡張でこれが必要です。
$ sudo yum install php-mysqli
$ sudo systemctl restart php-fpm
$ sudo systemctl status php-fpm
php-fpm.service - The PHP FastCGI Process Manager
   Loaded: loaded (/usr/lib/systemd/system/php-fpm.service; enabled)
   Active: active (running) since 月 2015-02-00 00:00:00 JST; 8min ago
 Main PID: 3368 (php-fpm)
   Status: "Processes active: 0, idle: 5, Requests: 4, slow: 0, Traffic: 0req/sec"
   CGroup: /system.slice/php-fpm.service
           tq3368 php-fpm: master process (/etc/php-fpm.conf)
           tq3370 php-fpm: pool www
           tq3371 php-fpm: pool www
           tq3372 php-fpm: pool www
           tq3373 php-fpm: pool www
           mq3374 php-fpm: pool www

 2月 00 00:00:00 localhost.localdomain systemd[1]: Started The PHP FastCGI P...
Hint: Some lines were ellipsized, use -l to show in full.
実運用ではセキュアなディレクトリ作ってからおいたほうがよさそうです。
今回は動作するようにするだけで、後日検討します。
まとめ
とりあえずLAMP互換な環境が構築できました。
管理系やミドルウェアなどの動向が大きく変わってきているのを実感しました。
こういう転換期は体力いりますが、進化の過程を実感できるのは楽しいですね。
頑張って追いかけていきたいと思います。