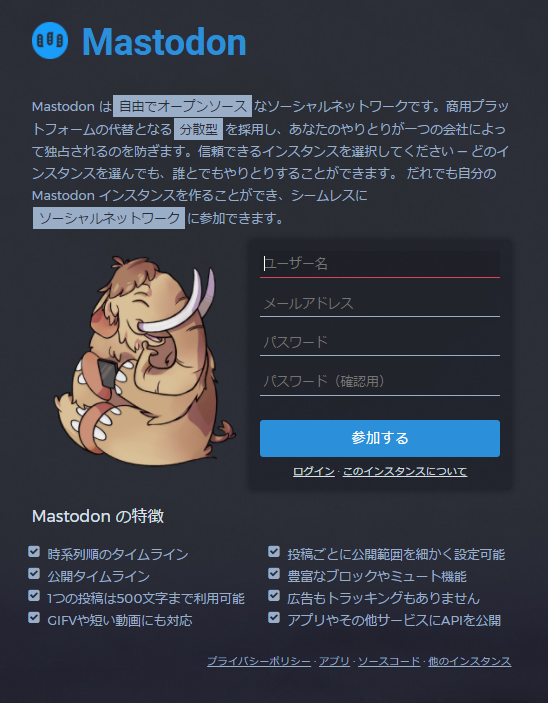
Mastodonをやってみます。まずはVagrant上で動作させてみて、その後に、GCP上で本番サーバを稼働させるようにしてみたいと思います。使っているPCはWindows10です。
Mastodonのドキュメント
Mastodon
Vagrant guide
Development guide
Production guide
Vagrantで動かす
簡単な方法
上記ドキュメントのここに書いてあるとおり、下記のようにやると簡単にMastdonがVagrant上で動くはずなんだけど、自分のWindows10の環境でやると色々エラーになるので、一からインストールしてみたのが下記です。
$ git clone git@github.com:tootsuite/mastodon.git
$ cd mastodon
$ vagrant up
Vagrant初期化
Ubuntu16.04でとりあえずやってみようと思います。必要なのはRails、redis、nginx、postgre、node.jsだそうなので、入れていきます。まずはVagrantを立ち上げます。
$ vagrant plugin install sahara
$ vagrant plugin install vagrant-vbox-snapshot
$ vagrant plugin install vagrant-hostsupdater
$ vagrant init ubuntu/xenial64
$ vim Vagrantfile
Vagrantfileは下記のようにした。
# -*- mode: ruby -*-
# vi: set ft=ruby :

Vagrant.configure("2") do |config|
  config.vm.box = "ubuntu/xenial64"
  config.vm.network "forwarded_port", guest: 80, host: 8080, host_ip: "127.0.0.1"
  config.vm.network "forwarded_port", guest: 3000, host: 9033, host_ip: "127.0.0.1"
  config.vm.provider "virtualbox" do |vb|
    vb.memory = "1024"
  end
end
Vagrant立ち上げ
$ vagrant up
$ vagrant sandbox on
$ vagrant ssh
各種インストール
$ sudo apt-get update
$ curl -sS https://dl.yarnpkg.com/debian/pubkey.gpg | sudo apt-key add -
$ sudo apt-add-repository 'deb https://dl.yarnpkg.com/debian/ stable main'
$ curl -sL https://deb.nodesource.com/setup_4.x | sudo -E bash -
$ sudo apt-get install -y redis-server redis-tools nginx nodejs yarn postgresql-common postgresql postgresql-contrib libpq-dev zlib1g-dev build-essential libssl-dev libreadline-dev libyaml-dev libsqlite3-dev sqlite3 libxml2-dev libxslt1-dev libcurl4-openssl-dev python-software-properties libffi-dev
rbenvを使ってrubyをインストール
$ git clone https://github.com/rbenv/rbenv.git ~/.rbenv
$ echo 'export PATH="$HOME/.rbenv/bin:$PATH"' >> ~/.bashrc
$ echo 'eval "$(rbenv init -)"' >> ~/.bashrc
$ exec $SHELL
$ git clone https://github.com/rbenv/ruby-build.git ~/.rbenv/plugins/ruby-build
$ echo 'export PATH="$HOME/.rbenv/plugins/ruby-build/bin:$PATH"' >> ~/.bashrc
$ exec $SHELL
$ rbenv install 2.4.1
$ rbenv global 2.4.1
$ gem install bundler
$ rbenv rehash
PostgreSQLの設定
$ sudo -u postgres createuser ubuntu -s
$ sudo -u postgres createdb -U postgres mastodon_development
Mastdonをインストール
~/projects/mastodonにダウンロードすることにする。
$ mkdir ~/projects
$ cd ~/projects
$ git clone https://github.com/tootsuite/mastodon.git
$ cd mastodon
$ bundle
$ yarn install
$ bundle exec rails db:setup
$ bundle exec rails assets:precompile
Mastdonを開発サーバで動かしてみる
$ bin/rails s -b 0.0.0.0
動きました!
次は、Vagrant上のNginxで動かしてみます。
とりあえず一旦シェルから出て、sandbox commitをしておきます。
$ vagrant sandbox commit
Nginxの設定以降は次の投稿にします。
