Google が iOS UIテストフレームワーク EarlGrey をセットアップしたときのメモ。EarlGrey 自体は CocoaPods でインストールできるが、その他各種準備が必要なのでまとめておく。
Test Target の追加
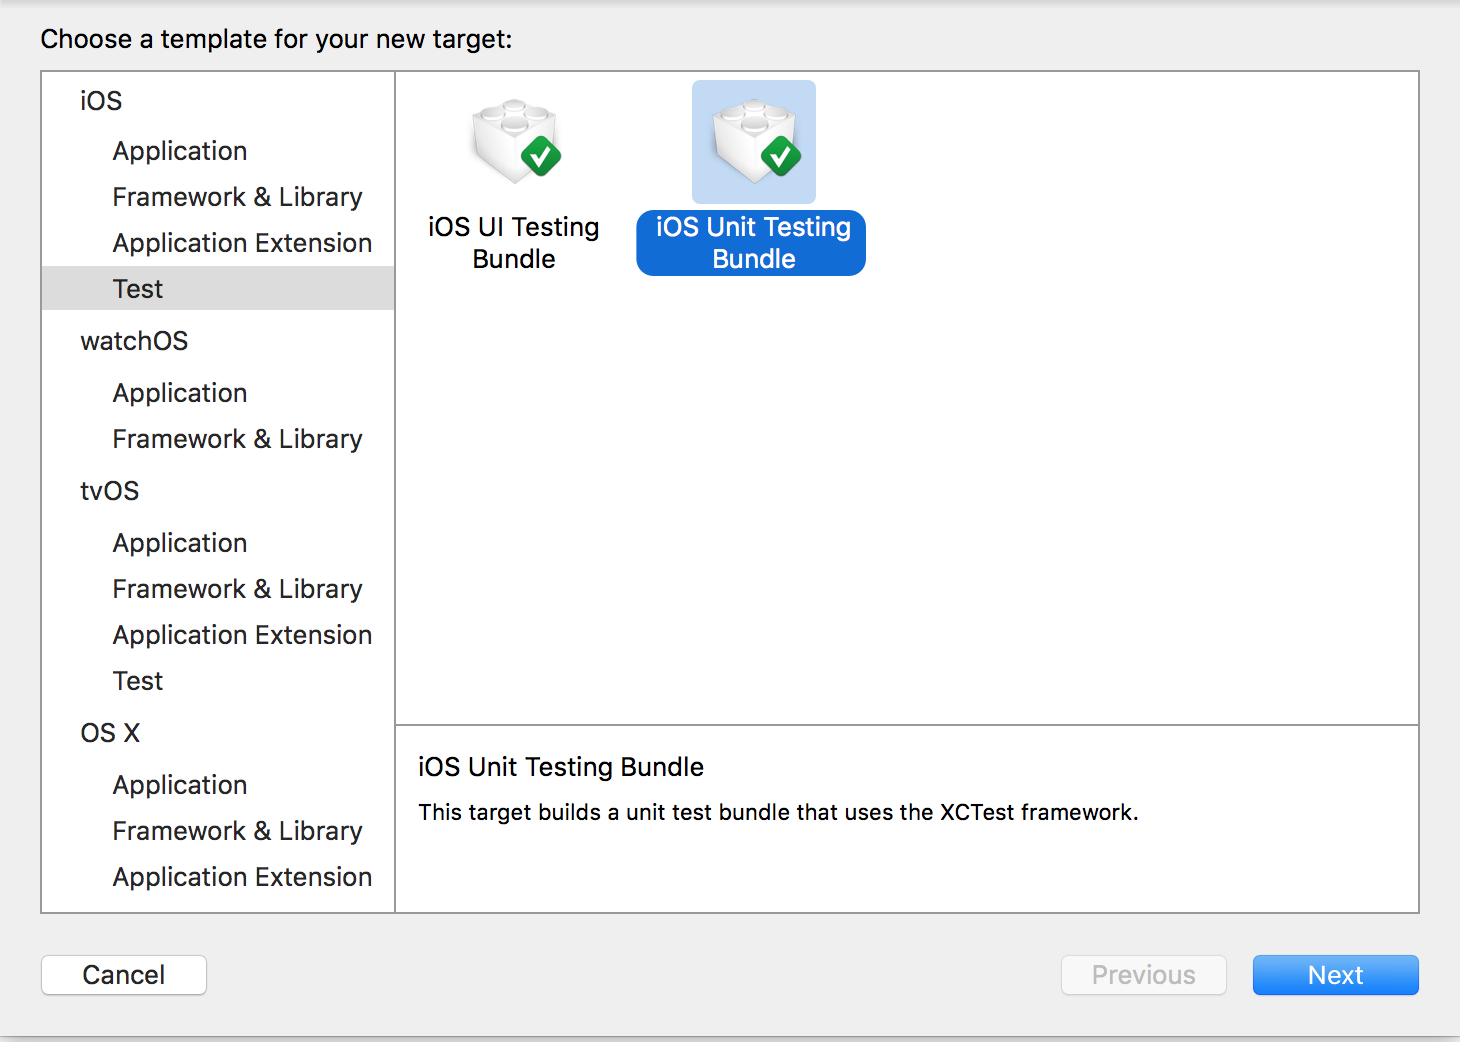
プロジェクトに EarlGrey 用の Test Target を追加する。すでにある場合は使い回すこともできる。 EarlGrey は Xcode の UI Testing とは異なり、アプリと同じプロセス上で動作する方式のため iOS UI Testing Bundle ではなく iOS Unit Testing Bundle のテンプレートを使う。
-
File > New > Target...メニューを選択する -
iOS Unit Testing Bundleテンプレートを選択する - Product Name を設定して保存する(ここでは SampleAppTests)
Scheme の追加
追加した Test Target 用の Scheme を追加する。
- スキームボタンをクリックして
New Scheme...を選択する - Test Target (SampleAppTests)を選択して同名の Scheme を作成する
- スキームボタンをクリックして
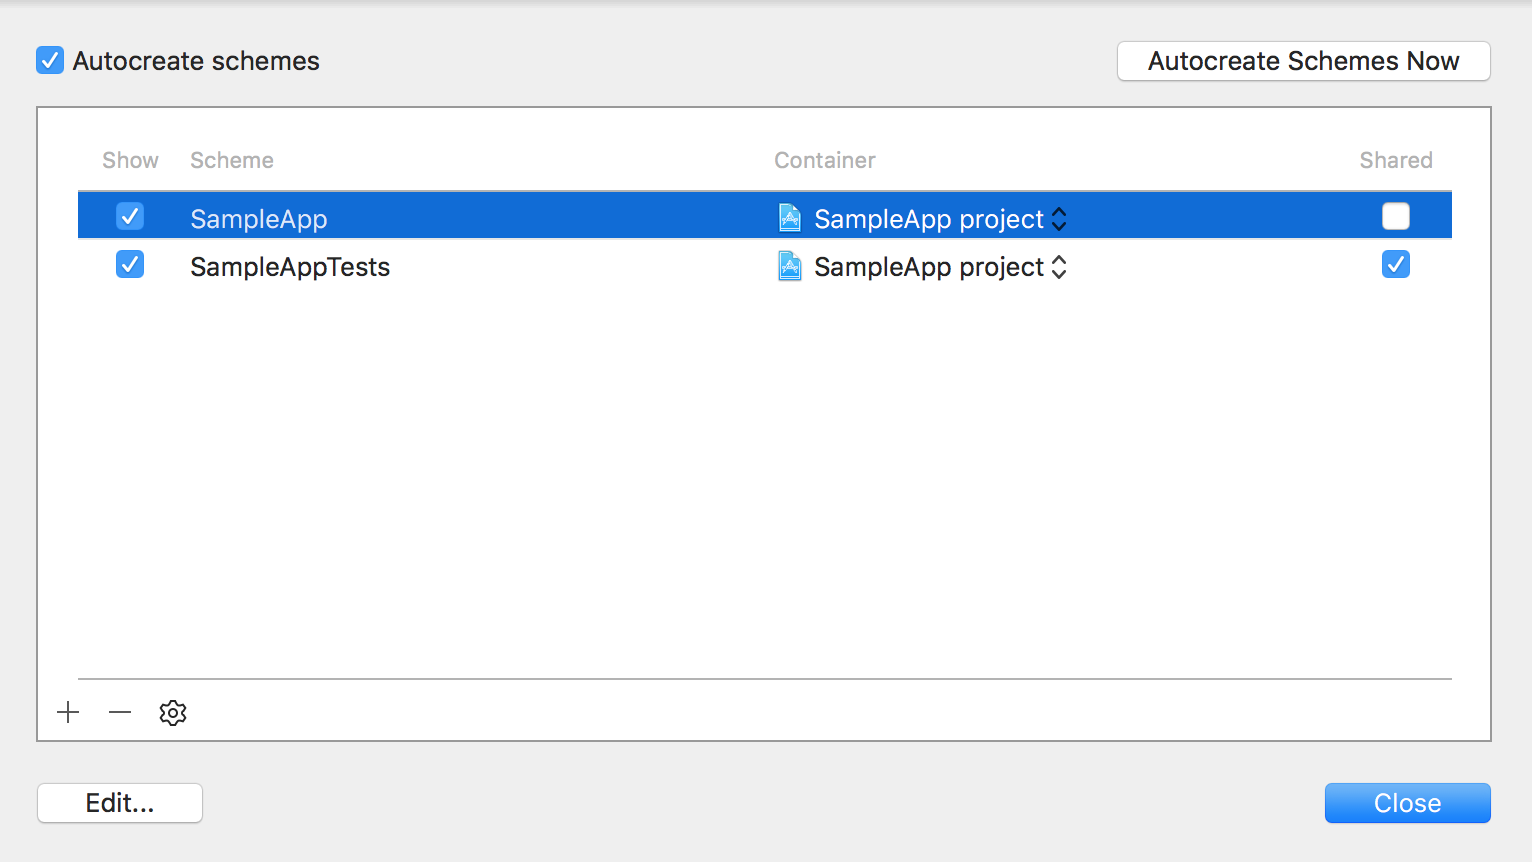
Manage Schemes... - スキームの
Sharedオプションを有効にする
EarlGrey のインストール
Podfile の編集
Podfile に EarlGrey を追加する。configure_for_earlgrey には、プロジェクト名(PROJECT_NAME)、テストターゲット名(TEST_TARGET)、Schemeファイル名(SCHEME_FILE)を渡すようにする。
PROJECT_NAME = "SampleApp"
TEST_TARGET = "SampleAppTests"
SCHEME_FILE = "SampleAppTests.xcscheme"

target "SampleAppTests", :exclusive => true do
  pod "EarlGrey"
end

post_install do |installer|
  load("configure_earlgrey_pods.rb")
  configure_for_earlgrey(installer, PROJECT_NAME, TEST_TARGET, SCHEME_FILE)
end
configure_earlgrey_pods.rb の設置
configure_earlgrey_pods.rb をダウンロードして、Podfile と同じディレクトリに置く。
pod install を実行
pod install コマンドを実行して EarlGrey をインストールする。
$ pod install
Updating local specs repositories

CocoaPods 1.0.0.beta.3 is available.
To update use: `gem install cocoapods --pre`
[!] This is a test version we'd love you to try.

For more information see http://blog.cocoapods.org
and the CHANGELOG for this version http://git.io/BaH8pQ.

Analyzing dependencies
Downloading dependencies
Installing EarlGrey (1.0.0)
Generating Pods project
Checking and Updating SampleApp for EarlGrey.
Adding EarlGrey Framework Location as an Environment Variable
EarlGrey setup complete. You can use the Test Target : SampleAppTests for EarlGrey testing.
Integrating client project

[!] Please close any current Xcode sessions and use `SampleApp.xcworkspace` for this project from now on.
Sending stats
Sending stats
Pod installation complete! There is 1 dependency from the Podfile and 1 total pod installed.
Build Phase の設定
Test Target に Build Phase を設定する
- Test Target (SampleAppTests)の Build Phase を選択する
-
+ボタンをクリックしてNew Copy Files Phaseを選択し下記のように設定する- Destination:
Absolute Path - Path:
$(TEST_HOST)/.. - Copy files only when installing: (チェック無効)
- Name:
EarlGrey.Framework(Code Sign on Copyのチェックを有効にする)
- Destination:
Bridging Header の追加
Briding Header ファイルに #import <EarlGrey/EarlGrey.h> を追加する。存在しない場合は下記の手順で追加する。
-
File > New > File...メニューを選択する -
Header Fileを選択してSampleAppTests-Bridging-Header.hという名前で追加する
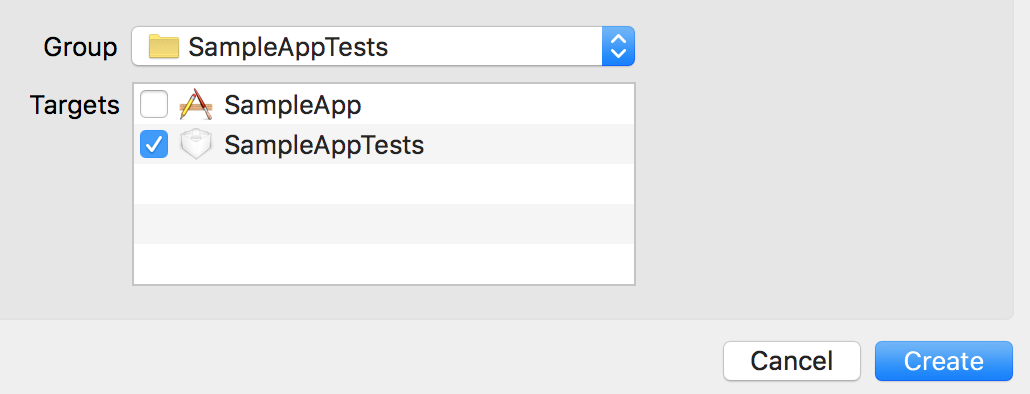
- 追加の際はテストターゲット(SampleAppTests)のチェックボックスを有効にする。
SampleAppTests-Bridging-Header.h を編集して #import <EarlGrey/EarlGrey.h> を追加する。
//
//  SampleAppTests-Bridging-Header.h
//  SampleApp
//
//  Created by Keiichi Inoue on 2/25/16.
//  Copyright © 2016 Keiichi Inoue. All rights reserved.
//

# ifndef SampleAppTests_Bridging_Header_h
# define SampleAppTests_Bridging_Header_h

# import <EarlGrey/EarlGrey.h>

# endif /* SampleAppTests_Bridging_Header_h */
テストターゲットの Build Settings にある Objective-C Bridging Header に追加した Briding Header ファイルを追加する。
SampleAppTests/SampleAppTests-Briding-Header.h
EarlGrey.swift の追加
EarlGrey.swift をダウンロードしてテストターゲット(SampleAppTests)に追加する。
テストの実行
テストの追加
テストコードをテストケースに追加する。
import XCTest

class SampleAppTests: XCTestCase {

	let eg = EarlGrey()

    override func setUp() {
        super.setUp()
    }

    override func tearDown() {
        super.tearDown()
    }

    func testExample() {
        eg.selectElementWithMatcher(grey_accessibilityID("emailField"))
            .performAction(grey_clearText())
            .performAction(grey_typeText("user@example.com"))
        eg.selectElementWithMatcher(grey_accessibilityID("passwordField"))
            .performAction(grey_typeText("password"))
        eg.selectElementWithMatcher(grey_accessibilityID("loginButton"))
            .performAction(grey_tap())
        eg.selectElementWithMatcher(grey_accessibilityID("welcomeText")
        	 .assertWithMatcher(grey_sufficientlyVisible())
    }
}
準備完了。あとは Product > Test または Command + U でテストを実行できる。
おしまい。


