青空文庫で作者っぽさ判定
青空文庫のテキストを利用して、任意の日本語文の作者っぽさを判定するモデルを作ってみました。
https://github.com/shibuiwilliam/aozora_classification
動機
2017/02のTFUG #3に参加したのですが、Rettyの中の方がcharacter-level convolutional neural networkをしていて、これで火がつきました。
https://tfug-tokyo.connpass.com/event/49849/
元ネタとなったQiitaの記事はこちらです。
とても勉強になりました。ありがとうございます。
http://qiita.com/bokeneko/items/c0f0ce60a998304400c8
なおcharacter-level cnnの論文はこちらです。
https://papers.nips.cc/paper/5782-character-level-convolutional-networks-for-text-classification.pdf
さて、従来の自然言語処理では単語の関係性をベクトル化(例:word2vec)します。その前段で、日本語文の場合だと単語間にスペースがないため、単語間の分割が難しく、分かち書きがハードルになっているわけです。
私もMeCabで頑張ったりしてたのですが、分かち書き処理に時間が取られて面倒です。
今回使うcharacter-level cnnだと、1文字1文字(単語ではない)を量子化(quantization)することで分かち書きを回避しています。
【従来の自然言語処理の機械学習フロー】
文章 → クレンジング → 分かち書き → 単語レベルのトレーニングデータ → 機械学習モデル → モデル利用
【character-level cnnでのフロー】
文章 → クレンジング → 文字レベルのトレーニングデータ → 機械学習モデル → モデル利用
文系 兼 ナマケモノ人間としては、手順が減って且つ自然言語処理ができるのが興味をそそったわけです。
作ったもの
今回作ったのは、青空文庫のデータを元に、任意の日本語文が夏目漱石、芥川龍之介、森鴎外、坂口安吾のうち、どの文体に似ているかを判定する機械学習モデルです。
青空文庫をネタにした理由は単純で、一般人が簡単に大量の日本語文章を得られるからです。
そのために作ったプログラムは以下の3つです。
- aozora_scrape.py : 青空文庫から特定の作家のzipファイル一式をダウンロードし、クレンジングしてcsvに変換します。
- aozora_cnn.py : 青空文庫のテキストを元に、character-level cnnで文章判定モデルを作ります。
- aozora_classification : 判定対象の文が夏目漱石、芥川龍之介、森鴎外、坂口安吾のいずれにどれだけ似ているのかを判定します。
ソースコード全文はこちらで公開しています。
https://github.com/shibuiwilliam/aozora_classification
まずはデータを集めよう
aozora_scrate.pyの説明です。
このプログラムでは青空文庫にある特定の作家からzipファイル一式をダウンロードし、解凍、SHIFT-JIS→UTF-8変換をかけて、最終的にCSVファイルを生成します。
ダウンロード対象の作家はtarget_author.csvファイル内に以下のような形で定義します。
"author", "url"
natsume, http://www.aozora.gr.jp/index_pages/person148.html#sakuhin_list_1
akutagawa, http://www.aozora.gr.jp/index_pages/person879.html#sakuhin_list_1
mori, http://www.aozora.gr.jp/index_pages/person129.html#sakuhin_list_1
sakaguchi, http://www.aozora.gr.jp/index_pages/person1095.html#sakuhin_list_1
yoshikawa, http://www.aozora.gr.jp/index_pages/person1562.html#sakuhin_list_1
authorは任意の作家名で、作業ディレクトリやターゲット変数に使われます。
urlは青空文庫の作家ページです。
具体的にはこのURLです。
本当は作家名だけでURLも引っ張ってくるようにしようと思ったのですが、後回しにしてたらそのまま放置してしまいました。
コードは以下になります。
https://github.com/shibuiwilliam/aozora_classification/blob/master/aozora_scrape.ipynb
長いですが、やっていることは簡単です。
- 作業用ディレクトリとしてtarget_author.csvに定義されている作家のディレクトリを作る。
- 各作家の全zipファイルをダウンロードする。
- zipファイルを展開してtxtファイルにする。
- txtファイルは文字コードがSHIFT-JISなので、全てUTF-8に変換したtxtファイルを作る。
- UTF-8にしたtxtファイルを各行、句点(。)で分割し、ルビ《》や編者注[]、段落前スペースを削除してCSVファイルにする。
これで作品ごとのCSVファイルができあがります。
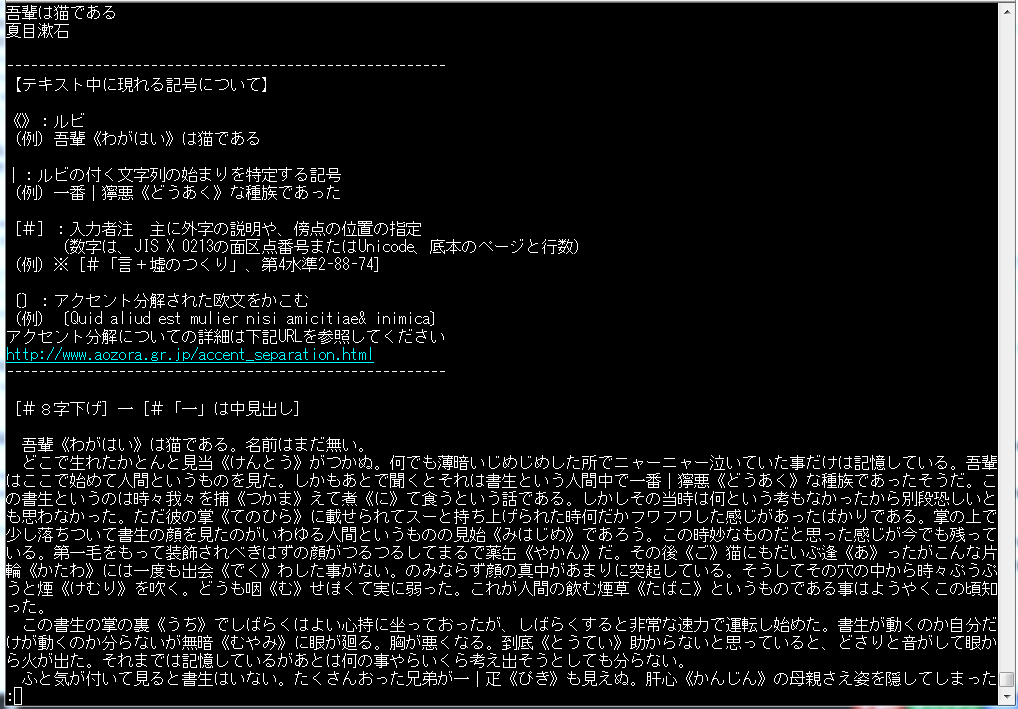
元のテキストファイルがこれです。
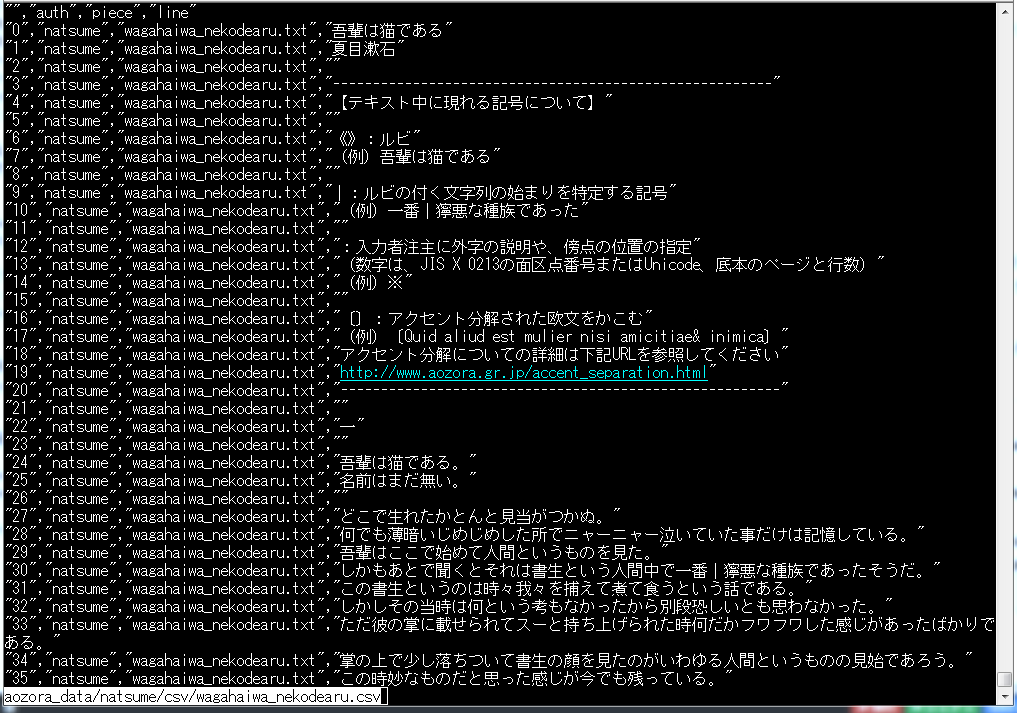
CSV変換後のファイルがこちらです。
最後にできたCSVファイルと作家名がトレーニングデータになります。
character-level cnn
CSVファイルを元にcharacter-level cnnで判定モデルを作成します。
コードは以下になります。
https://github.com/shibuiwilliam/aozora_classification/blob/master/aozora_cnn.ipynb
モデル作成部分は以下のコードを参考にしています。
http://qiita.com/bokeneko/items/c0f0ce60a998304400c8
コードを掻い摘んで説明していきます。
まずは作品ごとのCSVファイルを作家ごとに1ファイルに結合します。
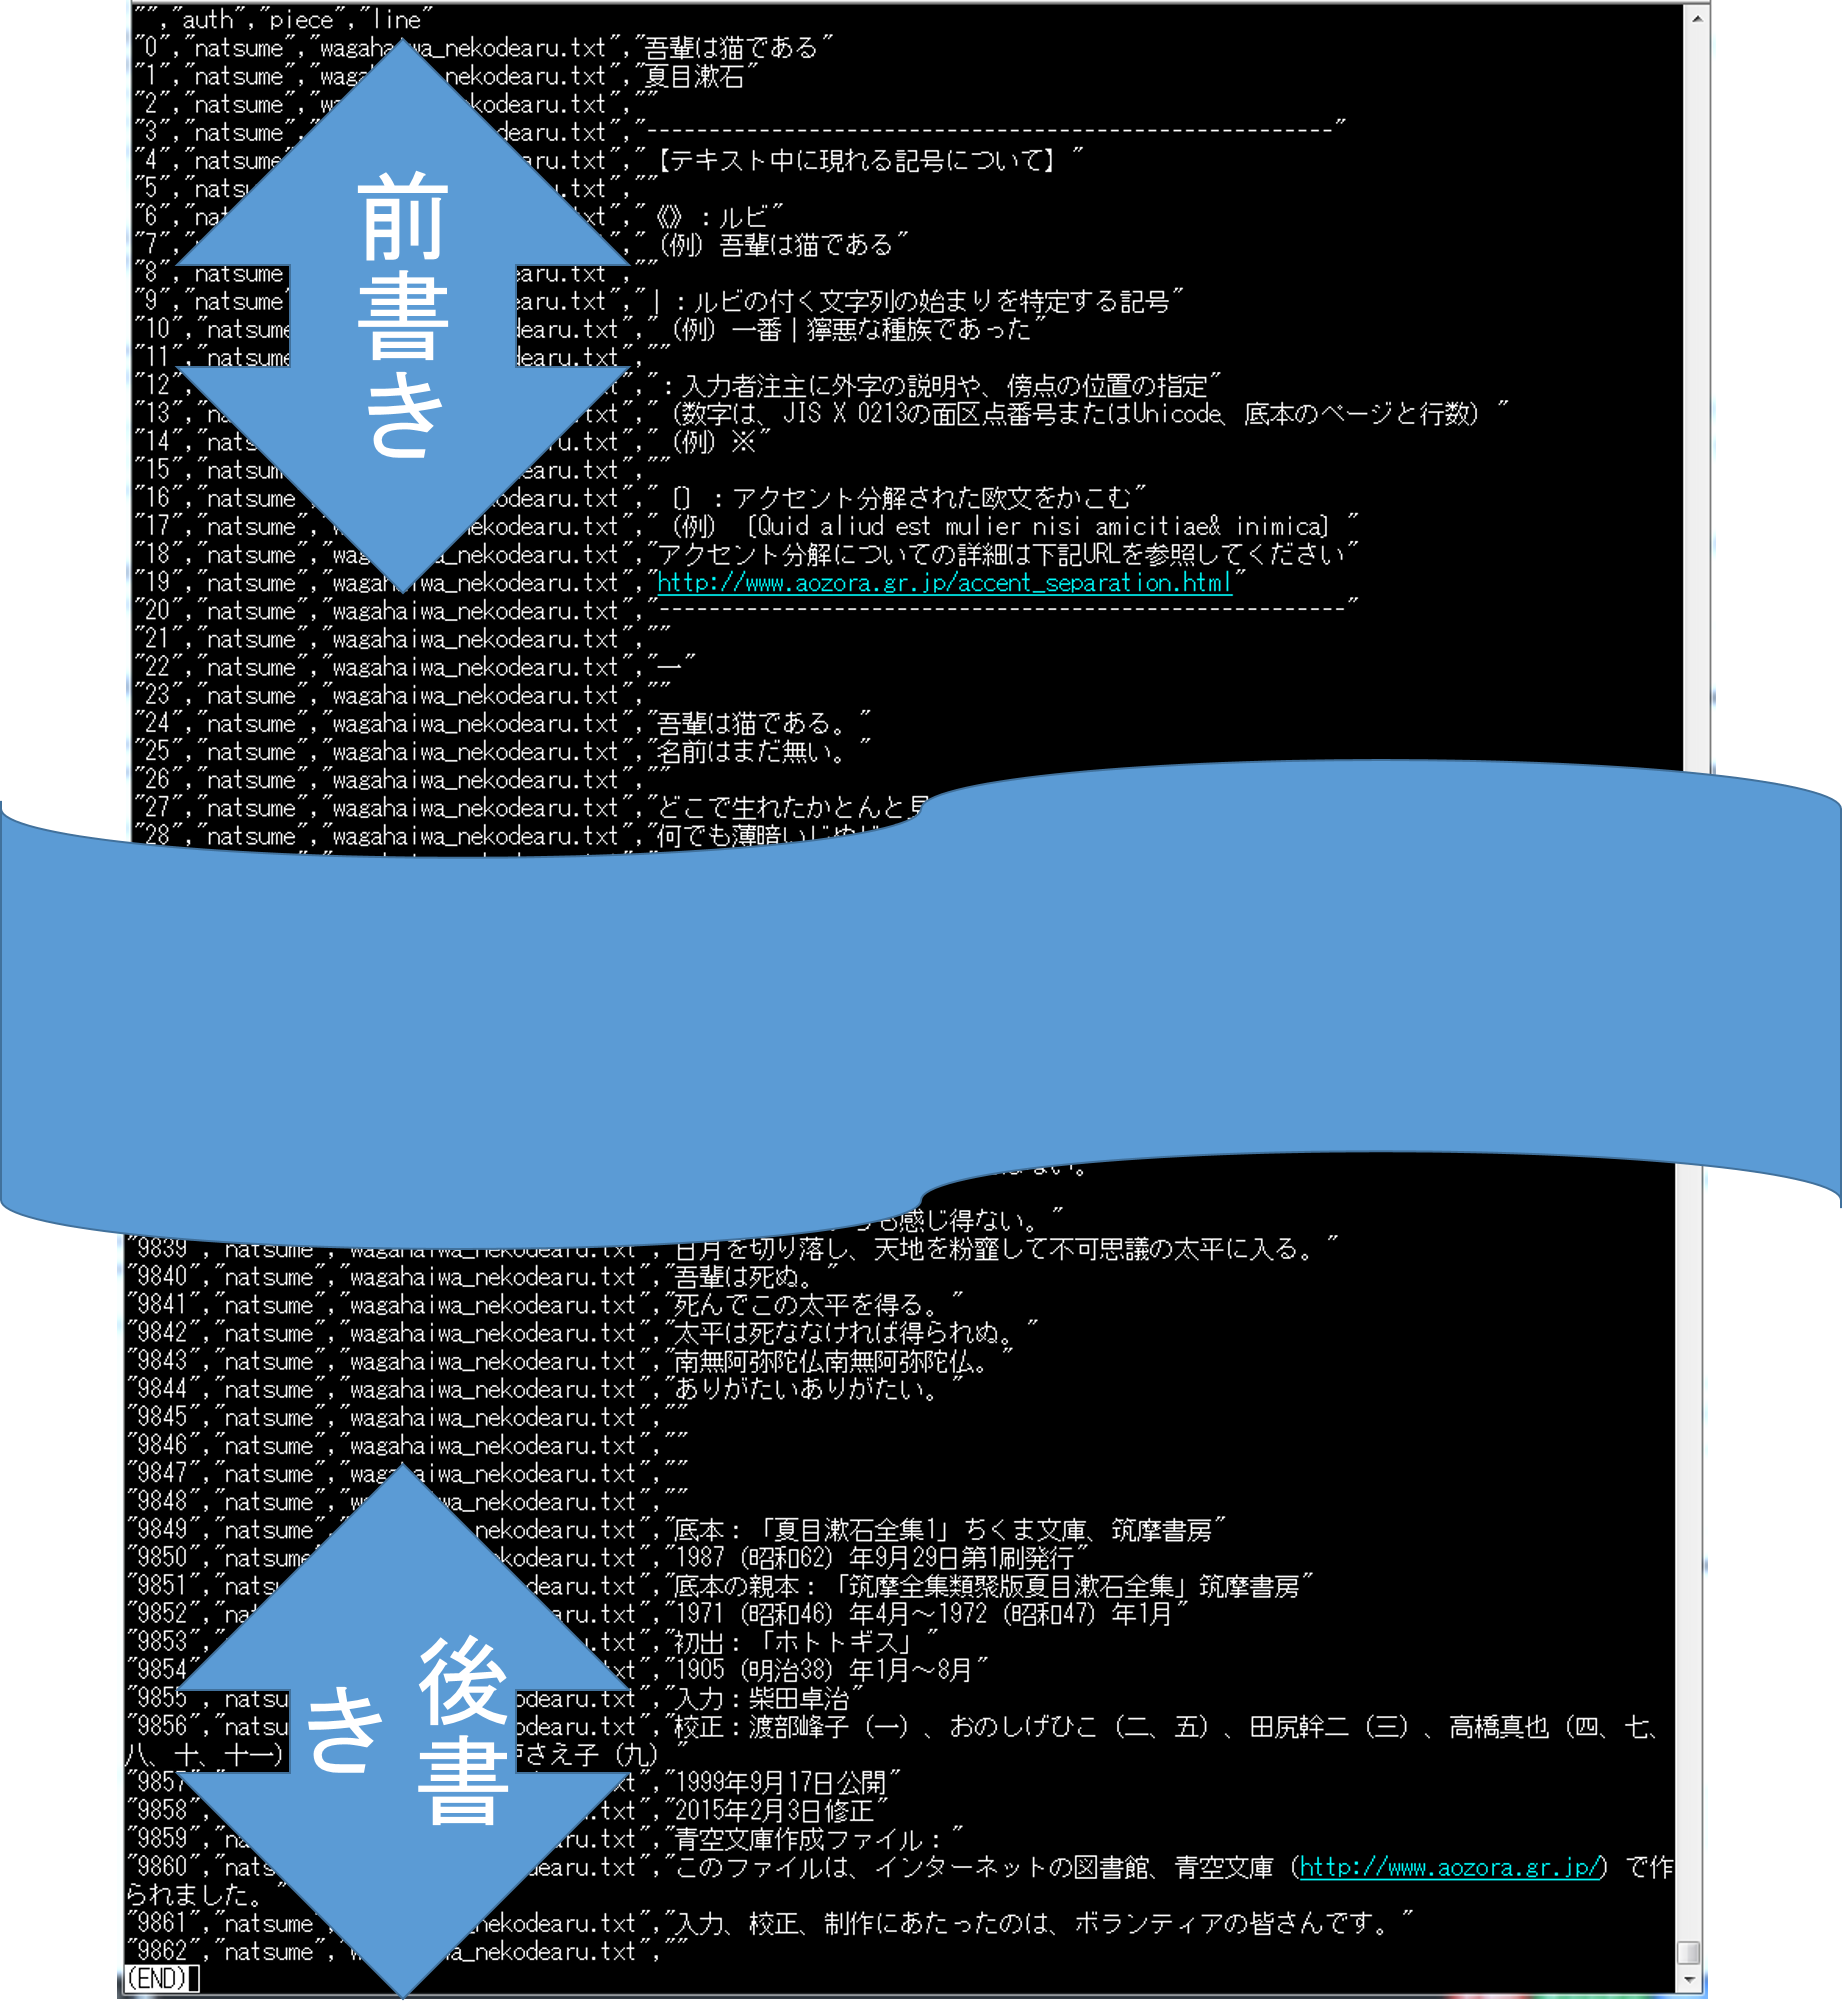
なお、青空文庫のファイルは最初と最後に編者の前書き・後書きがあります。
前書き、後書きの行数は不定で判定が難しいため、前書きは「--------------」まで、後書は一括して最後の20行までを削っています。
# Generating integrated file of csv's of all the pieces for each author.
# One csv file is generated and saved for each author.

def author_data_integ(auth_target=auth_target):
    for w in auth_target[1:]:
        print ("starting: " + w[0])
        auth_dir = '{}{}/'.format(aozora_dir, w[0])
        csv_dir = '{}{}'.format(auth_dir, "csv/")
        files = os.listdir(csv_dir)
        integ_np = np.array([["author", "line"]])
        for file in files:
            if "csv" in file:
                print ("   now at: " + file)
                file_name = csv_dir + file
                pds_data = pds.read_csv(file_name, index_col=0)
                pds_data = pds_data.dropna()
                np_data = np.array(pds_data.ix[:,[0,2]])

                out = [j for j in range(len(np_data)) if '-----------' in str(np_data[j,1])]
                if not out: out = [1]
                hyphen_pos = int(out[len(out) - 1])

                last_20 = len(np_data) - 20

                np_data = np_data[hyphen_pos+1:last_20,:]
                integ_np = np.vstack((integ_np, np_data))

        integ_pds = pds.DataFrame(integ_np[1:,:], columns=integ_np[0,:])
        integ_pds.to_csv(auth_dir + w[0] + '_integ.csv', quoting=csv.QUOTE_ALL)
        print ("finished: " + w[0])

author_data_integ()
次に各作家のcsvを1numpy arrayに結合します。
data_integ = np.vstack((np.vstack((np.vstack((natsume, akutagawa)),mori)),sakaguchi))
続いて、テキストをord()関数でユニコードポイントを表す整数に変換します。
https://docs.python.org/3.6/library/functions.html#ord
また、1文の長さを最長200文字とし、200文字以上は削除、200文字未満0埋めします。
# Converting each line of texts to encoded array.

def load_data(txt, max_length=200):
    txt_list = []
    for l in txt:
        txt_line = [ord(x) for x in str(l).strip()]
        # You will get encoded text in array, just like this
        # [25991, 31456, 12391, 12399, 12394, 12367, 12387, 12390, 23383, 24341, 12391, 12354, 12427, 12290]
        txt_line = txt_line[:max_length]
        txt_len = len(txt_line)
        if txt_len < max_length:
            txt_line += ([0] * (max_length - txt_len))
        txt_list.append((txt_line))
    return txt_list
character-level cnnモデルを作ります。
# Creating character-level convolutional neural network model.

def create_model(embed_size=128, max_length=200, filter_sizes=(2, 3, 4, 5), filter_num=64):
    inp = Input(shape=(max_length,))
    emb = Embedding(0xffff, embed_size)(inp)
    emb_ex = Reshape((max_length, embed_size, 1))(emb)
    convs = []
    for filter_size in filter_sizes:
        conv = Convolution2D(filter_num, filter_size, embed_size, activation="relu")(emb_ex)
        pool = MaxPooling2D(pool_size=(max_length - filter_size + 1, 1))(conv)
        convs.append(pool)
    convs_merged = merge(convs, mode='concat')
    reshape = Reshape((filter_num * len(filter_sizes),))(convs_merged)
    fc1 = Dense(64, activation="relu")(reshape)
    bn1 = BatchNormalization()(fc1)
    do1 = Dropout(0.5)(bn1)
    fc2 = Dense(4, activation='sigmoid')(do1)
    model = Model(input=inp, output=fc2)
    return model
トレーニングを行います。
エポック毎のログは/tmp/配下にcsvで保存しています。
また、チェックポイントを設定しています。チェックポイントにより、検証時のaccuracyが最高値の場合は、/tmp/配下にその時点のモデルをweight*.h5dfファイルとして保存します。
チェックポイントによって、トレーニングを途中で停止する場合(EC2のコスト削減とか)も、その段階まで保持できます。
Load previous weight if exists とコメントしている部分で、途中停止したチェックポイントがある場合は、それをロードして再開するようにしています(2017/03/06更新)。
# Training the model.

def train(inputs, targets, batch_size=100, epoch_count=100, max_length=200, model_filepath=aozora_dir + "model.h5", learning_rate=0.001):
    start = learning_rate
    stop = learning_rate * 0.01
    learning_rates = np.linspace(start, stop, epoch_count)

    model = create_model(max_length=max_length)
    optimizer = Adam(lr=learning_rate)
    model.compile(loss='categorical_crossentropy',
                  optimizer='adam',
                  metrics=['accuracy'])
    model.summary()

    # Load previous weight if exists
    target = os.path.join('/tmp', 'weights.*.hdf5')
    files = [(f, os.path.getmtime(f)) for f in glob.glob(target)]
    if len(files) != 0:
        latest_saved_model = sorted(files, key=lambda files: files[1])[-1]
        model.load_weights(latest_saved_model[0])

    # Logging file for each epoch
    csv_logger_file = '/tmp/clcnn_training.log'

    # Checkpoint model for each epoch
    checkpoint_filepath = "/tmp/weights.{epoch:02d}-{loss:.2f}-{acc:.2f}-{val_loss:.2f}-{val_acc:.2f}.hdf5"

    model.fit(inputs, targets,
              nb_epoch=epoch_count,
              batch_size=batch_size,
              verbose=1,
              validation_split=0.1,
              shuffle=True,
              callbacks=[
                  LearningRateScheduler(lambda epoch: learning_rates[epoch]),
                  CSVLogger(csv_logger_file),
                  ModelCheckpoint(filepath=checkpoint_filepath, verbose=1, save_best_only=True, save_weights_only=False, monitor='val_acc')
              ])

    model.save(model_filepath)
最後にモデルがファイル出力されますが、チェックポイントで作成した/tmp/weight-*.h5dfファイルでも判定は可能です。
私のように遅いサーバ(AWS EC2、GPUなし)でやっている場合、トレーニング完了を待たなくても判定して遊ぶことができます。
ちなみにEC2 M2.xlarge1台でトレーニングして、24時間経っても終わりません(T_T)
Tips
トレーニングをLinux上で行うときは、コマンドを必ずnohup [command] &で挟みましょう。
例:nohup python aozora_cnn.py &
こうすることで、Linuxからログアウトしても処理は続きます。
また実行状況を記録するnohup.outファイルが作成されて、その中に進行状況が保存されます。
進行状況を見たい場合はnohup.outをtail -fしてみましょう。
tail -f nohup.out
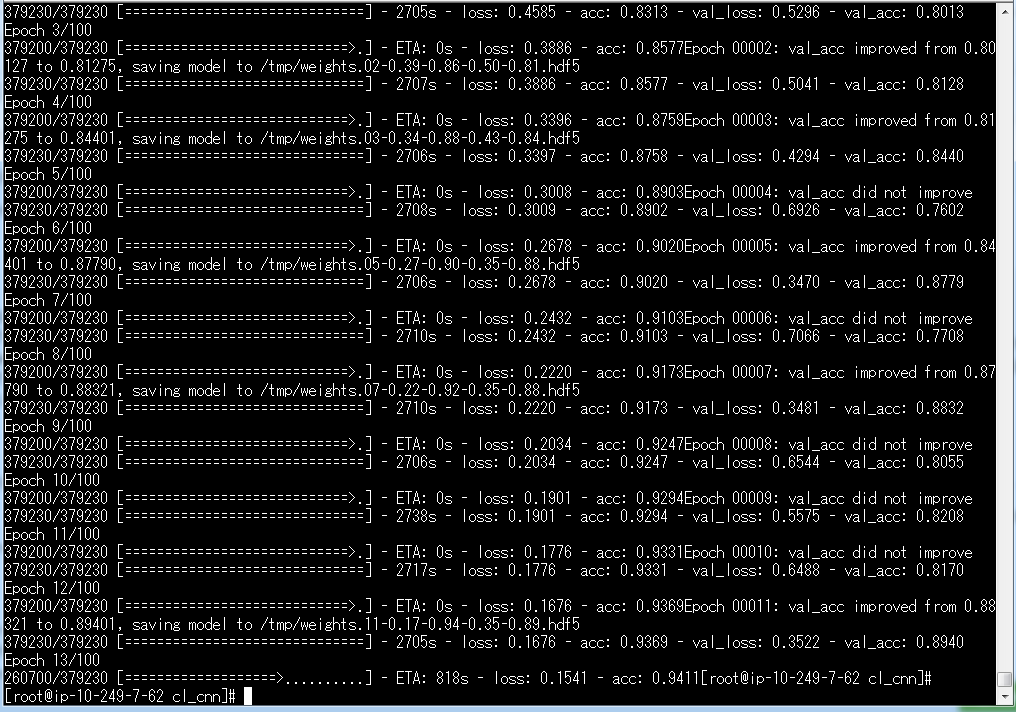
いまは13エポック目のようです。
100エポックにしているので、先はまだまだ長いです。
なお、KerasはEarlyStoppingを設定することで、正答率や損失関数が改善しなくなったらトレーニングを停止する、ということもできます。
今回は、エポックを重ねることが必ずしも正答率・損失関数の改善にならないようなので組み込んでませんが、トレーニング時間短縮にもなるし、とても便利です。
https://keras.io/ja/callbacks/
判定してみましょう
それではモデルを使って判定してみましょう。
判定コードはこちらです。
https://github.com/shibuiwilliam/aozora_classification/blob/master/aozora_classification.ipynb
今回はトレーニング途中のチェックポイントを使います。
待ちきれませんでした。
この判定コードを使うときは以下の値を編集してください。
- model_file : モデルのファイルパス
- raw_txt : 判定したい日本語文
- target_author : 判定対象の作家名
# coding: utf-8

"""
This predict how much a sentence is similar to one of the Japanese classical author.
Before using this, be sure to generate a model using aozora_cnn.py.
Change the values for model_file to your model hdf5 file path, raw_txt to your favorite sentence in Japanese
and target_author to the author you trained the model.
"""

import numpy as np
import pandas as pds
from keras.models import load_model

model_file = "/tmp/weights.07-0.22-0.92-0.35-0.88.hdf5"
raw_txt = "隴西の李徴は博學才穎、天寶の末年、若くして名を虎榜に連ね、ついで江南尉に補せられたが、性、狷介、自ら恃む所頗る厚く、賤吏に甘んずるを潔しとしなかつた。"
target_author = ["夏目漱石","芥川龍之介","森鴎外","坂口安吾"]


# Encodes the raw_txt
def text_encoding(raw_txt):
    txt = [ord(x) for x in str(raw_txt).strip()]
    txt = txt[:200]
    if len(txt) < 200:
        txt += ([0] * (200 - len(txt)))
    return txt


# Predict
def predict(comments, model_filepath="model.h5"):
    model = load_model(model_filepath)
    ret = model.predict(comments)
    return ret


if __name__ == "__main__":
    txt = text_encoding(raw_txt)
    predict_result = predict(np.array([txt]), model_filepath=model_file)

    pds_predict_result = pds.DataFrame(predict_result, columns=target_author)


pds_predict_result
中島敦『山月記』の冒頭を判定してみます。
~隴西の李徴は博學才穎、天寶の末年、若くして名を虎榜に連ね、ついで江南尉に補せられたが、性、狷介、自ら恃む所頗る厚く、賤吏に甘んずるを潔しとしなかつた。~
4人のうちでは森鴎外に近いようですね。
つぎは川端康成の『雪国』から冒頭文です。
~国境の長いトンネルを抜けると雪国であった。~
芥川龍之介の『羅生門』で、文を誤字脱字だらけにしてみたらどうでしょう。
【原文】
~羅生門が、朱雀大路にある以上は、この男のほかにも、雨やみをする市女笠や揉烏帽子が、もう二三人はありそうなものである。~
【誤字脱字】
~らしょうもんが、朱雀大路にあるいじょうは、この男のほかにも、雨をする市女笠や揉烏帽子が、もう五六人はありそうなものではない。~
おお、意外と芥川龍之介って判定できているようです。
最後に『けものフレンズ』ぽい文を判定してみます。
~すごーい、青空文庫は昔の日本文学作品を提供するのが得意なフレンズなんだね!~
坂口安吾!?
さいごに
というわけで色々遊んでみましたが、次はこれを元にDCGANでテキスト生成でもできないかなぁと適当なこと考えていたりします。


