Zend公式のPSR-7対応マイクロフレームワーク「zend-expressive」
簡単にインストールできるスケルトンプロジェクトが用意されていますが、
前回の「zend-expressive-skeletonをGoogleAppEngine/PHPにインストール」で試した通り、
そのままではAppEngineで利用できないため、カスタマイズしてみました。
composerコマンドを使ってインストールできるように、packages.json も準備しています。
以下のように packeges.json を指定して、実行してください。
<project dir> 部分はインストール先ディレクトリです。
$ composer create-project --repository-url=https://gist.githubusercontent.com/curious-eyes/5d2b9188f641682720c03fbc7e4fce8b/raw/0c2f913398660395dc81f0f9414579c441c22783/packages.json --stability=dev zendframework/zend-expressive-skeleton <project dir>
skeleton をインストール
前述のcomposerコマンドを実行すると、インストーラーが開始します。
以下の例では、テンプレートエンジンを「Plates」にした以外は、デフォルトのままです。
Minimal skeleton? (no default middleware, templates, or assets; configuration only)
  [y] Yes (minimal)
  [n] No (full; recommended)
  Make your selection (No):

Which router do you want to use?
  [1] Aura.Router
  [2] FastRoute
  [3] Zend Router
  Make your selection or type a composer package name and version (FastRoute):

Which container do you want to use for dependency injection?
  [1] Aura.Di
  [2] Pimple
  [3] Zend ServiceManager
  Make your selection or type a composer package name and version (Zend ServiceManager):

Which template engine do you want to use?
  [1] Plates
  [2] Twig
  [3] Zend View installs Zend ServiceManager
  [n] None of the above
  Make your selection or type a composer package name and version (n): 1

Which error handler do you want to use during development?
  [1] Whoops
  [n] None of the above
  Make your selection or type a composer package name and version (Whoops):
ローカル環境で動作確認
参考: https://cloud.google.com/appengine/docs/php/quickstart#test_the_application
完了すると、<project dir>配下に app.yaml が生成されているはずですので、
そのままSDKで動作確認できます。
$ dev_appserver.py <project dir>
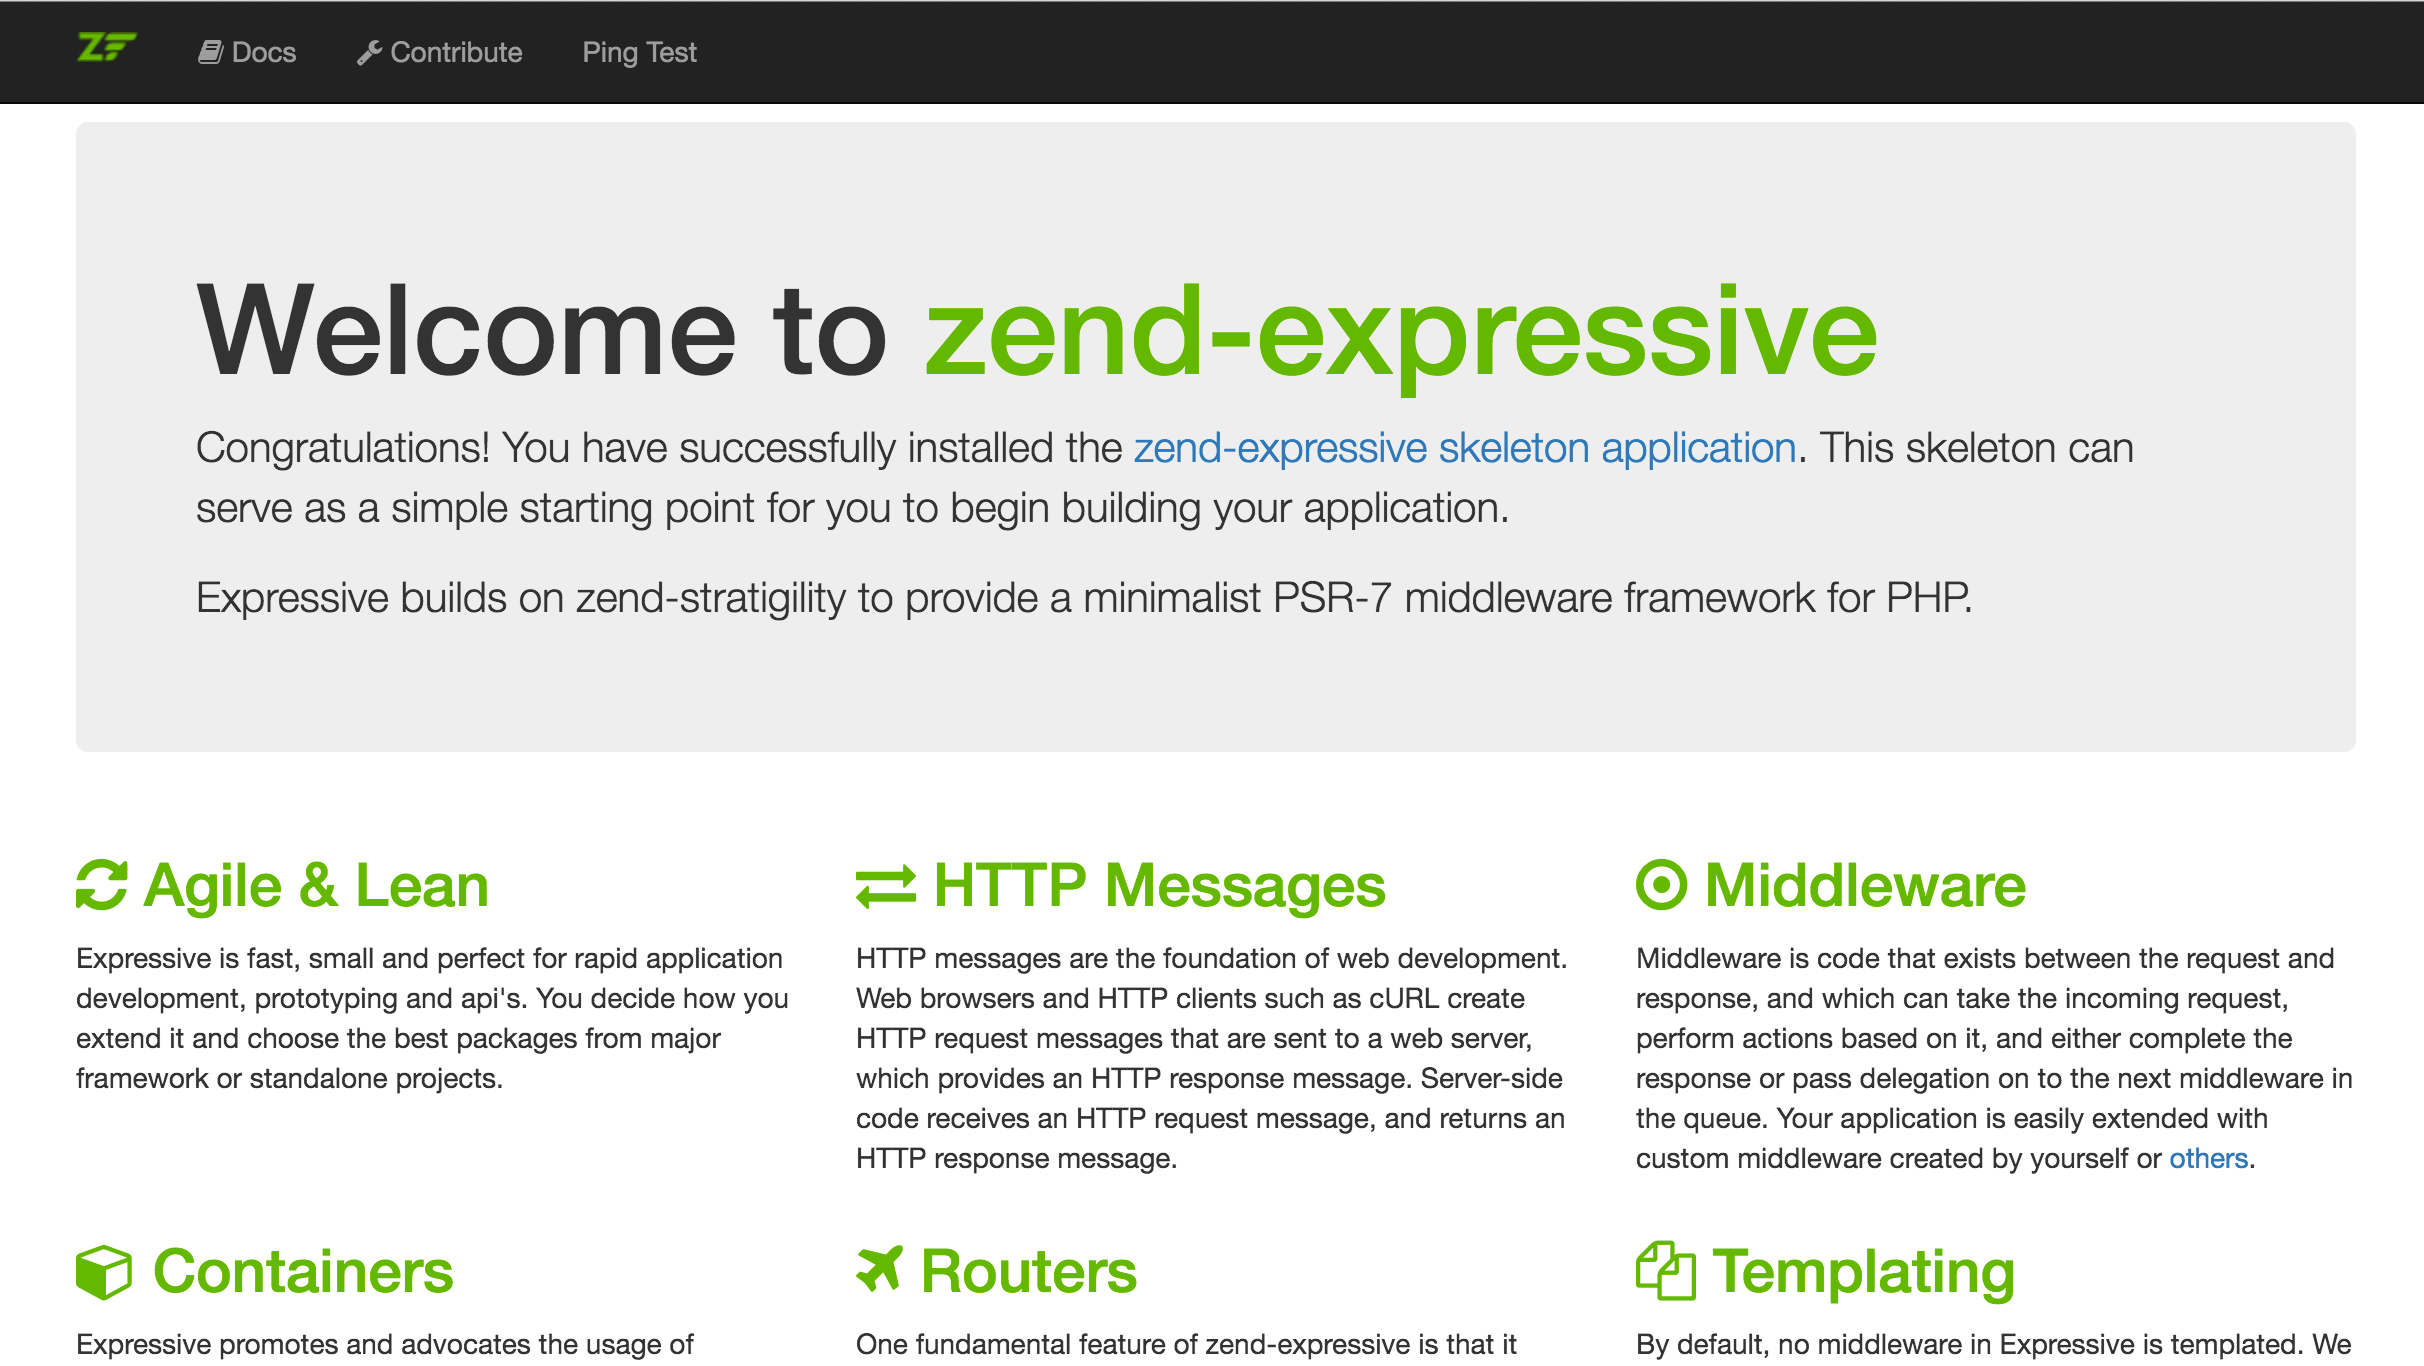
ブラウザで、localhost:8080 にアクセスして、以下の画面になれば成功です。
デプロイ
参考: https://cloud.google.com/appengine/docs/php/quickstart#deploy_your_app
https://console.developers.google.com/
で、プロジェクトを作成して、該当のプロジェクトIDに向けてデプロイしましょう。
$ appcfg.py -A YOUR_PROJECT_ID update app.yaml
ブラウザで、以下のURLにアクセスして確認できます。
http://(YOUR_PROJECT_ID).appspot.com/
引き続き、アプリケーションの開発を進めていきます。
参考: Introduction to Zend Expressive — Master Zend Framework