0. はじめに
注意:
以下に記載する内容を誤って実施すると、サーバーへ SSH 経由で接続できなくなります。
また、構成変更後の sshd の再起動時も既存の SSH セッションを切断せずに開いておくのも有効な手法ですが、すべての場合に対応できるわけではありません。事前に、VNCサーバー、 KVM コンソール、IPMI 接続でのコンソール接続など、他のシステムへのアクセス手段を確保しておきましょう。
セキュリティの向上の為に 二要素認証を設定/利用する機会が増えてきました。
二要素認証の構成に関してインターネット検索をすると、正しいもの、間違っているもの、セキュリティ的にどうなの?と思うものを含めて数多くの結果が得られます。今回は、内容的に充実しているだけでなく、結果として出来上がる構成の堅牢さを考え、以下の記事の手順に沿って進めます。
http://engineering.webpay.co.jp/2014/08/27/ssh-two-factor-authentication/
上記の記事では、まず、公開鍵認証を構成し、そこにパスワード認証を追加します。
最終的には続きとなる以下の記事で、パスワード認証を Google Authentication に変更します。
http://engineering.webpay.co.jp/2014/09/10/ssh-one-time-password/
さらに、SSH 接続時だけでなく、カスタマー・ポータルでも Google Authentication を利用した二要素認証を構成してみましたので、併せて手順を記録しておきます。
1. OpenSSH バージョン確認
検証に使用した CentOS7.1 のデプロイ直後の状態の sshd は、全インターフェースに対して Listen していますので、ログイン後に以下のコマンドで OpenSSH を確認できます(パスワード要求に対しては Ctrl+c を押しています)。
# ssh -vN 127.0.0.1 2>&1 | grep 'remote software version'
debug1: Remote protocol version 2.0, remote software version OpenSSH_6.6.1
root@127.0.0.1's password:
2. 公開鍵の登録
SSH でアクセスされる側のサーバーの /root/.ssh/authorized_key として ssh-keygen で作成した公開鍵の id_rsa.pub を保存し、対となる秘密鍵の id_rsa を SSH アクセスを行うシステム上で使用できるようにしておきます。
サーバーのデプロイ時に SSH キーを事前に登録しておけば authorized_key を自動配布できます。
この段階で、秘密鍵を登録している SSH アクセスを行うシステムから、パスワード無しで、SSH でアクセスされる側のサーバーにログインできることを確認しておきます。
3. /etc/ssh/sshd_config の修正
省略時で no となっている ChallengeResponseAuthentication を yes に変更し、AuthenticationMethods を追加します。
さらに追加で、Listen するアドレスを Private Network のみに変更します。
ChallengeResponseAuthentication yes
# ChallengeResponseAuthentication no

AuthenticationMethods publickey,keyboard-interactive

ListenAddress 10.xx.xx.xx
構成ファイルの記述の間違いの有無を以下のコマンドで確認します。
# sshd -t
sshd を再起動します。
# systemctl restart sshd.service
この段階では秘密鍵を持ち、かつ、パスワードを提示できる、Private Network 経由でアクセスする SSH クライアントからのみ SSH 接続が可能となります。
$ ssh root@10.xx.xx.xx
Authenticated with partial success.
Password:
Last login: Wed Apr 29 23:28:50 2015 from 10.yy.yy.yy
#
4. Google Authentication の構成
いよいよ Google Authentication を構成します。
CentOS7 の省略時値で有効になっていますが、sshd が PAM を使用する以下の構成になっていることを確認します。
# grep ^UsePAM /etc/ssh/sshd_config
UsePAM yes
さらに、Google Authentication のビルドに必要なパッケージを追加します。
# yum install bzip2 gcc pam-devel
準備が整ったところで、ソースのダウンロードおよびビルドを行います。
# cd /usr/local/src
# wget https://google-authenticator.googlecode.com/files/libpam-google-authenticator-1.0-source.tar.bz2
# tar xjf libpam-google-authenticator-1.0-source.tar.bz2
# cd libpam-google-authenticator-1.0/
# make
<中略>
# make install
cp pam_google_authenticator.so /lib64/security
cp google-authenticator /usr/local/bin
次の段階に進む前に、モバイル端末に Google Authenticator アプリケーションをインストールしておきます。
Android: https://play.google.com/store/apps/details?id=com.google.android.apps.authenticator2
iOS: https://itunes.apple.com/en/app/google-authenticator/id388497605?mt=8
次に、今回の二要素認証の対象とする root ユーザーの Google Authenticator の構成を作成します。
質問へ適切に回答すると(今回のテストではすべてに y で回答しています)、QR コードが表示されます。
# google-authenticator

Do you want authentication tokens to be time-based (y/n) y
<以下略>
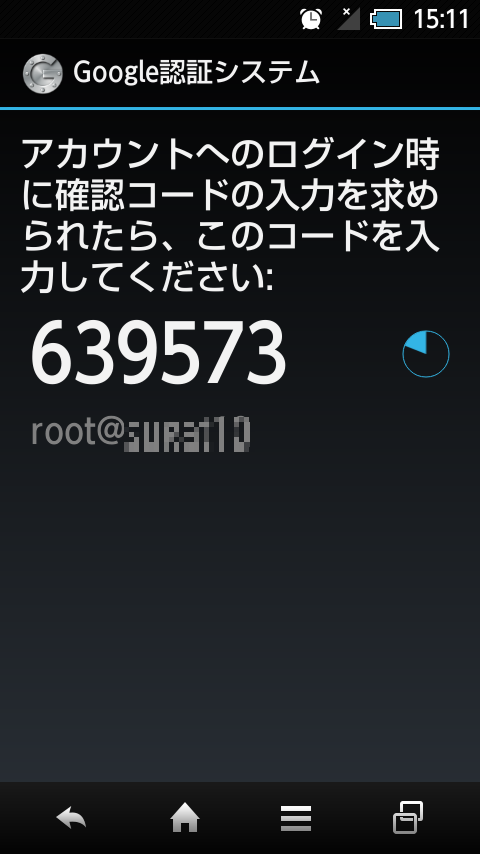
上記で表示された QR コードGoogle Authenticator アプリで読み取って登録を完了します。
また、SSH 経由でアクセスする側、アクセスされる側の時刻を合わせておきます。今回のテストに使用した CentOS 7.1 環境はすぐに時刻を合わせてしまいたかったので、以下の手順で SoftLayer の NTPサーバーと時刻を合わせました。
# systemctl stop ntpd.service
# ntpdate time.service.softlayer.com
29 Apr 23:57:23 ntpdate[14682]: adjust time server 10.0.77.54 offset 0.000895 sec
# systemctl start ntpd.service
5. PAM の構成
PAM の構成を変更する為に以下のファイルを追加、修正します。
# vi /etc/pam.d/google-auth
# %PAM-1.0
auth        required      pam_env.so
auth        sufficient    pam_google_authenticator.so try_first_pass
auth        requisite     pam_succeed_if.so uid >= 500 quiet
auth        required      pam_deny.so

# vi /etc/pam.d/sshd
# %PAM-1.0
auth       required     pam_sepermit.so
# auth       substack     password-auth
auth       substack     google-auth
# auth       include      postlogin
account    required     pam_nologin.so
account    include      password-auth
password   include      password-auth
# pam_selinux.so close should be the first session rule
session    required     pam_selinux.so close
session    required     pam_loginuid.so
# pam_selinux.so open should only be followed by sessions to be executed in the user context
session    required     pam_selinux.so open env_params
session    optional     pam_keyinit.so force revoke
session    include      password-auth
# session    include      postlogin
PAM の構成変更後は、sshd の再起動は不要です。SSH接続をおこなうと以下の様に、パスワードに代わって Verification コードが確認されて、Google Authenticator アプリに表示されているコードを正しく入力するとログインできるようになります。
# ssh root@10.xx.xx.xx
Authenticated with partial success.
Verification code:
Last login: Wed Apr 29 23:29:00 2015 from 10.yy.yy.yy
#
6. カスタマー・ポータルでの Google Authentication
上記 5. までは、「ネットに書いてあることをやってみた」というだけですので、もう少し、SoftLayer っぽいことをやってみます。
-
カスタマー・ポータルから Account -> Users で表示される画面から Goolge Authentication を使用したユーザー名(Username カラムのリンク)をクリックし、"Edit User Profile" の画面を開きます。
-
画面をスクロールし、Two-Factor Authentication の項目からプル・ダウンメニューで Google Authentication is: を "Active" に変更し、表示される QR コードを SSH への構成時と同様に Google Authenticator アプリで読み込みます。
-
以下の様に Google Authenticator アプリ内に SoftLayer というタイトルで追加の項目が表示されます。
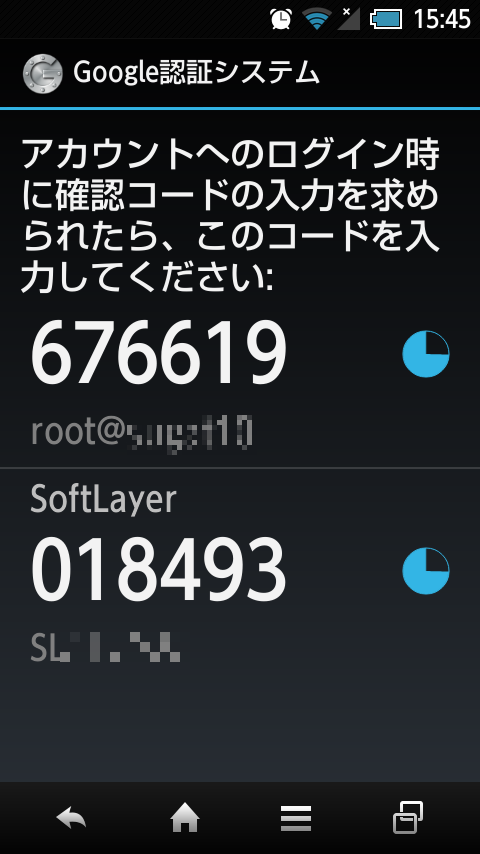
-
この状態でカスタマー・ポータルへのアクセスを試みると、通常のUsername、Password の入力後に以下の様に Security Code の入力を求めるダイアログ・ボックスが表示されます。ここに Google Authenticator に表示中の番号を入力することでログインが可能になります。
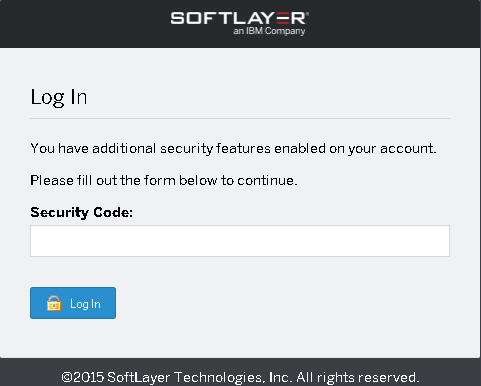
ちなみにセキュリティ・コードは使い捨てなので、入力中も画面にそのまま表示されますし、メモを取っておく必要もありません(念の為)。
7. まとめ
ちょっと敷居が高いかなと思っていましたが、試してみると、特にカスタマー・ポータルは意外と簡単に二要素認証を設定することができたと思います。なりすましや ID の不正使用による被害の可能性を少しでも低減する為に、試してみてはいかがでしょうか。