Mediumのこちらの記事を読みました。
React, Webpack, and Horizon Quick Start
面白そうだったので、僕もやってみました。
ほぼコピペになってしまったので、一応、著者の許可はとってあります。
それぞれのツールやライブラリの説明は省略します。というか、RethinkDBもHorizon.jsも初めて使ってみました。5 minutes Javascriptというポッドキャストで気にはなっていたのですが、使うのは初めてです。わくわく。
ステップ1
まず、必要なツールをインストールして、開発環境をセットアップした後、ローカル開発サーバを立ち上げるところまでやってみます。
RethinkDBインストール
RethinkDBをインストールしておきます。
自分はHomebrewでインストールしました。
$ brew install rethinkdb
RethinkDBは、リアルタイムWebアプリケーションのための、オープンソースDBらしいです。
Horizonインストール
Horizonをインストールします。(Horizon.jsなのか、Horizonなのかいまいちわからない。。)
こちらは、npmからインストールします。
$ npm i -g horizon
horizonはパッケージというよりは、ツールなので、-gインストールみたいですね。
グローバルインストールはちょっと。。。という方は仮想環境で実行することをおすすめします。
horizonのコマンドはhzで実行できます。
$ hz version
プロジェクト作成
プロジェクトを初期化します。
$ hz init [アプリ名]
$ cd [アプリ名]
$ npm init -y
こんなディレクトリ構成が生成されました。
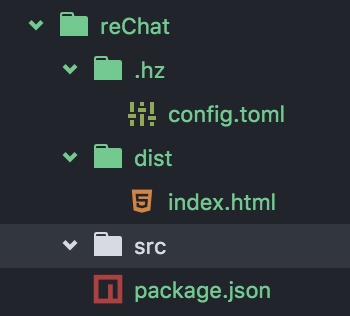
今回、.hz/config.tomlには触ることはありませんが、一読すると面白いかもしれません。
フロントエンド開発環境の構築
フロントエンド開発にまつわるパッケージをインストールします。webpackやreact,babelのパッケージですね。
$ npm install --save react react-dom webpack babel-core babel-polyfill babel-loader babel-plugin-transform-runtime babel-preset-es2015 babel-preset-stage-0 babel-preset-react babel-plugin-transform-runtime
フロントエンド開発者にとっては、おなじみのパッケージですね。
開発ディレクトリも作成します。
$ mkdir src/components
$ touch src/index.jsx
$ touch src/components/app.jsx
Reactコンポーネントの作成
最低限のReactコンポーネントを作成します。
// ./src/index.jsx

import React from 'react'
import ReactDOM from 'react-dom'

import App from './components/app'

ReactDOM.render(
  <App />,
  document.querySelector('.attach')
)
// ./src/components/app.jsx

import React, { Component } from 'react'

class App extends Component {
  render() {
    return (
      <div>
        ここにアプリを構築していきます。
      </div>
    )
  }
}

export default App
さらに、index.htmlも修正しておきます。
<!-- dist/index.html -->

<!doctype html>
<html>
  <head>
    <meta charset="UTF-8">
    <script src="/horizon/horizon.js"></script>
    <script>
      var horizon = Horizon();
      horizon.onReady(function() {
        document.querySelector('h1').innerHTML = 'reChat works!'
      });
      horizon.connect();
    </script>
  </head>
  <body>
    <div class="attach"></div>
    <script src="./bundle.js"></script>
  </body>
</html>
トランスパイル&バンドル設定
次にトランスパイルとバンドルの準備を行います。
$ touch babel.rc
$ touch webpack.config.js
babel.rcにはbabelによるトランスパイルの設定を書きます。そして、webpack.config.jsには、babelを含めたJSのコンパイル全般の設定を書きます。
設定を書き終えたら、webpackをwatchモードで起動します。
$ webpack --watch --progress --colors
何度も使うものですので、自分はpackage.jsonのnpm scriptsに記述しました。
"scripts": {
  "watch": "webpack --watch --progress --colors"
},
Horizon devサーバ
Horizonの開発サーバを立ち上げます。
$ hz serve --dev
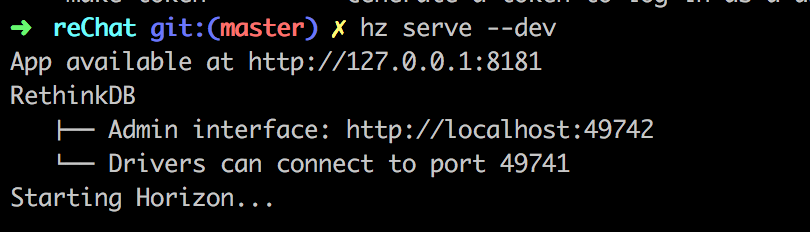
http://localhost:49742 にアクセスすると、以下のような画面が立ち上がります。

これはAdminInterface(管理画面)というものらしいですね。
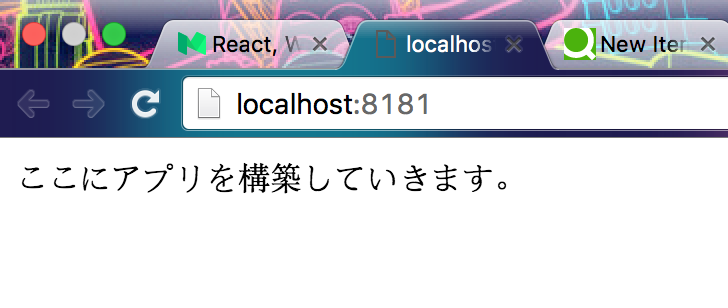
我々が作っていくアプリ画面は http://localhost:8181/ です。
ここにアクセスすると、きちんとReactコンポーネントがレンダーされているのが確認できます。
ステップ2
開発環境が完成して、ブラウザで確認できるようになりました。
次は、アプリケーションをもっとReactチックにしていきます。
メッセージコンポーネント
まずはいくつかのファイルを新規作成します。
$ touch src/components/messages.jsx
$ touch src/components/message.jsx
$ touch dist/style.css
style.cssは以下のように、最低限の見た目を規定しておきます。
.center {
  margin: auto;
  border: 1px solid;
  border-radius: 2px;
  padding: 10px;
}
今回はチャットアプリを作成するので、メッセージのコンポーネントを作成します。
まずはメッセージ一覧のコンポーネントです。
// .src/components/message.jsx

import React, { Component } from 'react'
import Message from './message'

class Messages extends Component {
  constructor(props) {
    super(props)

    this.state = {
      convo: [
        {text: 'this is text', author: '@steedhelix'},
        {text: 'this is some text', author: '@steedhelix'},
        {text: 'this is more text', author: '@steedhelix'},
        {text: 'this is other text', author: '@steedhelix'}
      ]
    }
  }

  render() {
    let msgjsx = this.state.convo.map((message, i) => {
      return <Message msg={message} key={i} />
    })
    return (
      <div className='container-fluid'>
        {msgjsx}
      </div>
    )
  }
}
export default Messages
mapでデータからコンポーネント一覧を生成します。
単一のメッセージコンポーネントは以下のようになります。
// .src/components/message.jsx

import React, { Component } from 'react'

class Message extends Component {
  constructor(props) {
    super(props)
    this.props = props
  }
  render() {
    return(
      <div className='row'>
        <div className='col-xs-2 center'>
          {this.props.msg.author}
        </div>
        <div className='col-xs-10 center'>
          {this.props.msg.text}
        </div>
      </div>
    )
  }
}

export default Message
最後に、Messagesをレンダーするために、App.jsxを以下のように修正します。
// .src/components/app.jsx

import React, { Component } from 'react'

import Messages from './messages'

class App extends Component {
  render() {
    return (
      <div>
        <form>
          <div className='center'>
            <button>メッセージ送信</button>
            <input placeholder='By'></input>
            <input placeholder='write message here'></input>
          </div>
        </form>
        <Messages />
      </div>
    )
  }
}

export default App
さらに今回は、Bootstrapを使いました。
index.htmlのheadタグ内に以下の2行を追加します。
<link rel="stylesheet" href="https://maxcdn.bootstrapcdn.com/bootstrap/3.3.6/css/bootstrap.min.css">
    <link rel="stylesheet" href="style.css">
改めて、ブラウザで確認してみます。
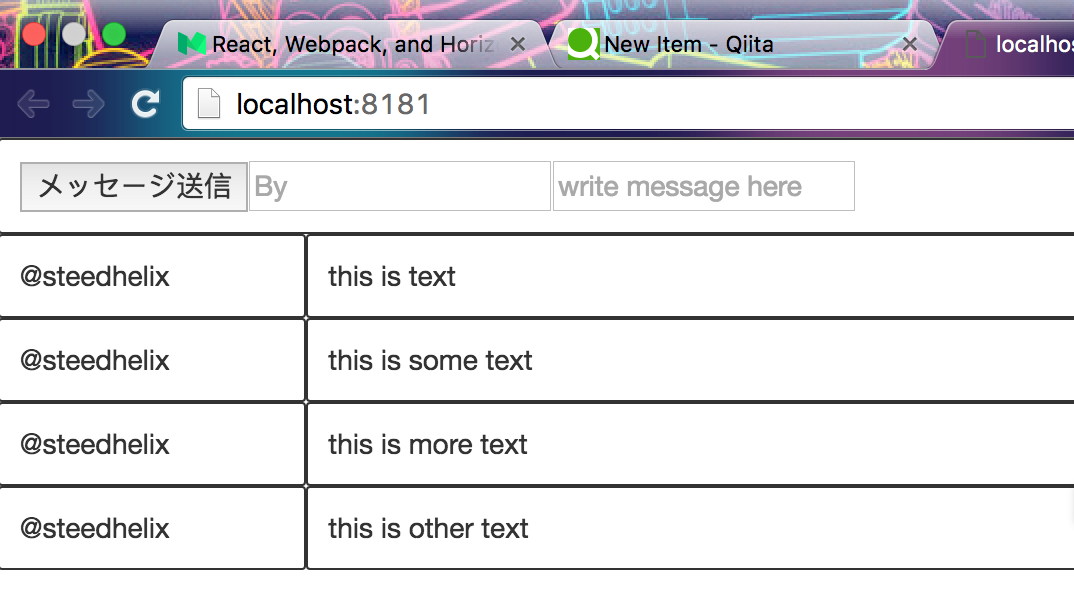
きちんとReactコンポーネントが表示されていますね。
ステップ3
さて、ここからはDBとの通信を行います。
パッケージインストール
さらにもう1つ、パッケージをインストールします。
$ npm install --save @horizon/client
index.htmlの完成
index.htmlから不要な箇所を削除します。index.htmlへの修正はこれが最後になります。
<!doctype html>
<html>
  <head>
    <meta charset="UTF-8">
    <link rel="stylesheet" href="https://maxcdn.bootstrapcdn.com/bootstrap/3.3.6/css/bootstrap.min.css">
    <link rel="stylesheet" href="style.css">
  </head>
  <body>
    <div class="attach"></div>
    <script src="./bundle.js"></script>
  </body>
</html>
Horizonに関するscriptは、先ほどインストールしたパッケージに内包されるので、不要となりました。
App.jsxの修正
App.jsxを大きく修正していきます。
// ./src/components/app.jsx

import React, { Component } from 'react'
import Messages from './messages'

// 新しくインストールしたhorizonのクライアントをインクルードします。
const Horizon = require('@horizon/client')
const horizon = Horizon({secure: false})

// messageコレクションをRethinkDB内で初期化します。
const chat = horizon('message')

class App extends Component {
  constructor(props) {
    super(props)
    this.state = {
      author: false,
      text: false
    }
  }

  // 以下の2つのhandleChange関数はformの値をウォッチします。
  handleChangeAuthor(event) {
    this.setState({author: event.target.value})
  }

  handleChangeText(event) {
    this.setState({text: event.target.value})
  }

  sendMessage() {
    // 空文字をチェックして、メッセージと書き手が入力されていないならば、早めにreturnする。
    if(this.state.text === false || this.state.author === false) {
      alert("Invalid Submission")
      return
    }
    let message = {
      text: this.state.text,
      author: this.state.author
    }

    // storeメソッドは、新しいメッセージをRethinkDB上のメッセージコレクションに追加する。
    chat.store(message)
  }


  render() {
    return (
      <div>
        <form>
          <div className='center'>
            <button onClick={this.sendMessage.bind(this)}>メッセージ送信</button>
            <input onChange={this.handleChangeAuthor.bind(this)} placeholder='By'></input>
            <input onChange={this.handleChangeText.bind(this)} placeholder='write message here'></input>
          </div>
        </form>
        {/* chatをpropとしてメッセージコンポーネントに渡す。 */}
        <Messages chat={chat} />
      </div>
    )
  }
}

export default App
horizonを使って、RethinkDBとのやりとりをするような処理を追加しました。
Messages.jsxの修正
// ./src/components/messages.jsx

import React, { Component } from 'react'
import Message from './message'

class Messages extends Component {
  constructor(props) {
    super(props)

    this.chat = props.chat

    // Messagesコンポーネントのstateを空配列で初期化。
    this.state = {
      convo: []
    }
  }

  // コンポーネントがマウントされた時、this.chat.watchを用いてデータベースに問い合わせを行う。
  // stateをセットして、コンポーネントにメッセージを持たせて再レンダリングする。
  componentDidMount() {
    this.chat.watch().subscribe(
      (messages) => {
        let convo = messages.map((message) => {
            return message
        })
        this.setState({convo: convo})
      },
      (err) => {
        console.log(err)
      }
    )
  }

  render() {
    let msgjsx = this.state.convo.map((message, i) => {
      return <Message msg={message} key={i} />
    })
    return (
      <div className='container-fluid'>
        {msgjsx}
      </div>
    )
  }
}
export default Messages
App.jsxの修正を受けて、Messages.jsxも修正しました。
詳しいことは、コメントで書きました。
完成!
Reactコンポーネントの修正を経て、チャットアプリが完成しました。
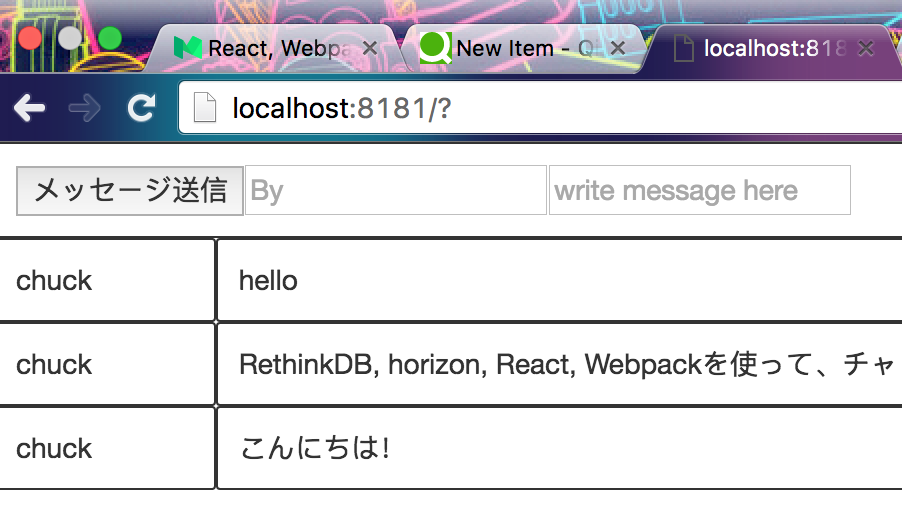
RethinkDBとの通信を行い、DBからstateにデータを追加しています。
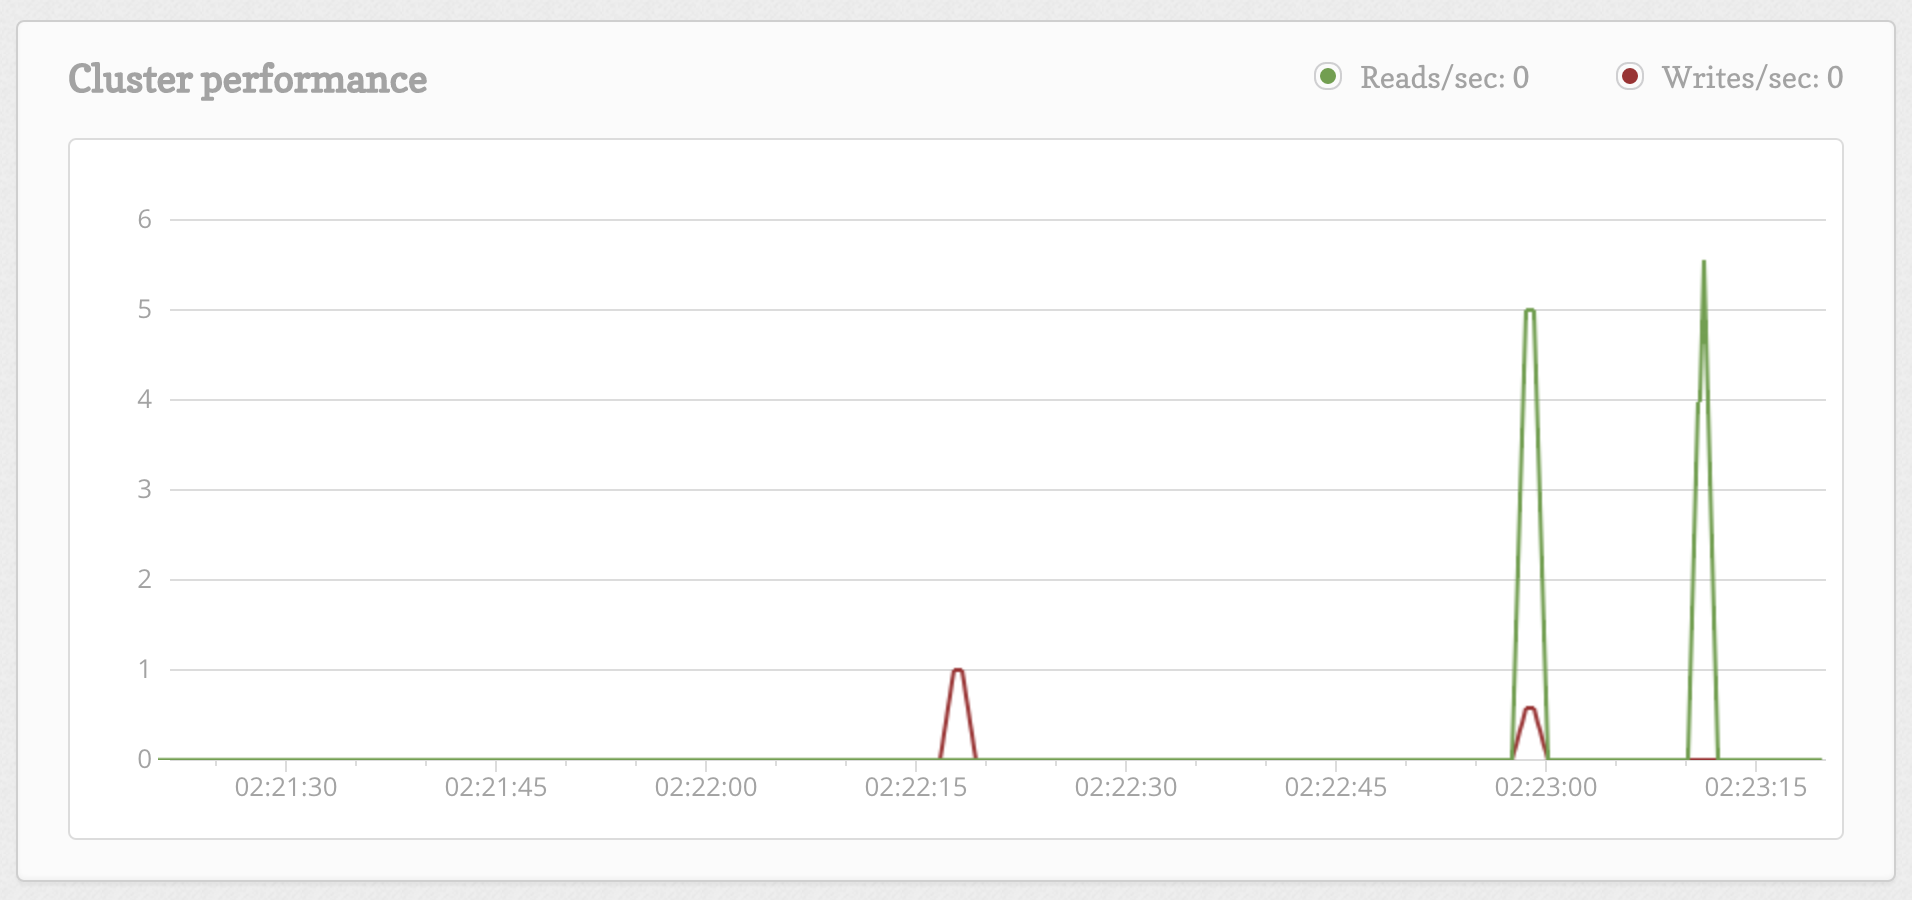
ちなみに、メッセージが追加されるたびにAdmin画面にその旨が表示されます。
結論:たのしい