はじめに
- 検証でADサーバーを作成する必要があり、どうせならWindows Server 2016で実施してみようと思った。
- 何度か作り直す可能性があったため、2012R2と同様の手順でVagrantのBase Boxが作成できるか試してみた。
- Boxを作成するのに参考にしたサイト -> Windows Server 2012R2 の Vagrant Base Boxを作る
実施環境
- MacOS Sierra 10.12.2
- Vagrant 1.9.1
- VirtualBox 5.1.12 r112440
VagrantBoxの作り方を確認する
- Vagrantの公式ページにて、VirtualBoxのBoxeの作成方法を確認する
- Windowsを作成する際に以下の設定を実施する必要がある
- 「vagrant」ユーザを作成し、パスワードを「vagrant」に変更
- UACを無効
- 「複雑さの要件を満たす必要があるパスワード」を無効に変更
- シャットダウンイベントの追跡ツールを無効
- サーバーマネージャーがログオン時に表示されないように変更
- 「vagrant」ユーザを管理者グループに追加
- リモートデスクトップの有効化
- WinRMを有効化する
- VirtualBox Guest Additionのインストール
VirtualBoxでWindowsServer2016のBaseBoxを作成する
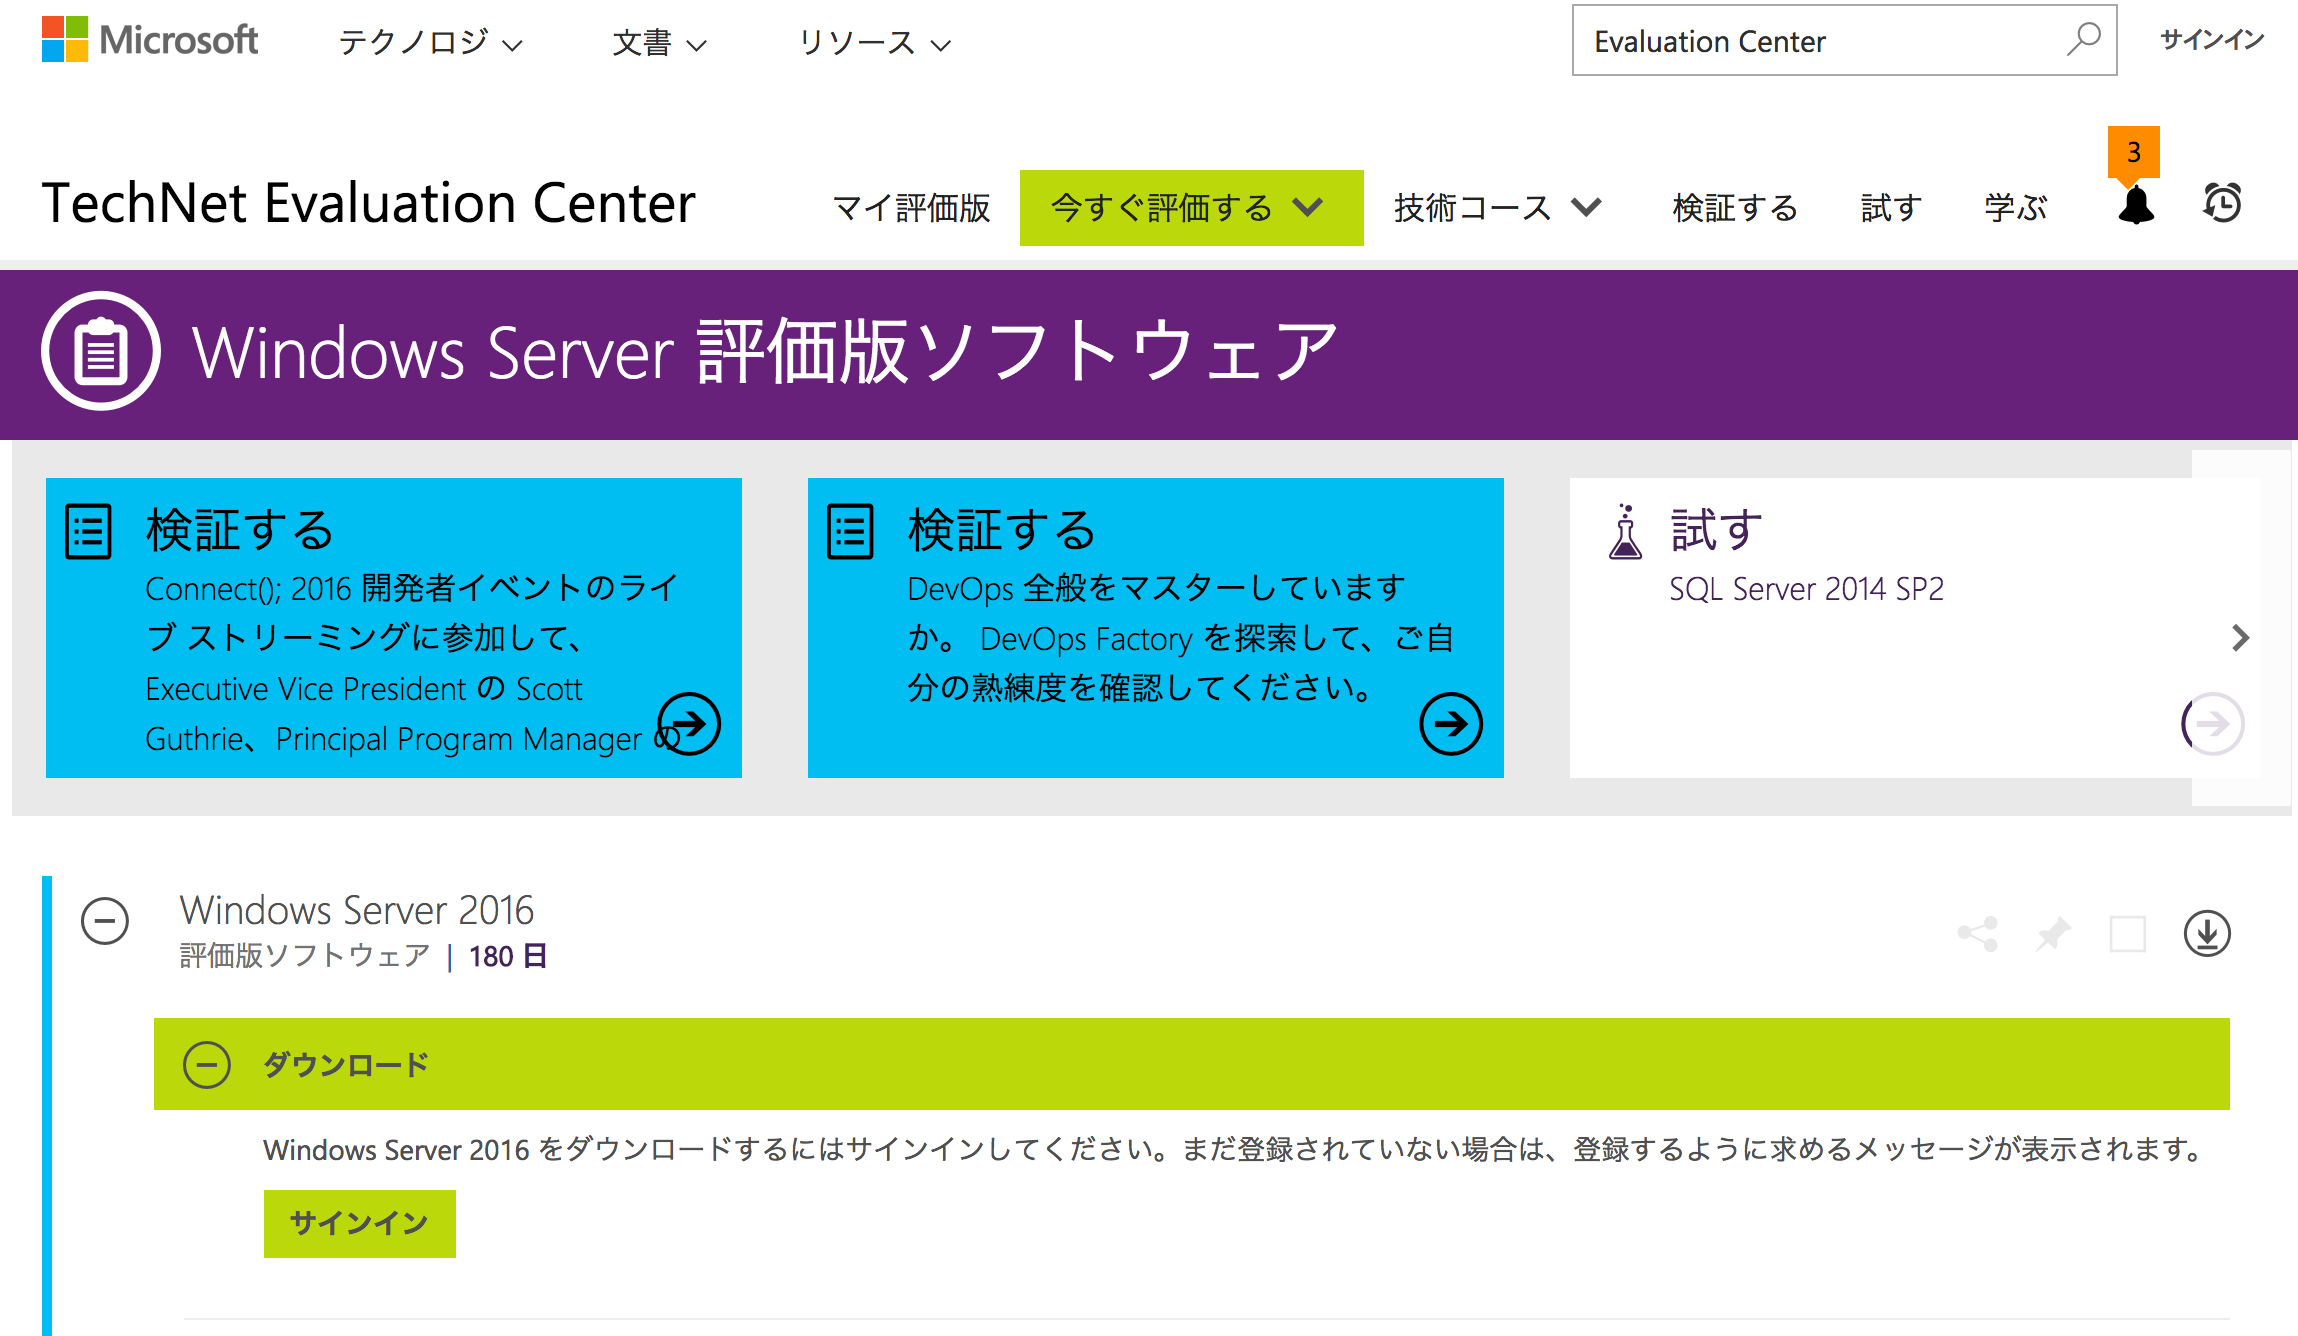
■ WindowsServer2016をダウンロードする
- MSのページよりWindows Server 2016評価版をダウンロードする
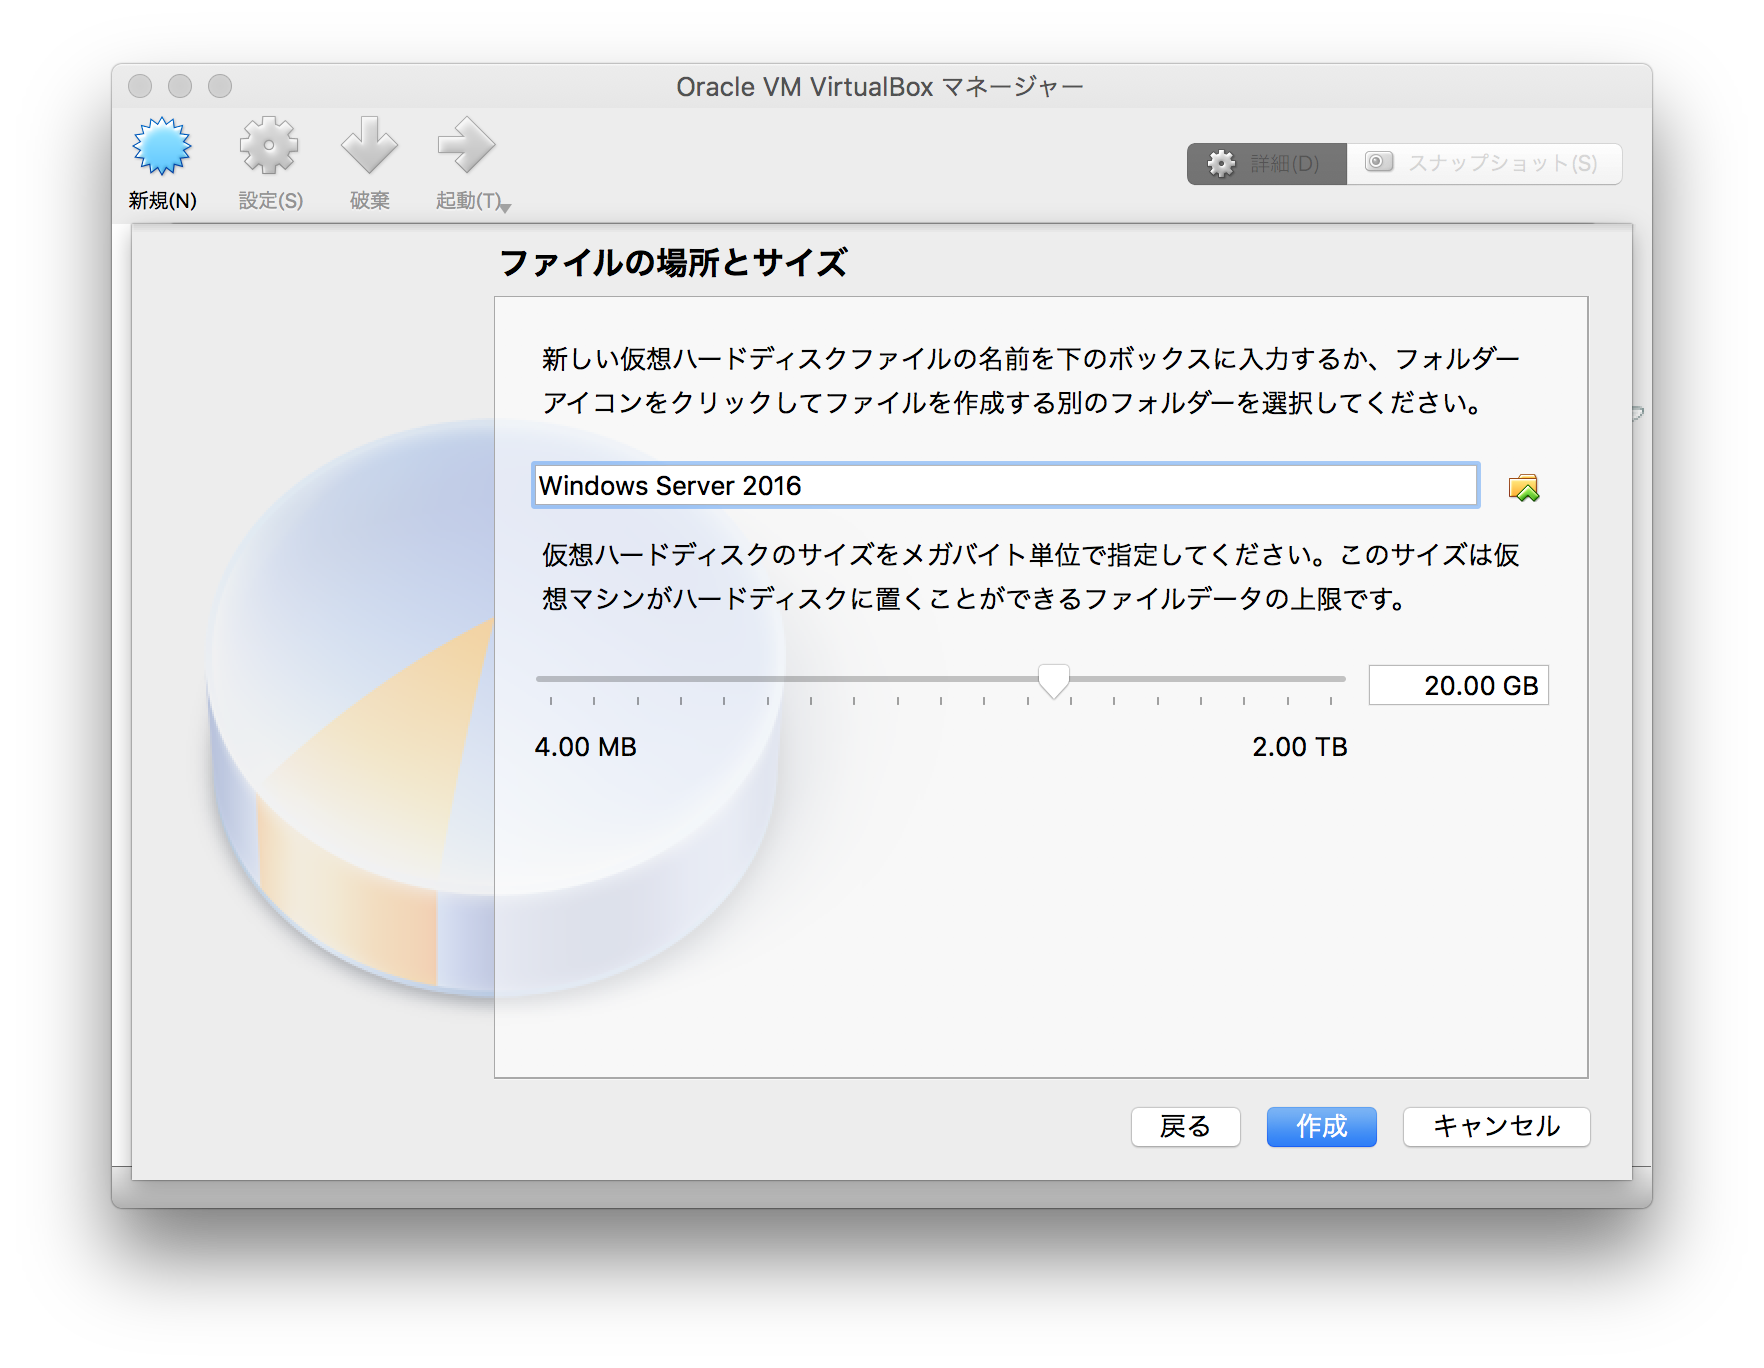
■ VirtualBoxマネージャーより仮想マシンを作成する
- VirtualBoxを起動し、[新規]を選択し、名前を次のように入力する ※ タイプはWindows Server 2016がないので[Other Windows]を選択

- 割り当てるメモリサイズは2GB(2048MB)を選択する

- ハードディスクは[仮想ハードディスクを作成する]を選択する

- ファイルタイプは[VDI (VirtualBox Disk Image)]を選択する

- ハードディスクファイルは[可変サイズ]を選択する

- ファイルの場所とサイズを確認し、必要があれば容量を上げる
- 空のVMが作成されるので[設定]を選択する

- 構築時にコピペが利用できるように[一般]->[高度]より「クリップボードの共有」「ドラッグ&ドロップ」を双方向に変更する

- フロッピーディスクを外すために[システム]->[マザーボード]->[起動順序]からフロッピーのチェックを外す

- 構築時にリソース不足にならないように[システム]->[プロセッサー]->[プロセッサー数]を1から2に変更する

- オーディオは不要のため、[オーディオ]->[オーディオを有効化]のチェックを外す

■ WindowsServer2016のインスール
- ダウンロードしたISOをマウントして、起動する

- インストールする言語等に問題がなければ、[次へ]を選択する

- [Windows Server 2016 Datacenter Evaluation (デスクトップエクスペリメント)]を選択し、[次へ]を選択する

- ライセンスに同意し、[次へ]を選択する

- 「カスタム:Windowsのみをインストールする」を選択し、[次へ]を選択する

- インストールする場所を選択し、[次へ]を選択する

- インストールが開始するので、しばらく待つ

- インストールが完了するとパスワード入力画面が表示されるので、パスワードを入力する

- [Ctrl+Alt+Del]キーを入力し、先程入力したパスワードを選択する

- ログイン後、右にネットワークに関する表示がでているので[はい]を選択する

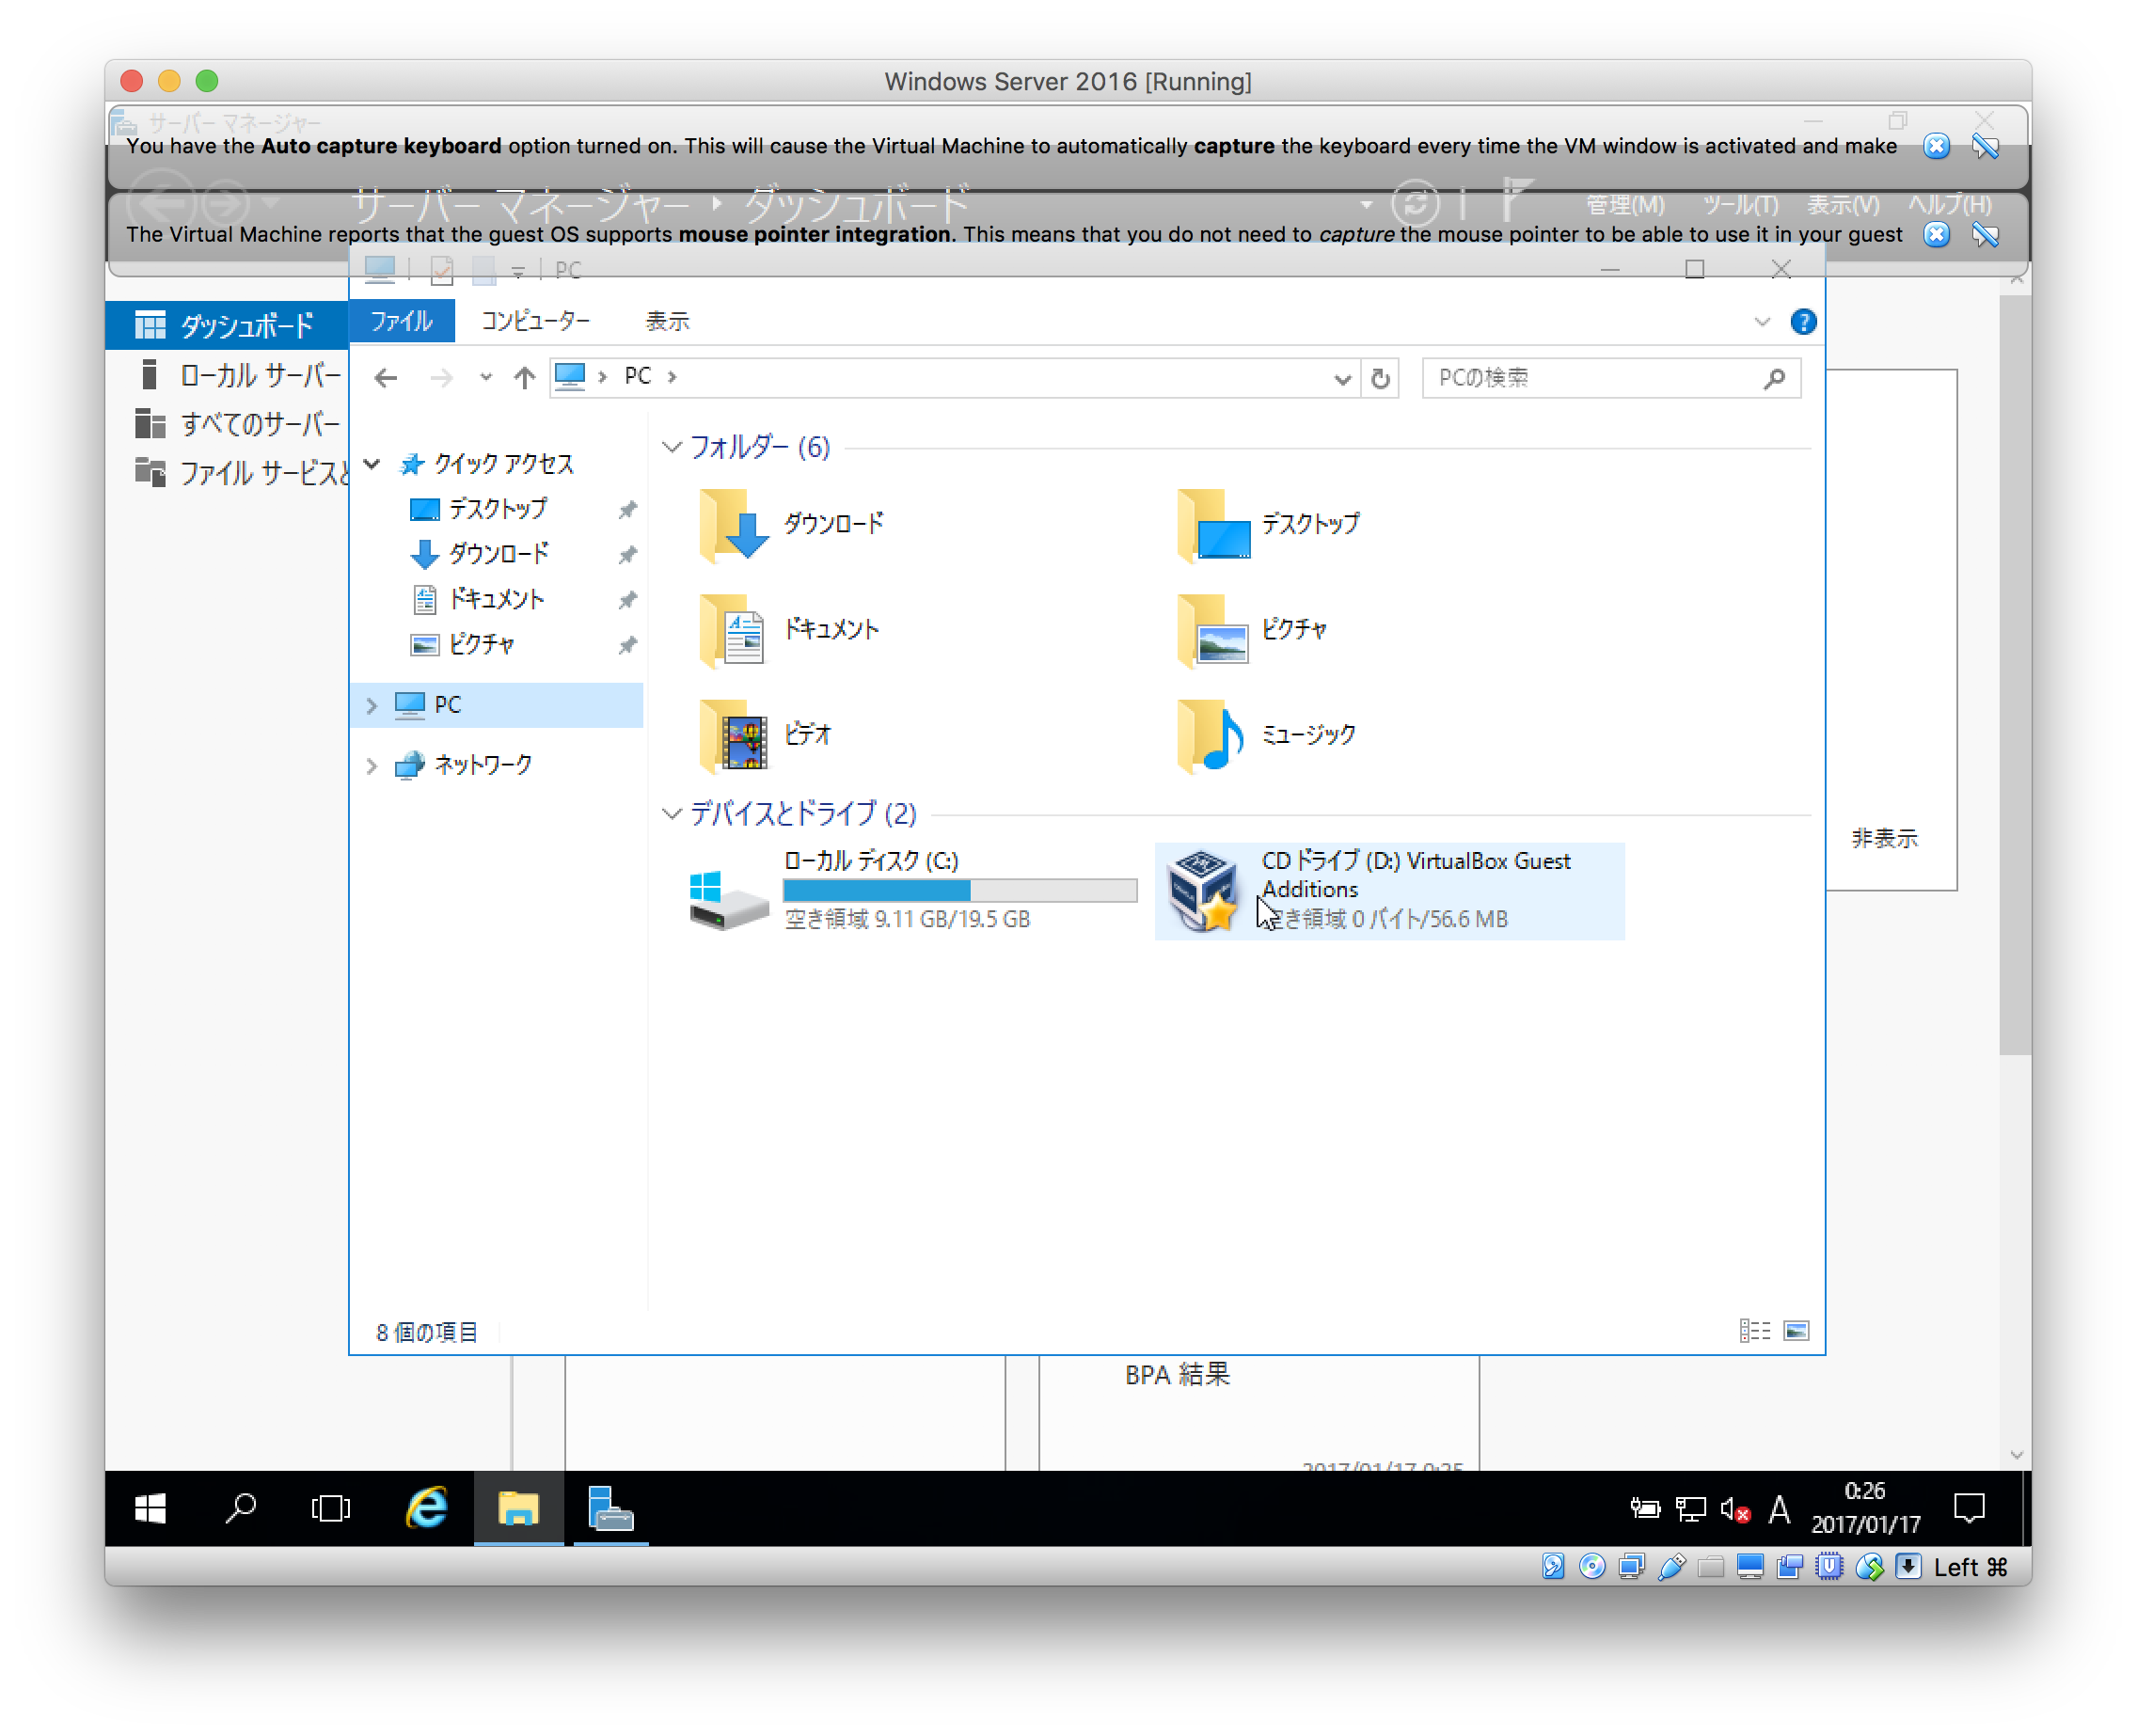
■ VirtualBox Guest Additionのインストール
-
VirtualBoxのメニューから[Devices]->[Insert Guest Additions CD Image...] を選択し、インストーラがマウントされたことを確認する
-
-
インストーラダブルクリックし、「VBoxWindowsAdditions-amd64」をダブルクリックする

- Setup画面が起動するので、[Next]を選択する

- インストール場所は特に変更しないので、[Next]を選択する


- 特にオプションも変更しないので、[Install]を選択する

- インストールが開始するので、しばらく待つ

- インストール中にポップアップが表示された場合は「インストール」を選択し、インストールを続行する

- [Reboot now] を選択し、[Finish]で一度再起動する

■ 「複雑さの要件を満たす必要があるパスワード」を無効に変更
- [サーバーマネージャ]->[ツール]->[ローカルセキュリティポリシー]を選択する

- [セキュリティの設定]->[アカウントポリシー]->[パスワードのポリシー]より
「複雑さの要件を満たす必要があるパスワード」を有効であることを確認

- 「複雑さの要件を満たす必要があるパスワード」をダブルクリックし、[無効]を選択し、[OK]を選択する

■ Administratorのパスワードを変更する
- [Ctrl+Alt+Del]キーを入力し、[パスワードの変更]を選択する

- 新しいパスワードに「vagrant」を入力し、パスワード変更を実施する

- パスワードが正常に変更されたことを確認する

■ 「vagrant」ユーザを作成し、パスワードを「vagrant」に変更
- [サーバーマネージャ]->[ツール]->[コンピュータの管理]を選択する

- [コンピュータの管理(ローカル)]->[システムツール]->[ローカルユーザーとグループ]->[ユーザー]を選択し、右クリックで[新しいユーザー]を選択する

- ユーザー名、パスワード欄に「vagrant」と入力し、[作成]を選択する

- 作成した「vagrant」ユーザーを右クリックし、[プロパティ]を選択する

- [所属するグループ]タブを選択し、[追加]をクリックする

- 選択するオブジェクト名を入力してください欄に[Administrators]と記入し、[名前の確認]を選択する

- オブジェクト欄に[Administrators]が入力されていることを確認後、[OK]を選択する

■ UAC(User Account Control)を無効
- [サーバーマネージャ]->[ツール]->[システム構成]を選択する

- [UAC設定の変更]を選択し、[起動]を選択する

- [ユーザーアカウント制御の設定]が表示されるので、通知しないまでバーを持っていき、[OK]を選択する

■ シャットダウンイベントの追跡ツールを無効
- 左下のWindowsマークを右クリックし、「ファイル名を指定して実行(R)」を選択する

- 「ファイル名を指定して実行」が表示されたら、「gpedit.msc」と入力し、[OK]を選択する

- [ローカルグループポリシーエディター]が表示されたら、[ローカルコンピュータポリシー]->[コンピュータの構成]->[管理用テンプレート]->[システム]をクリックし、「シャットダウンイベントの追跡ツールを表示する」を選択する

- 「シャットダウンイベントの追跡ツールを表示する」を[無効]に変更し、[OK]を選択する

■ サーバーマネージャーがログオン時に表示されないように変更
- 上記と同様に「ローカルグループポリシーエディタ」を開き、[ローカルコンピュータポリシー]->[コンピュータの構成]->[管理用テンプレート]->[システム]->[サーバーマネージャー]をクリックし、「ログオン時にサーバーマネージャーを自動的に表示しない」を選択する
 - 「ログオン時にサーバーマネージャーを自動的に表示しない」を[有効]に変更し、[OK]を選択する

■ WinRMを有効化する
- PowerShellを起動し、以下のコマンドを実行する
winrm quickconfig -q
winrm set winrm/config '@{MaxTimeoutms="1800000"}'
winrm set winrm/config/service '@{AllowUnencrypted="true"}'
winrm set winrm/config/service/auth '@{Basic="true"}'
sc.exe config WinRM start= auto
■ リモートデスクトップの有効化
- [サーバーマネージャ]->[ローカルサーバー]を選択し、リモートデスクトップの[無効]を選択する

- 「このコンピュータへのリモート接続を許可する」を選択し、[OK]を選択する
 - すべての設定が完了したので、シャットダウンを実行する
VagratBoxを作成する
■ VagrantBox内に同梱するVagrantfileを作成する
- Vagrant Base Box 用のディレクトリを作成する
% mkdir Win2016; cd Win2016
% vim Vagrantfile
- vagrantfileを以下のように記述する
Vagrantfile
# -*- mode: ruby -*-
# vi: set ft=ruby :

Vagrant.configure(2) do |config|
  config.vm.guest = :windows
  config.vm.communicator = "winrm"
  if Vagrant.has_plugin?("vagrant-vbguest")
    config.vbguest.auto_update = false
  end
  config.vm.network :forwarded_port, guest: 3389, host: 13389
  config.vm.network :forwarded_port, guest: 5985, host: 15985,id: "winrm", auto_correct: true
end
■ BaseBoxのパッケージング化
- 手動で作成したVMを以下のコマンドでパッケージングし、boxに追加する
% vagrant package --base "Windows Server 2016" --vagrantfile Vagrantfile
==> Windows Server 2016: Exporting VM...
==> Windows Server 2016: Compressing package to: /Users/daicho/work/Win2016/package.box
==> Windows Server 2016: Packaging additional file: Vagrantfile
% ls -g
total 10201320
-rw-r--r--  1 staff         388  1 16 01:46 Vagrantfile
-rw-r--r--  1 staff  5223071392  1 17 01:01 package.box
% mv package.box WindowsServer2016.box
% vagrant box add --name WindowsServer2016 WindowsServer2016.box
==> box: Box file was not detected as metadata. Adding it directly...
==> box: Adding box 'WindowsServer2016' (v0) for provider:
    box: Unpacking necessary files from: file:///Users/daicho/work/Win2016/WindowsServer2016.box
==> box: Successfully added box 'WindowsServer2016' (v0) for 'virtualbox'!
% vagrant box list
WindowsServer2016 (virtualbox, 0)
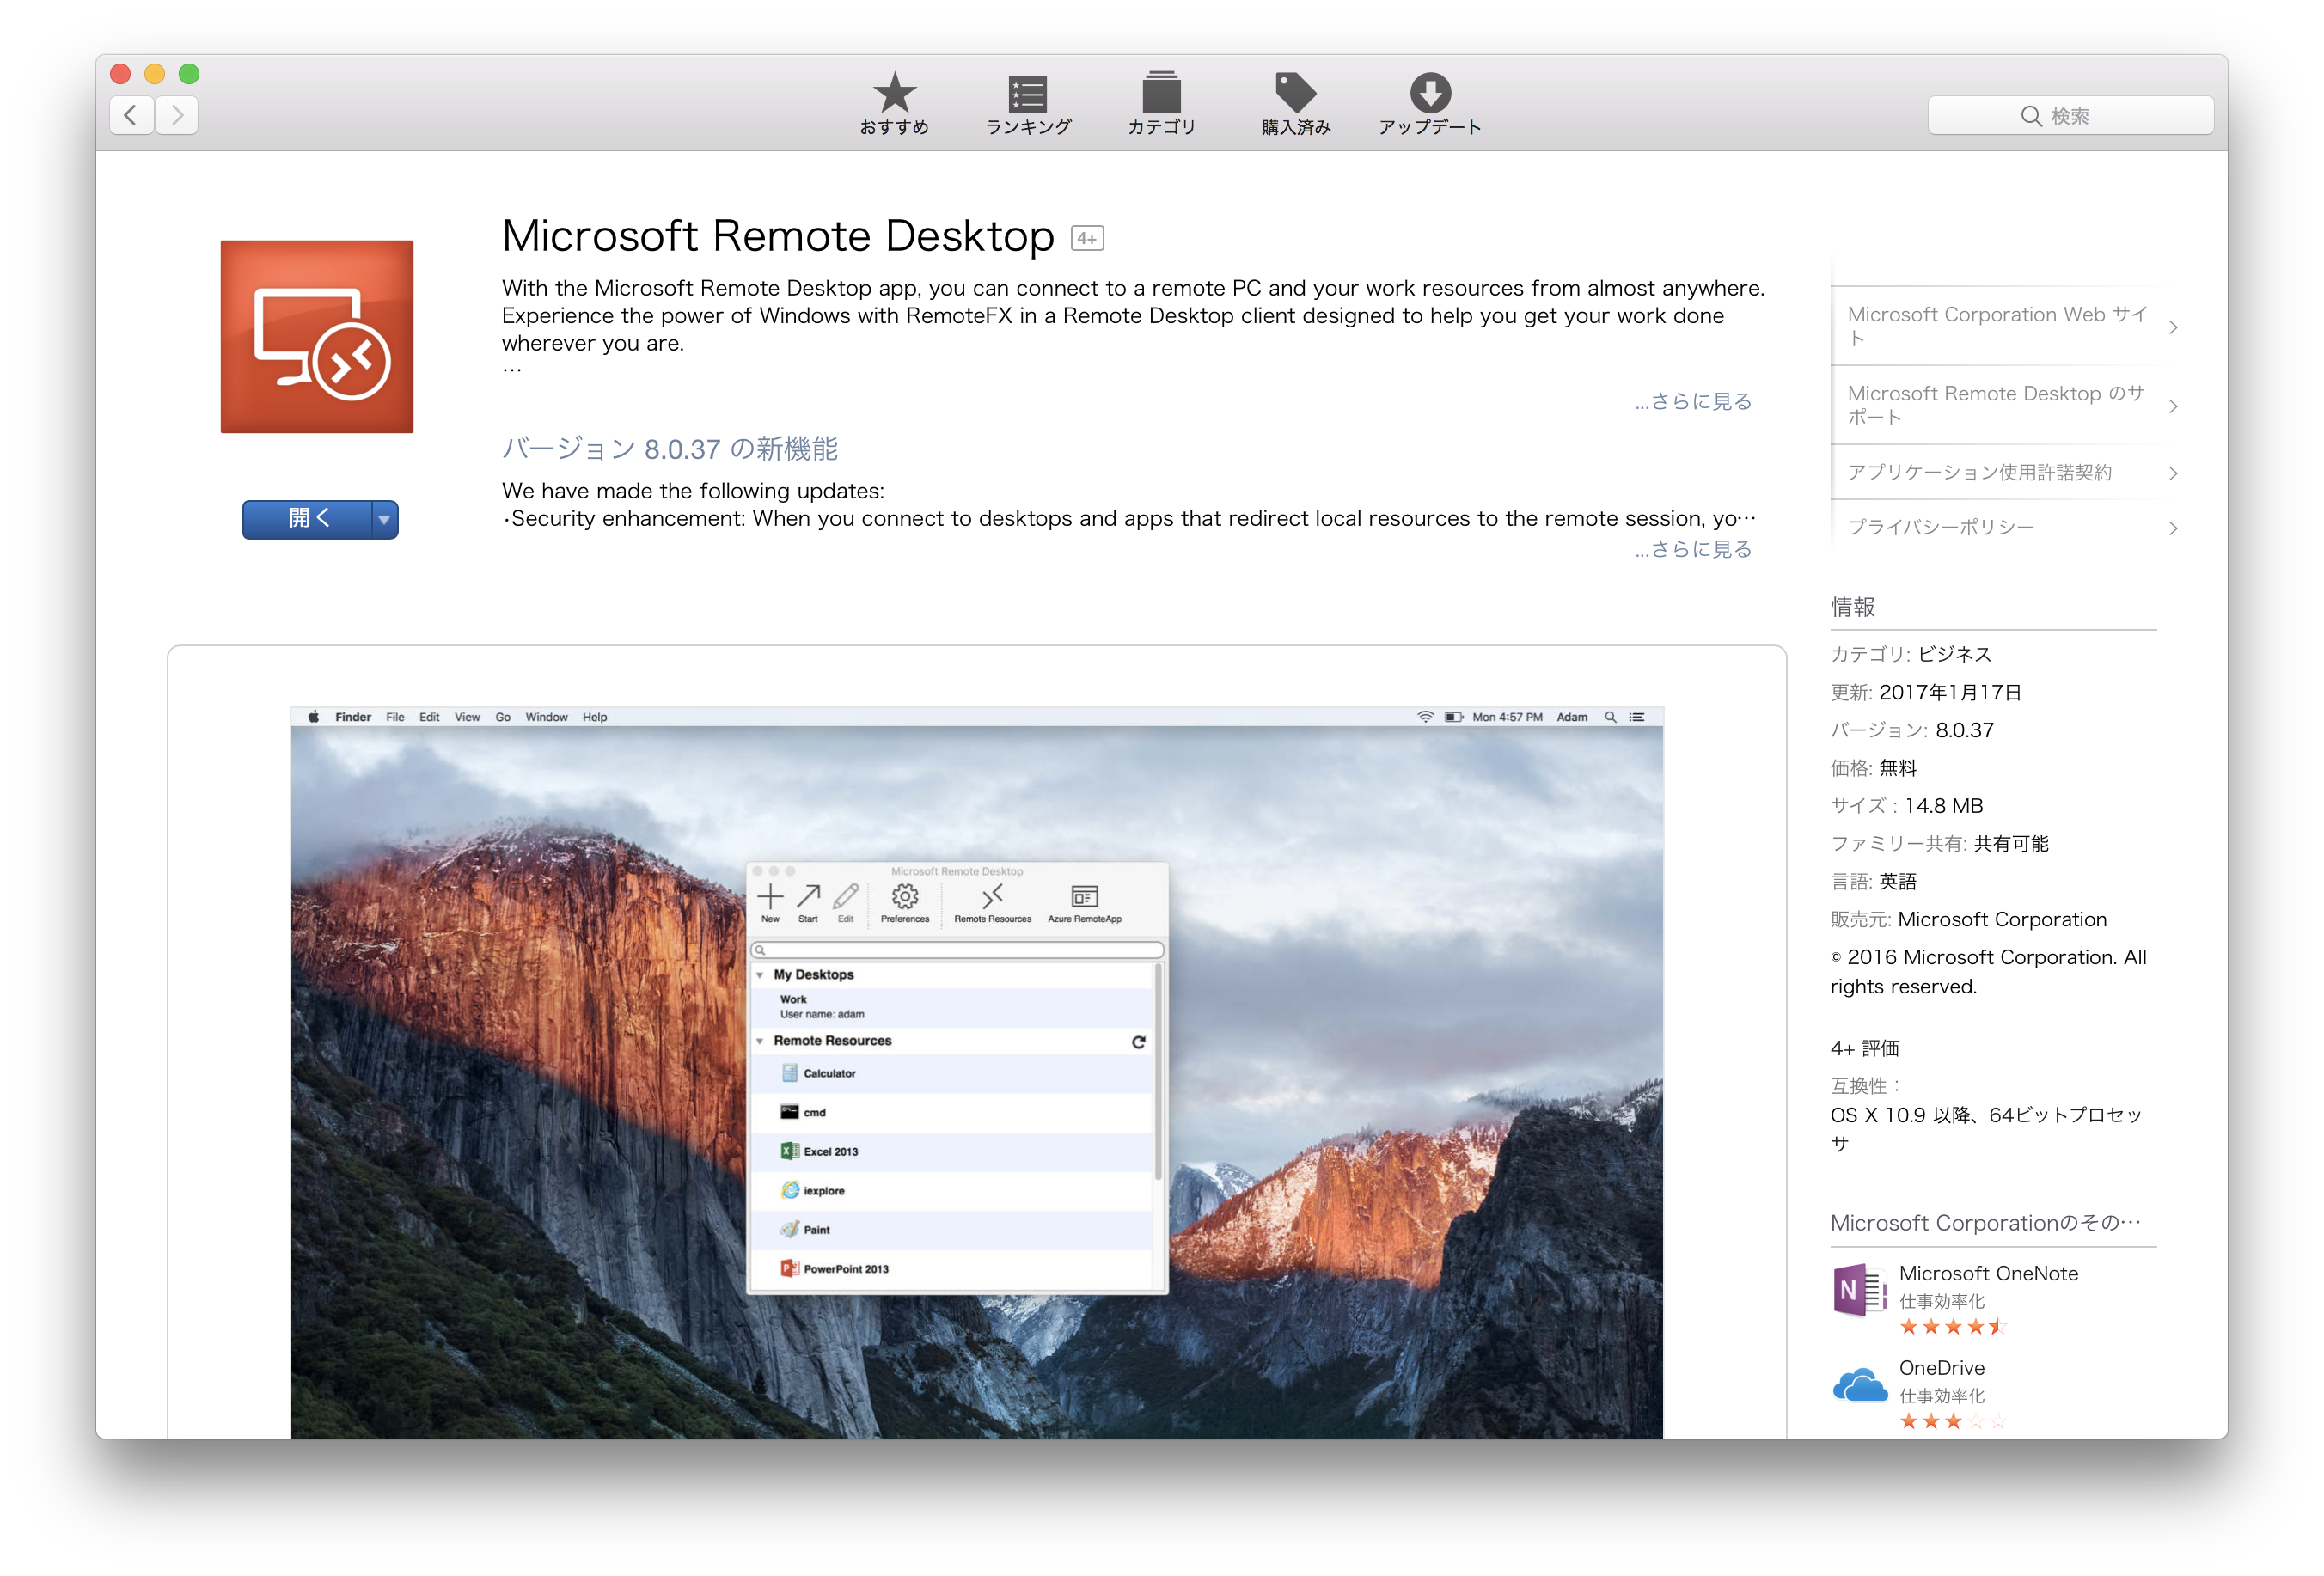
■ 作成したVagrntBoxからサーバーを作成してみる
-
RDP接続できるように、[App Store]より「Microsoft Remote Desktop」をダウンロードする
-
作成したBOXからVMが作成でき、RDP接続できることを確認する
% mkdir /tmp/TestWin2016; cd /tmp/TestWin2016
% vagrant init WindowsServer2016
A `Vagrantfile` has been placed in this directory. You are now
ready to `vagrant up` your first virtual environment! Please read
the comments in the Vagrantfile as well as documentation on
`vagrantup.com` for more information on using Vagrant.

% vagrant up --provider virtualbox
Bringing machine 'default' up with 'virtualbox' provider...
==> default: Importing base box 'WindowsServer2016'...
==> default: Matching MAC address for NAT networking...
==> default: Setting the name of the VM: TestWin2016_default_1484583347099_36076
==> default: Clearing any previously set network interfaces...
==> default: Preparing network interfaces based on configuration...
    default: Adapter 1: nat
==> default: Forwarding ports...
    default: 3389 (guest) => 13389 (host) (adapter 1)
    default: 5985 (guest) => 15985 (host) (adapter 1)
    default: 5986 (guest) => 55986 (host) (adapter 1)
    default: 22 (guest) => 2222 (host) (adapter 1)
==> default: Booting VM...
==> default: Waiting for machine to boot. This may take a few minutes...
    default: WinRM address: 127.0.0.1:15985
    default: WinRM username: vagrant
    default: WinRM execution_time_limit: PT2H
    default: WinRM transport: negotiate
==> default: Machine booted and ready!
==> default: Checking for guest additions in VM...
==> default: Mounting shared folders...
    default: /vagrant => /private/tmp/TestWin2016

% vagrant rdp
==> default: Detecting RDP info...
    default: Address: 127.0.0.1:13389
    default: Username: vagrant
==> default: Vagrant will now launch your RDP client with the connection parameters
==> default: above. If the connection fails, verify that the information above is
==> default: correct. Additionally, make sure the RDP server is configured and
==> default: running in the guest machine (it is disabled by default on Windows).
==> default: Also, verify that the firewall is open to allow RDP connections.
- RDPが起動し、以下のログイン画面が表示されるので「vagrant/vagrant」でログインする

- 正常にログインできたら、簡単に捨てることのできるWindowsServer2016環境が手に入る

参考ページ
まとめ
- WindowsServer2012R2と同じ手順でWindowsServer2016のVagrantのBaseBoxが作成できることが確認できた
- これでWindowsServer2016の検証が容易にできるようになったが、手動で作成するのはかっこよくないので、そのうちPackerで作成する手順を記載する