色々なところに書かれていますが、構築メモとして。
CentOS 6.5、ruby 2.1.2、rails 4を使用し、Chef等を使わずに、手動でインストールする方法です。
VagrantでCentOSの仮想マシンを作成
$ vagrant init centos_64
$ vagrant up --provider=vmware_fusion
$ vagrant ssh
centosのboxを適当に使用しています。ここは適宜変えてください。また、providerにvmware_fusionを指定していますが、VirtualBoxを使っていればこのオプションは入力しないでください
openssl-develをインストール
rubyをビルドする際にopenssl-develが入っていないとエラーになるため、インストール
$ sudo yum install -y openssl openssl-devel
mysqlをインストール
DBにmysqlを使用するため、インストールする
$ sudo yum install -y mysql mysql-devel mysql-server
gcc, gcc-c++をインストール
therubyracerのgemをインストールする際に使用するので、インストールしておく
$ sudo yum install -y gcc gcc-c++
readline, readline-develをインストール
rails consoleをする際に使用するため、事前にインストール
$ sudo yum install -y readline readline-devel
rbenvをインストール
http://qiita.com/inouet/items/478f4228dbbcd442bfe8
こちらを参考に、インストールしました。ありがとうございます。
rubyのバージョンは、2.1.2を使用。
※一応コマンドを下記に書きますが、参考サイトを見てインストールした方が良いです
$ sudo yum -y install git
$ git clone https://github.com/sstephenson/rbenv.git ~/.rbenv
$ echo 'export PATH="$HOME/.rbenv/bin:$PATH"' >> ~/.bash_profile
$ echo 'eval "$(rbenv init -)"' >> ~/.bash_profile
$ exec $SHELL -l
$ git clone https://github.com/sstephenson/ruby-build.git ~/.rbenv/plugins/ruby-build
$ rbenv install -v 2.1.2
$ rbenv rehash
$ rbenv global 2.1.2
$ ruby -v
bundlerをインストール
$ gem install bundler
$ rbenv rehash
※rehashしないとbundlerコマンドが使えません
bundlerでrailsアプリケーションを作成
bundleコマンドで初期化し、Gemfileを作成
$ cd ~
$ mkdir testapp
$ cd testapp
$ bundle init
$ vi Gemfile
gem "rails"をコメントインする
# A sample Gemfile
source "https://rubygems.org"

gem "rails"
railsをインストール
$ bundle install --path vendor/bundle
railsアプリケーションを作成(mysqlを使用)
$ bundle exec rails new . -d mysql
自動でbundle installが実行される
※ sprockets関連のエラーが出たら、Gemfile.lockを削除し、もう一度bundle installする
Gemfileを編集する
$ vi Gemfile
therubyracerや必要な物をコメントインする
gem 'therubyracer',  platforms: :ruby // コメントインする
gem 'unicorn'
gem 'capistrano-rails', group: :development
rails consoleで起動確認(ここでreadline関連のエラーがでたら、yumでインストールしてrubyも再インストールをしてください)
$ bundle install
$ bundle exec rails c // railsコンソールが起動すれば成功
$ bundle exec rails s
これでサーバー起動まで完了です。iptablesの設定でポート3000を開けてアクセスして、つながるかどうかを確認してください。
mysqlのDBを作成していないため、エラーが出るはずです。
mysqlを起動して、DBを初期化
$ sudo /etc/init.d/mysqld start
$ bundle exec rake db:create
$ bundle exec rake db:migrate
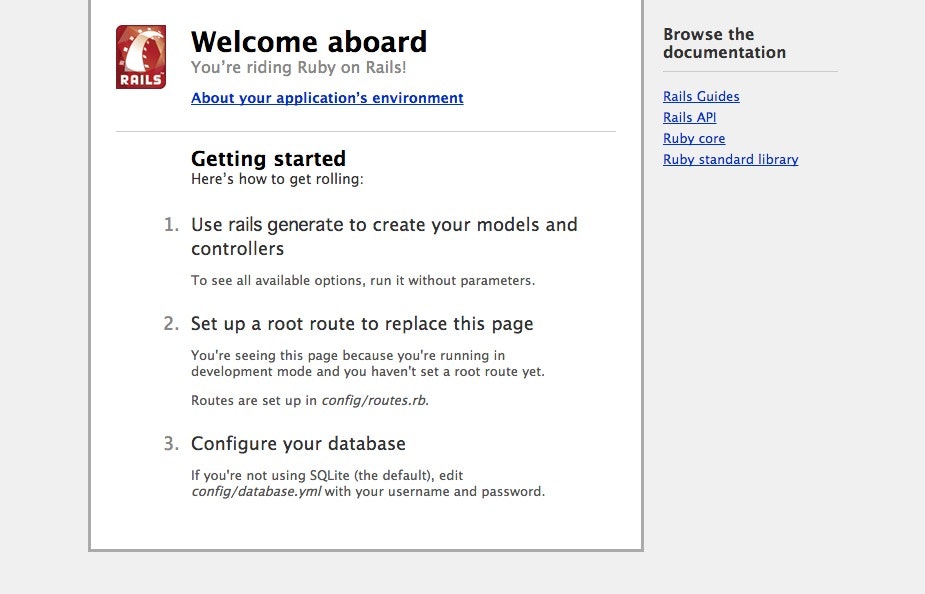
これでRailsの初期画面が表示されると思います。
以上で完了です。
