ミサイル作成
まずはメニュのGameObject→3DObject->Capsuleを選択します。SceenにCapsuleが追加されます。
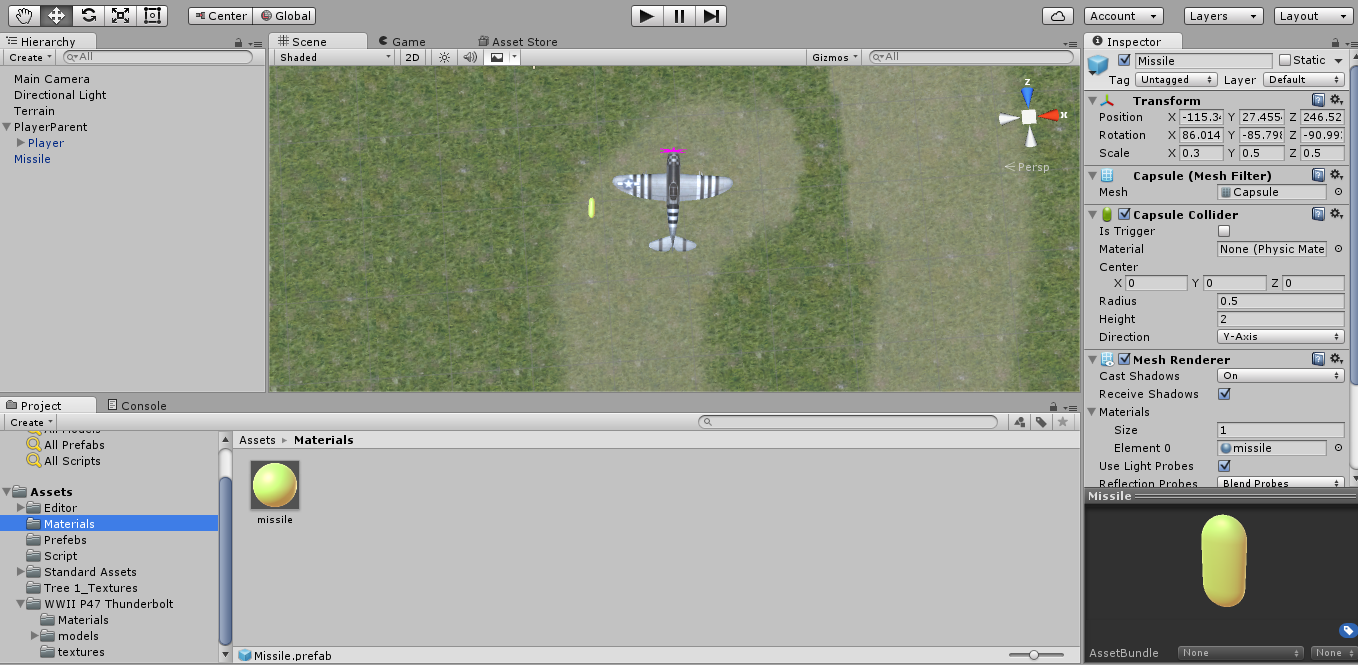
Scaleと軸を調整してミサイル見たいな形にしましょう。
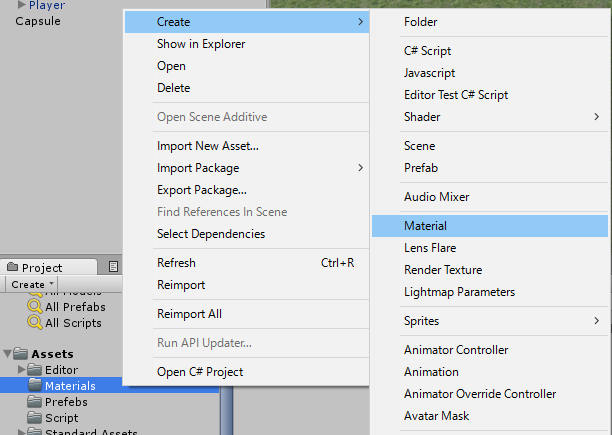
次はAssetsフォルダにMaterialsフォルダを作ってマウス右クリックします。
Create->Materialを選択します。
Materialが追加されたので色を変更して見ましょう。変更が終わったら先ほど追加したCapsuleにドラック&ドロップしたらミサイルの色が変更されます。
これでミサイルができたのでHierarchyからAssets・Prefebsにドラック&ドロップします。
PrefebsにPlayerとミサイルが保存されてますね。
これでミサイル作成完了。
ミサイルを飛行機とつなぐ
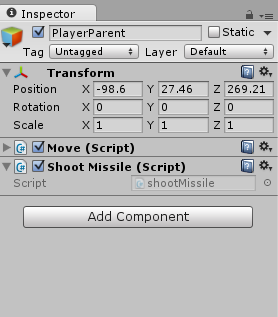
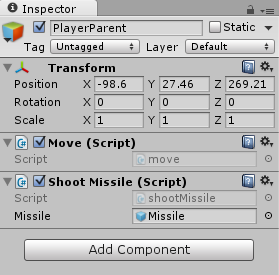
Asset/Scriptsに移動して新しいスクリプトを追加します。shootMissileで保存して、Playerにドラック&ドロップ、MoveとShoot Missileスクリプトが追加されているはずです。。
ShootMissileスクリプトに変数を追加します。保存してUnity3Dに戻ります。
using UnityEngine;
public class shootMissile : MonoBehaviour {

    public GameObject missile;  //Inspectorから設定できる

	// Use this for initialization
	void Start () {

	}

	// Update is called once per frame
	void Update () {

	}
}
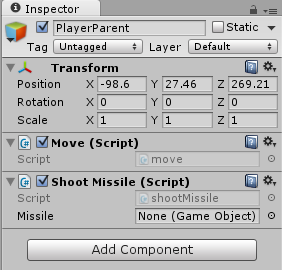
先ほどはなかった属性が追加されてますね。Missile Noneなので何にも参照してません。
None(Game Object)にAssets/Prefebsに保存したミサイルをドラック&ドロップします。
次回はスペースキーでミサイル発射できるようにします。
