はじめに
前メモったと思ったのになかったのでメモしておく。
追記:
BAサーバーだけでは多次元分析などができなかったので、Pentahoのフルパッケージ(Enterprise Edition)のインストール方法も記載しておく。
環境
- OS: CentOS7
- スペック: 1CPU*2.4GHz, 4GB RAM
- Pentaho: 5.3.0
必要パッケージのインストール
PentahoのBAサーバーはJavaの実行環境が必要なのでJDKをインストールしておく。
$ sudo yum -y update
$ sudo yum -y install java-1.7.0-openjdk
Pentaho BAサーバーのインストール
Pentahoにはいくつかのコンポーネントがあるが、今回はWebサーバーがパッケージングされているBAサーバーをインストールする。
Pentaho BAサーバーのダウンロード
$ mkdir -p ~/pentaho
$ cd ~/pentaho
$ wget http://jaist.dl.sourceforge.net/project/pentaho/Business%20Intelligence%20Server/5.3/biserver-ce-5.3.0.0-213.zip
$ uznip biserver-ce-5.3.0.0-213.zip
$
Pentaho BAサーバーの起動
起動スクリプトがパッケージの中に同封されているのでその起動スクリプトを実行する。
$ cd biserver-ce/
$ ./start-pentaho.sh # 起動
$ #./stop-pentaho.sh # 停止
$
確認
起動スクリプトによって8080ポートでPentaho BAサーバーにアクセスすることができるようになった。
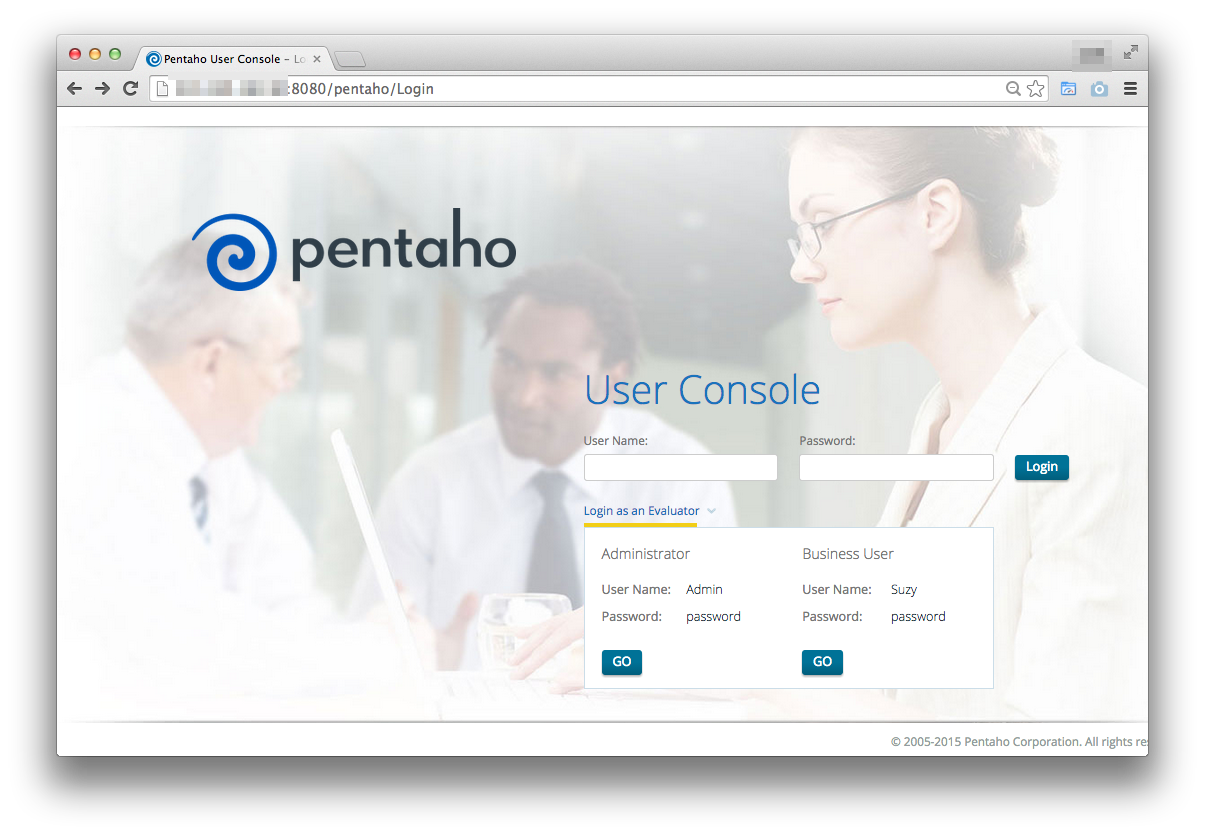
Webブラウザでアクセスしてみる。
どうもこの画面をQiitaにアップロードできなかったので画像にぼかしを入れています。
Login as an Evaluatorのドロップダウンをクリックして、AdministratorユーザーのGOボタンを押下して、ログインする。
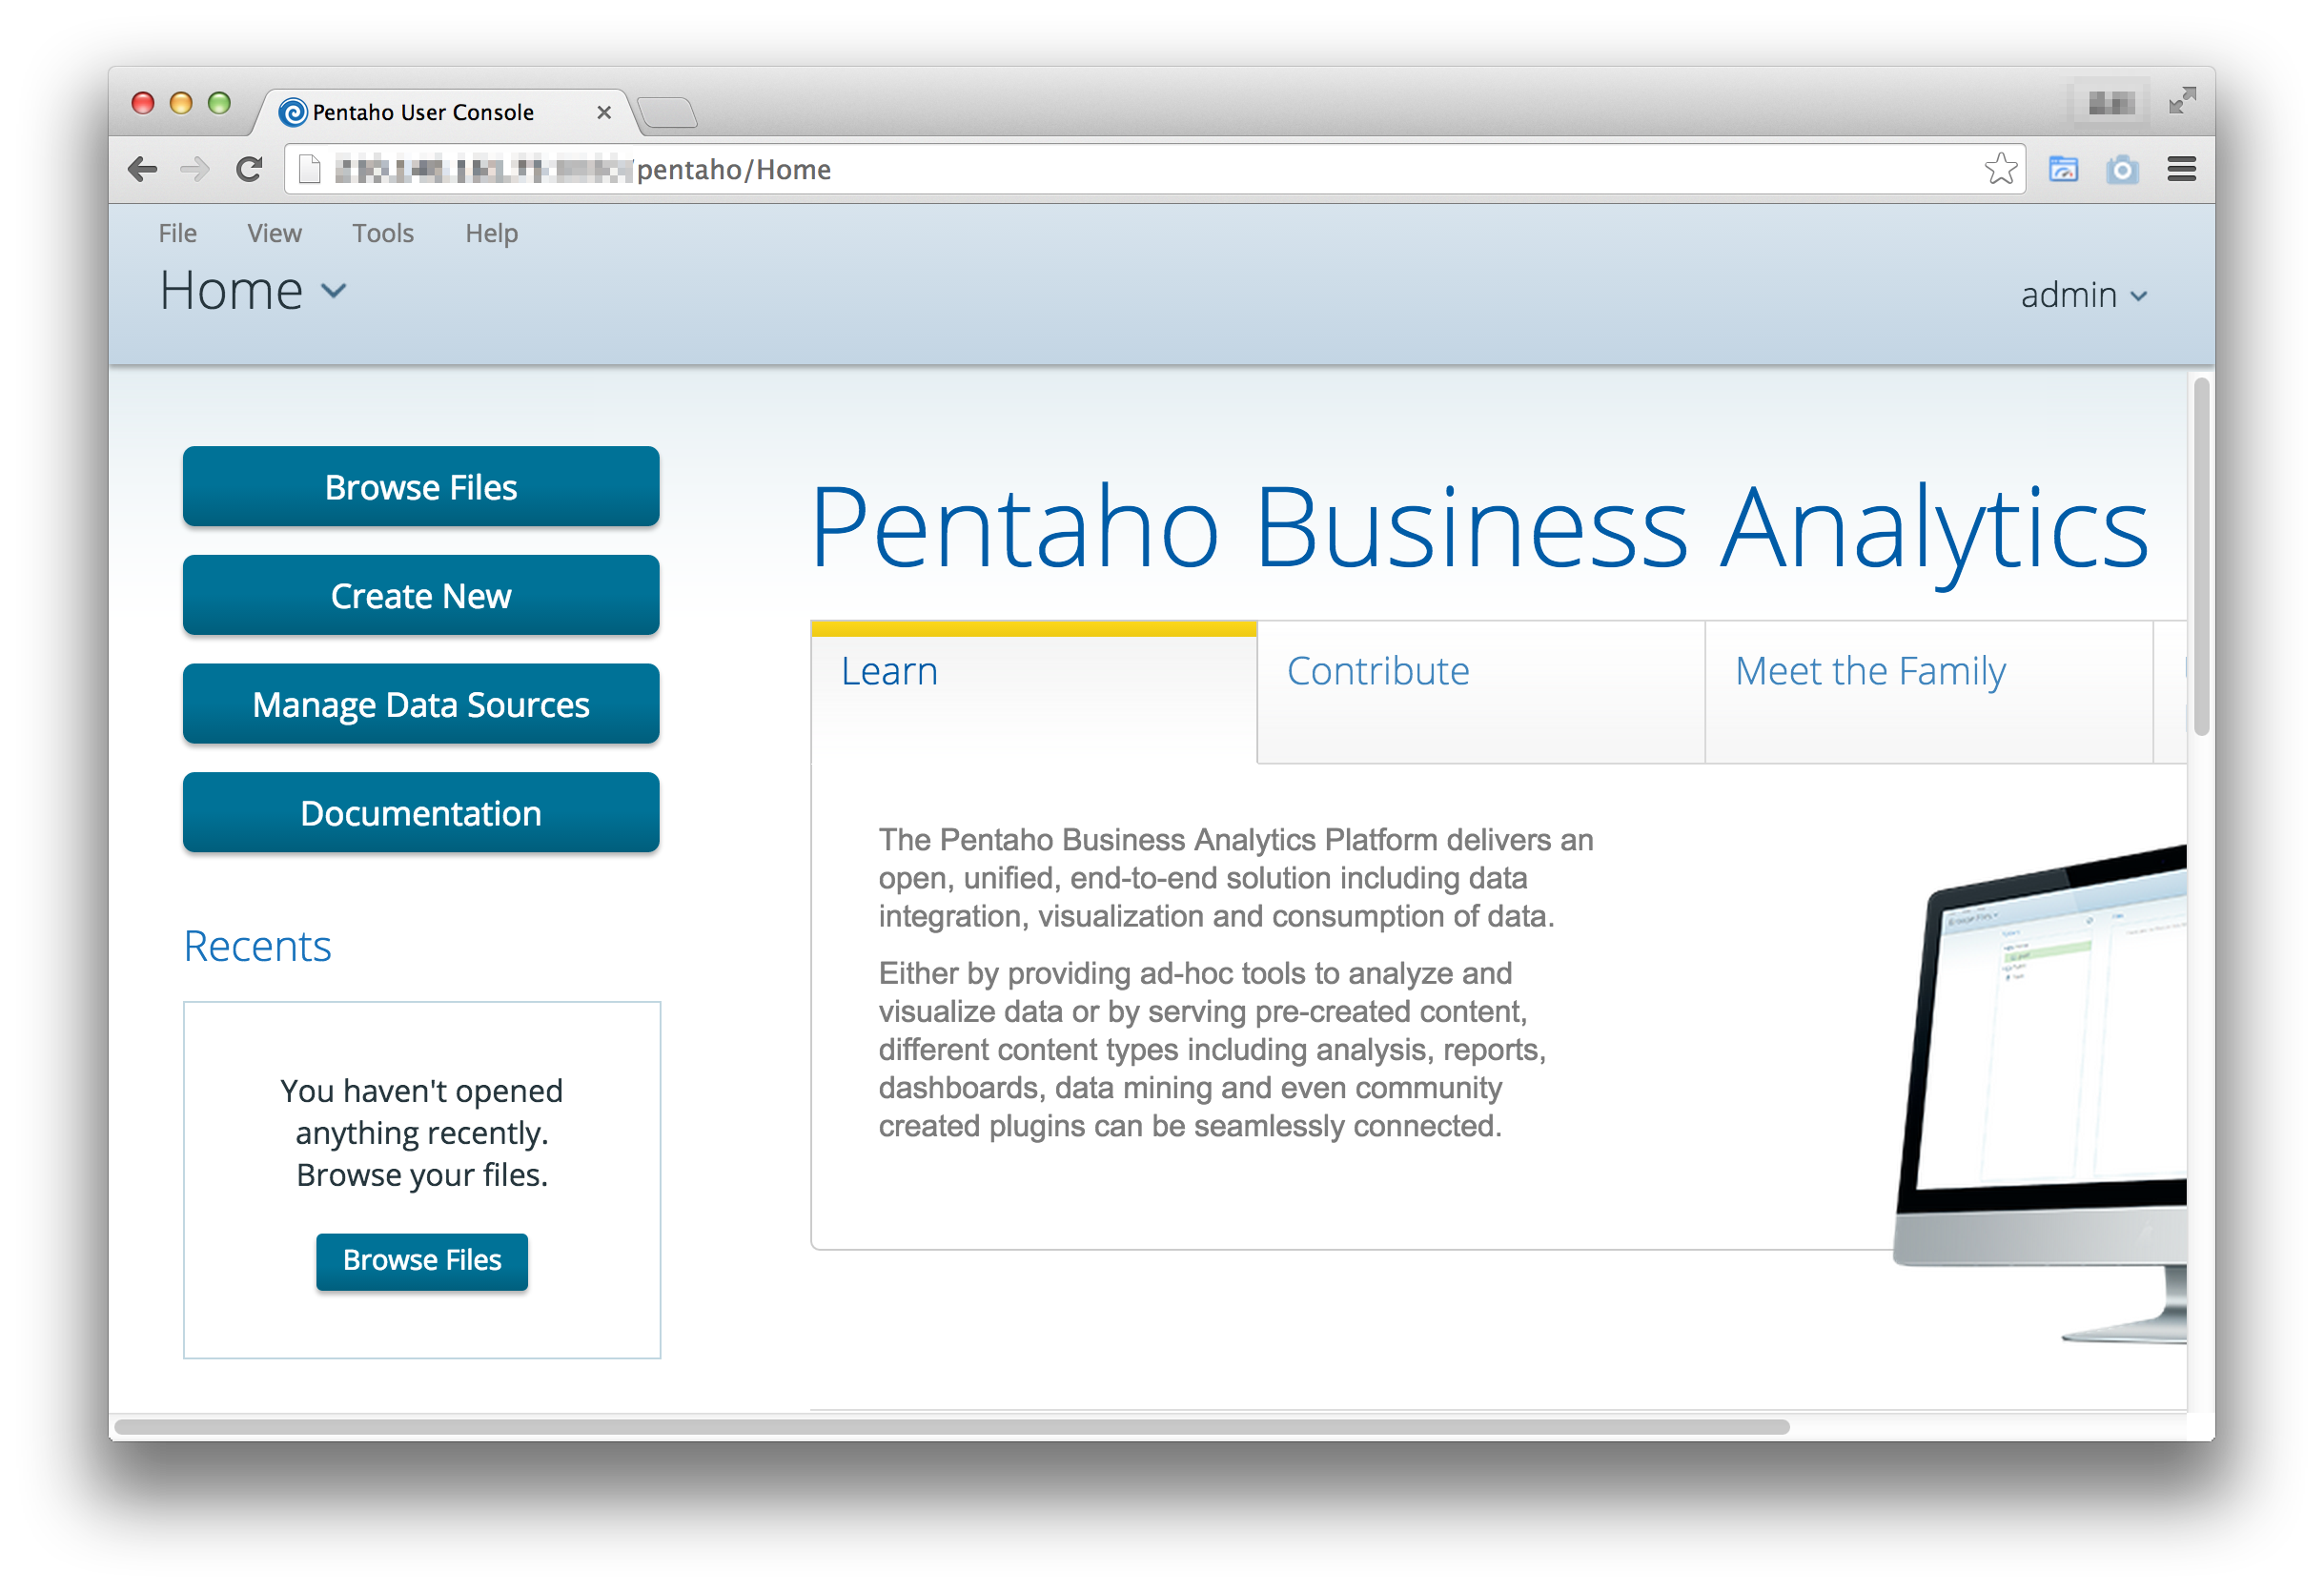
ログインすると以下のように表示される。
PentahoEEインストール
PentahoのEnterpirseEditionをインストールする。
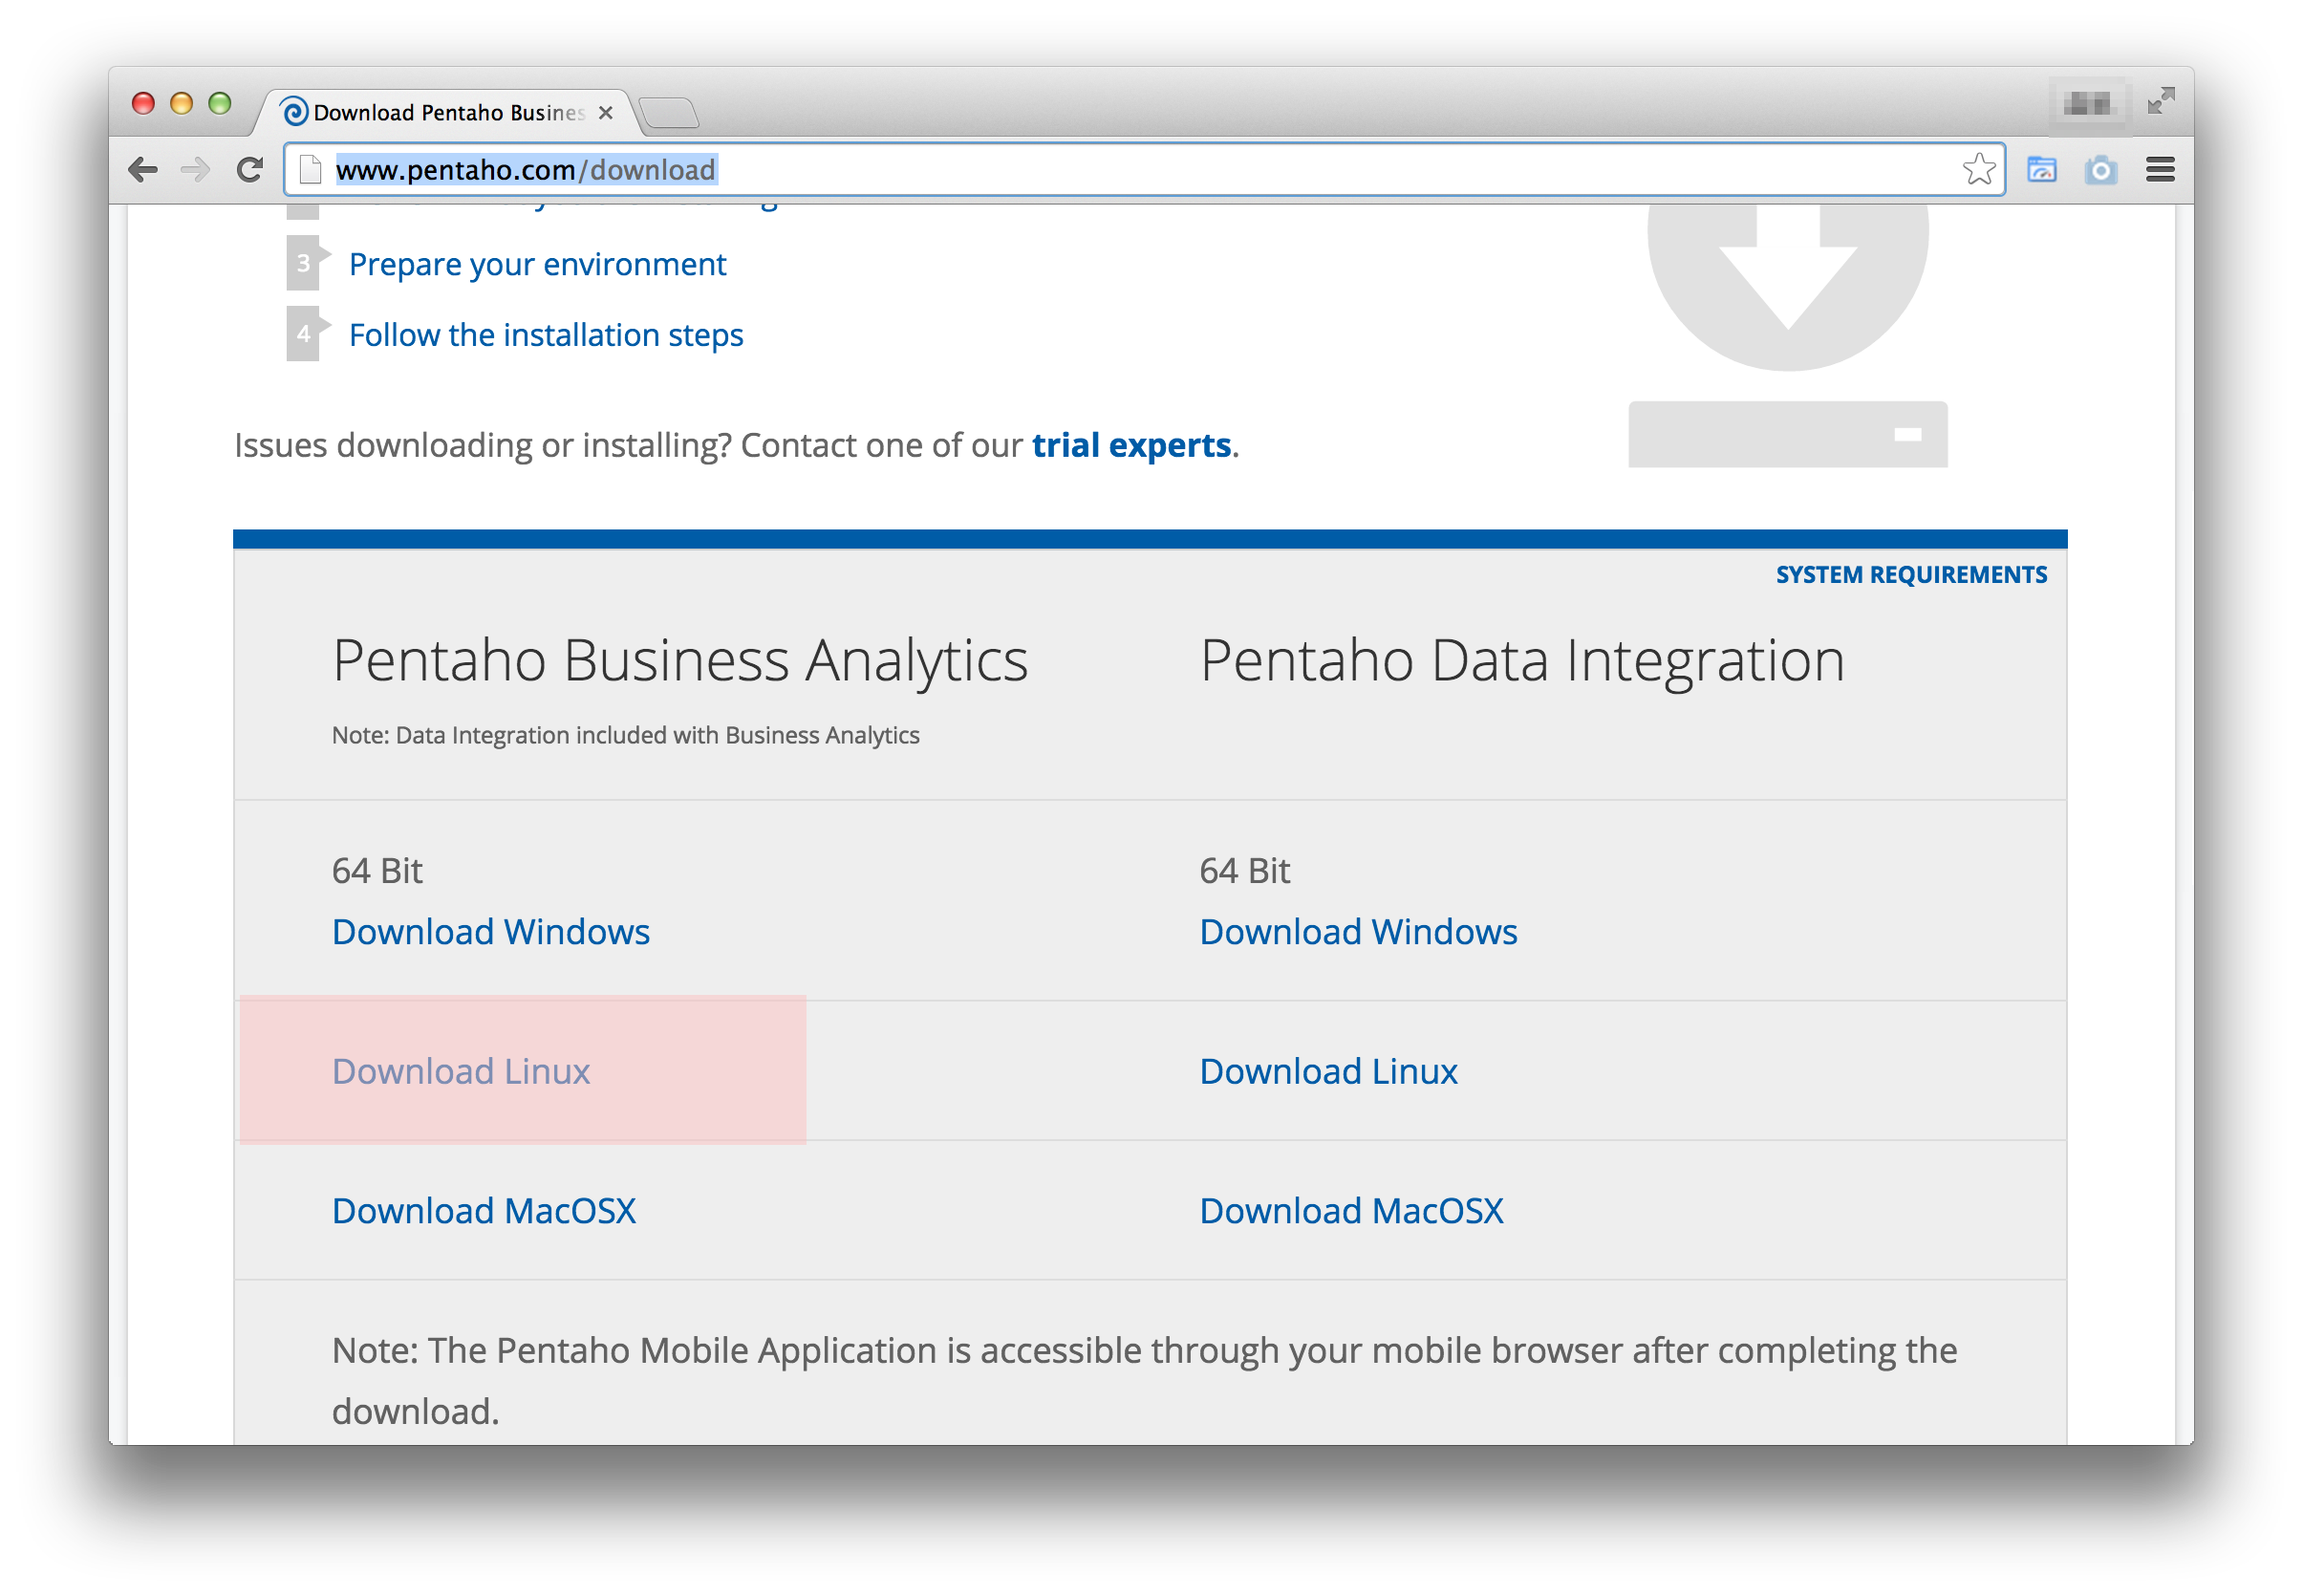
Download
以下からダウンロードする。
700MBぐらいある。
転送
ローカルに保存したダウンロードファイルをCentOSにscpなどで転送する。
以下/usr/local/srcに配置した前提で進める。
インストール
$ cd /usr/local/src
$ chmod +x pentaho-business-analytics-5.3.0.0-213-x64.bin
$ sudo ./pentaho-business-analytics-5.3.0.0-213-x64.bin
# [Enter]をぽちぽち押して進める
Do you accept the license? [y/n]: y

[1] Default: Installs all Pentaho applications with predefined settings.
[2] Custom: Choose the Pentaho applications you want installed and customize the server settings and password database administration access.
Please choose an option [1] : 1

Location: [/opt/Pentaho]: #Blankのまま

Password: :# Postgresqlのパスワード
Confirm Password: :

Press [Enter] to continue :# 問題なければEnter

 Installation in Progress
 0% ______________ 50% ______________ 100%

 # マシンのスペックにもよるけど結構時間がかかる。
 # マシンスペックが低すぎる場合は以下のようなWarningが表示されてインストールできない。。。
 # Warning: Problem running post-install step. Installation may not complete
#correctly
 #Unknown error while running
#/opt/Pentaho/server/data-integration-server/scripts/ctl.sh start
#Press [Enter] to continue :
 # 正常な場合は以下のように表示される。
Login to the Pentaho User Console using one of the following sample users:

admin/password (Administrator)
suzy/password (System User)

To manage these sample users login to the Pentaho User Console.

View Installation Summary [Y/n]: y

Launch the Pentaho User Console now. [Y/n]: n

Pentaho Summary
Selections/Settings:

    - PostgreSQL server port: 5432
    - HSQL server port: 9001
    - BA Server (Tomcat) startup port: 8080
    - BA Server shutdown port: 8012
    - Data Integration Server port: 9080
    - Monet Database Port: 50006
    - Embedded Database Port: 9092

 - Reporting Design Tools:
    - Report Designer
    - Metadata Editor

 - Analysis Design Tools:
    - Schema Workbench
    - Aggregate Table Designer

 - Dashboard Designer

 - Data Integration (ETL)

 - Analyzer
Press [Enter] to continue :

 - Interactive Reporting

 - Mobile

 - Sample Content
Press [Enter] to continue :
$
起動
さて手動で起動してみる。
$ cd /opt/Pentaho
$ sudo chmod +x ctlscript.sh
$ sudo ./ctlscript.sh start
/opt/Pentaho/postgresql/scripts/ctl.sh : postgresql  (pid 1289) already running
Using CATALINA_BASE:   /opt/Pentaho/server/biserver-ee/tomcat
Using CATALINA_HOME:   /opt/Pentaho/server/biserver-ee/tomcat
Using CATALINA_TMPDIR: /opt/Pentaho/server/biserver-ee/tomcat/temp
Using JRE_HOME:        /opt/Pentaho/java
Using CLASSPATH:       /opt/Pentaho/server/biserver-ee/tomcat/bin/bootstrap.jar
/opt/Pentaho/server/biserver-ee/tomcat/scripts/ctl.sh : BA Server started
Using CATALINA_BASE:   /opt/Pentaho/server/data-integration-server/tomcat
Using CATALINA_HOME:   /opt/Pentaho/server/data-integration-server/tomcat
Using CATALINA_TMPDIR: /opt/Pentaho/server/data-integration-server/tomcat/temp
Using JRE_HOME:        /opt/Pentaho/java
Using CLASSPATH:       /opt/Pentaho/server/data-integration-server/tomcat/bin/bootstrap.jar
/opt/Pentaho/server/data-integration-server/scripts/ctl.sh : data-integration-server started
$ # 停止の方法 sudo ./ctlscript.sh start
自動起動設定
CentOS7では以下のように自動起動設定するらしい。
[Unit]
Description=Pentaho Server
After=syslog.target network.target

[Service]
Type=forking
ExecStart=/opt/Pentaho/ctlscript.sh start
ExecStop=/opt/Pentaho/ctlscript.sh stop
KillMode=none

[Install]
WantedBy=multi-user.target
上記ファイル作成後、以下のコマンドで自動起動設定。
$ sudo systemctl enable pentaho.service
MySQL JDBCのインストール
デフォルトではMySQLのJDBCドライバーが入っていなく、Analysis ReportでMySQLが利用できないので以下のようにインストールしておく。
ダウンロード
以下のURLからMySQLのJDBCドライバーを取得します。
http://dev.mysql.com/downloads/connector/j/
$ cd /usr/local/src/
$ wget http://cdn.mysql.com/Downloads/Connector-J/mysql-connector-java-5.1.34.tar.gz
$
インストール
展開してJarファイルをPentahoのtomcatのlibに配置。
$ cd /usr/local/src/
$ tar zxvf mysql-connector-java-5.1.34.tar.gz
$ sudo cp -p mysql-connector-java-5.1.34/mysql-connector-java-5.1.34-bin.jar /opt/Pentaho/server/biserver-ee/tomcat/lib/
$
Pentahoを再起動することで反映される。
$ sudo systemctl restart pentaho.service
アクセスしてみる
Install時のSummaryに記載されているTomcatのPort番号でアクセスすることができます。
おわりに
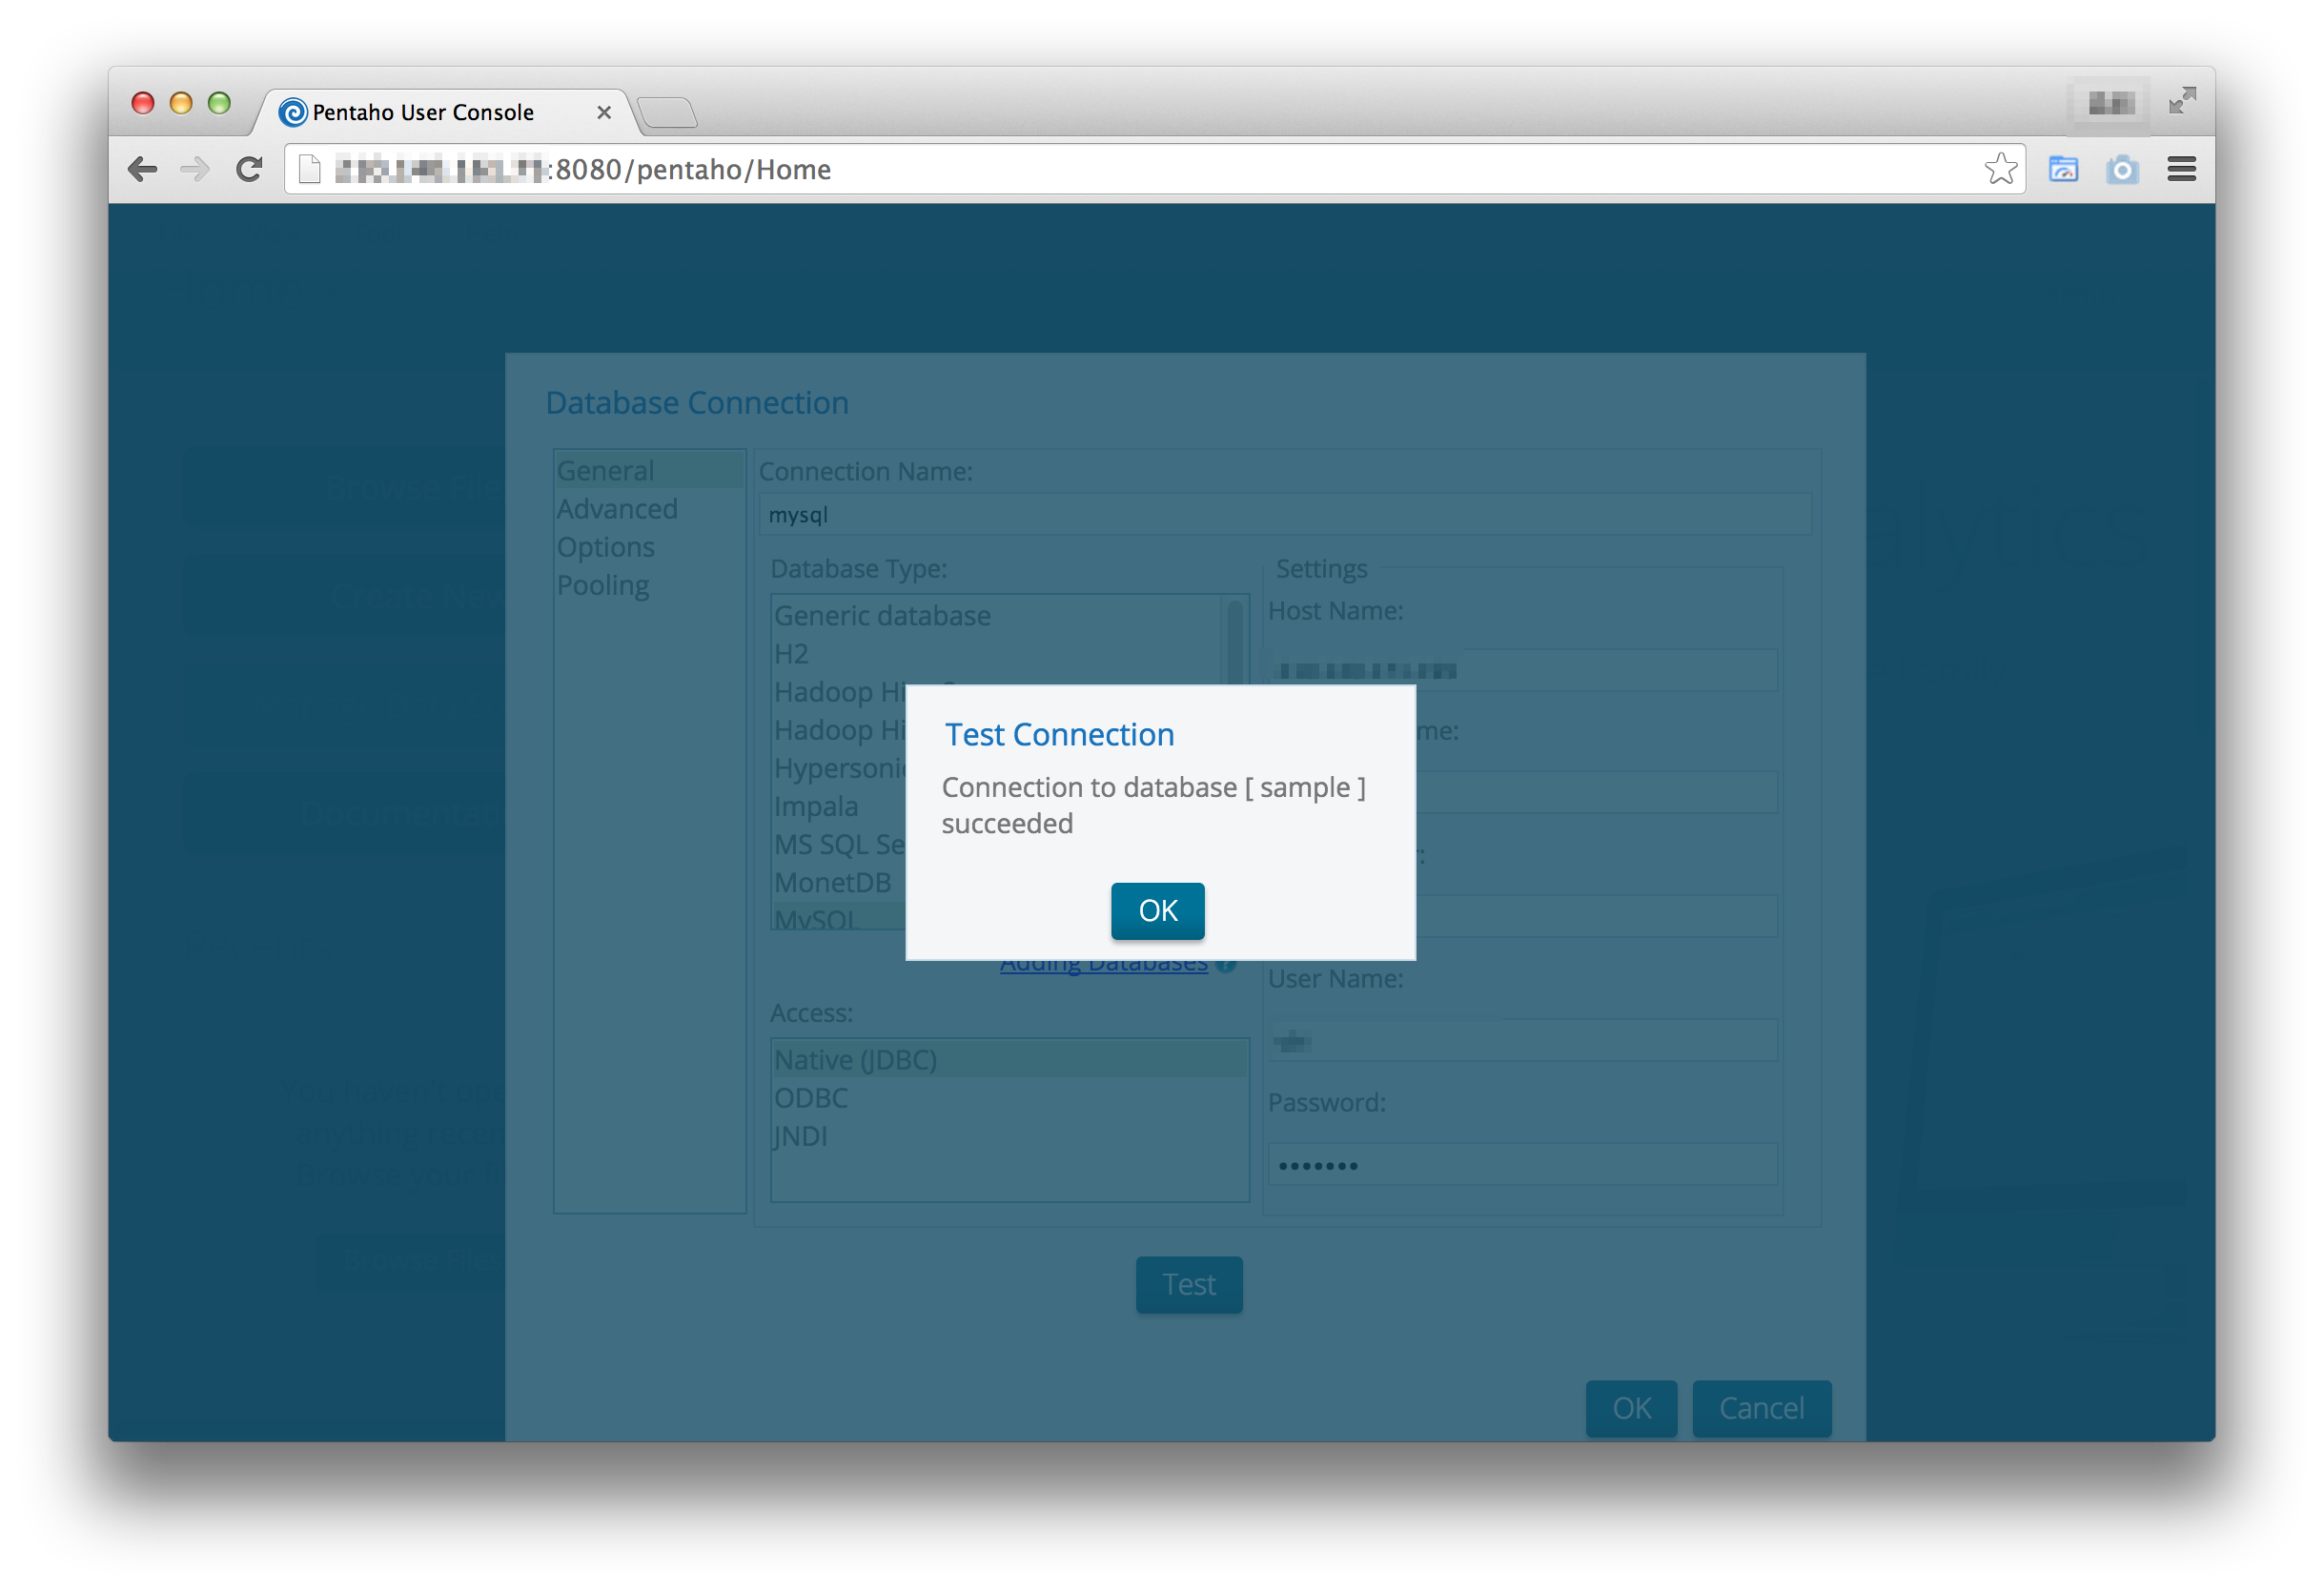
PentahoEEでは、mysqlのJARファイルを配置することでMySQLにも接続することができます。
おしまい。


