はじめに
TreausureDataにTreasureData社が提供しているiOS SDKを用いてデータをアップロードする方法を記載します。Objective-CとSwiftとのそれぞれの方法を記載します。
動作についてはXcodeのiOS Simulatorで確認しました。
環境
以下環境情報になります。
- 開発環境: Mac OS X: 10.9.5
- Xcode: 6.0.1
- iOS Simulator: iPhone6 / iOS 8.0
- [TreasureData iOS SDK](https://github.com/treasure-data/td-ios-sdk TreasureData iOS SDK): 0.1.4
前提条件
以下前提条件となります。
- Xcodeが動作する環境があること。
- TreasureData iOS SDKを組み込むプロジェクトがあること。
- TreasureDataアカウントを持っていること。
注:今回は日本版TreasureDataであるYahoo!ビッグデータインサイトに対して実施しました。AWS版のTreasureDataを利用の方はEndpointを読み替えて実施してください。
Step:1 TreasureData iOS SDKのインストール
ここではTreasureData iOS SDKのXcodeプロジェクトへの組み込み方法を記載します。
手順については既に[GitHub](https://github.com/treasure-data/td-ios-sdk GitHub)に記載されていますが、こちらにも記載しておきます。
Step:1-1 CocoaPodsのインストール
$ gem install cocoapods
Step:1-2 TreasureDataリポジトリの追加
$ pod repo add td https://github.com/treasure-data/PodSpecs.git
Step:1-3 Podfileの編集
TreasureData iOS SDKを組み込みたいXcodeプロジェクトのPodfileに以下を追加します。
pod 'TreasureData-iOS-SDK', '= 0.1.4'
Podfileがまだない場合は、Xcodeプロジェクトディレクトリ直下にPodfileというファイル名でファイル作成し、上記を追記します。
$ ls -d /Users/hogehoge/Desktop/ios/TdFirstApp # Xcodeプロジェクトディレクトリ
/Users/hogehoge/Desktop/ios/TdFirstApp
$ cat /Users/hogehoge/Desktop/ios/TdFirstApp/Podfile # Podfile
pod 'TreasureData-iOS-SDK', '= 0.1.4'
Step:1-4 Install
$ cd /Users/hogehoge/Desktop/ios/TdFirstApp
$ pod install
Step:1-5 Xcodeプロジェクトの起動
Step:1-3で初めてPodfileを作成した場合は、設定を反映させるために以下のファイルをダブルクリックしてXcodeプロジェクトを起動します。
/Users/hogehoge/Desktop/ios/TdFirstApp/TdFirstApp.xcworkspace
Step2: WriteOnly API-Keyの取得
TreasureDataには以下二つのAPI Keyが存在します。
- フルアクセス権限API-Key: DB作成、削除、テーブル作成、削除、クエリ、データアップロードを行うことができるAPI-Key
- WriteOnly API-Key: データアップロードのみを行うことが出来るAPI-Key
ここではデータアップロードのみ可能なWriteOnly API-Keyの取得方法を記載します。
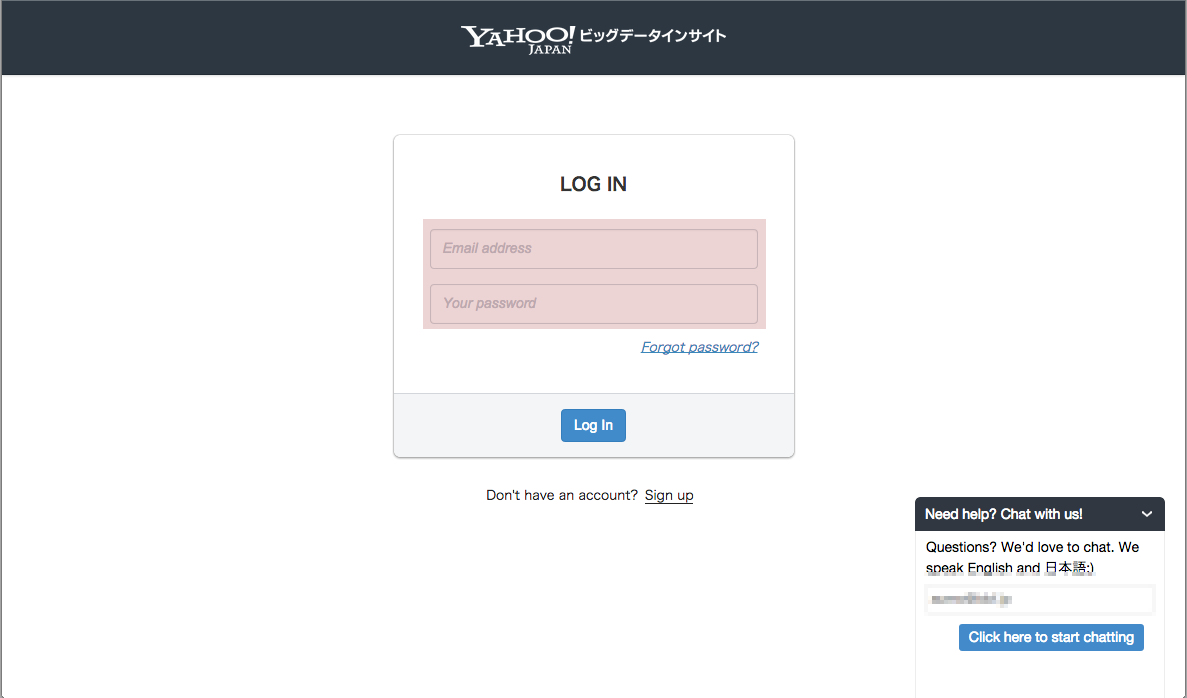
Step2-1: WebConsoleにログイン
[WebConsole](https://console-ybi.idcfcloud.com/users/sign_in WebConsole)にアクセスしてLog inします。
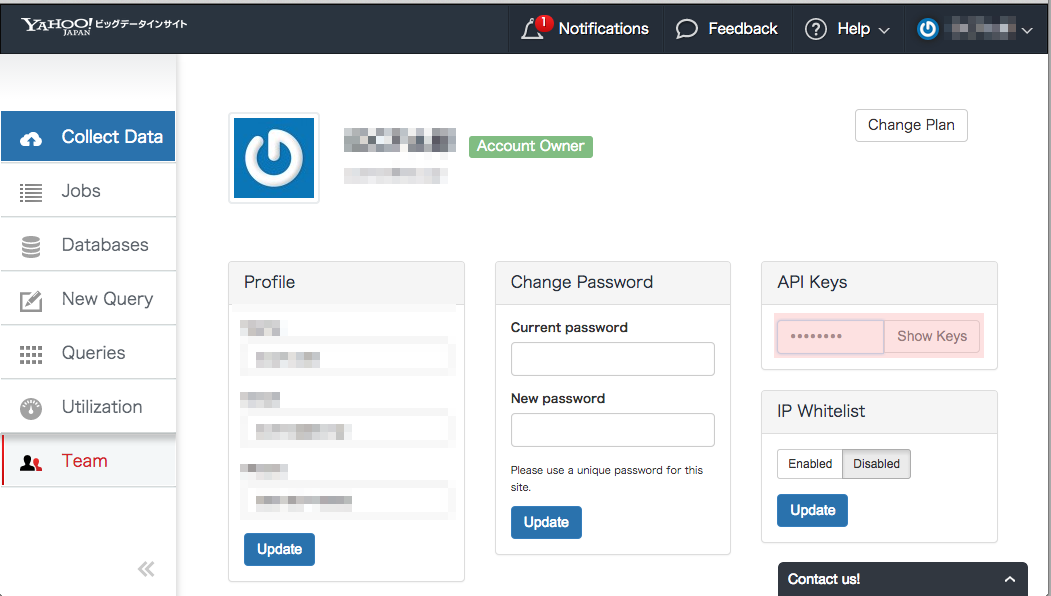
Step2-2: My Profile画面の表示
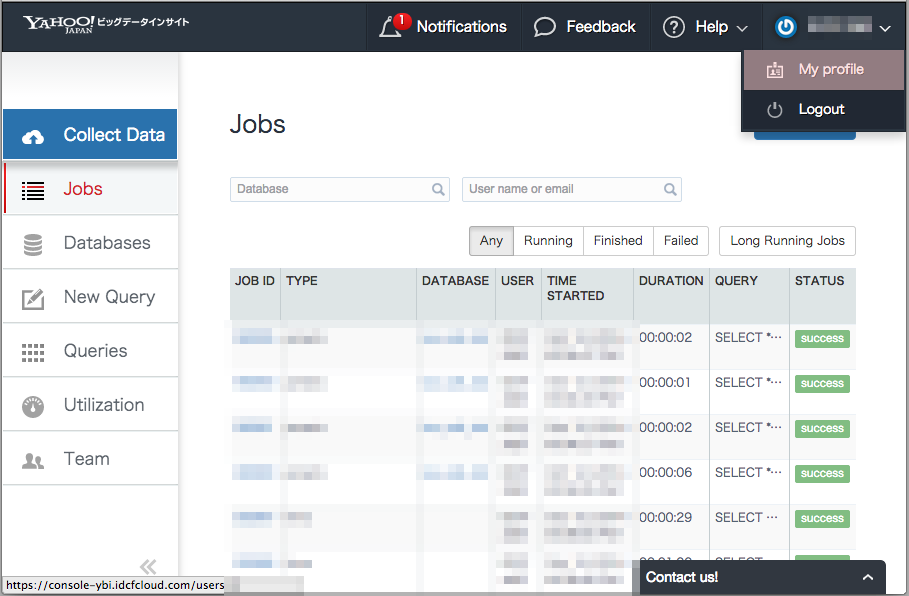
ヘッダメニュ > Account名 > My Profile
でMy Profile画面を表示させます。
Step2-3: Show Keys
API Keysパネルでアカウントのパスワード入力後にShow Keysボタンを押下します。
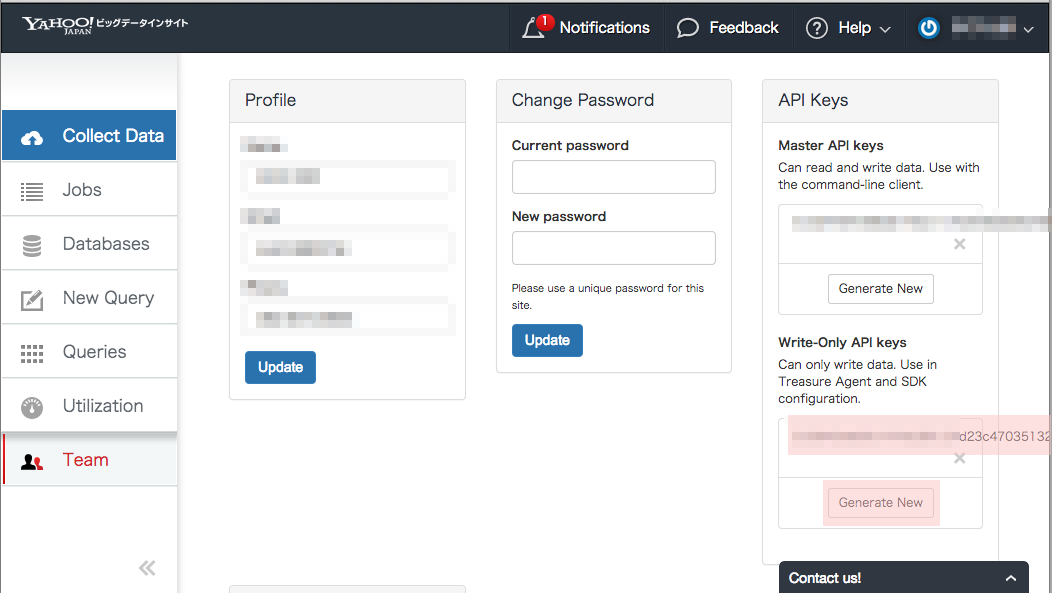
Step2-4: WriteOnly API-Keyの取得
これでWriteOnly API-Keyが表示されるはずです。
まだ取得していいなければ、Create Newボタンを押下して取得してください。
Step3: アップロード先DB/TABLE作成
Step3-1: WebConsoleにログイン
アップロード先となるDB/TABLEを作成します。
[WebConsole](https://console-ybi.idcfcloud.com/users/sign_in WebConsole)にアクセスしてLog inします。
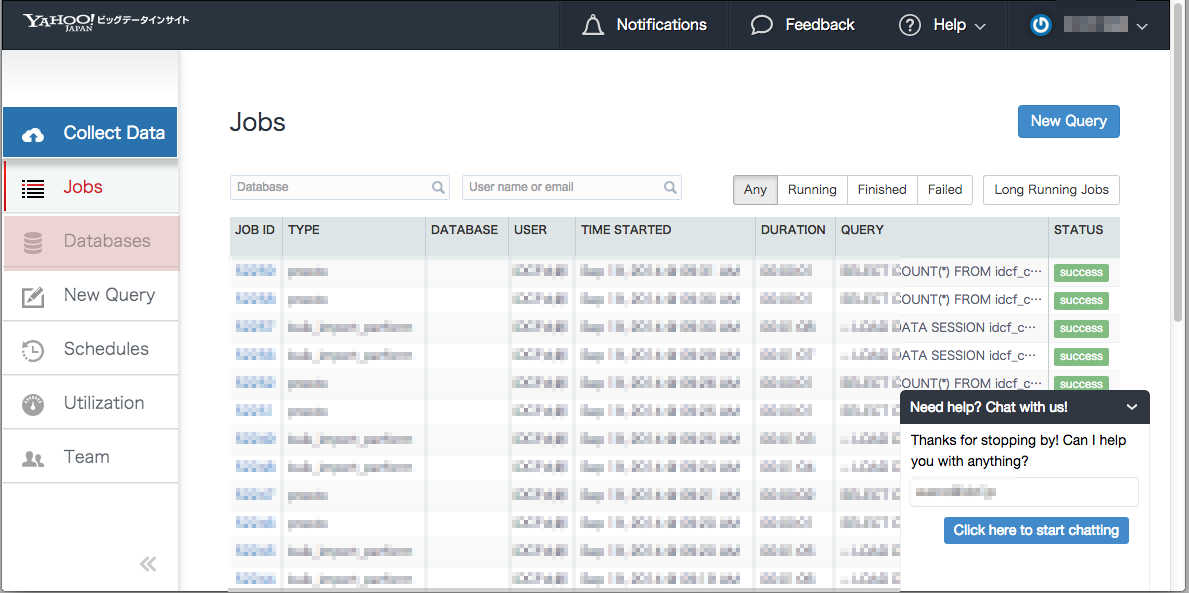
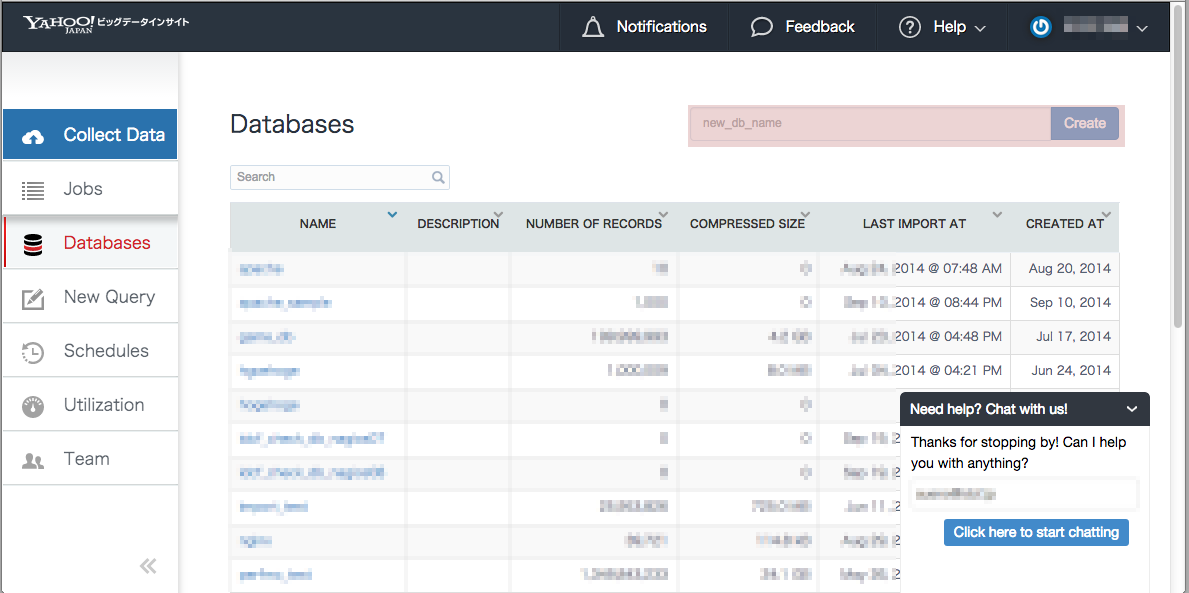
Step3-2: DB作成
Database名を入力してCreateボタンを押下します。
ここでは、ios_sdk_dbと入力します。
Step3-3: Table作成
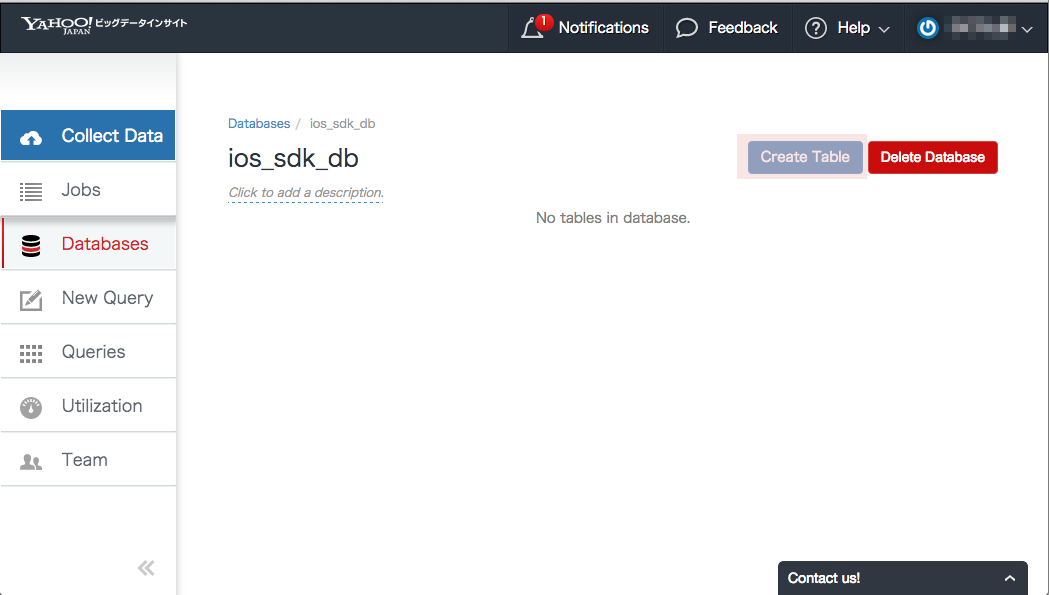
続けてios_sdk_dbDB画面でCreate Tableボタンを押下します。
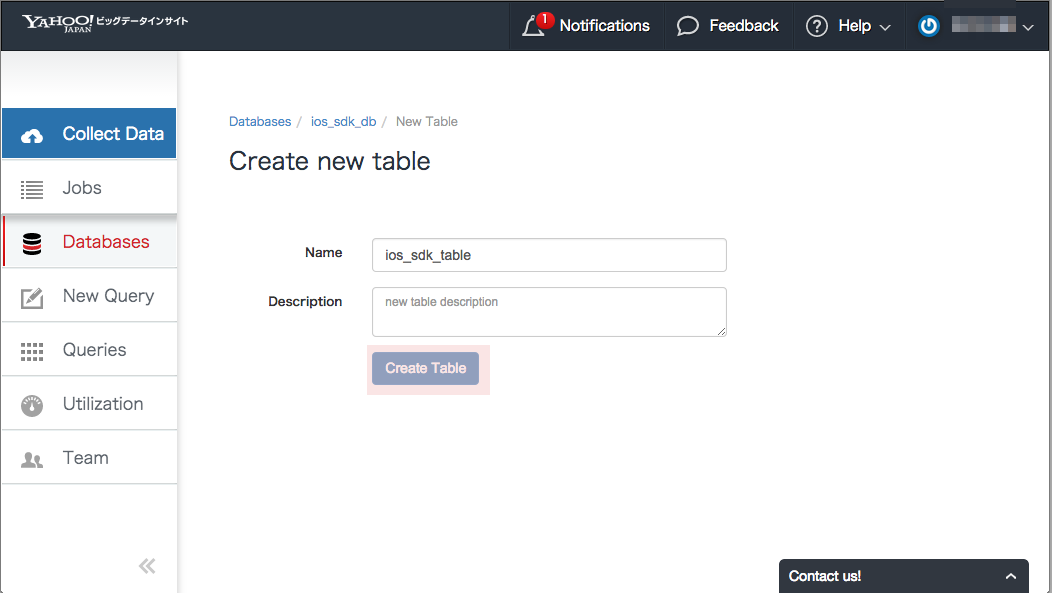
そしてテーブル名を入力してCreate Tableボタンを押下してテーブルを作成します。
ここではios_sdk_tableとしています。
Step4: Sampleプロジェクトの準備
TreasureData iOS SDKを埋め込むSampleプロジェクトを準備します。
今回のSampleプロジェクトは、単純なラベルとボタンを配置しただけのSimple Page Applicationプロジェクトを作成しました。
Objective-CとSwiftでソースコードが異なるのでここではそれぞれのソースコードを記載します。
Step4-Case-1: Objective-C
ソースの雛形。
//
//  ViewController.m
//  TdObjectApp
//
//  Created by hogehoge on 2014/10/10.
//  Copyright (c) 2014年 hogehoge. All rights reserved.
//
/* Main処理を行うクラス */

# import "ViewController.h"

@interface ViewController ()
@property (weak, nonatomic) IBOutlet UILabel *Label;
@end

@implementation ViewController

- (void)viewDidLoad {
    [super viewDidLoad];
    // Do any additional setup after loading the view, typically from a nib.

}

- (void)didReceiveMemoryWarning {
    [super didReceiveMemoryWarning];
    // Dispose of any resources that can be recreated.
}


- (IBAction)CountUp {
    /* ボタンが押されたときに行う処理 */
}

@end
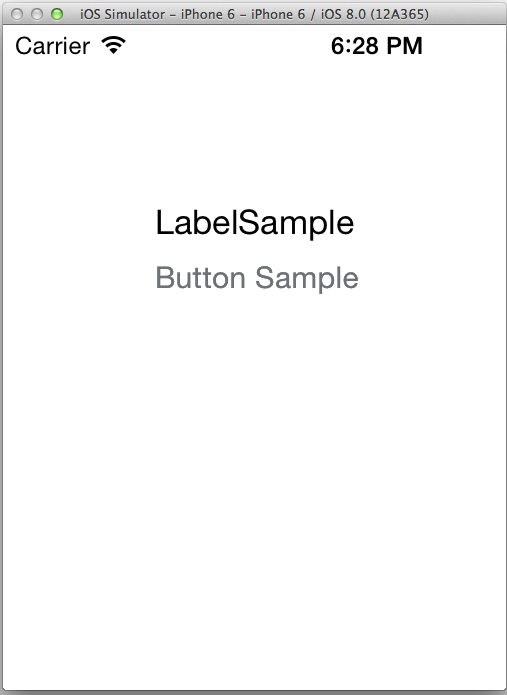
iOS Simulator上の表示内容。
Button Sample押下時に(IBAction)CountUpが呼び出されます。
Step4-Case-2: Swift
ソースの雛形。
//
//  ViewController.swift
//  TdFirstApp
//
//  Created by hogehoge on 2014/10/10.
//  Copyright (c) 2014年 hogehoge. All rights reserved.
//

import UIKit

class ViewController: UIViewController {

    override func viewDidLoad() {
        super.viewDidLoad()
        // Do any additional setup after loading the view, typically from a nib.
    }

    override func didReceiveMemoryWarning() {
        super.didReceiveMemoryWarning()
        // Dispose of any resources that can be recreated.
    }

    @IBOutlet weak var Label: UILabel!

    var value = "LabelSample"


    @IBAction func countUp() {
	/* ボタンが押されたときに行う処理 */
	}
}
iOS Simulator上の表示内容。
Button Sample押下時に@IBAction func countUp()が呼び出されます。
Step5: TreasureData iOS SDKの埋め込み
Step3で作成したプロジェクトにTreasureData iOS SDKを埋め込んでいきます。
Step5-Case-1: Objective-C
Step5-1: import
対象のヘッダファイルに以下を追加します。
# import "TreasureData.h"
Step5-2: ソース埋め込み
以下のようにソースを埋め込みButton Sample押下時にデータをTreasureDataにアップロードするようにします。
//
//  ViewController.m
//  TdObjectApp
//
//  Created by hogehoge on 2014/10/10.
//  Copyright (c) 2014年 hogehoge. All rights reserved.
//
/* Main処理を行うクラス */

# import "ViewController.h"

@interface ViewController ()
@property (weak, nonatomic) IBOutlet UILabel *Label;
@end

@implementation ViewController

- (void)viewDidLoad {
    [super viewDidLoad];
    // Do any additional setup after loading the view, typically from a nib.

    /* TreasureData Initialize */
    [TreasureData initializeApiEndpoint:@"https://mobile-ybi.jp-east.idcfcloud.com"]; // Endpointの設定
    [TreasureData initializeWithApiKey:@"xxxxxxea09d147de381c3fd23c47035132d5xxxxxx"]; // WriteOnly API-Keyの設定

}

- (void)didReceiveMemoryWarning {
    [super didReceiveMemoryWarning];
    // Dispose of any resources that can be recreated.
}


- (IBAction)CountUp {
    /* ボタンが押されたときに行う処理 */
    [[TreasureData sharedInstance] addEventWithCallback:@{ // データ準備
                                                          @"name": @"hogehoge",
                                                          @"age": @77,
                                                          @"comment": @"Objective C" //{"name":"hogehoge", "age": 77, "comment":"Objective C"}というデータをアップロードする。
                                                          }
                                               database:@"ios_sdk_db" // アップロード先DB名
                                                  table:@"ios_sdk_table" // アップロード先Table名
                                              onSuccess:^(){
                                                  NSLog(@"addEvent: success");
                                              }
                                                onError:^(NSString* errorCode, NSString* message) {
                                                    NSLog(@"addEvent: error. errorCode=%@, message=%@", errorCode, message);
                                                }];

    [[TreasureData sharedInstance] uploadEvents]; //データアップロード
}
注:本来ならもっとシンプルに以下のようなコードでアップロードしてくれるはずなのですが、私の場合はデータが空の状態でアップロードされてしまい、正常にアップロードできませんでした。
    [[TreasureData sharedInstance] addEvent:@{
                                       @"name": @"hogehoge",
                                       @"age": @77,
                                       @"comment": @"Objective C"
                                   }
                                   database:@"ios_sdk_db"
                                      table:@"ios_sdk_table"];
	[[TreasureData sharedInstance] uploadEvents];
Step5-Case-2: Swift
Step5-1: import
TreasureData iOS SDKはObjective-Cで書かれているので、そのままではSwiftプロジェクトに取り込むことはできません。
取り込むためには${AppName}-Bridging-Header.hにTreasureData iOS SDKのインポート設定を記載する必要があります。
Step5-1-1: ${AppName}-Bridging-Header.h作成
注:まだ${AppName}-Bridging-Header.hがない場合に実施してください。
Xcode > File > New > File...
を選択して、ファイルテンプレート画面を表示させます。
iOS > Source > Cocoa Touch Class
を選択してNextボタンを押下して、
Class: hogehoge
Subclass of: NSObject
Language: Objective-C
を入力してNextボタンを押下してください。
そして対象のプロジェクトを選択してCreateボタンを押下して、ファイルを作成してください。
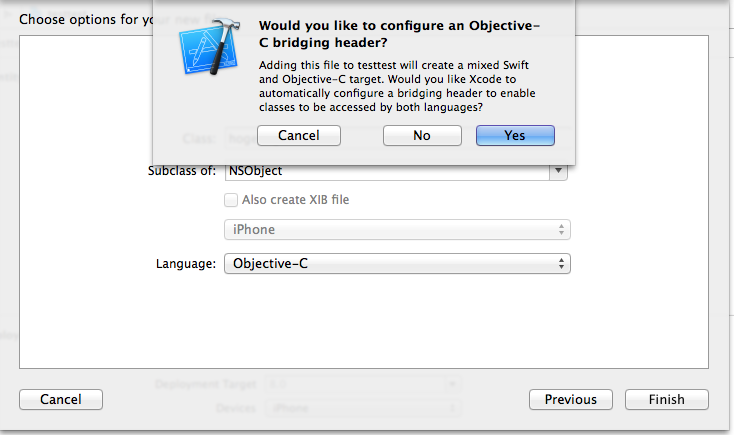
その際に以下のダイアログが表示されるのでYesを選択してください。
そうすると、${AppName}-Bridging-Header.hが作成されます。
Step-5-1-2: import
# import "TreasureData.h"
Step5-2: ソース埋め込み
以下のようにソースを埋め込みButton Sample押下時にデータをTreasureDataにアップロードするようにします。
//
//  ViewController.swift
//  TdFirstApp
//
//  Created by hogehoge on 2014/10/10.
//  Copyright (c) 2014年 hogehoge. All rights reserved.
//

import UIKit

class ViewController: UIViewController {

    override func viewDidLoad() {
        super.viewDidLoad()
        // Do any additional setup after loading the view, typically from a nib.

		/* TreasureData Initialize */
        TreasureData.initializeApiEndpoint("https://mobile-ybi.jp-east.idcfcloud.com") // Endpointの設定

		TreasureData.initializeWithApiKey("xxxxxxea09d147de381c3fd23c47035132d5xxxxxx") // WriteOnly API-Keyの設定
    }

    override func didReceiveMemoryWarning() {
        super.didReceiveMemoryWarning()
        // Dispose of any resources that can be recreated.
    }

    @IBOutlet weak var Label: UILabel!


    @IBAction func countUp() {
	/* ボタンが押されたときに行う処理 */
			TreasureData.sharedInstance().addEventWithCallback(["name":"hogehoge", "age": 77, "comment":"Swift"], database: "ios_sdk_db", table: "ios_sdk_table", onSuccess: {()-> Void in
            println("addEvent: success")
            },
            onError:
            {(errorCode, message) -> Void in
                println("addEvent: error. errorCode=\(errorCode) message=\(message)")
            }
        	) // データ準備
        TreasureData.sharedInstance().uploadEvents() // データアップロード
	}
}
注:本来ならもっとシンプルに以下のようなコードでアップロードしてくれるはずなのですが、私の場合はデータが空の状態でアップロードされてしまい、正常にアップロードできませんでした。
    TreasureData.sharedInstance().addEvent(["name":"hogehoge", "age": 77, "comment":"Swift"],database: "ios_sdk_db", table: "ios_sdk_table")
	TreasureData.sharedInstance().uploadEvents()
Step6: データアップロード確認
iOS Simulator上でButton Sampleをそれぞれ押下したときのios_sdk_tableは以下となります。
$ td query -w -t hive -d ios_sdk_db "SELECT * FROM ios_sdk_table"
...省略....
+----------+-----+-------------+------------+
| name     | age | comment     | time       |
+----------+-----+-------------+------------+
| hogehoge | 77  | Objective C | 1413113712 |
| hogehoge | 77  | Swift       | 1413113916 |
+----------+-----+-------------+------------+
2 rows in set
$
注:CLIで取得しております。
おわりに
本来の使い方としては、
[GitHub](https://github.com/treasure-data/td-ios-sdk GitHub)に書いているように、アプリケーション起動時にEndpoint、API-Keyを初期化しておき、各種イベント発生時にsharedInstanceを用いてデータをアップロードするのが正しいと思います。
- (void)applicationDidBecomeActive:(UIApplication *)application {
	[TreasureData initializeApiEndpoint:@"https://mobile-ybi.jp-east.idcfcloud.com"];
    [TreasureData initializeWithApiKey:@"your_api_key"];
}
