研究室の先輩にelixirとphoenixを布教されたので軽く触れてみました。
とりあえず、インストールから簡単なREST APIつくってReactから使ってみることにします。
前提としてmac環境とします。
インストール
$ brew install elixir
$ mix local.hex
$ mix archive.install https://github.com/phoenixframework/archives/raw/master/phoenix_new.ez
これでphoenixの環境が整いました。インストールでハマるところなくいい感じです。
プロジェクトの作成
今回はとりあえずマイクロブログをつくってみることします。
Railsのrails newと似たような感じでphoenix.newでプロジェクトを作成することができます。
dbは手軽なのでsqliteを使います。
また、Phoenixはbrunch.ioというビルドツールを採用してるようですが、APIが目的ですので--no-brunchオプションで省略します。
$ mix phoenix.new blog --database sqlite --no-brunch
依存をインストールするか聞かれるのでYでインストールします。
...
Fetch and install dependencies? [Yn] Y
表示される指示どうりにサーバを起動してみます。
$ cd blog
$ mix phoenix.server
http://localhost:4000にアクセスして動いてることを確認します。
よさそうです。
API作成
さて、PhoenixにはRailsのscaffoldと似た機能があるようなのでそれを使います。
違いとしてはモデル名の他にカラム名を別に設定する必要があるところです。
$ mix phoenix.gen.json Post posts title:string body:text
* creating web/controllers/post_controller.ex
.
.
.
Add the resource to your api scope in web/router.ex:

    resources "/posts", PostController, except: [:new, :edit]

Remember to update your repository by running migrations:

    $ mix ecto.migrate
コントローラーやモデルが自動で作成されました。
router.exに追記しろととのことなのでその通りにします。
ついでにAPIの部分がコメントアウトされているので解除します。
...
  scope "/api", Blog do
    pipe_through :api
    resources "/posts", PostController, except: [:new, :edit]
  end
...
まだDBを作成してないのでまずはcreateしてからmigrateを行います。
$ mix ecto.create
$ mix ecto.migrate
これでAPIができました。
CURLで叩いてみます。
$ curl -v -H "Accept: application/json" -H "Content-type: application/json" -X POST -d '{"post": {"title": "phoenixでAPIをつくってみる", "body": "APIのテストだよー" }}' http://localhost:4000/api/posts
CURLですべてのPostを取得してみます。
$ curl -v -H "Accept: application/json" -H "Content-type: application/json" http://localhost:4000/api/posts
.
.
.
{"data":[{"title":"phoenixでAPIをつくってみる","id":1,"body":"APIのテストだよー"}]}
大丈夫そうですね。
Reactでフロントエンドを作成
APIだけだと味気ないのでReactでフロントエンドをつくってみます。
見た感じ/web/templates/layout/app.html.eexからbundle.jsが呼べればなんでもできそうです。
元のコードを消して以下の2行を追記してみました。
<div class='main'></div>
<script src="<%= static_path(@conn, "/js/bundle.js") %>"></script>
とりあえずpriv/static以下にフロントエンドのコードを配置することにします。
必要なライブラリや設定ファイルを準備します。
$ cd /priv/static
$ npm init
$ npm i -S react react-dom superagent
$ npm i -D browserify babelify babel-preset-es2015 babel-preset-react watchify
{
  "presets": ["react", "es2015"]
}
{
  "name": "blog-frontend",
  "scripts": {
    "watch": "watchify -t babelify index.js -o ./js/bundle.js",
    "build": "browserify -t babelify index.js -o ./js/bundle.js"
  },
  "dependencies": {
    "react": "^0.14.7",
    "react-dom": "^0.14.7",
    "superagent": "^1.7.2"
  },
  "devDependencies": {
    "babel-preset-es2015": "^6.5.0",
    "babel-preset-react": "^6.5.0",
    "babelify": "^7.2.0",
    "browserify": "^13.0.0",
    "watchify": "^3.7.0"
  }
}
これでいつもどおりnpm scriptを叩いて開発を行えます。
$ npm run watch
雑にAPIを叩くReactのコードを書いてみました。
素のhtmlだと寂しかったので、bootstrap追加して、こんな感じです。
import React, {Component} from 'react';
import {render} from 'react-dom';
import request from 'superagent';

class Blog extends Component {
  constructor(props) {
    super(props);
    this.state = {
      data: []
    };
    this.loadPostsFromServer();
  }

  loadPostsFromServer() {
    request
      .get('/api/posts')
      .set('Accept', 'application/json')
      .set('Content-type', 'application/json')
      .end((err, res) => {
        this.setState({data: res.body.data.reverse()});
      });
  }

  handlePostSubmit(post) {
    request
      .post('/api/posts')
      .set('Accept', 'application/json')
      .set('Content-type', 'application/json')
      .send(JSON.stringify({post: post}))
      .end((err, res) => {
        this.setState({data: [res.body.data].concat(this.state.data)});
      });
  }

  componentWillMount() {
    setInterval(this.loadPostsFromServer.bind(this), 2000);
  }

  render() {
    const posts = this.state.data.map(post => {
      return (
        <Post data={post} key={post.id} />
      );
    });

    return (
      <div className='container'>
        <h1>Phoenix+React Blog Sample</h1>
        <div className='col-md-3'>
          <Submit onPostSubmit={this.handlePostSubmit.bind(this)}/>
        </div>
        <div className='col-md-9'>
          {posts}
        </div>
      </div>
    );
  }
}

const Post = props => {
  return (
    <div className='panel panel-default'>
      <div className='panel-heading'>
        <h4 className='panel-title'>{props.data.title}</h4>
      </div>
      <div className='panel-body'>
        {props.data.body}
      </div>
    </div>
  );
};

class Submit extends Component {
  constructor(props) {
    super(props);
    this.state = {title: '', body: ''};
  }

  handleSubmit(e) {
    e.preventDefault();
    const title = this.state.title.trim();
    const body = this.state.body.trim();
    if (!title || !body) {
      return;
    }
    this.props.onPostSubmit({title, body});
    this.setState({title: '', body: ''});
  }

  handleTitleChange(e) {
    this.setState({title: e.target.value});
  }

  handleBodyChange(e) {
    this.setState({body: e.target.value});
  }

  render() {
    return (
      <form onSubmit={this.handleSubmit.bind(this)}>
        <div className='form-group'>
          <input className='form-control' type='text' placeholder='タイトル' value={this.state.title} onChange={this.handleTitleChange.bind(this)}/>
        </div>
        <div className='form-group'>
          <textarea className='form-control' type='text' placeholder='内容' value={this.state.body} onChange={this.handleBodyChange.bind(this)}/>
        </div>
        <input className='btn btn-default pull-right' type='submit' value='Post' />
      </form>
    );
  }
}

render(<Blog />, document.querySelector('.main'));
2秒ごとにポーリングして画面を更新してます。
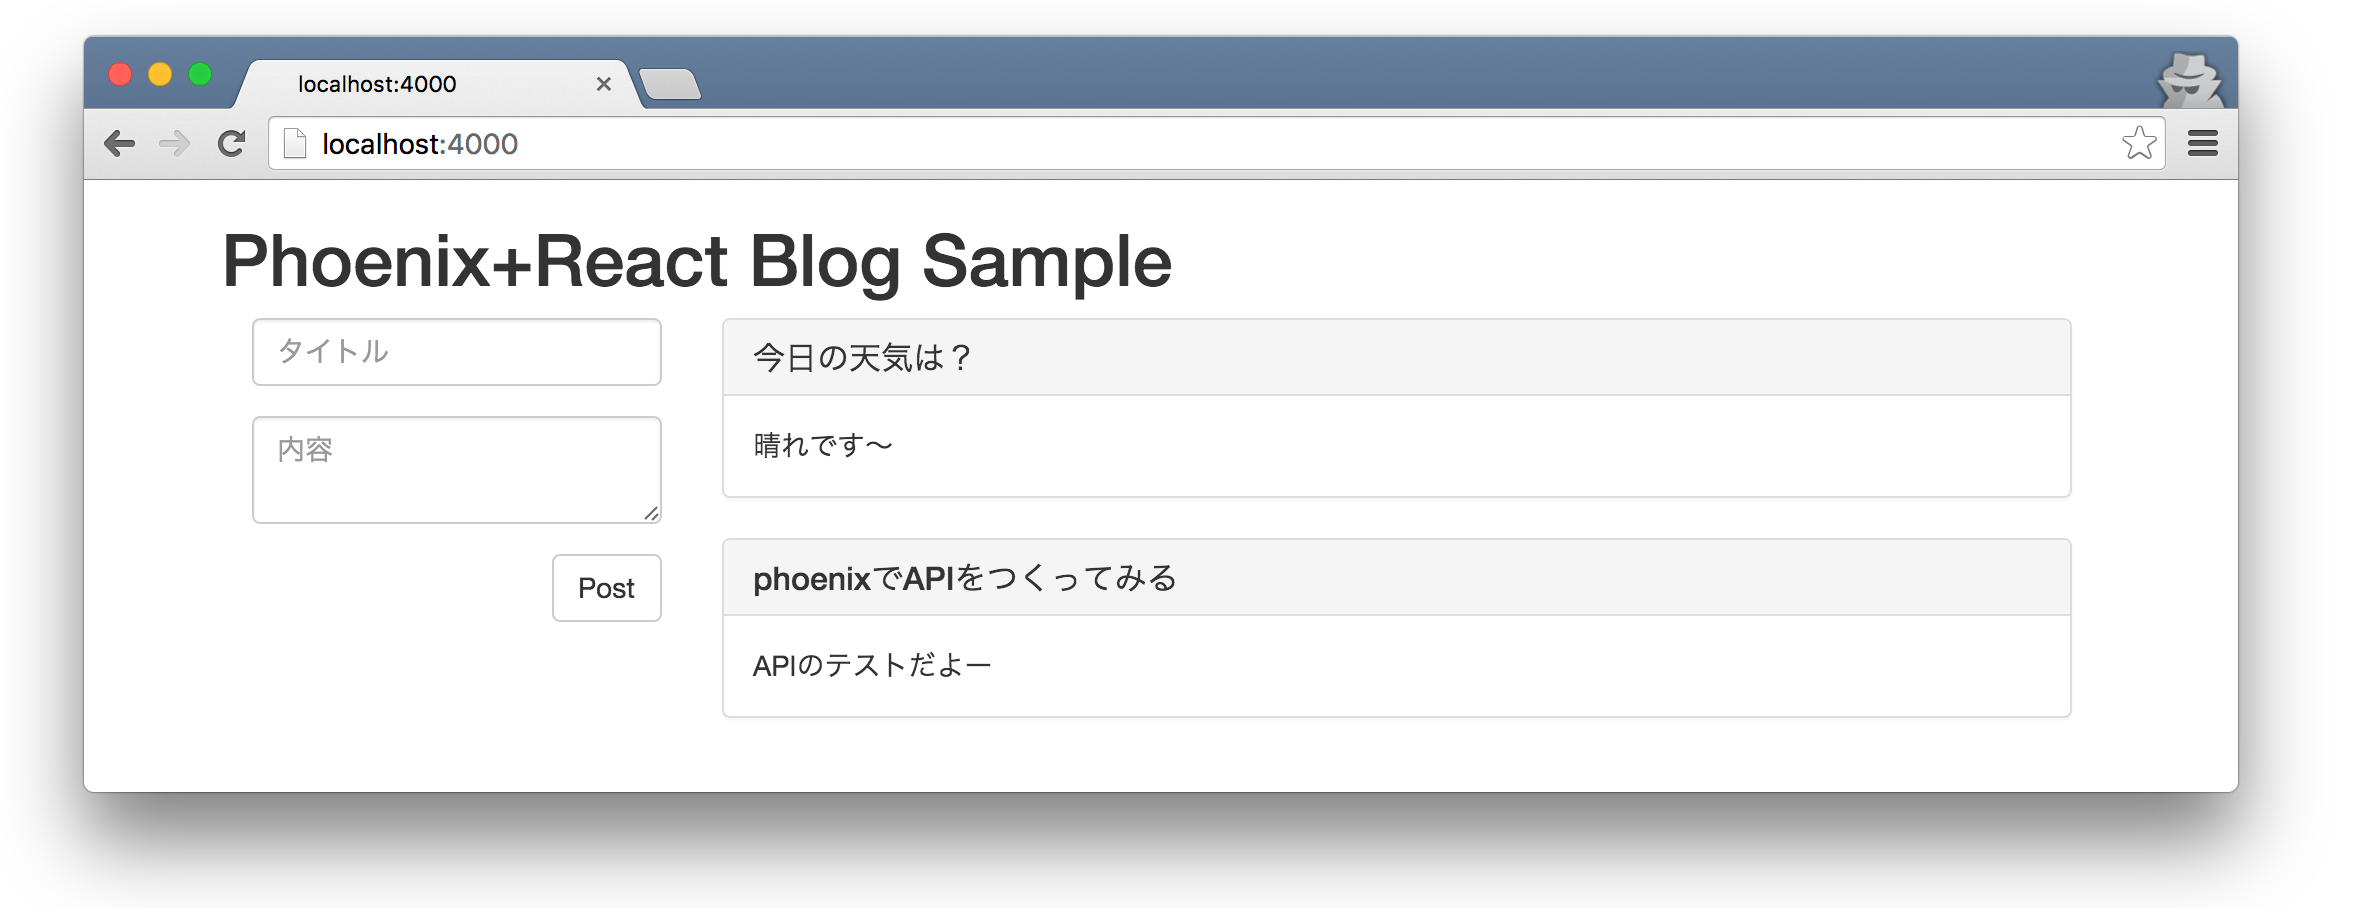
完成イメージはこんな感じです。
作成したサンプルは参考になるかわかりませんが、akameco/phoenix-react-sample-appにあります。
おわりに
とりあえず触りだけ使ってみました。
Railsライクで簡単に使えていいですね。
websocketも簡単に使えるようなのでこれから試してみようと思います。

