UnityでOpenCVを使う(iOS編)
UnityでOpenCVを使う手順をまとめます。iOS編です。
iPhoneやiPadのカメラからキャプチャした映像にリアルタイムで画像処理を行うサンプルを作ってみましょう。Unity無償版で動作させることができます。
OpenCVフレームワークの用意
はじめにiOS向けOpenCVのフレームワークを用意します。
フレームワークの作成方法はこちらを記事が参考になります。
OpenCV for iOSの使い方
Unity側の準備
シーンにPlaneを追加し、以下のスクリプトを割り当てます。
Planeが正面から見えるようにカメラの位置を適当に調整してください。
WebCamTextureでカメラ映像を取得しUpdateTexture関数でピクセルデータを更新します。
UpdateTexture関数はNativePluginで用意します。
imageProcessing.cs
using UnityEngine;
using System.Collections;
using System.Runtime.InteropServices;

public class imageProcessing : MonoBehaviour {

	[DllImport ("__Internal")]
	private static extern void UpdateTexture(System.IntPtr colors, int width, int height);

	WebCamTexture webcamTexture;
	Texture2D texture = null;

	// Use this for initialization
	void Start () {
		WebCamDevice[] devices = WebCamTexture.devices;
		if (devices.Length > 0) {
			webcamTexture = new WebCamTexture(devices[0].name ,320, 240, 10);
			webcamTexture.Play();
		}
	}

	// Update is called once per frame
	void OnGUI() {
		Color32[] pixels = webcamTexture.GetPixels32();
		GCHandle pixelsHandle = GCHandle.Alloc(pixels, GCHandleType.Pinned);
		UpdateTexture(pixelsHandle.AddrOfPinnedObject(), webcamTexture.width, webcamTexture.height);
		if (texture) Destroy(texture);
		texture = new Texture2D(webcamTexture.width, webcamTexture.height);
        texture.SetPixels32(pixels);
        texture.Apply();
		pixelsHandle.Free();
		renderer.material.mainTexture = texture;
	}
}
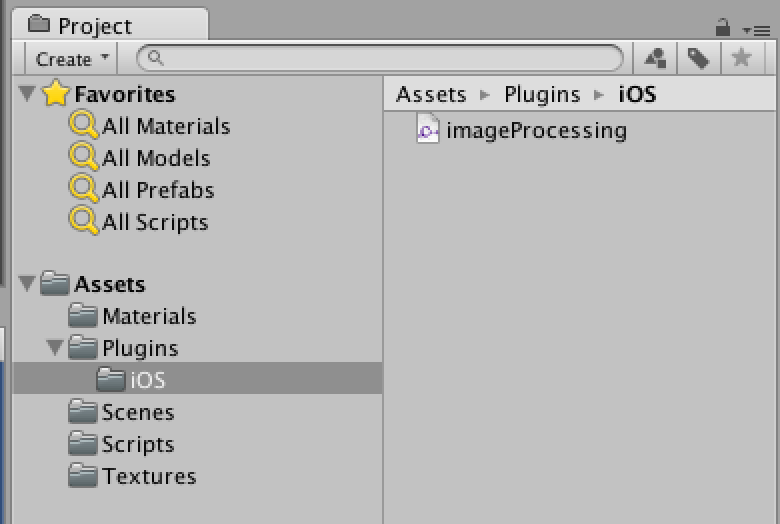
Native Pluginの準備
Assetsフォルダの下にPlugins/iOSフォルダを作成し、iOSフォルダの中にimageProcessing.cppという名前でファイルを作成します。
UpdateTextureという名前で、ピクセルデータと画像の幅高さを引数に取る関数を作ります。
imageProcessing.cpp
# ifdef __cplusplus
# import <opencv2/opencv.hpp>
# endif

extern "C" {
  void UpdateTexture(char* data, int width, int height);
}

void UpdateTexture(char* data, int width, int height)
{
    IplImage* p = cvCreateImageHeader(cvSize(width, height), IPL_DEPTH_8U, 4);
    cvSetData(p, data, p->widthStep);
    IplImage* g = cvCreateImage(cvSize(width, height), IPL_DEPTH_8U, 1);
    cvCvtColor(p, g, CV_RGBA2GRAY);
    cvCanny(g, g, 50.0, 200.0);
    cvCvtColor(g, p, CV_GRAY2RGBA);
    cvReleaseImageHeader(&p);
    cvReleaseImage(&g);
}
UpdateTexture関数では、ピクセルデータ格納用のIplImageを用意し
引数で渡ってきたピクセルデータをセットした後、
グレースケール化し、cvCannyでエッジ抽出を行っています。
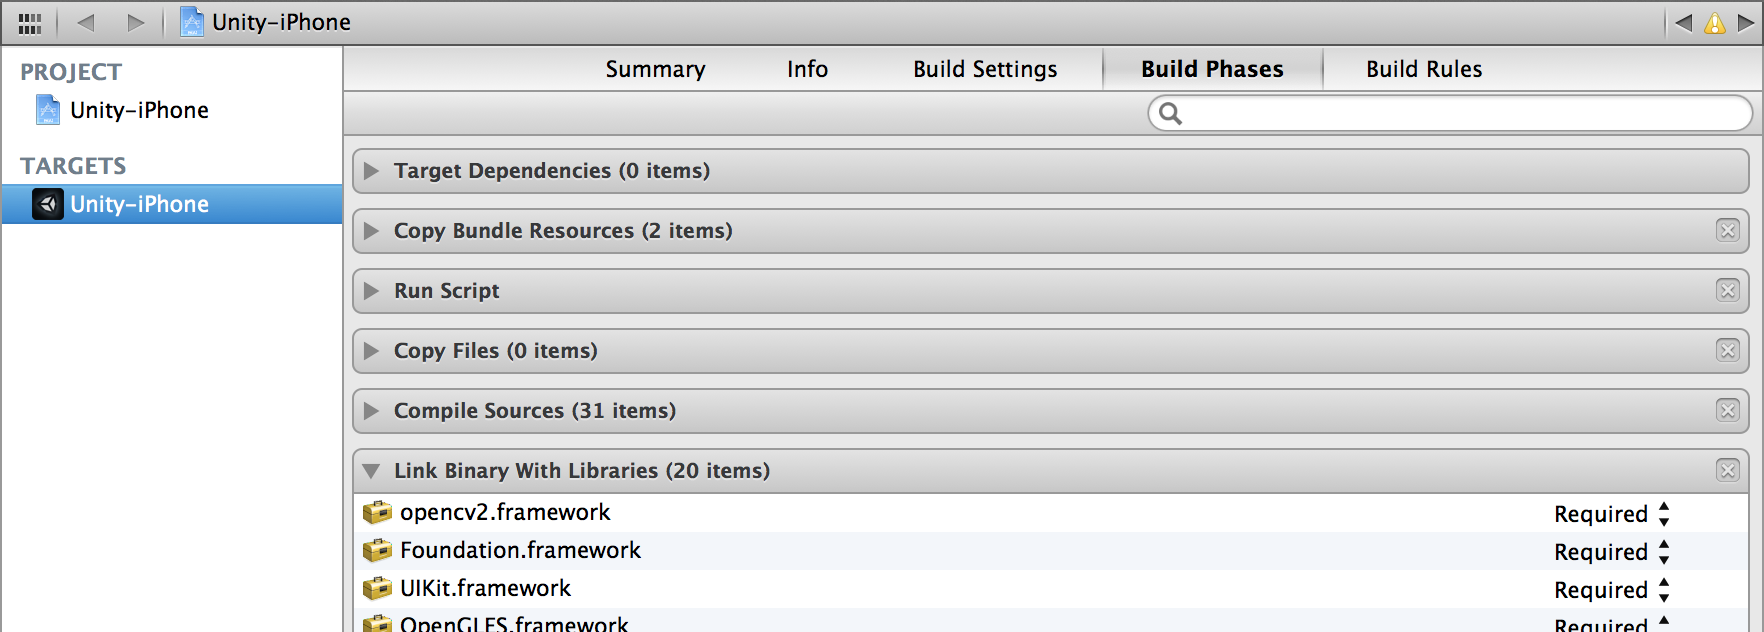
XCodeプロジェクトへのOpenCVフレームワークの追加
Unityでビルドし、XCodeプロジェクトを開きます。OpenCVフレームワークを追加します。
実行
実行すると、カメラからキャプチャした映像にリアルタイムでエッジ抽出を行います。
320x240の画像サイズの場合で、iPhone5で12〜13FPS程度でした。