新規プロジェクトを作成して、Bitbucketで管理できるようにするまでを簡単にメモ
前提
- IntelliJ IDEA : 2016.2
- Bitbucket のアカウントは作成済み
新規プロジェクトの作成
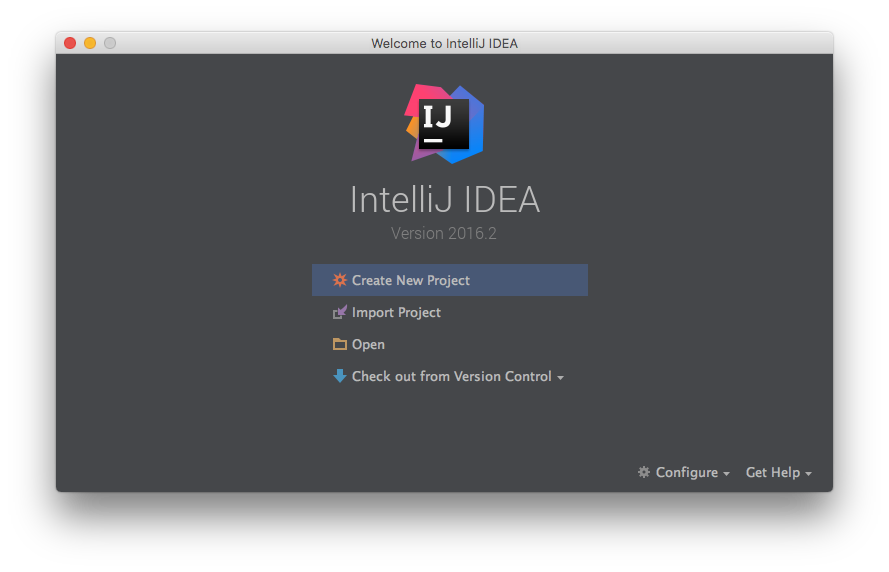
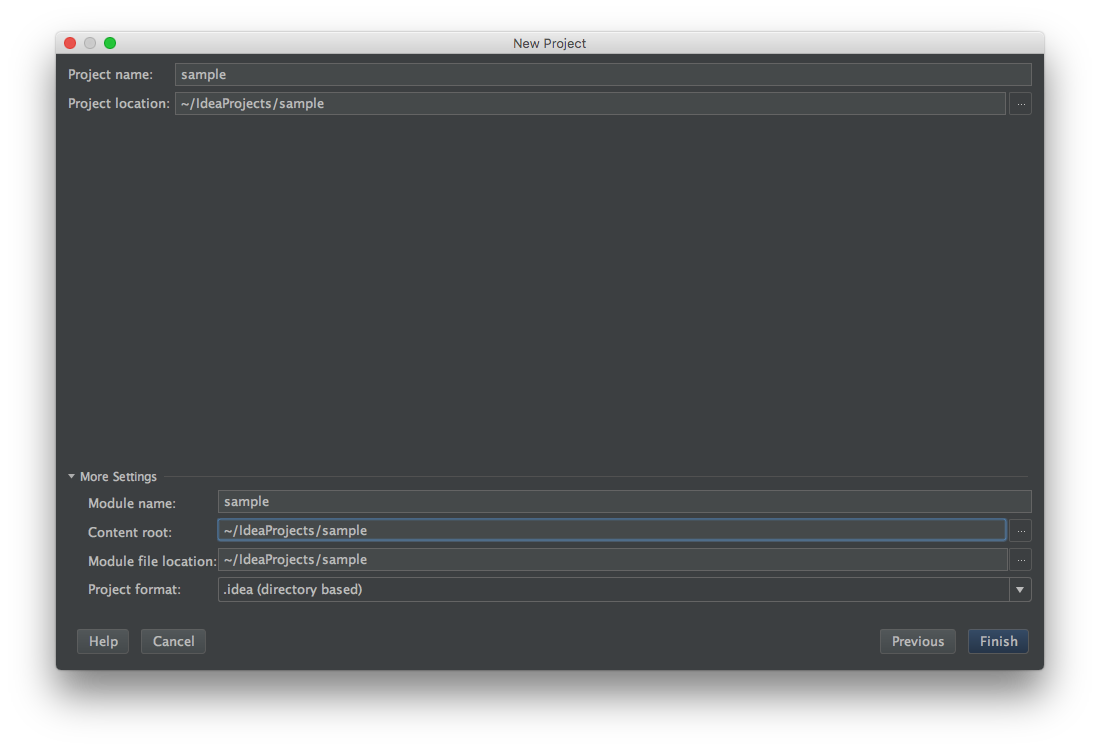
「Create New Project」(またはメニューの[File]-[New]-[Project])を選択するして、「New Project」ウィンドウを表示する。
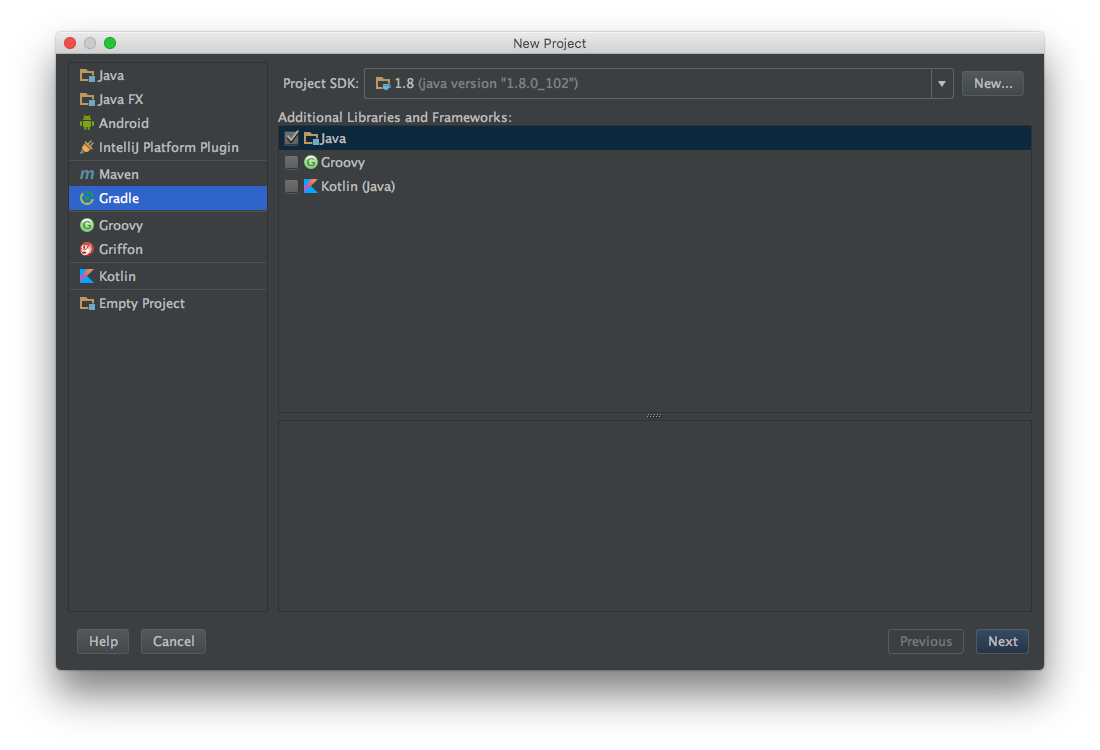
Project SDKでjava1.8を選択し、GradleでJavaを選択して、[Next]を押す。
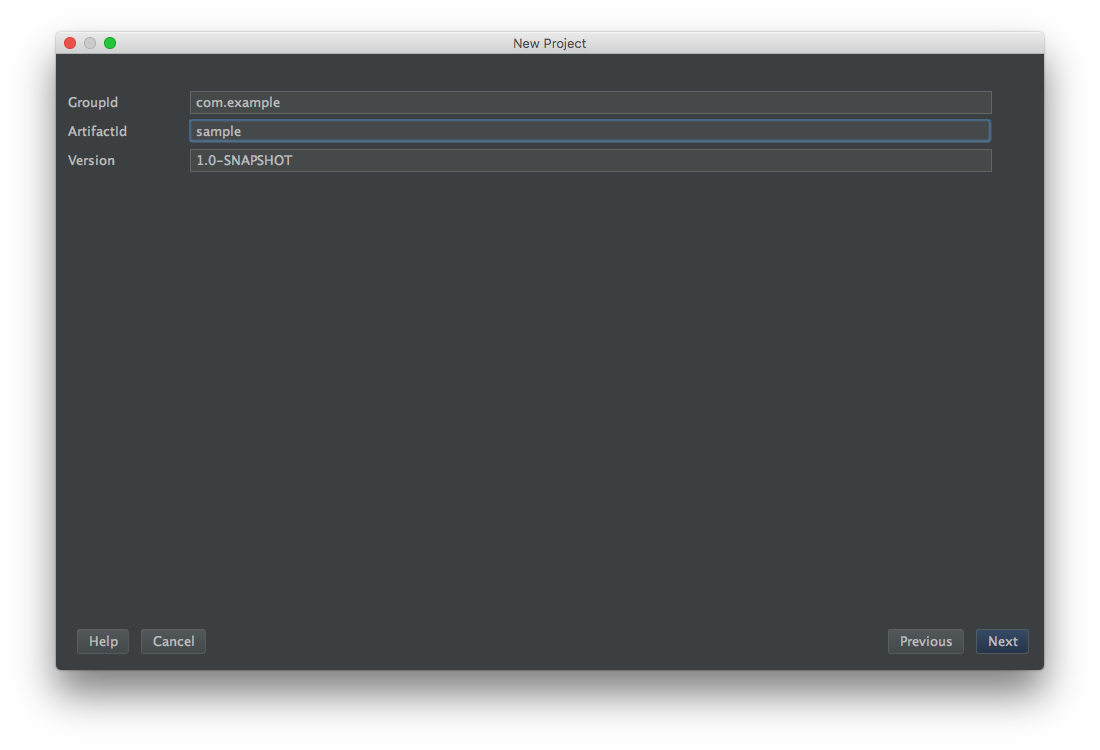
次は以下を入力して、[Next]を押す。
| 項目 | 値 | メモ |
|---|---|---|
| GroupId | com.example | プロジェクトのルートパッケージ名 |
| ArtifactId | sample | プロジェクト |
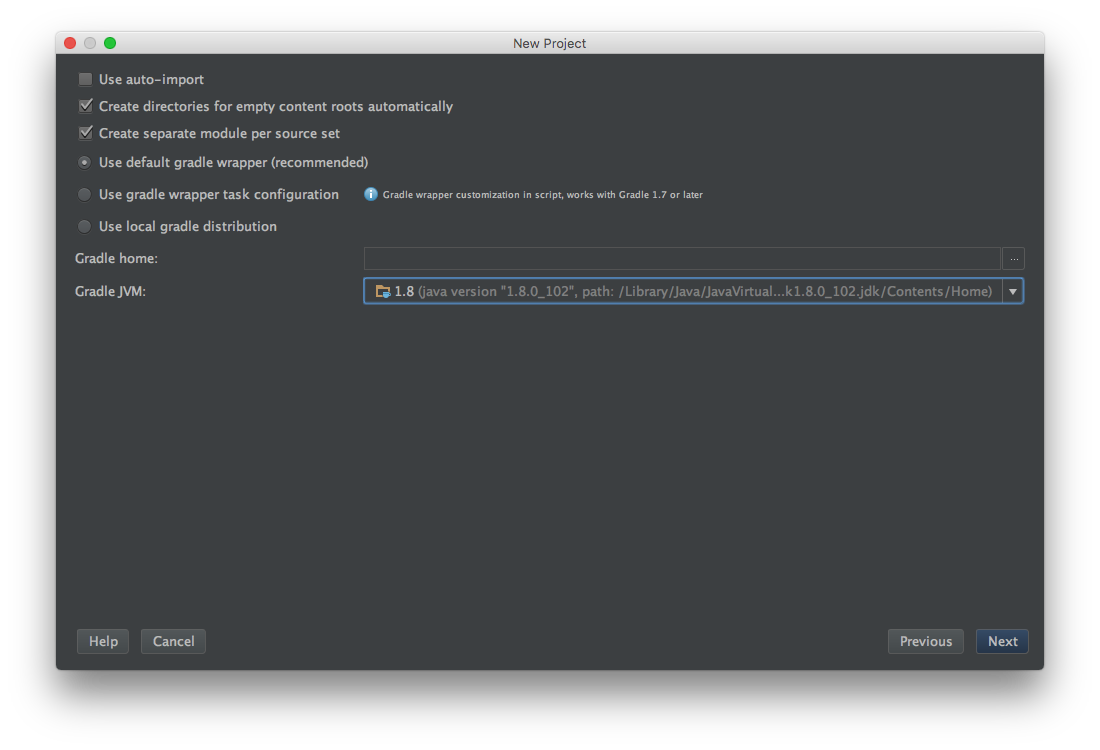
下記をチェックする。
Create directories for empty content root automatically
Create separate module per soruce set
Gradleは「Use default gradle wrapper」を選択し、GradleJVMはProject SDKと同じにする。
内容を確認して、[Finish]を押す。
moduleのディレクトリなどを作成するため、しばらく待つ。
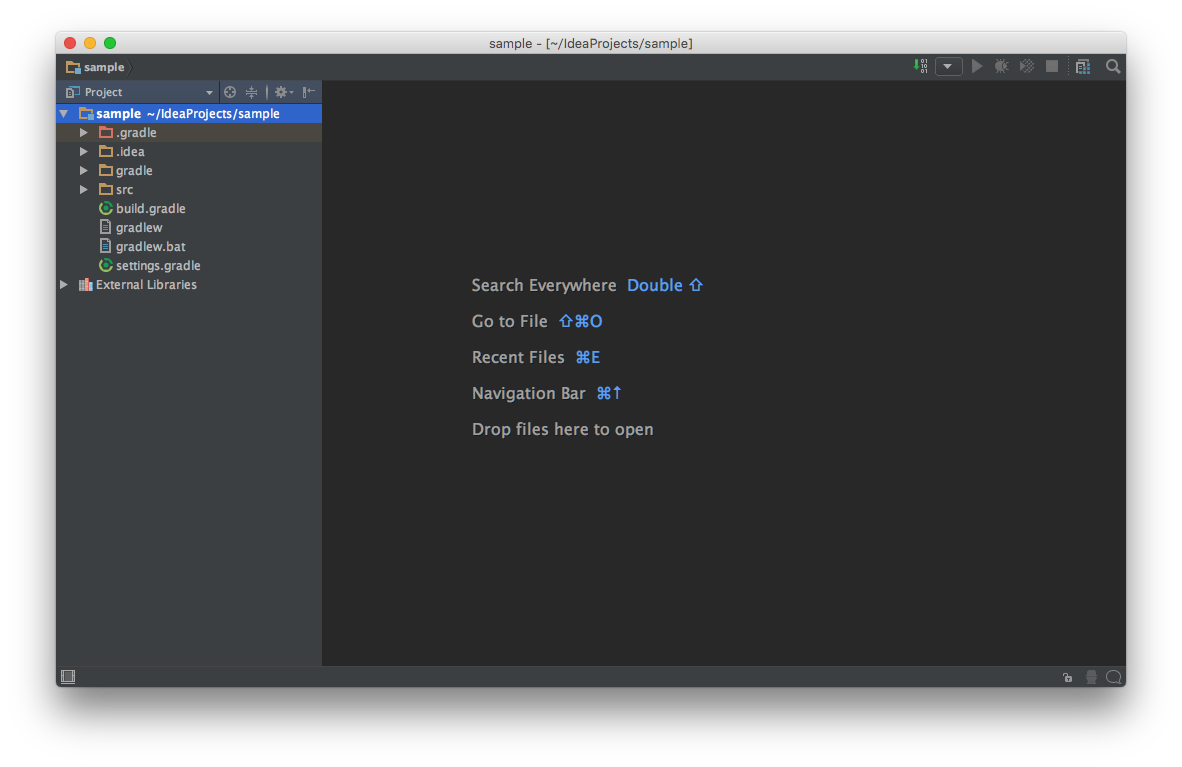
テンプレートのディレクトリの初期作成が終わると下の画面のような構成になる。
.gitignoreファイルを作成する
.idea
*.iml
.gradle
build
bitbucket にリポジトリを作成
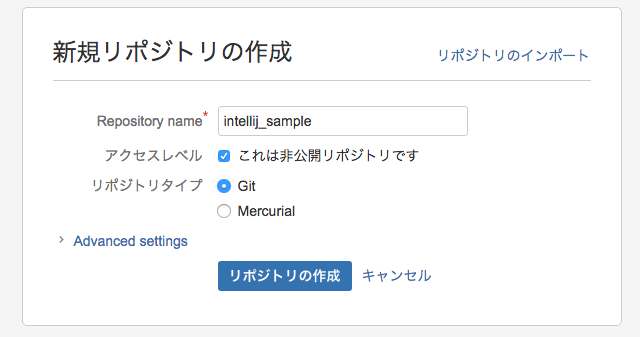
ブラウザより、bitbucketに新しいリポジトリを作成する。
例では、intellij_sample で作成
プロジェクトの内容をリポジトリにpush
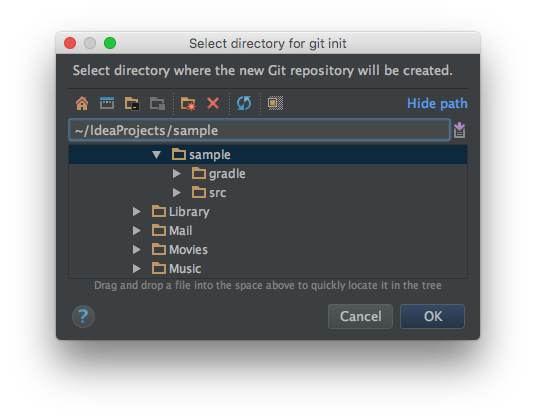
プロジェクトのメニューからVCS - Import into Version Control - Create Git Repository... を選択して、「Select directory for git init」ウィンドウを表示する。
プロジェクトのディレクトリを選択して、[OK]を押す。
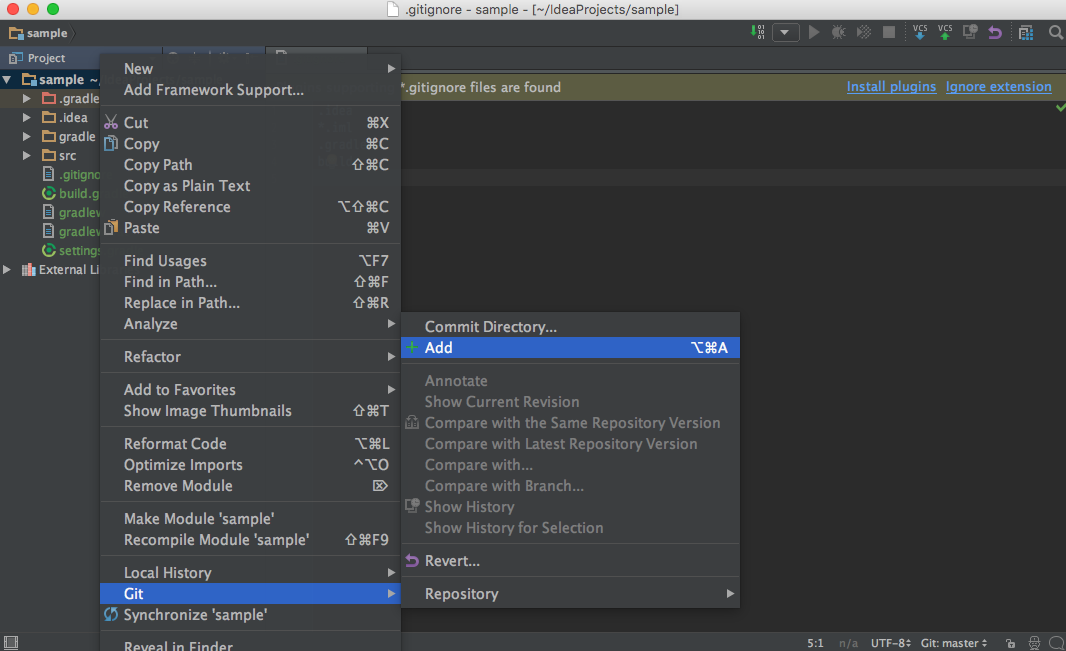
プロジェクトのGit - Addを選択して、プロジェクトの内容を追加する。
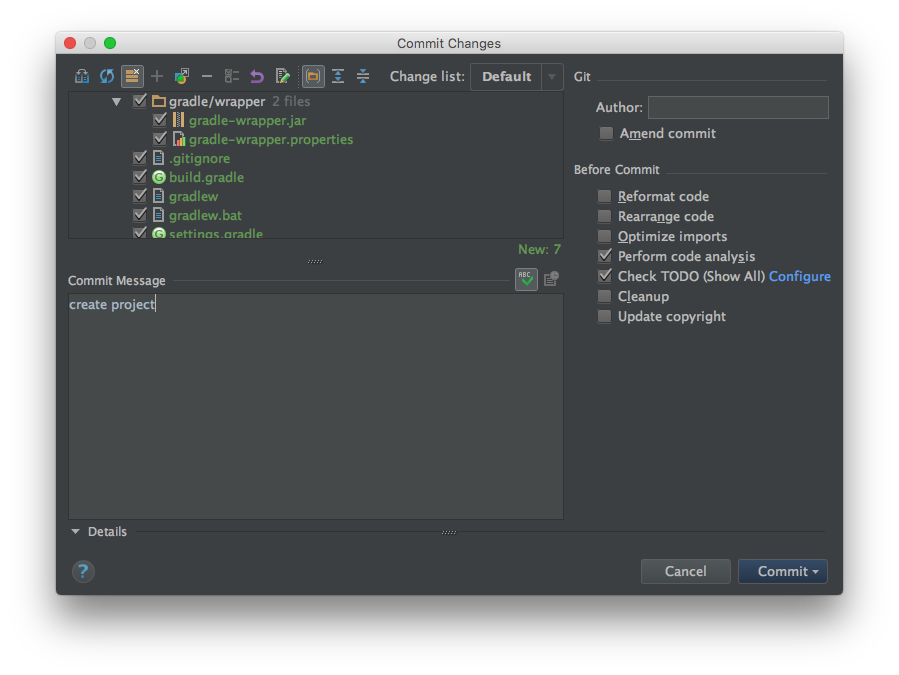
次に、Git - Commit Directory... を選択して、「Commit Changes」ウインドウを表示する。
Commit Message を入力して、Commit
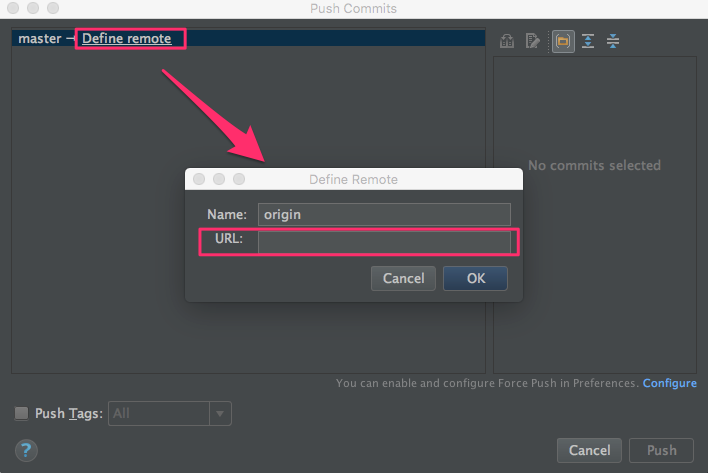
Git - Repository - Push を選択して、「Push Commits」ウィンドウを表示する。
Define remote を選択して URLに bitbucket の URL を入力する。
URLはリポジトリの「既にプロジェクトがあります」の git remote add origin xxxx の内容を参照。
git@bitbucket.org:username/intellij_sample.git
そして、Pushを押す。
Bitbucketでソースがpushされたことを確認。
